
Installing Herringbone Oak Parquet Flooring
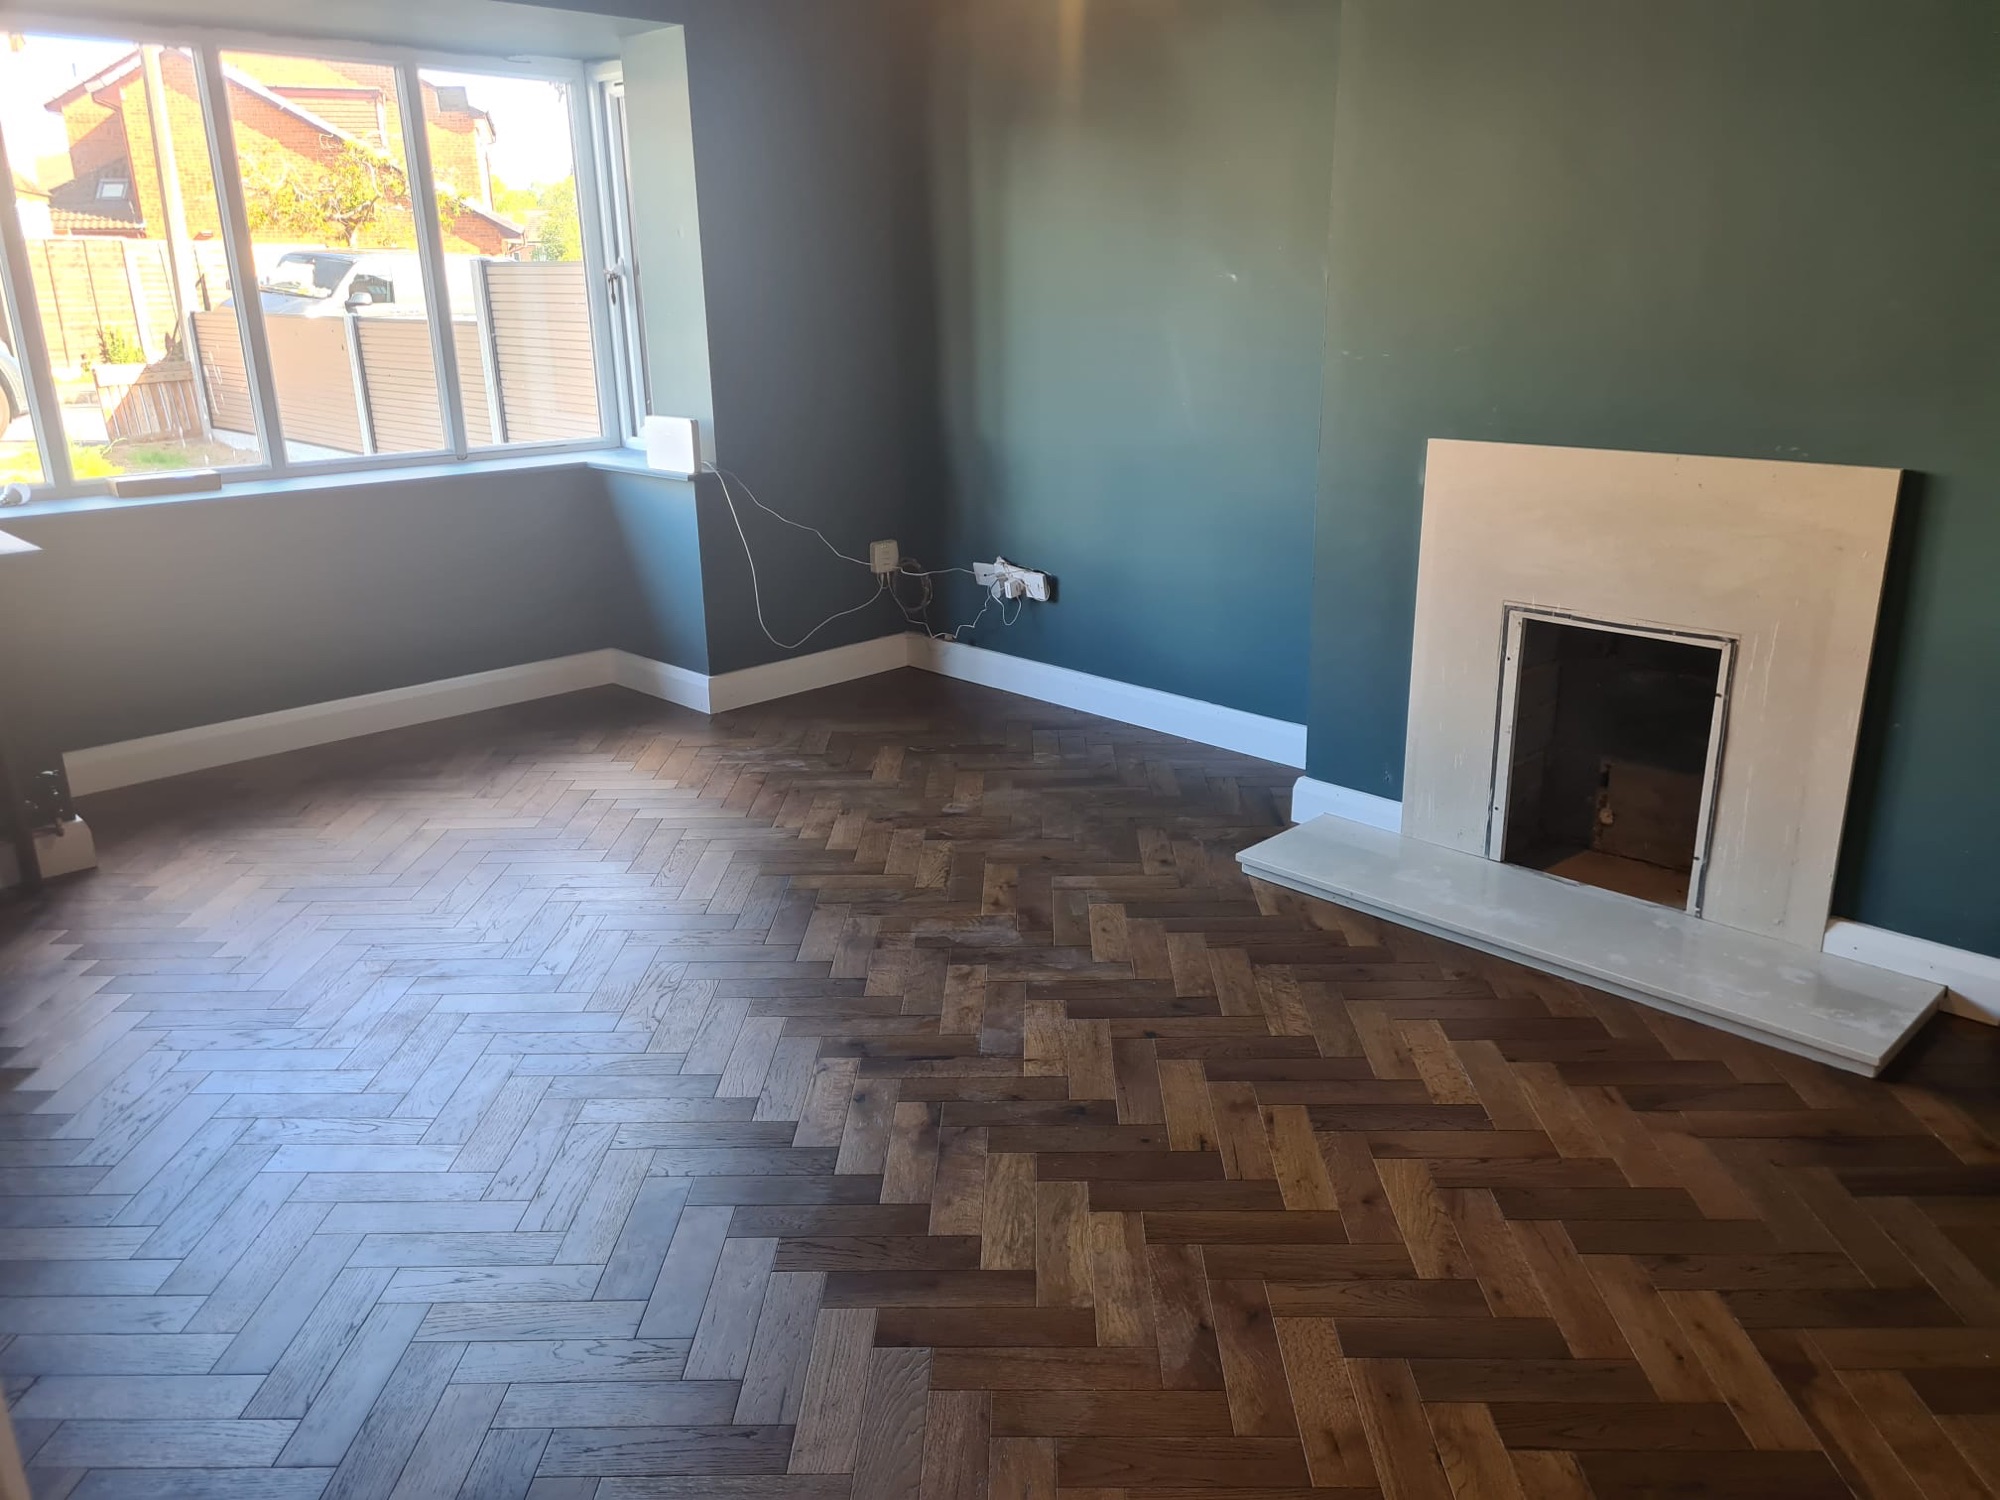
We recently completed the installation of a beautiful Herringbone Oak floor sourced from Stories Flooring. Our second from them in as many months. This project highlights our approach to subfloor preparation, a critical factor in achieving a lasting, high-quality finish.


A key consideration during preparation was the existing subfloor, which contained original tiles potentially dating from the 1980s. To ensure compliance and safety—and specifically to mitigate the risk associated with disturbing potential asbestos-containing materials (ACMs)—we opted for a non-intrusive overlay solution. This professional decision avoided complex and costly remediation.
We applied F. Ball Stopgap P131 primer and self-levelling compound. This choice allowed us to achieve a perfectly smooth and stable surface with minimal build-up, creating the ideal base for the new parquet system. Precision Installation Technique
Our method for installing this type of parquet flooring is rooted in precision and patience. The most effective technique is a staged adhesive application to manage the elasticity of the glue and ensure optimal alignment:
- We initially lay and fix the central key column or the first two rows of the product.
- We allow this central element time to fully cure and stabilize before proceeding with the remainder of the floor.
By allowing the adhesive to cure completely in these crucial early stages, we prevent movement and ensure the long-term integrity and alignment of the entire floor.
Cost Guide: Herringbone Parquet Flooring
For full transparency, here is a breakdown of the typical costs per square metre (m²) for a high-quality Herringbone Parquet installation:
- Preparation (Self-levelling compound): £15
- Flooring Material: £50
- Adhesive: £10
- Professional Labour: £90 – £150
These costs are excluding VAT, this job needed 15% wastage so make sure you allow for it otherwise you’ll need an emergency trip to Leeds to pick up an extra box