Categories
Brickwork Groundwork Resin bound gravel

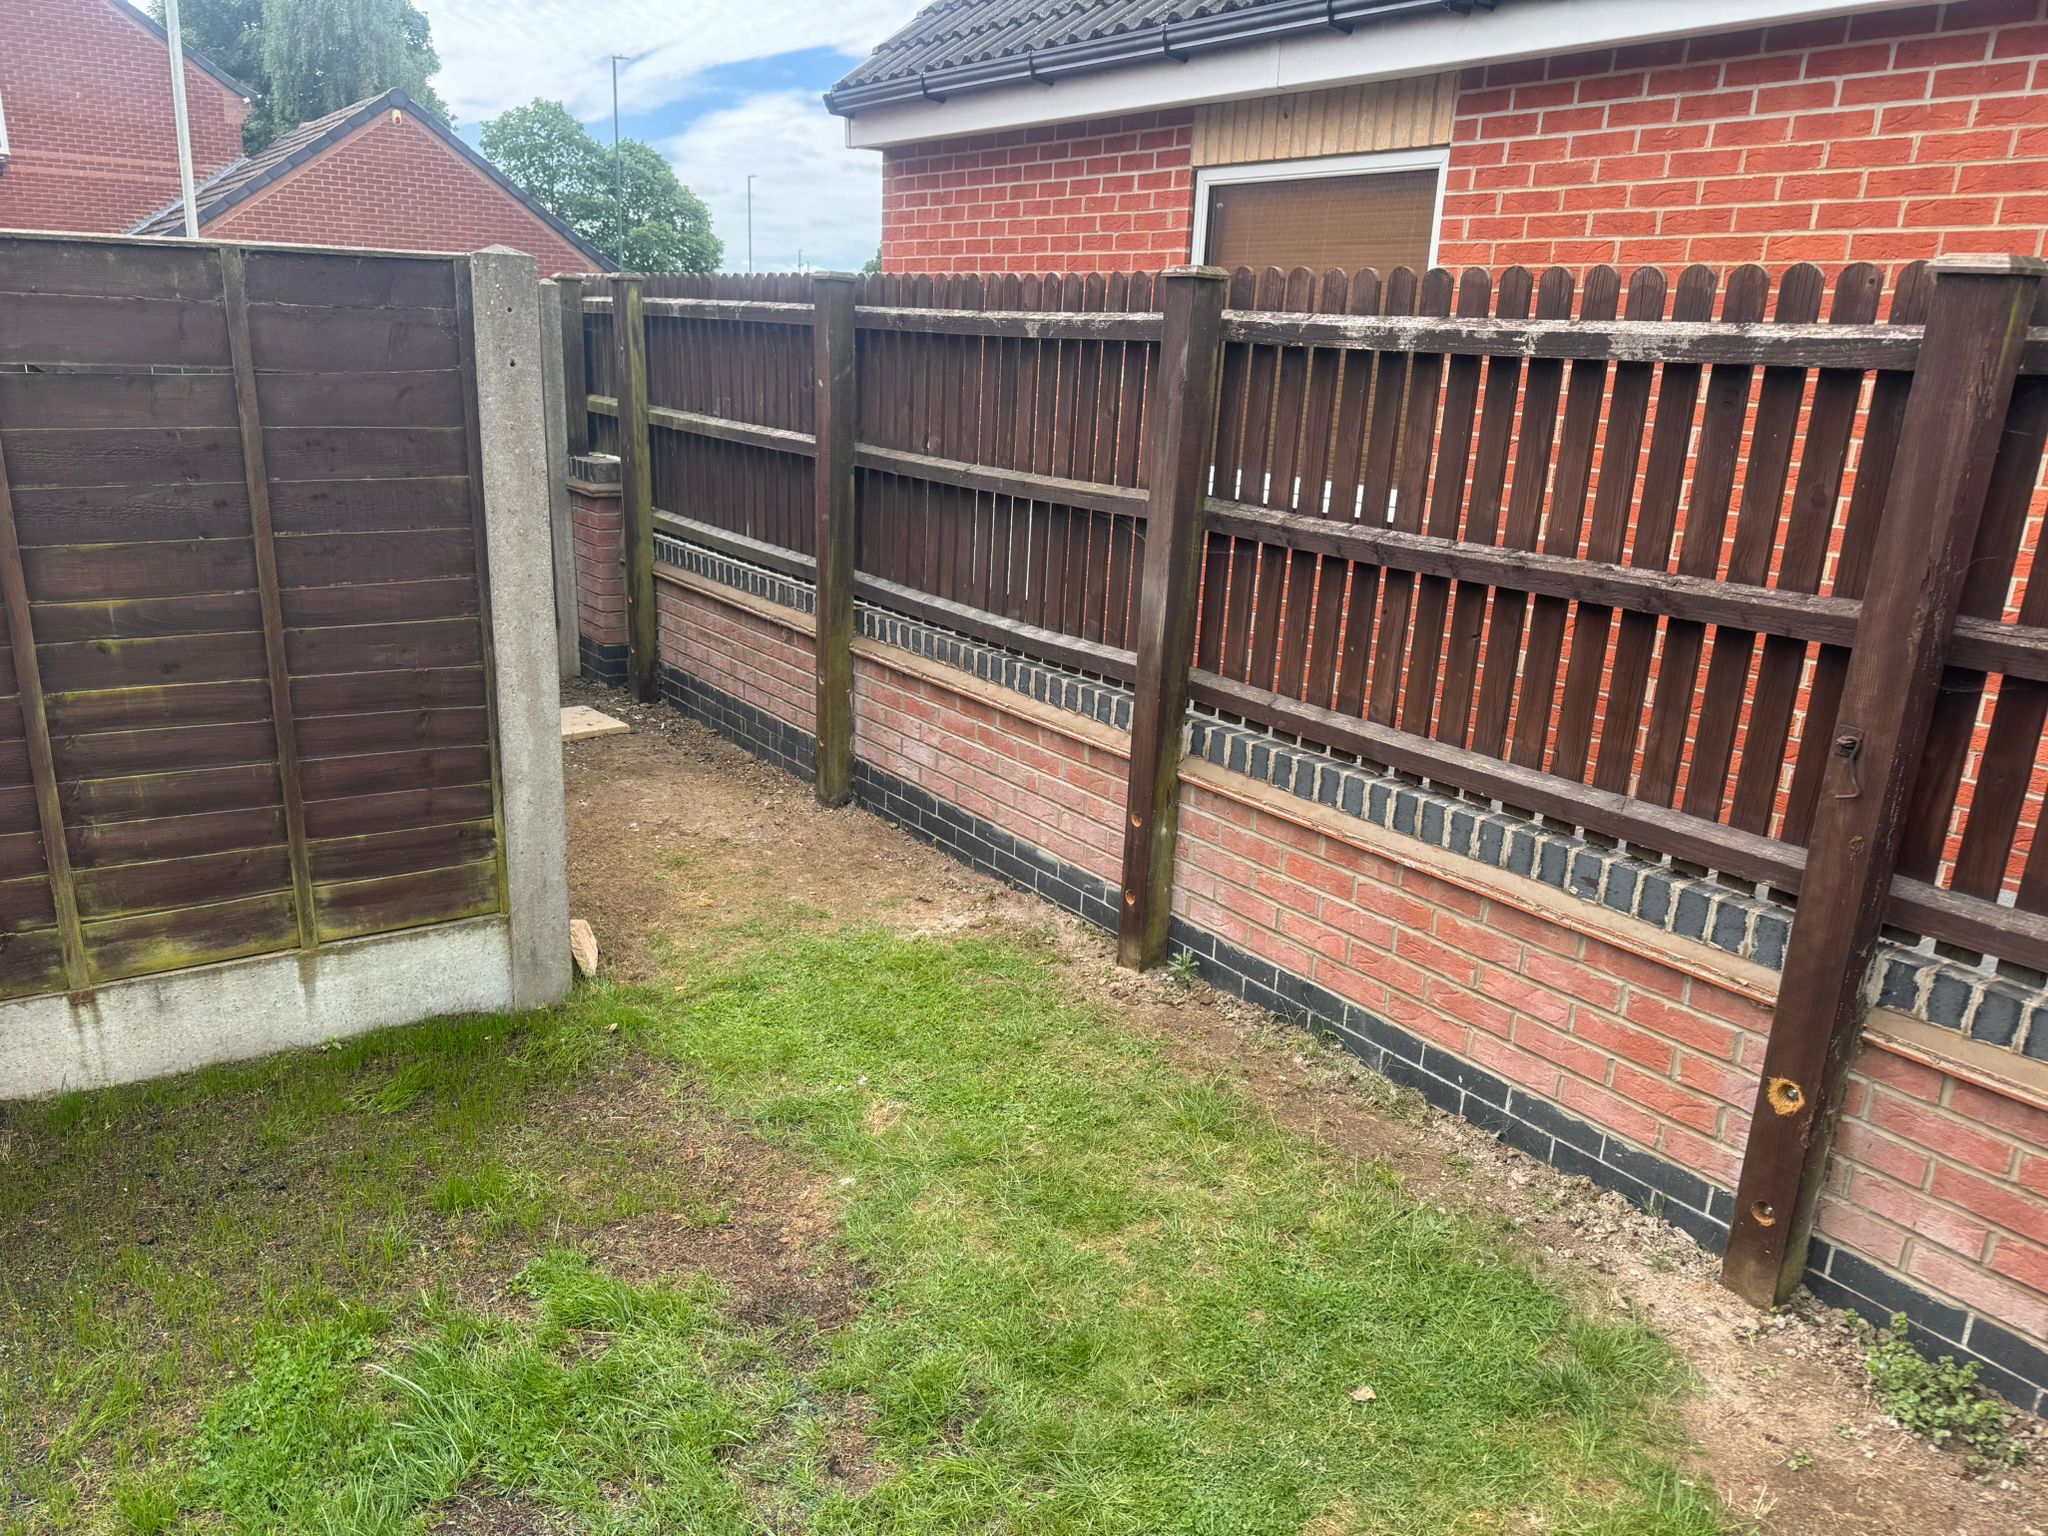
Accessible Resin bonded ramp in Langley Mill, Derbyshire

The Challenge

Our client, who has limited mobility, required a solution to gain independent access to their property with a mobility scooter. The existing front wall of the property created a significant physical barrier, preventing this access with the limited turning circle.

img_6974
previous arrow
next arrow

Our Approach

We prioritised a practical, site-led approach to find the best solution:

  • Structural Modification: We carefully dismantled the existing boundary wall and re-built it to accommodate a new, accessible entry point.
  • Groundworks: The site was leveled to ensure a comfortable, safe gradient for the scooter ramp.
  • Surfacing: We constructed the ramp using ‘Sahara Mix’ resin-bonded gravel, sourced from The Resin Mill, providing a durable, slip-resistant, and level surface. They have a really good visualiser tool for seeing what it will look like.

Design & Decision Making

Rather than adhering to a rigid, pre-set design that might not work on the ground, we collaborated closely with the client throughout the process. We waited until the wall was dismantled before finalising the handrail positioning. This allowed us to assess the site in real-time, resulting in a short handrail on either side that perfectly balanced accessibility with space for the client to manoeuvre bins.

Handrail Material Selection

We sourced materials through FH Brundle in Ilkeston. Our choice of 42mm galvanized tubing for the handrails was driven by a ‘function-first’ philosophy:

  • Strength & Rigidity: Ensuring maximum safety for the client.
  • Longevity: Selected for its weather resistance and durability.
  • Appearance: A clean, professional aesthetic that complements the property.

    After

Drainage

We chose resin-bonded gravel partly for its permeable qualities. Unlike solid concrete or tarmac, this surface allows rainwater to soak naturally into the ground rather than pooling on the ramp or running off into the street. We add a layer of pea gravel underneath and added a drainage channel in front of the front door making it a more sustainable and low-maintenance choice for the long term.

Added Value

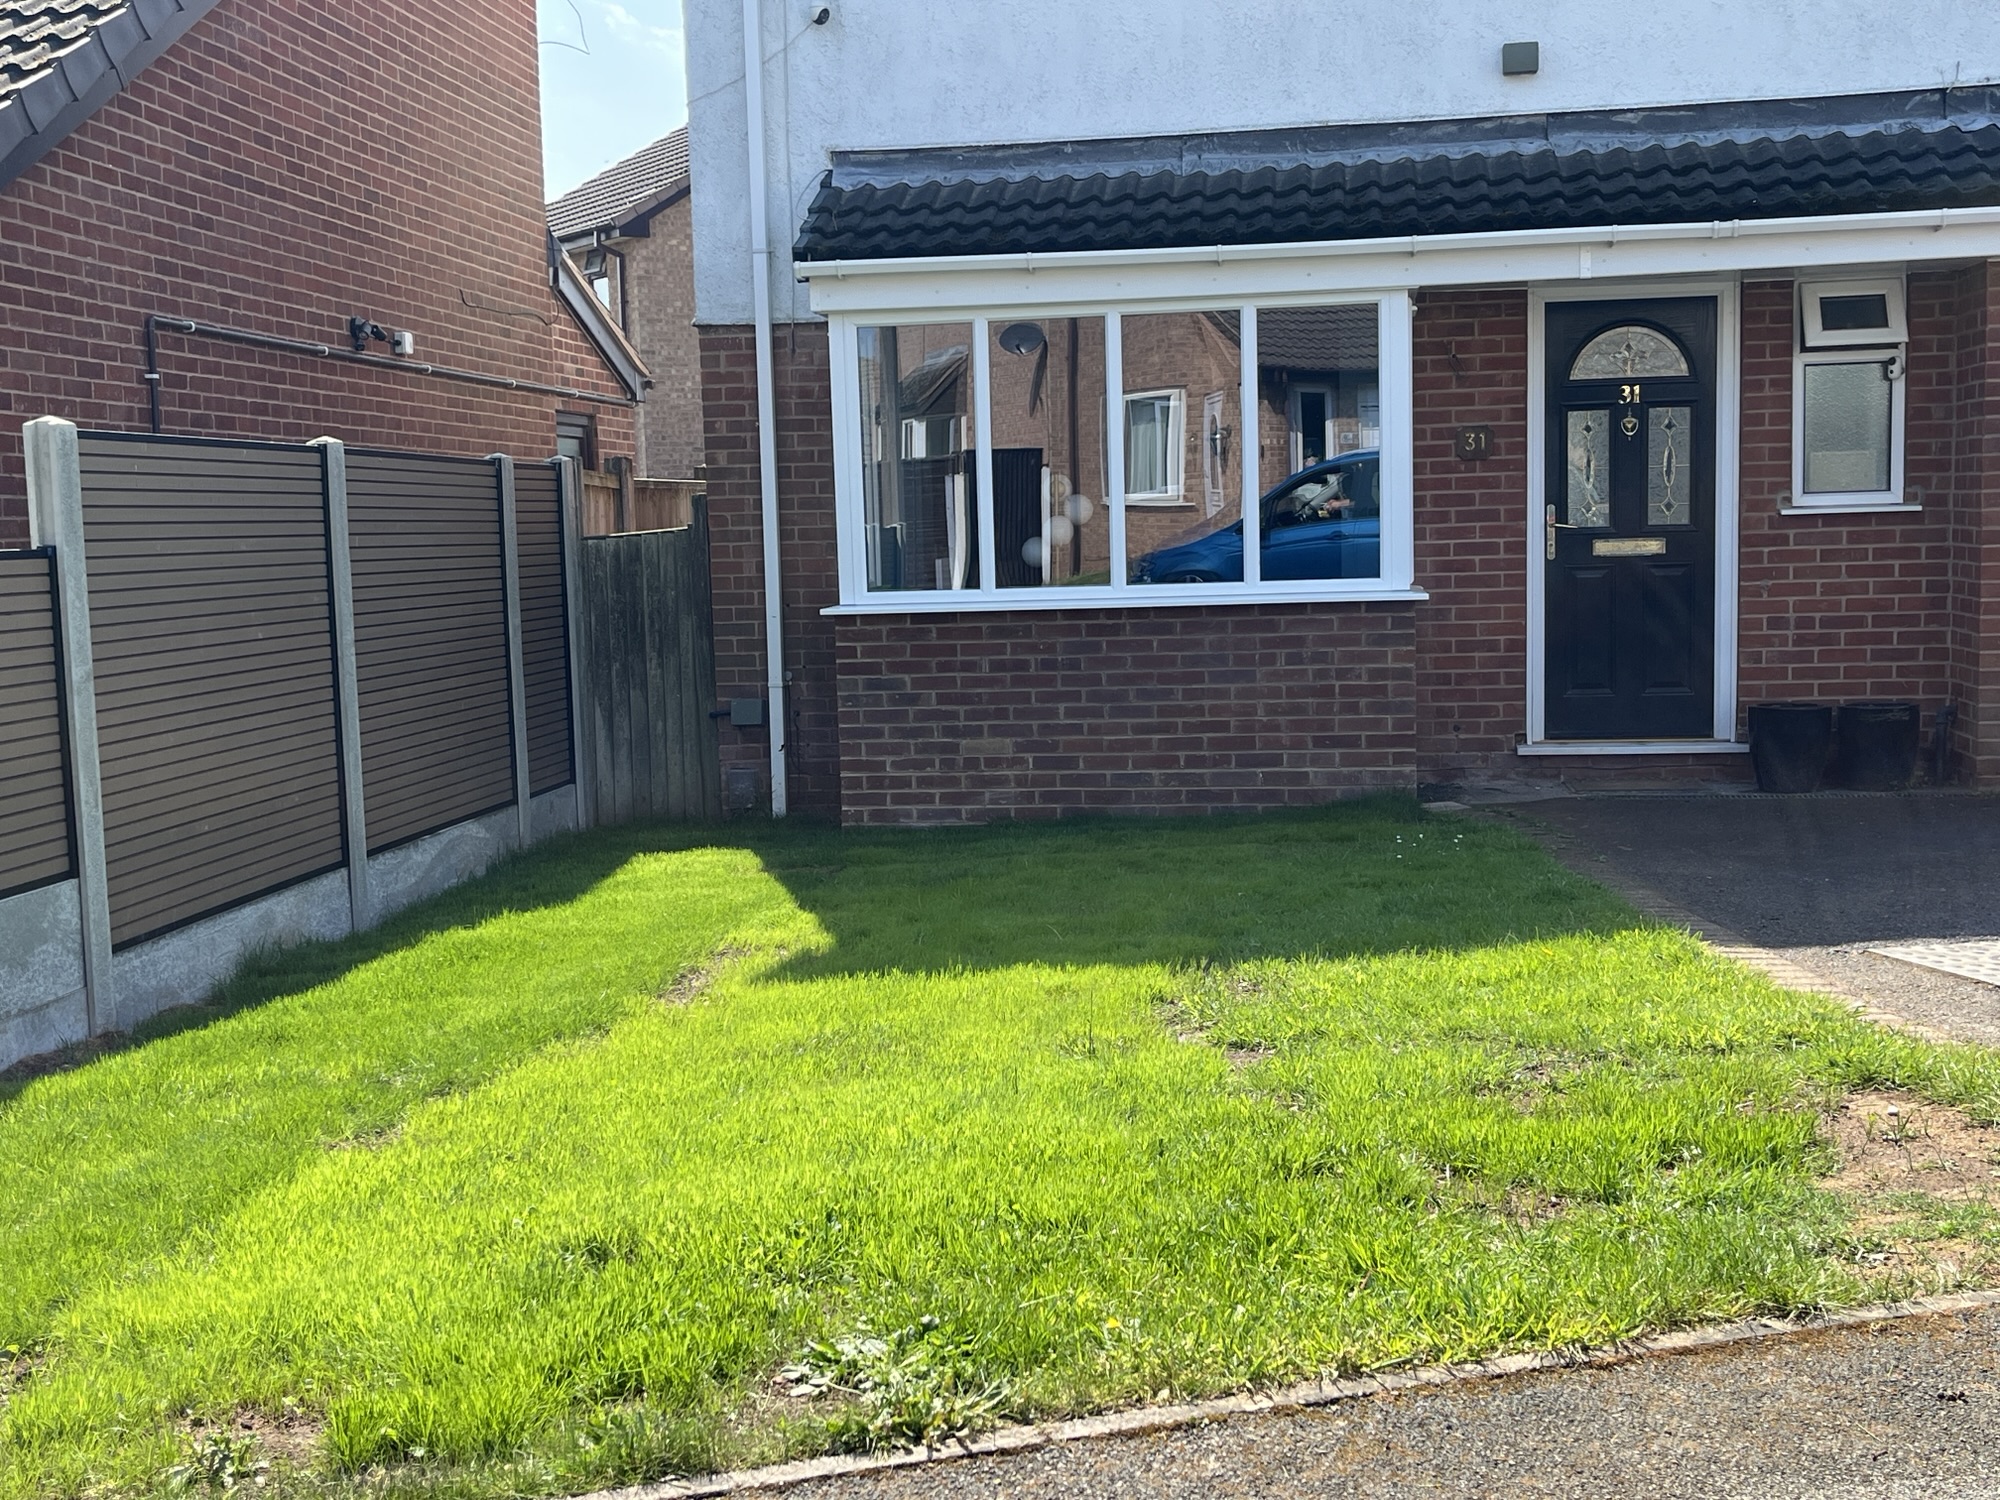
As part of our commitment to maintaining a tidy site and supporting the resident, we cleared the front garden of all waste and disposed of it in our skip in the yard, ensuring the client was left with a clean, functional environment. We often don’t generate enough waste on a small job to warrant getting a skip so we put it in our van and bring it back to base.


If you need our help message us on 07737 988 243 or email quote@swallowhillhomes.com


#SwallowHillHomes #BuildingBetter #AccessibleHome #HomeAdaptations #MobilitySolutions #ResidentialRefurbishment #BuilderLife

#AccessibleRamp #Groundworks #Masonry #ResinBondedGravel #ProjectHandover #DisabledAccess

#LangleyMill #Ilkeston #DerbyshireConstruction #LocalTrades #DerbyshireBuilder

Categories
Brickwork Extension Internal fit out

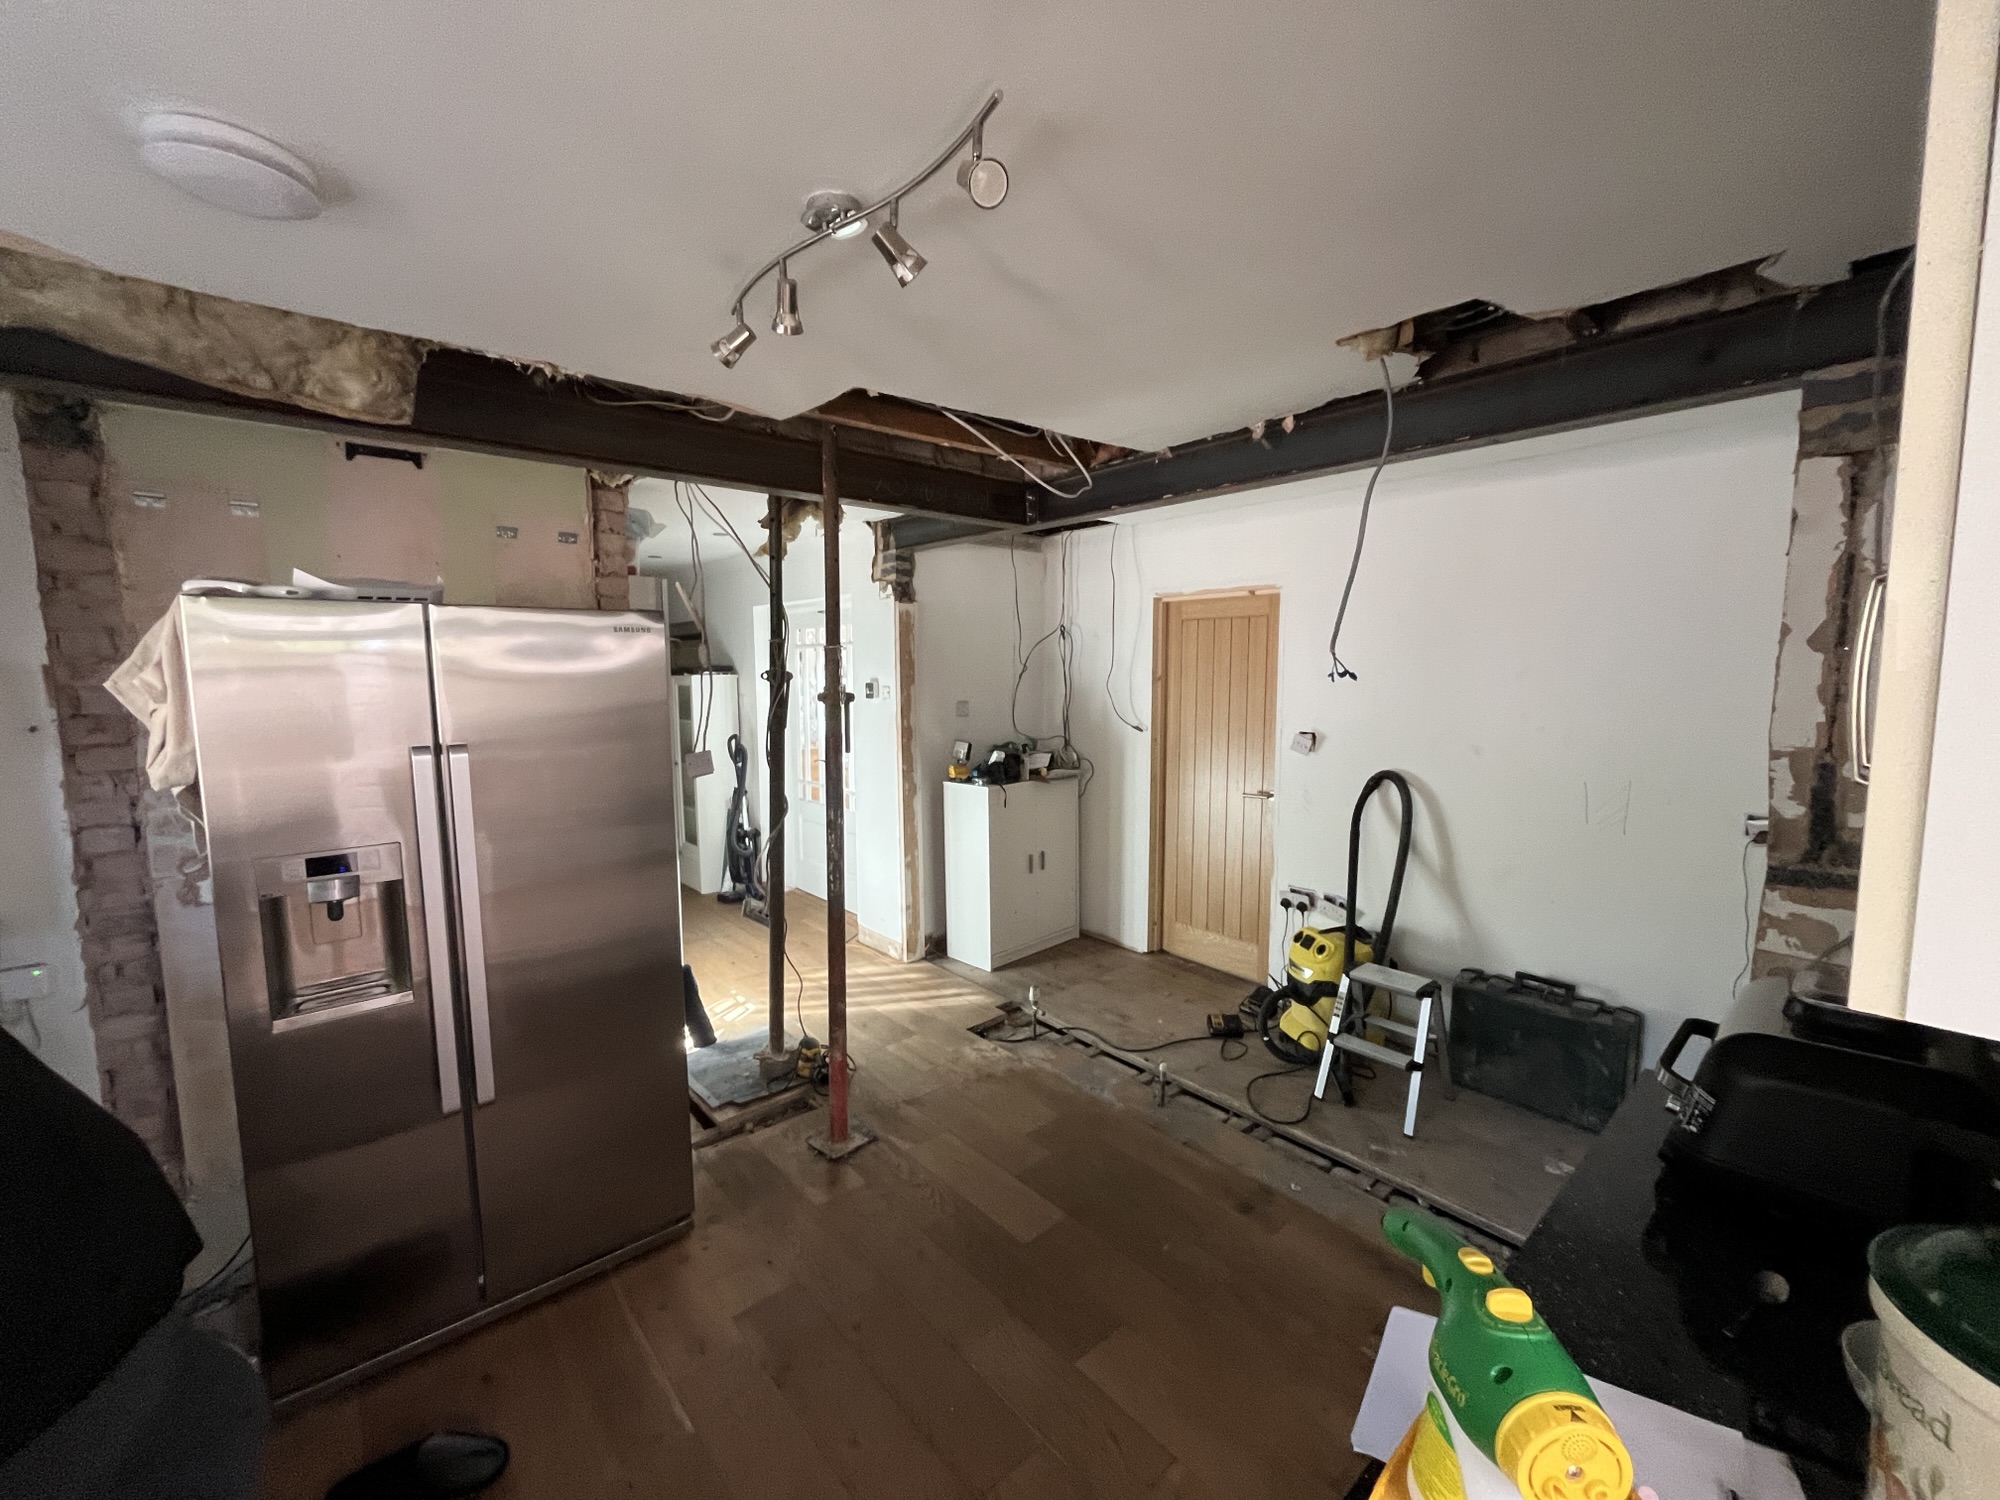
Opening up kitchen with steel (RSJ) beams in Selston, Nottinghamshire

Open Plan Living: How We Safely Removed a Wall to Expand a Kitchen

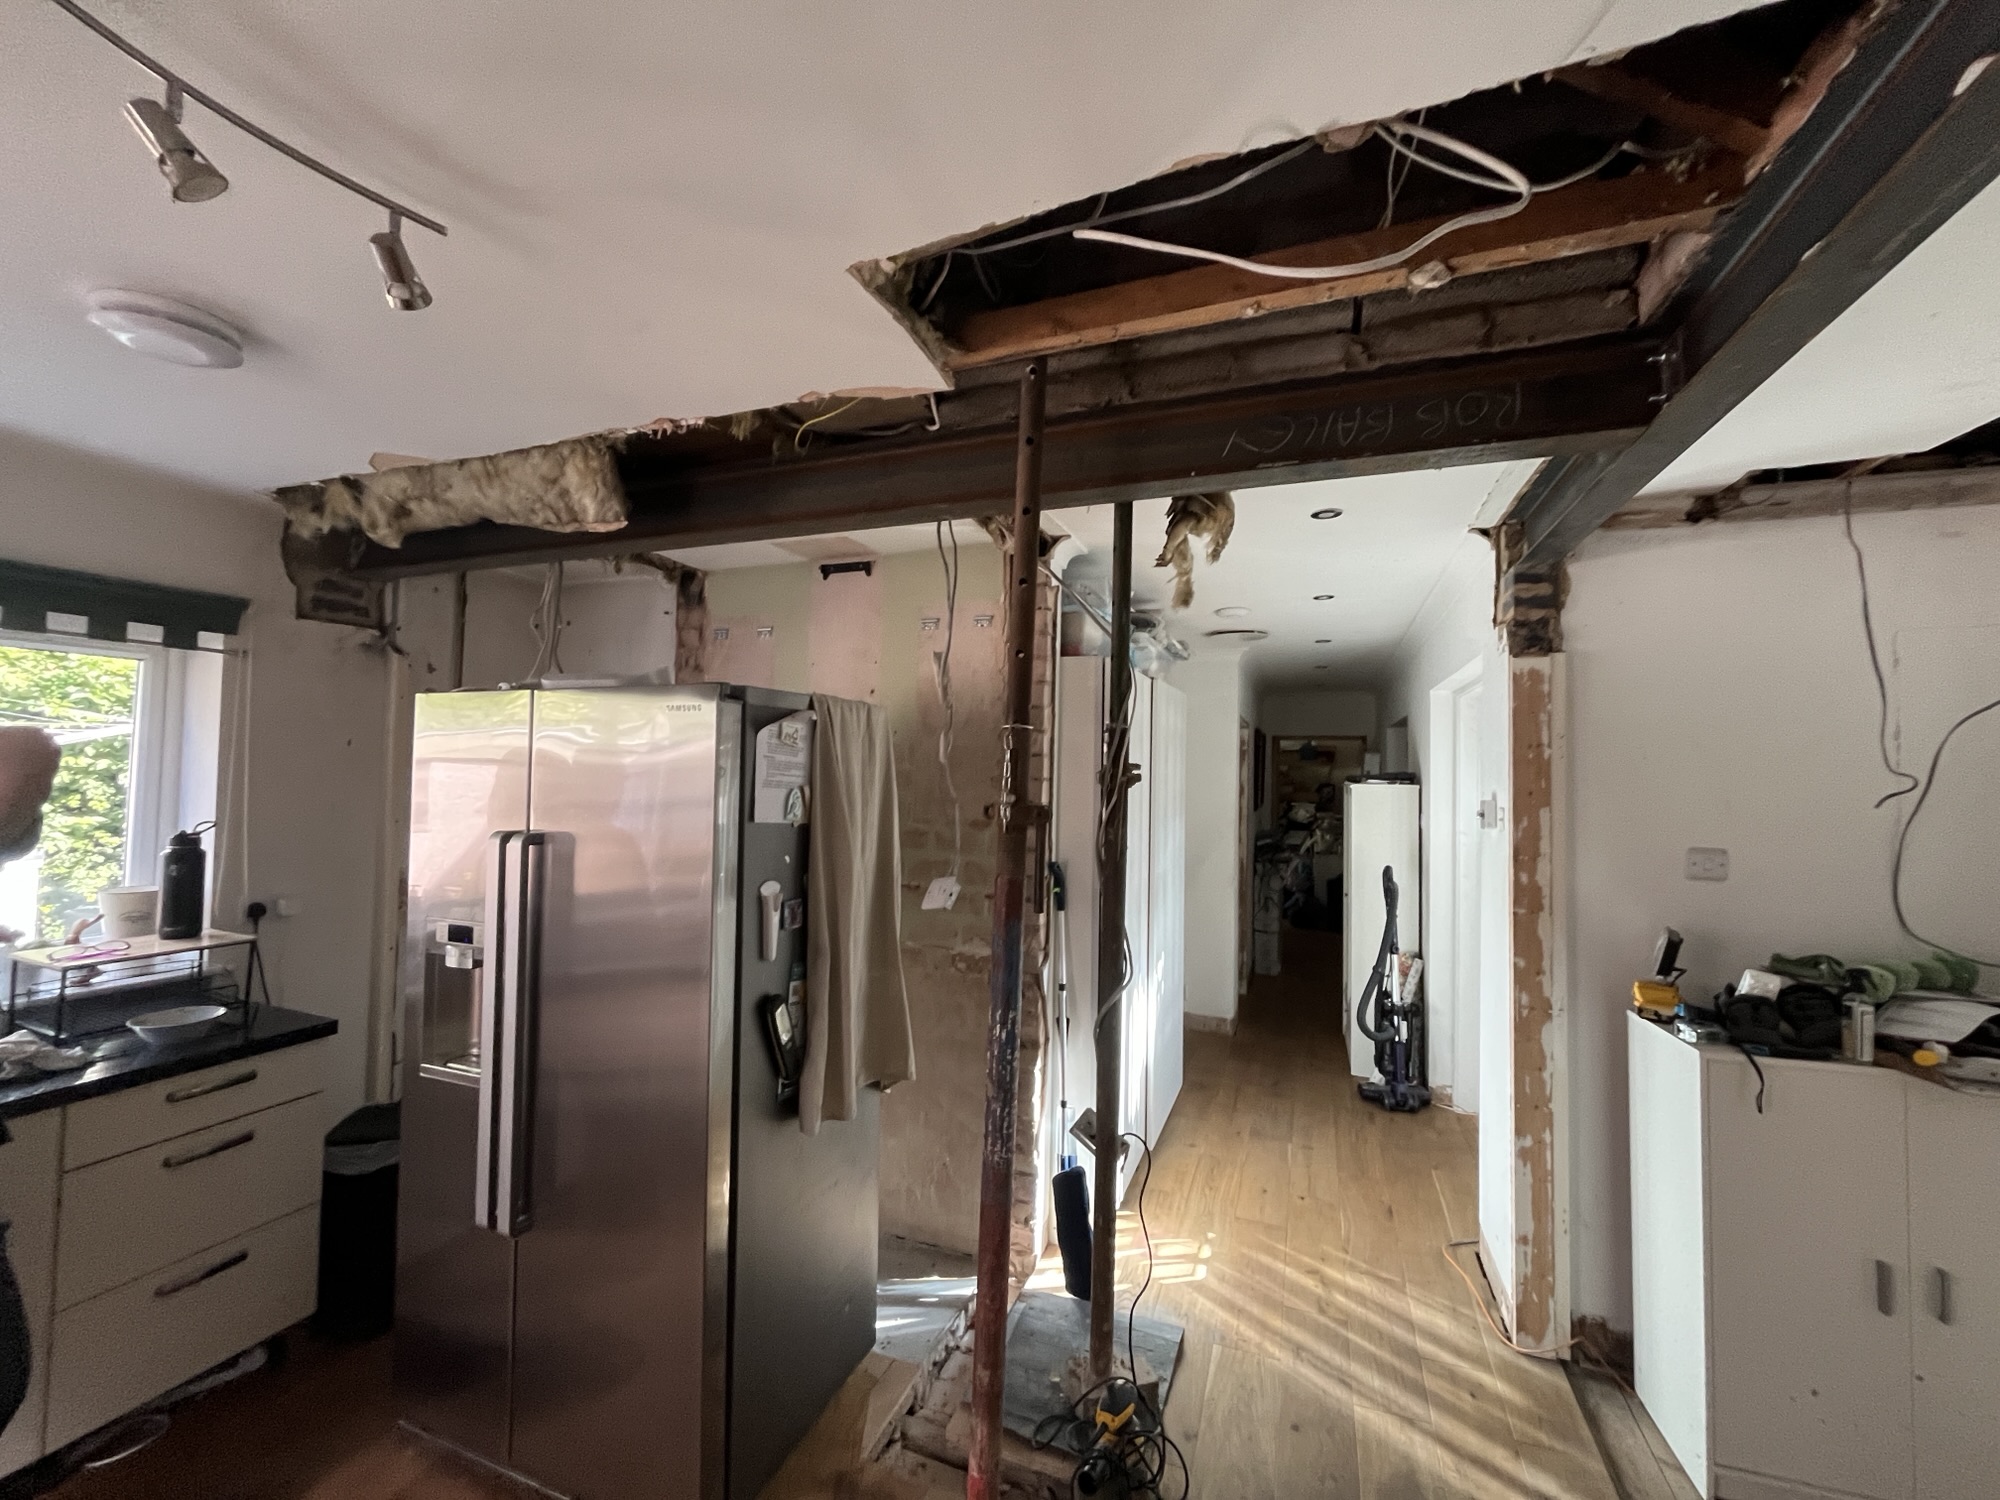
Changing the layout of a property to create an open-plan kitchen is one of the most common requests we receive. It’s a fantastic way to transform how a home feels, but it requires careful structural planning.

img_6819
previous arrow
next arrow

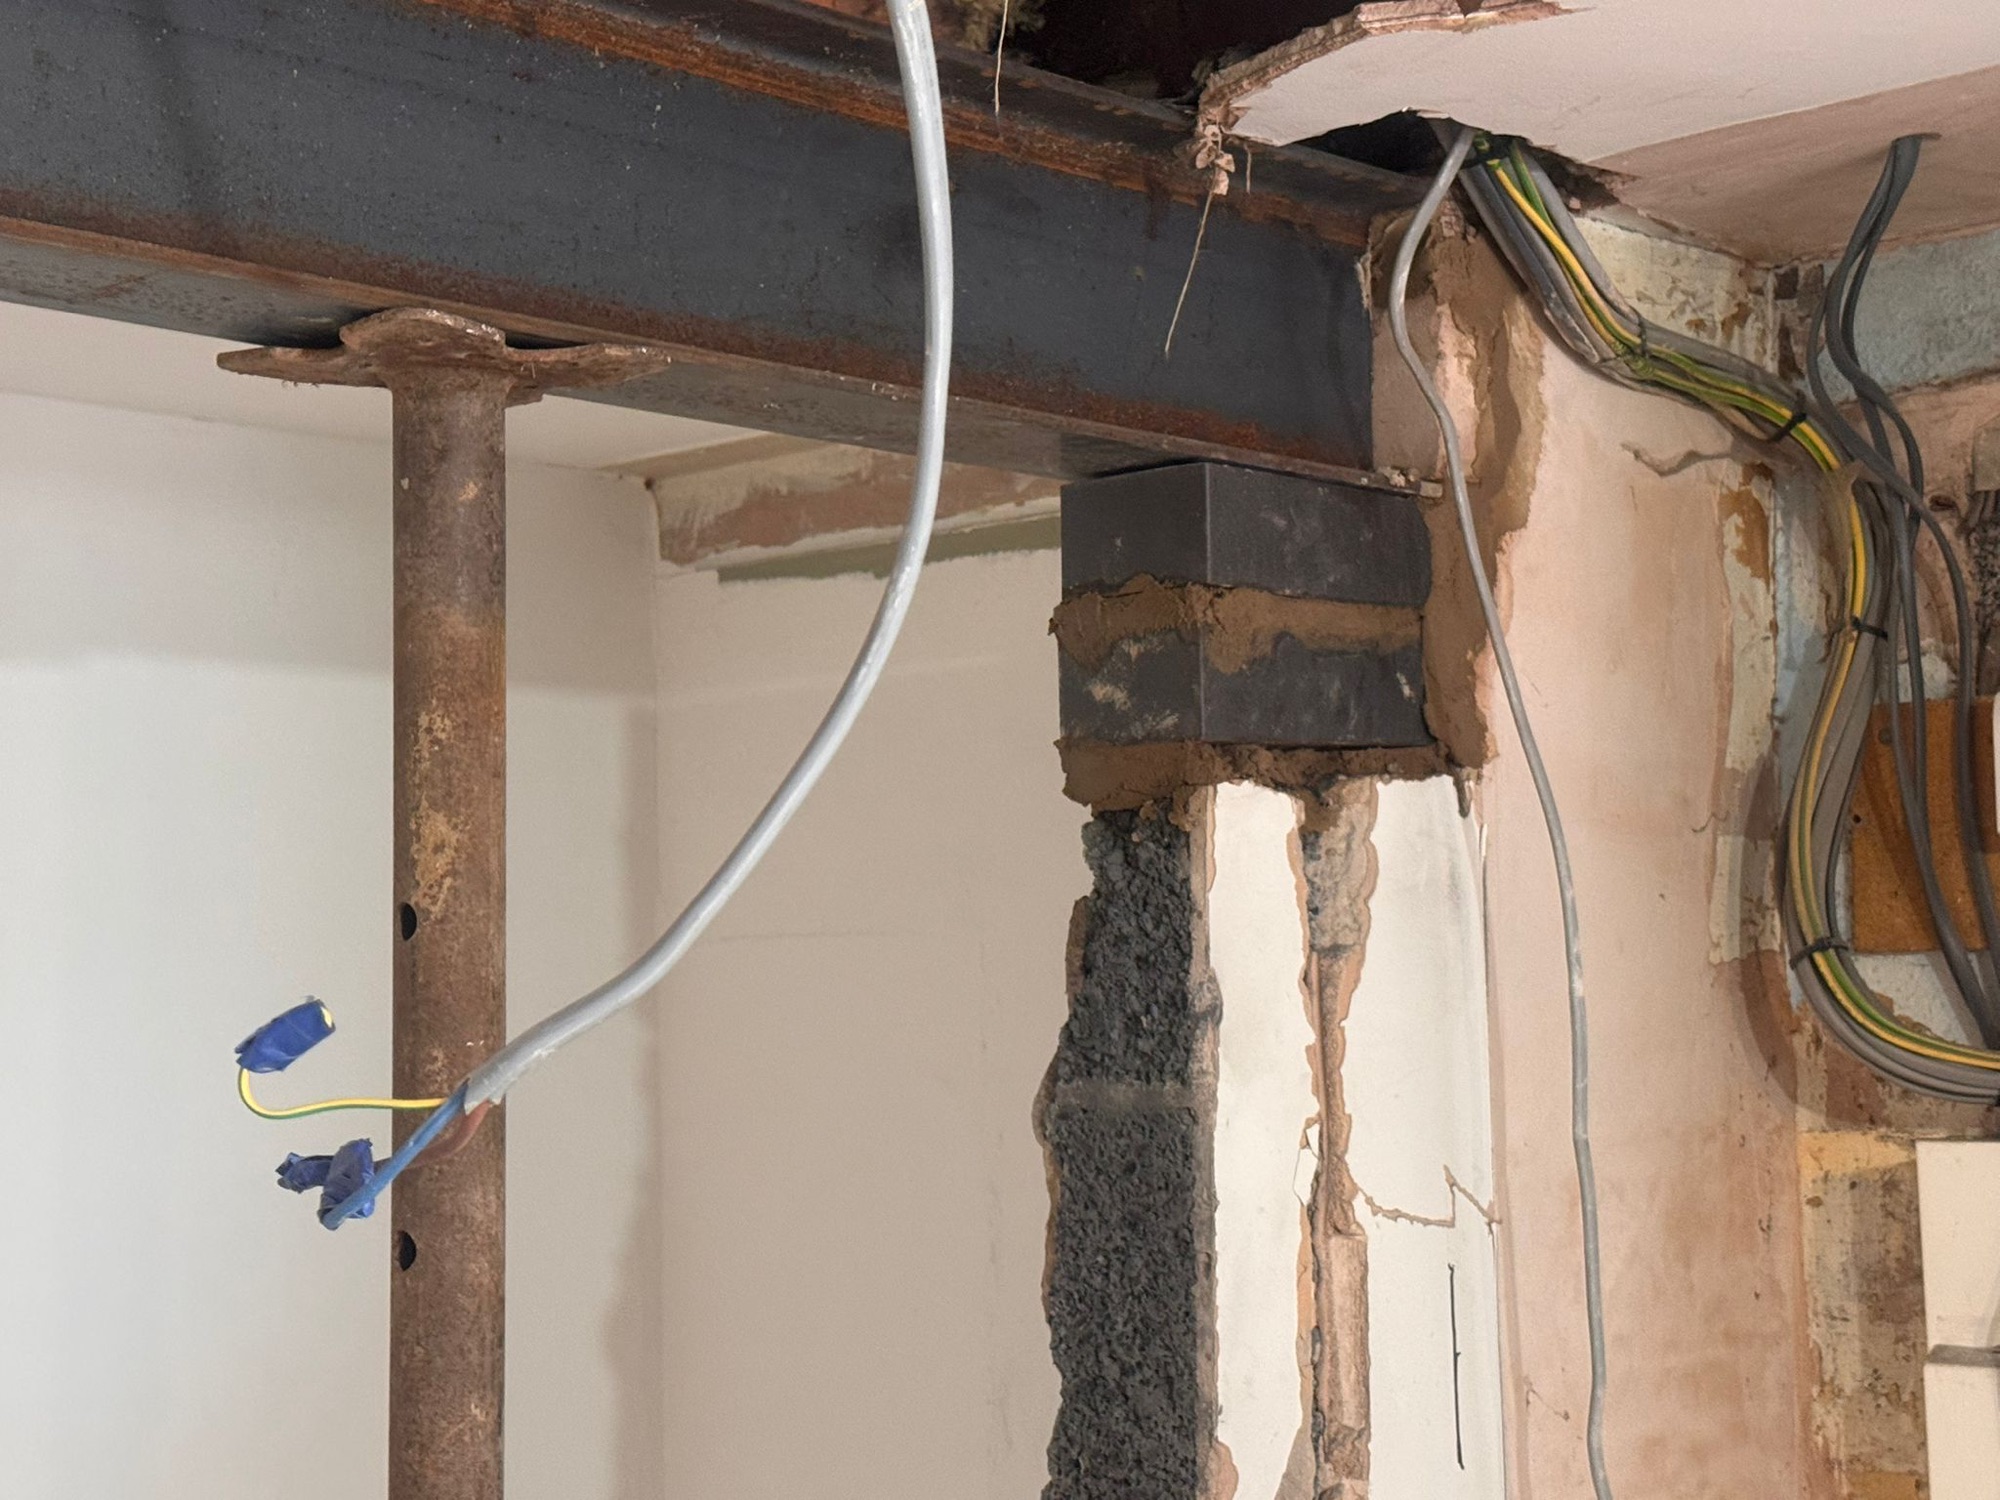
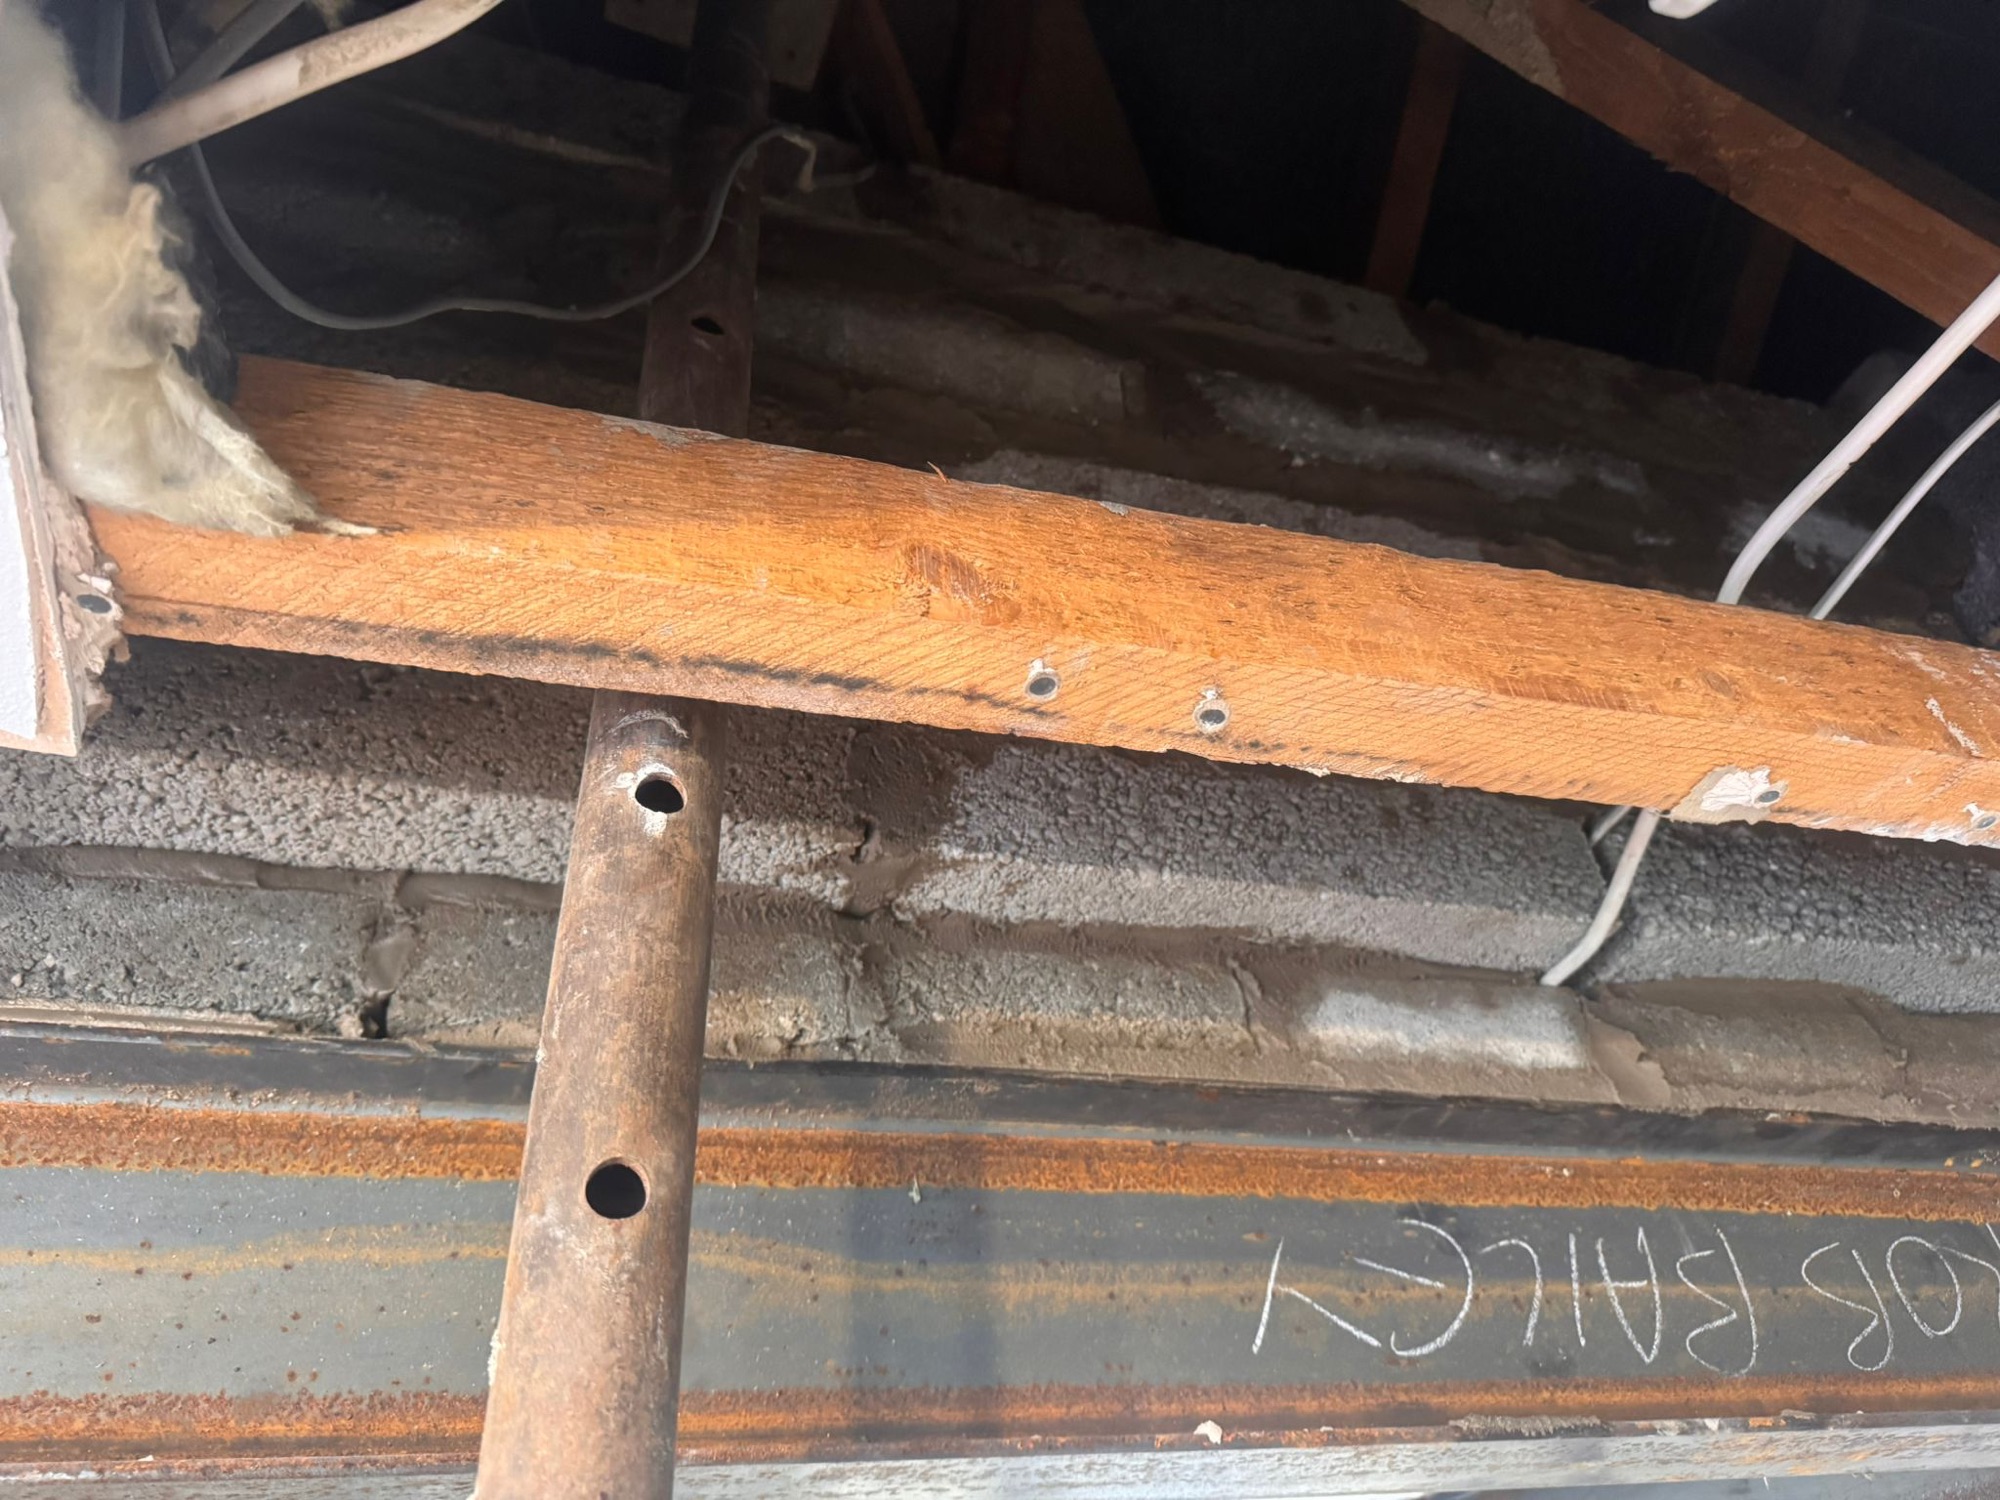
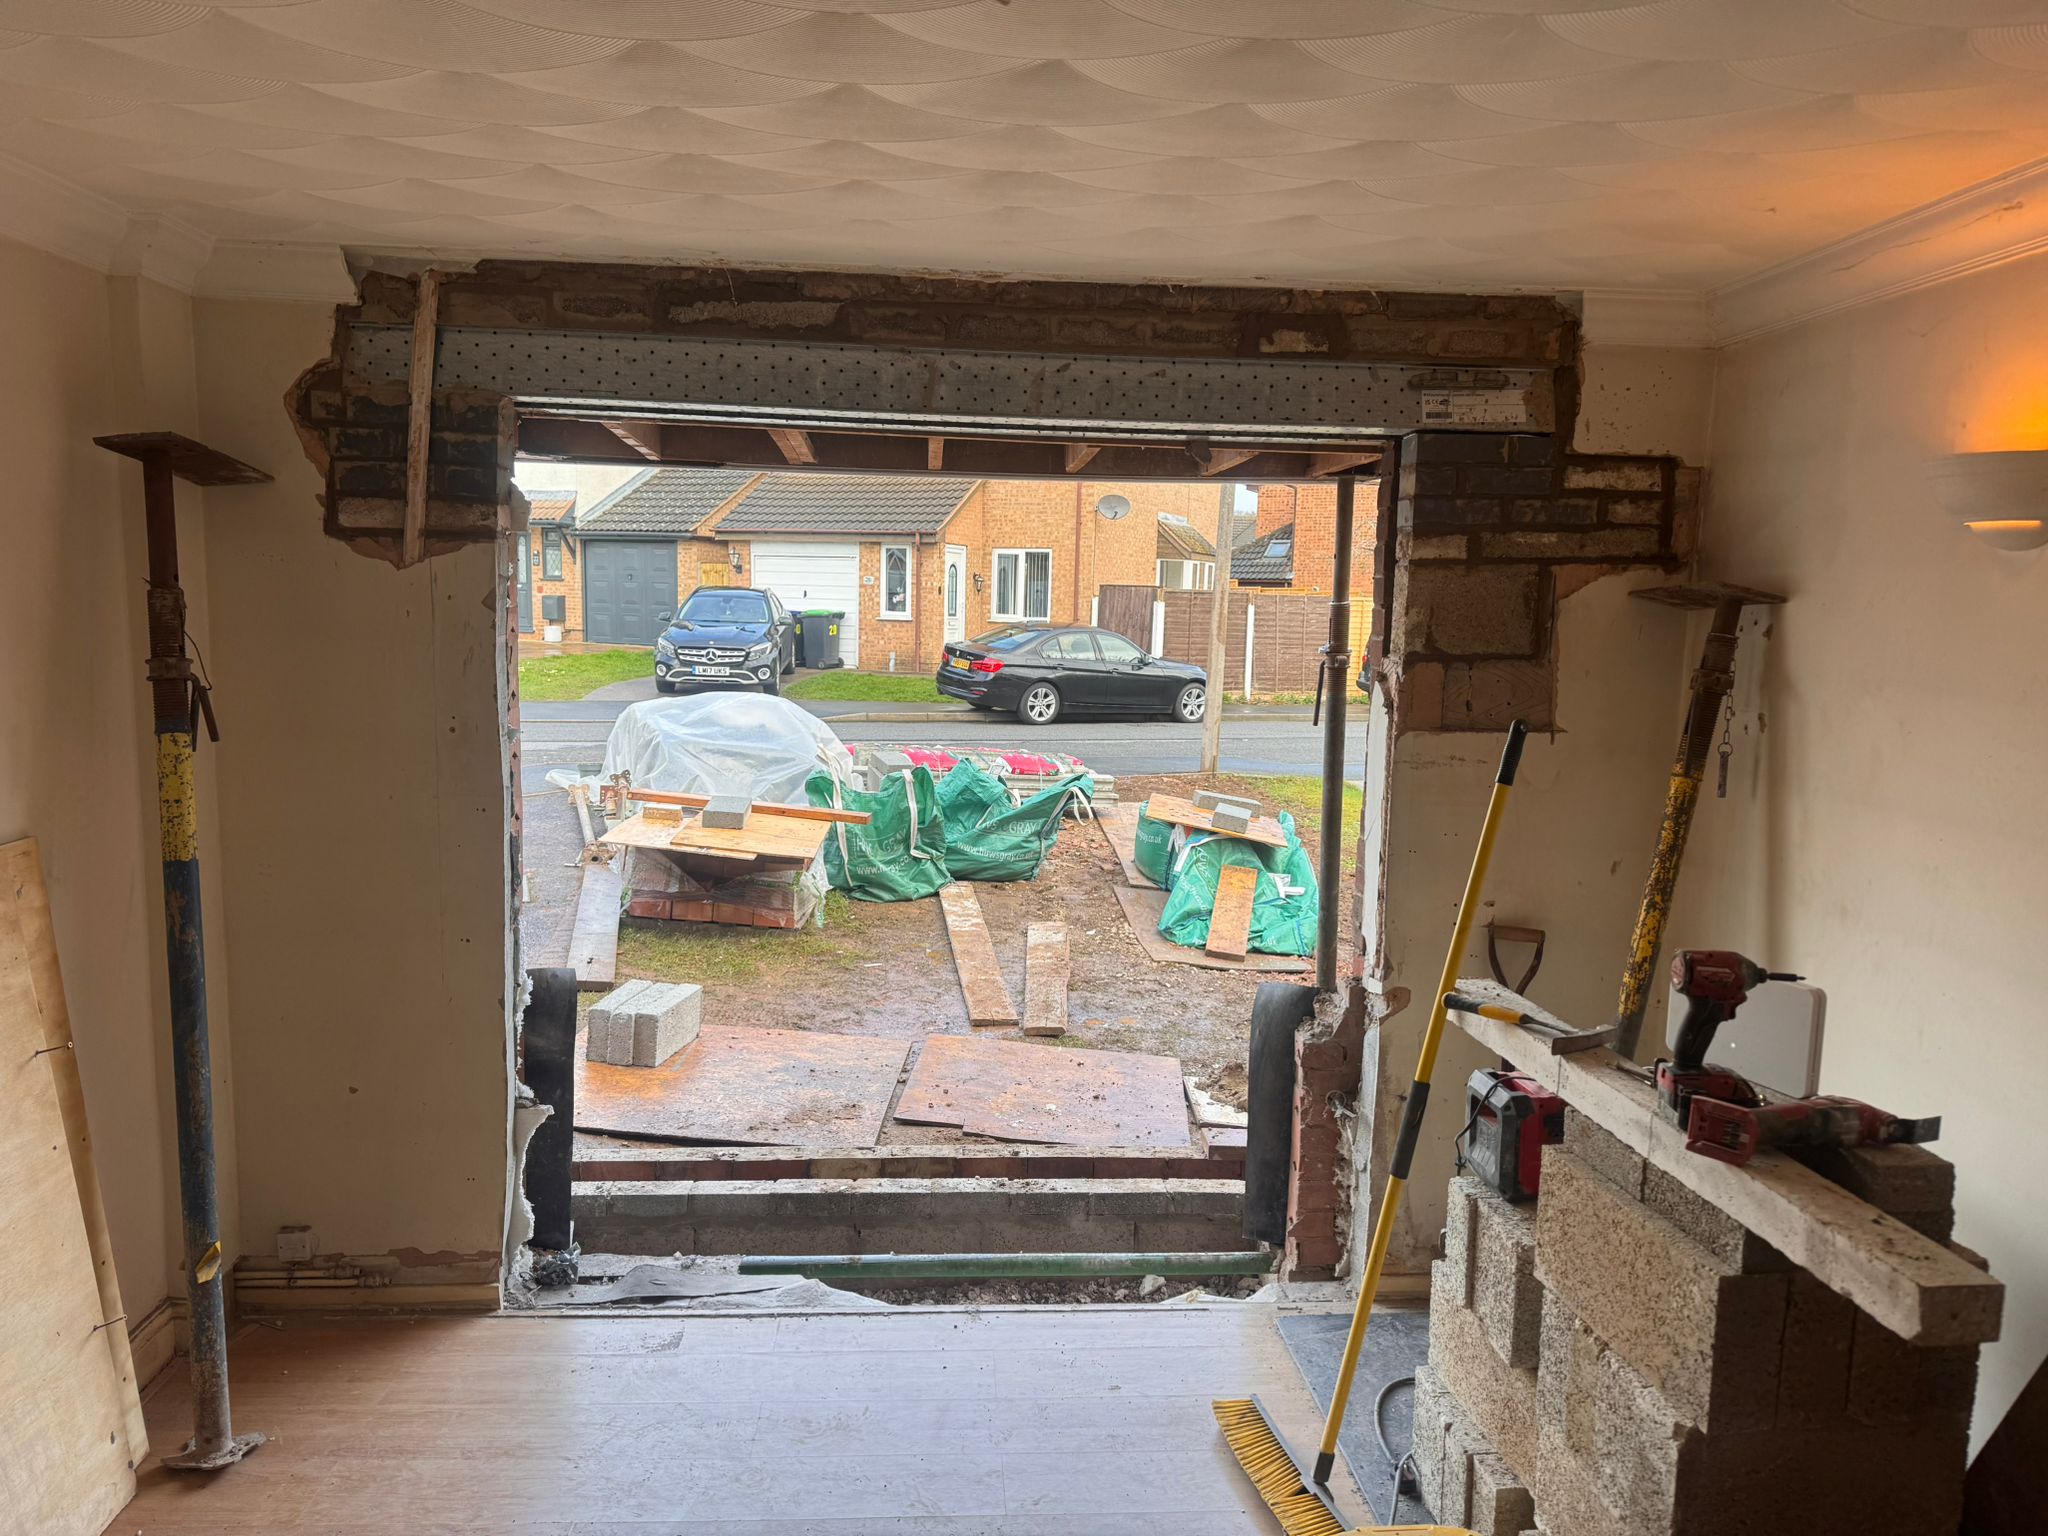
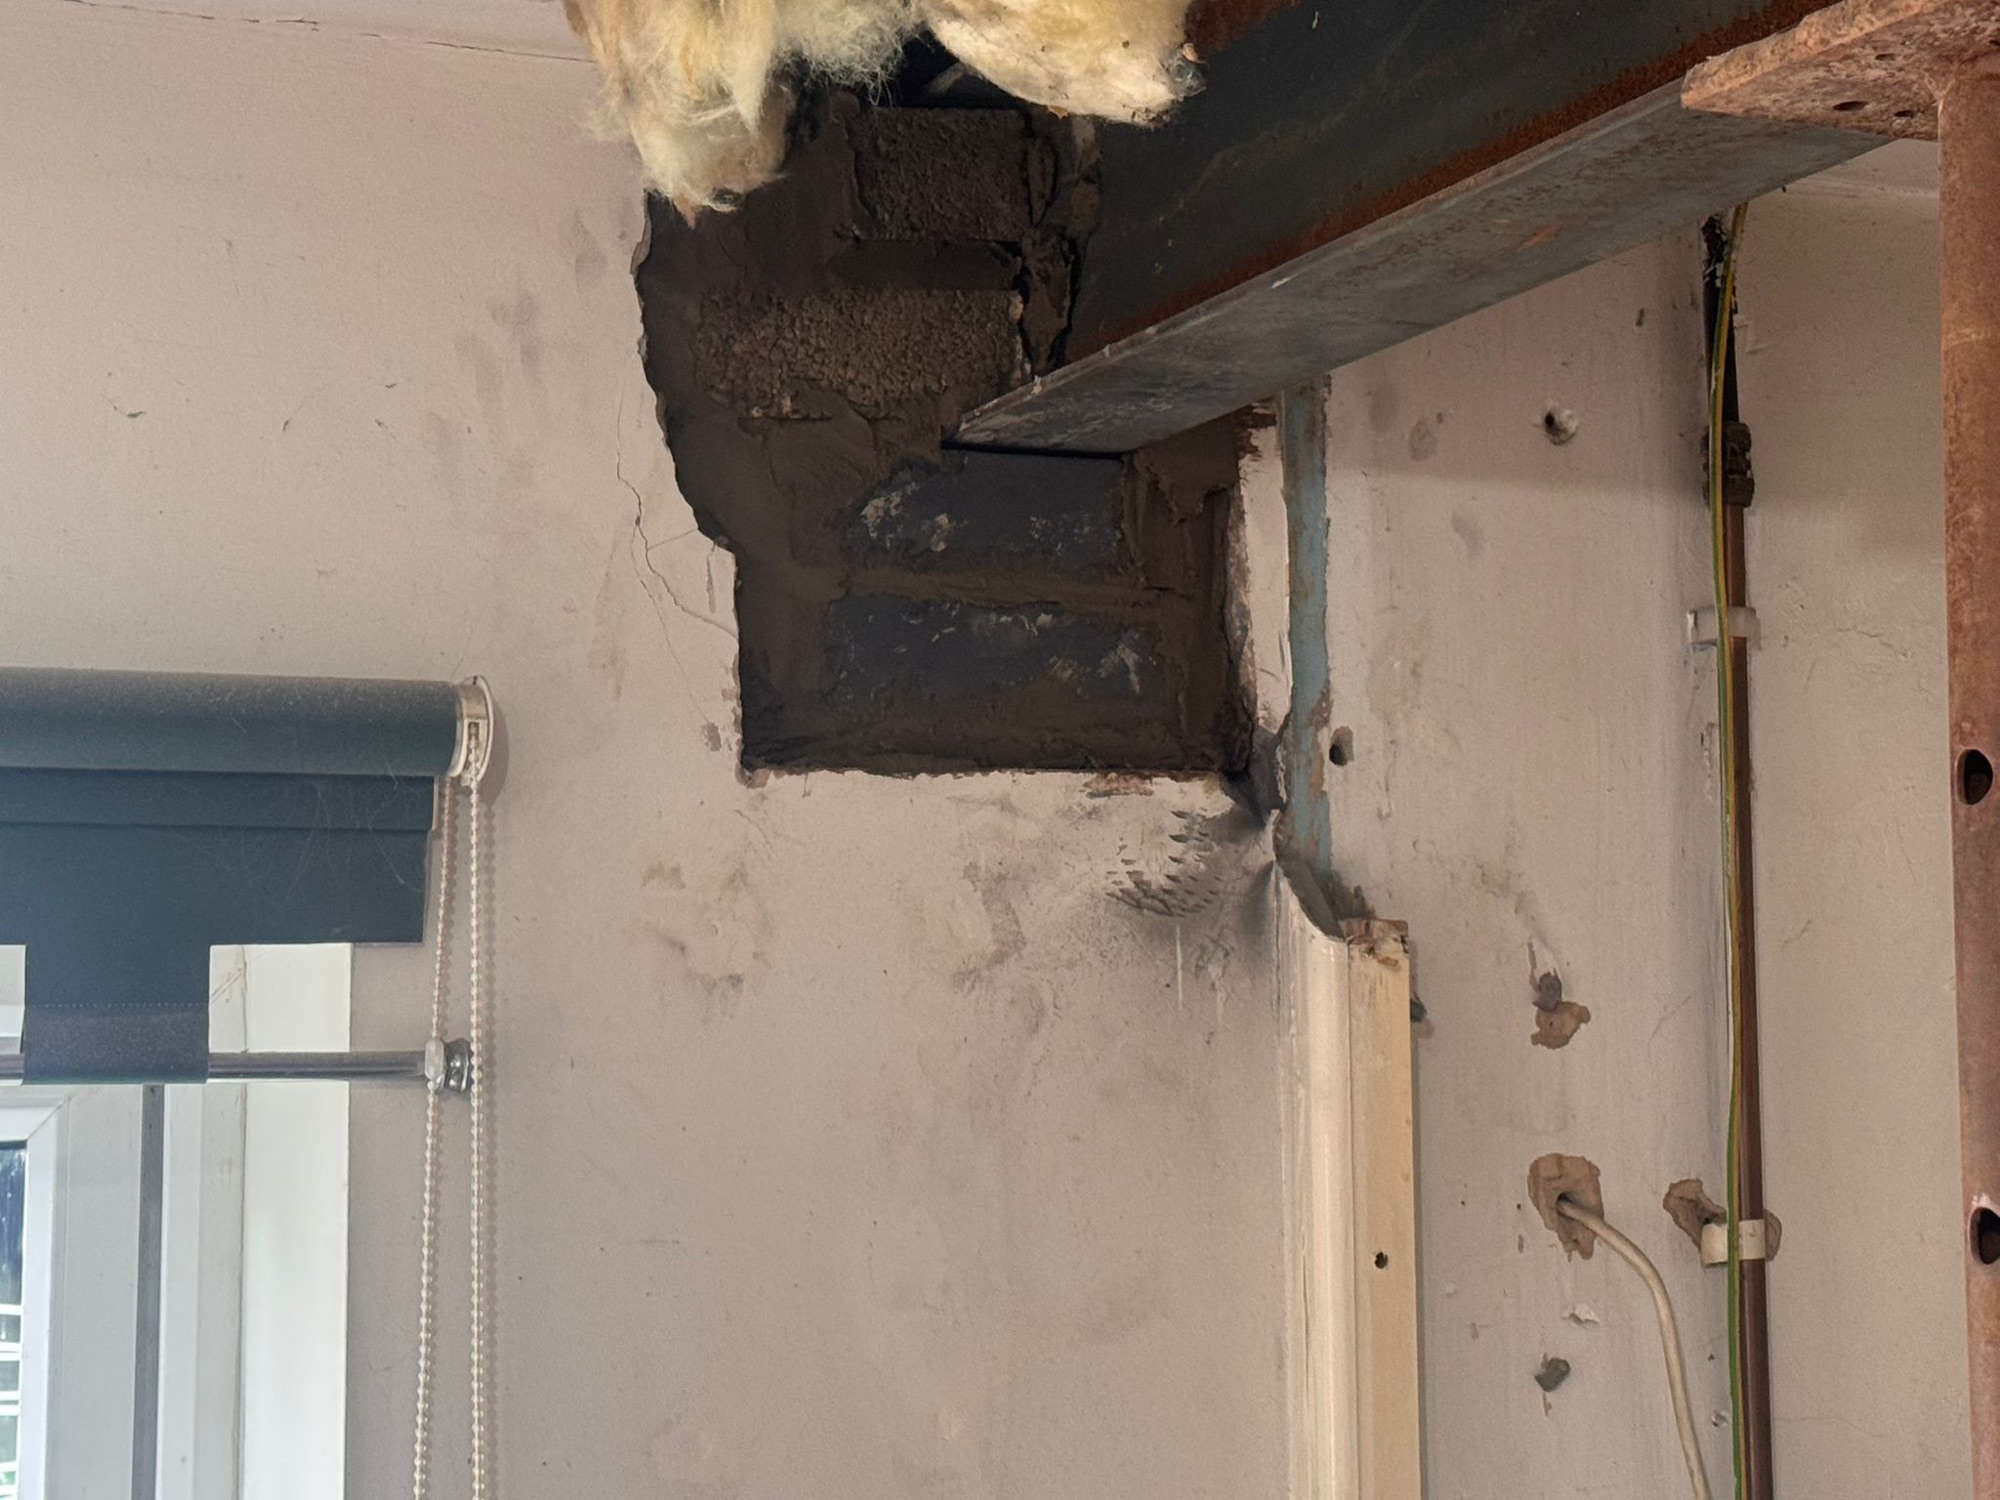
We recently worked on a bungalow where the client wanted to open up their kitchen space. This project had an extra layer of complexity: the property had been extended in the past, and the roof purlins were sitting directly on the internal walls that needed to be removed.

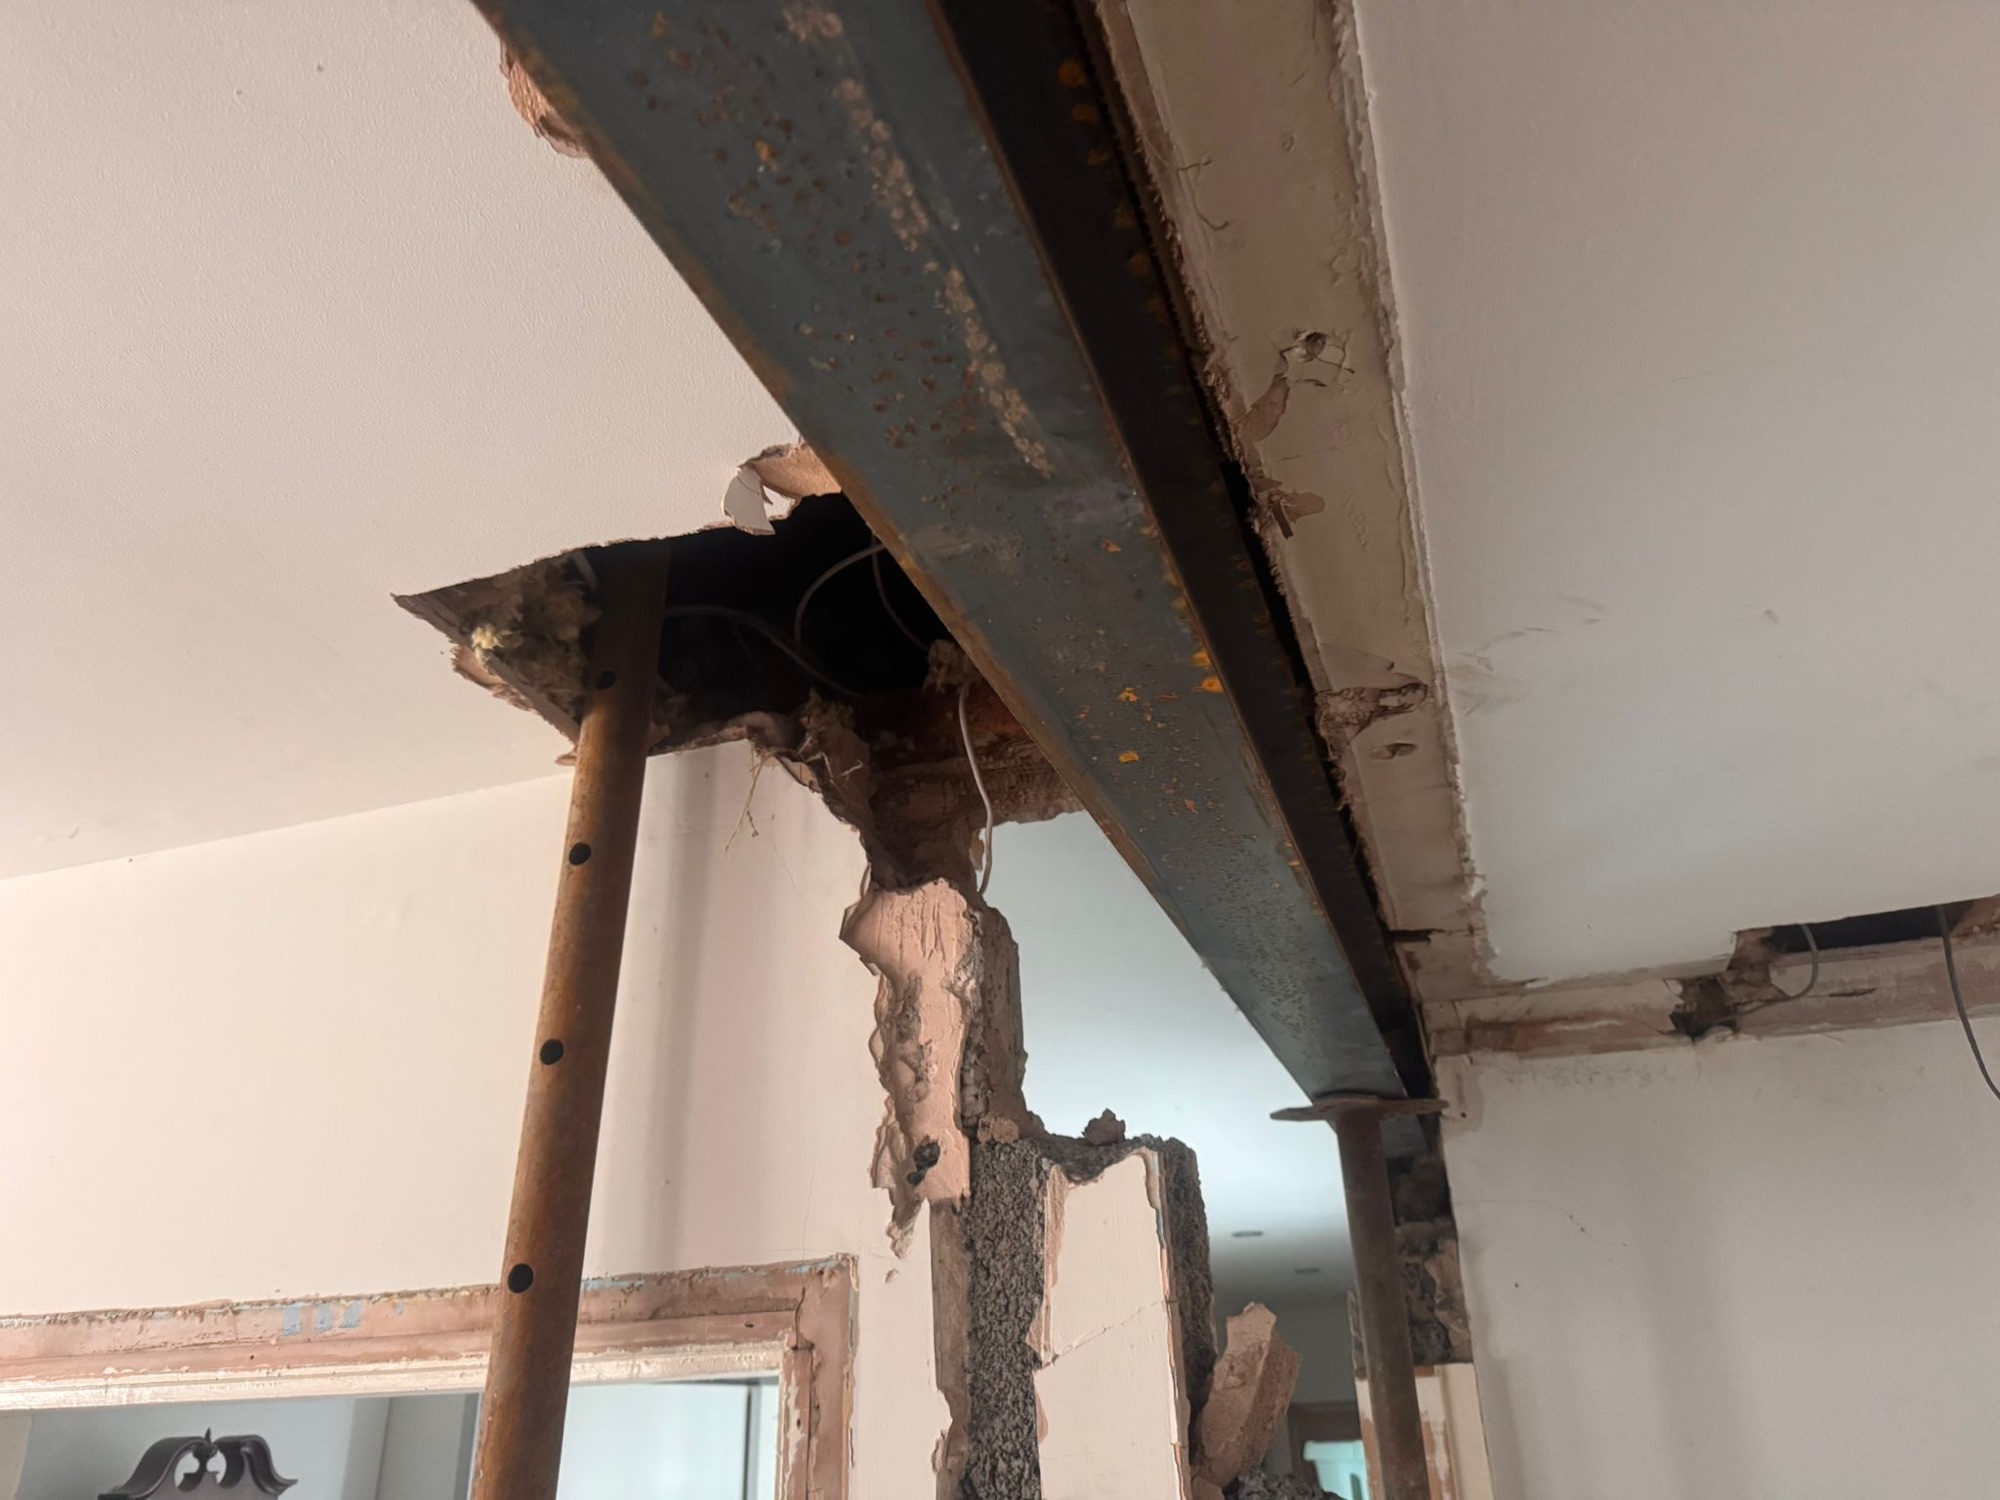
We never cut corners on safety. We started by engaging an Archetectural technician to provide cost-effective drawings, and we had a structural engineer specify two steel RSJ beams to take the load safely. 

The installation required a precise, multi-step approach:

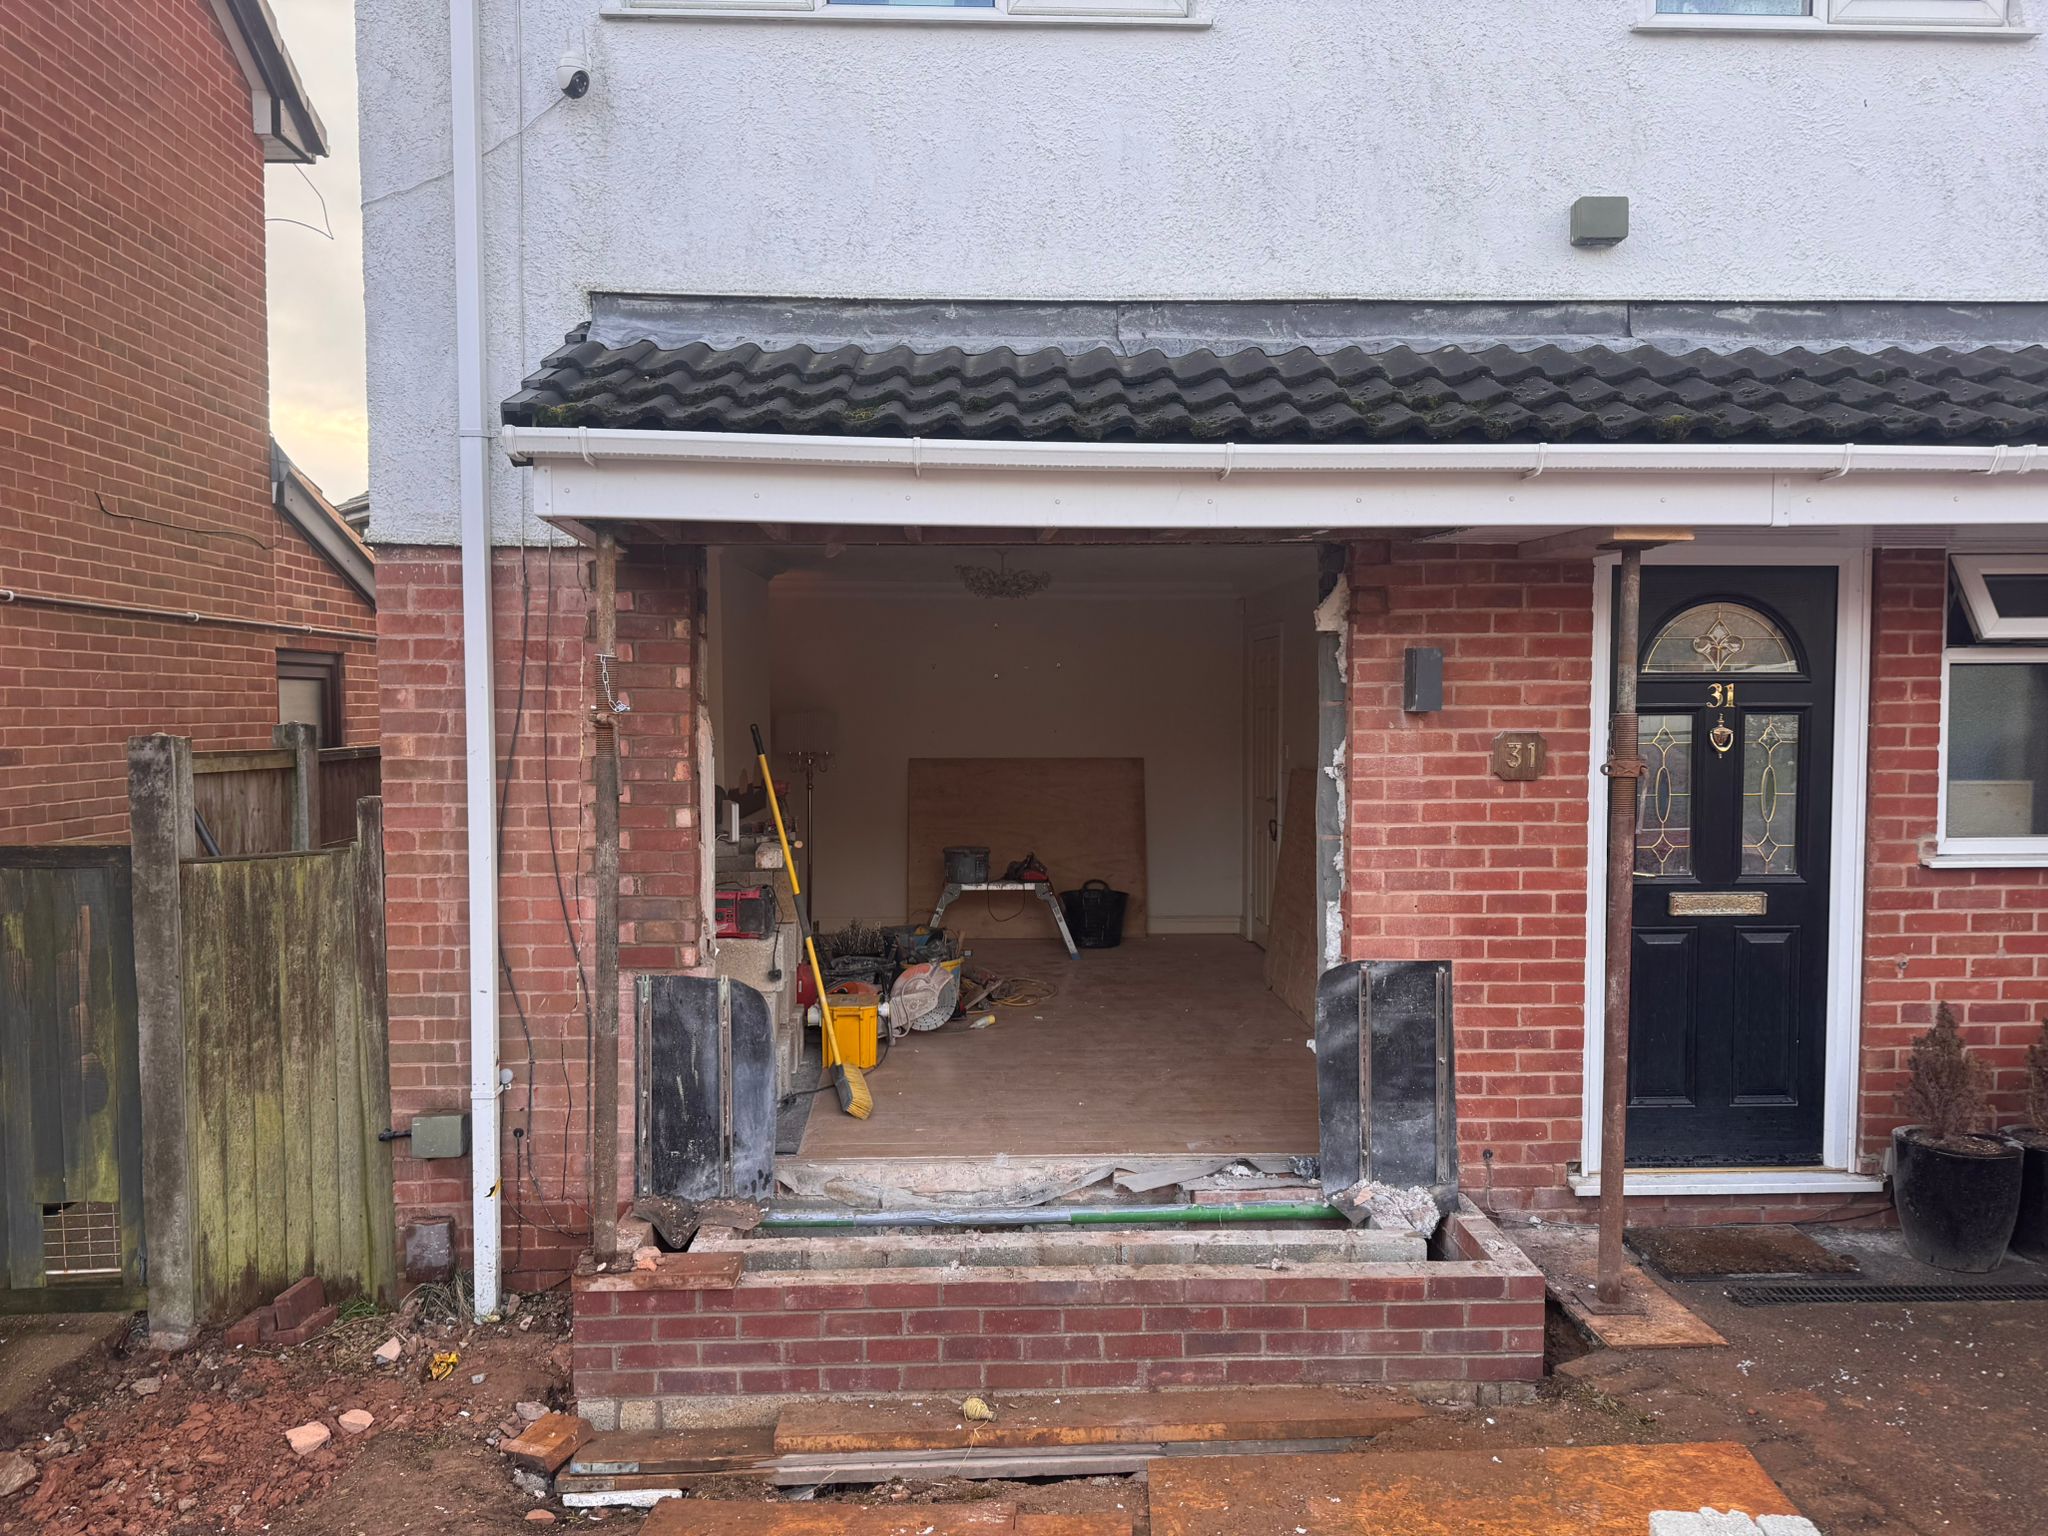
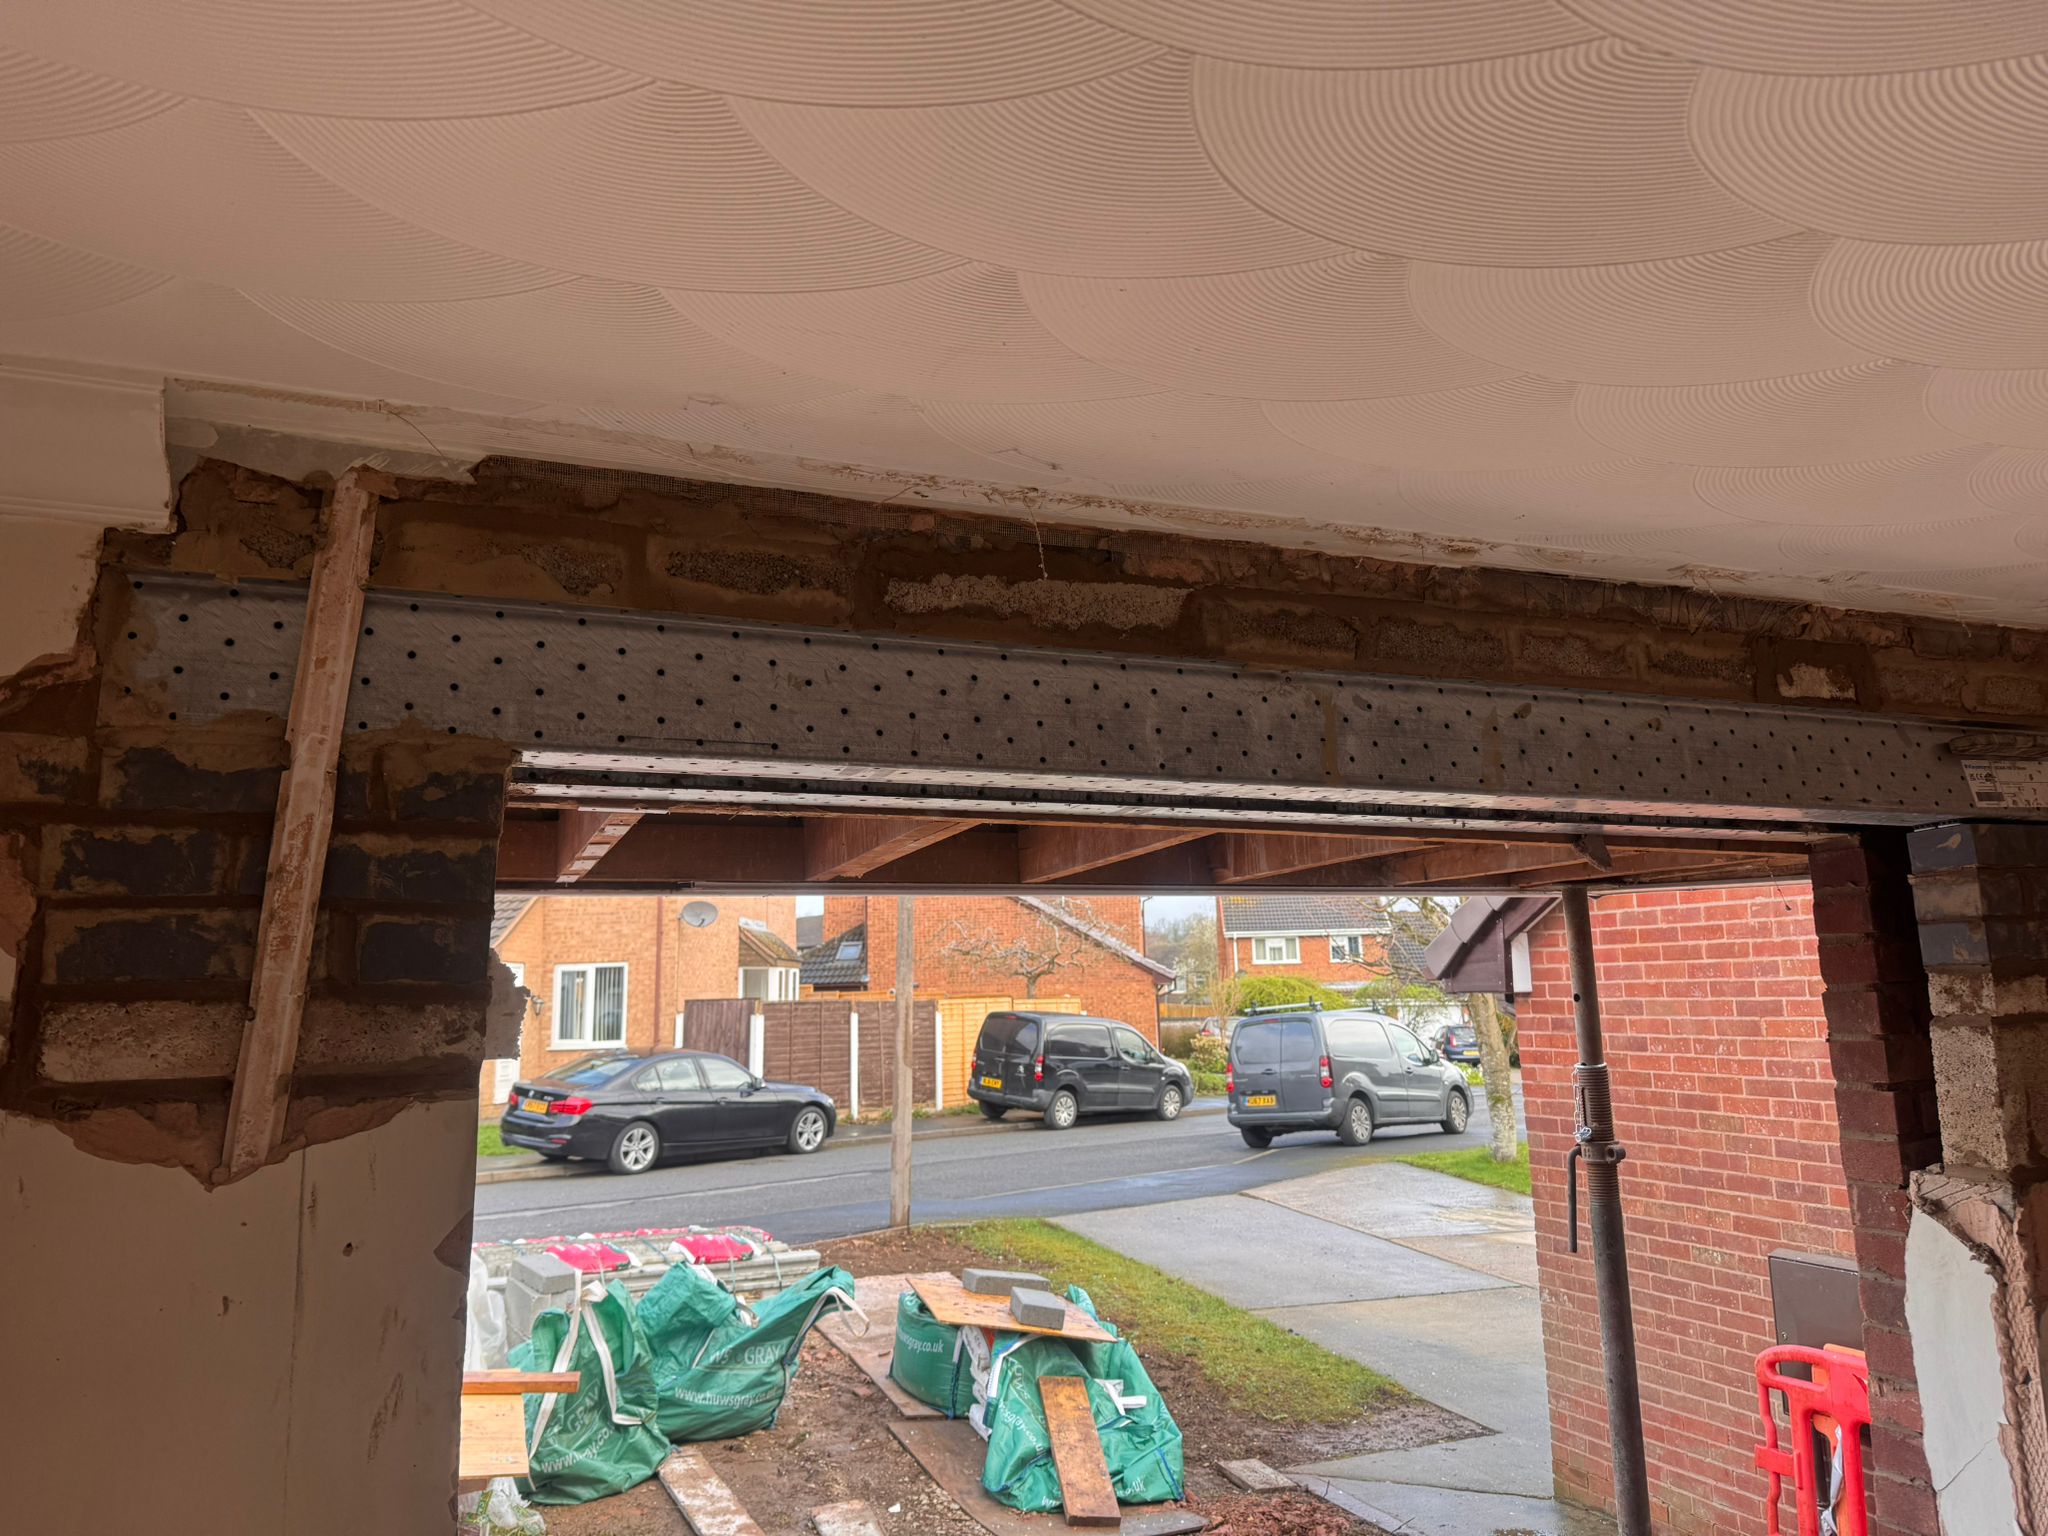
  1. Preparation: Once the steel beams arrived, we propped up the roof using Acro props in multiple locations to ensure stability.
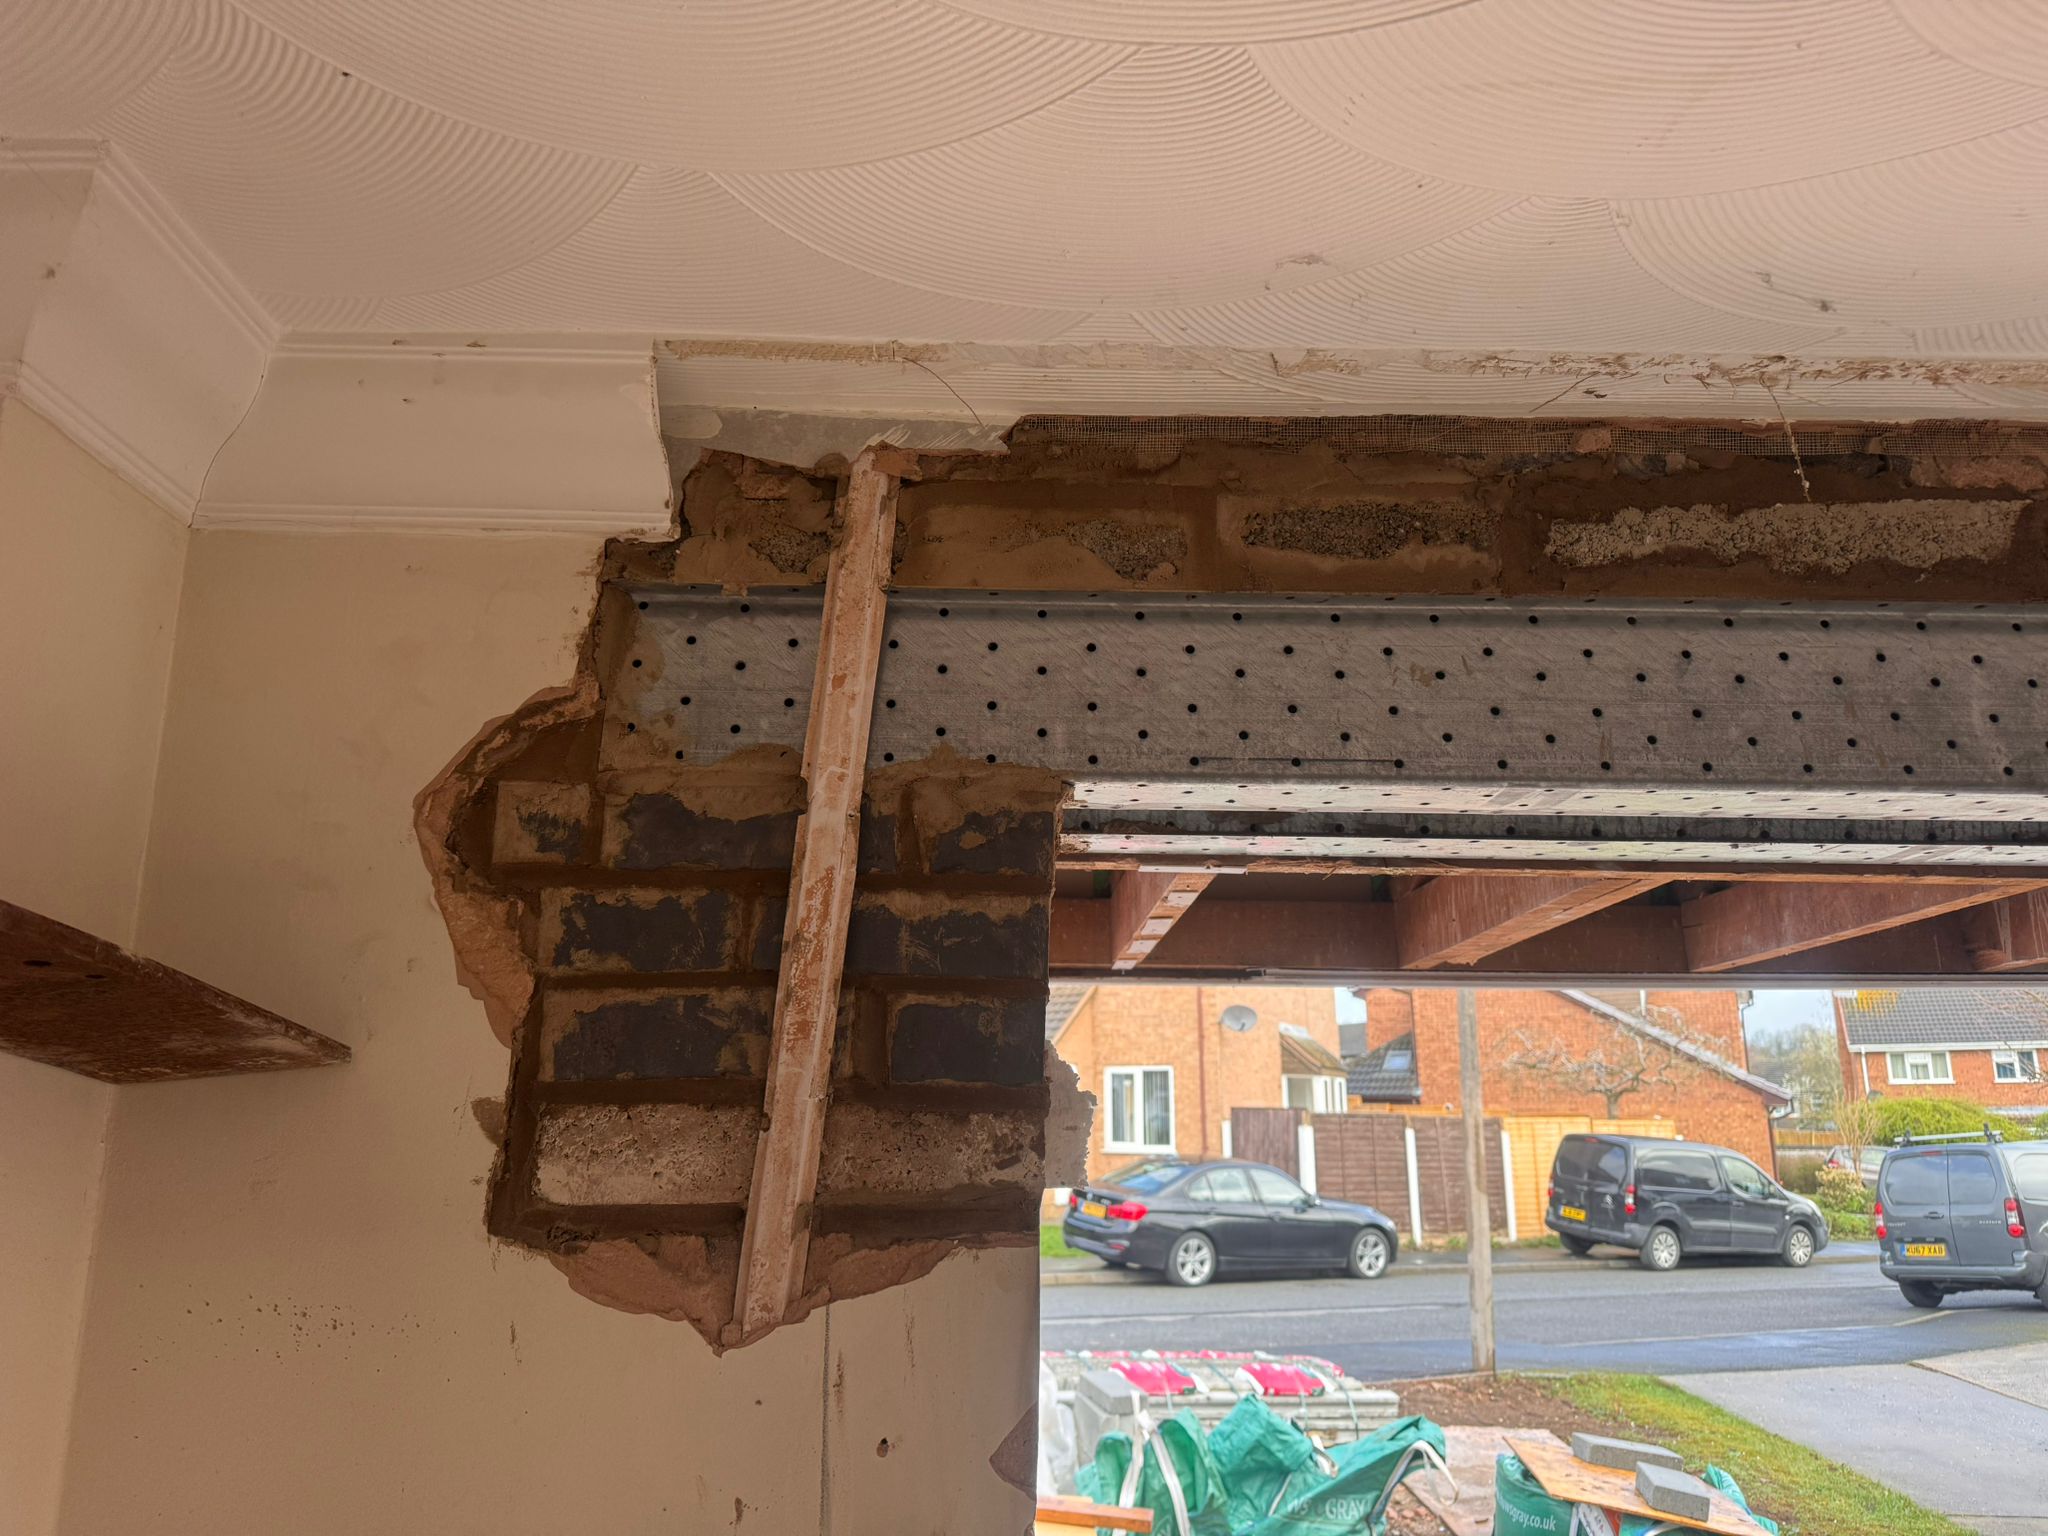
  2. Structural Installation: We removed the top section of brickwork and installed the two lintels (3.6m and 3.8m respectively) onto new pad stones, which spread the load evenly.
  3. Removal: Only once the structure was fully supported by the new steelwork did we remove the old block walls and clear the waste.

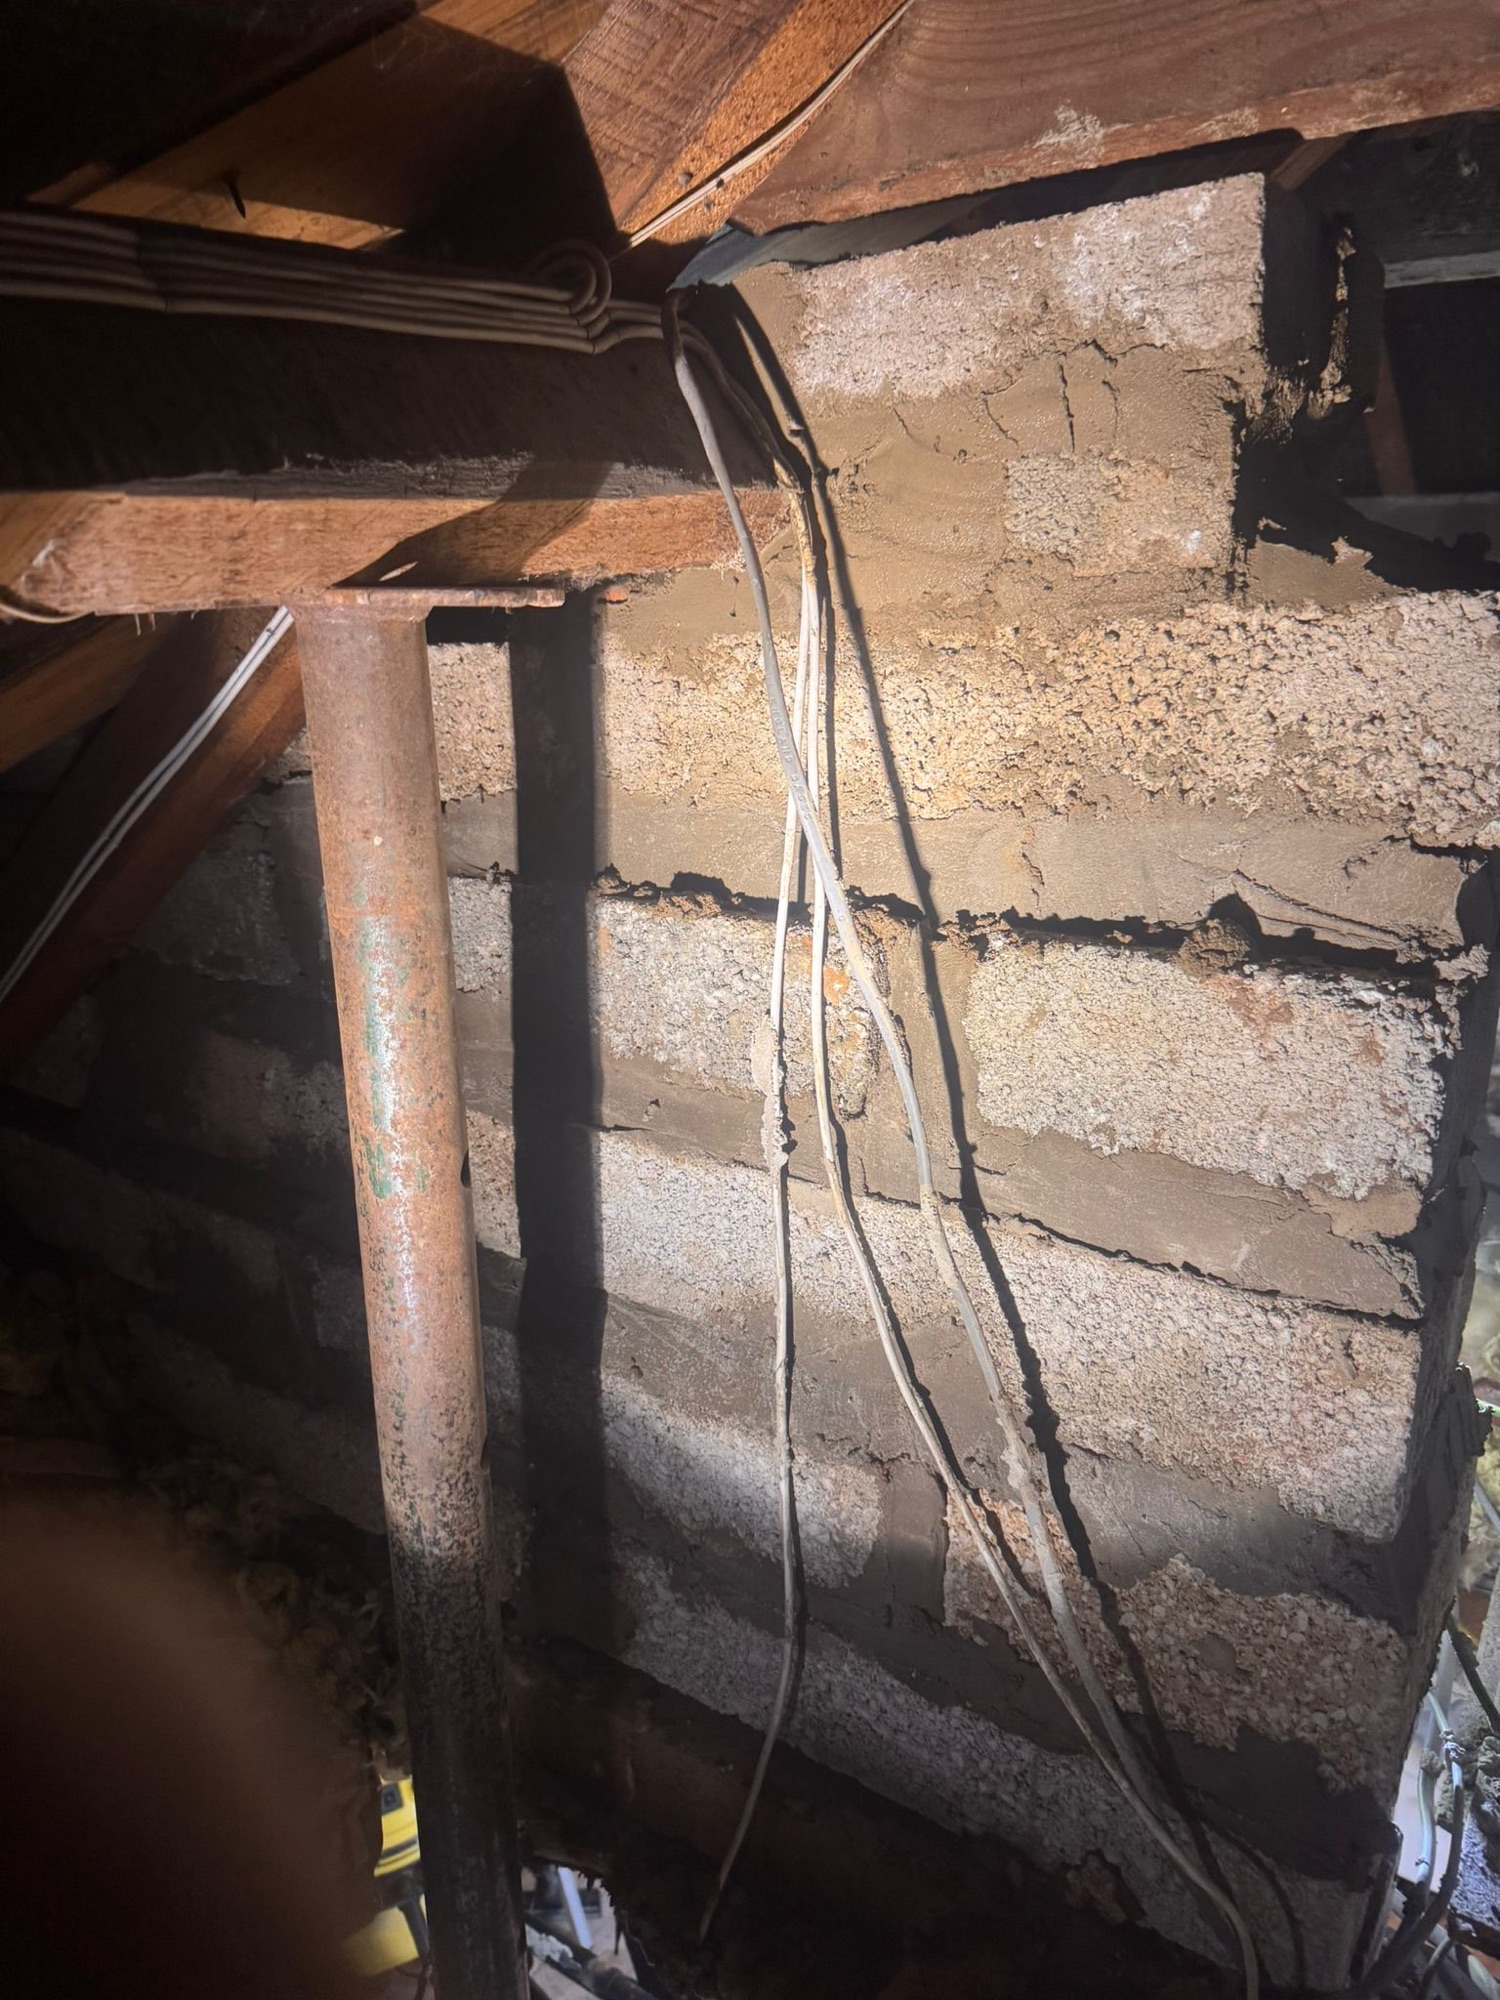
A Note on Quality: During the removal process, we discovered that the blocks supporting the existing roof purlins were already crumbling. It was a good thing we undertook this project when we did; had those supports failed, the structural consequences would have been severe. 

We always break down the costs of our jobs. This gives our clients the option to handle specific finishing tasks themselves—like “making good” the plaster and joinery—to save on their overall budget.

Estimated Costs for this Project:

  • Steel Beams: £500
  • Architectural Plans: £400
  • Structural Engineer Design: £250
  • Labour (Removal & Installation): £2,500 (approx. 4 days work requiring specialist tools/equipment)
  • Waste Disposal: £325
  • Basic Materials: £200 (Pad stones, cement, sand, bricks/blocks)

Optional:

  • “Making Good”: We didn’t perform this for this specific client, but we advise allowing £1,000 for plastering and finishing.

Other Considerations:

Always remember to check for hidden utilities. If radiators or electrical sockets are in the way, you may need specialist trades. In this case, we were able to isolate the electrical socket into the ceiling space ourselves using compliant fittings, which we did at no extra charge to the client.


Need Help with Your Structural Alterations?

Whether you’re looking to create an open-plan living space or need to remove a load-bearing wall, we are here to ensure it’s done safely and professionally.

Call us today on 07737 088243 or email quote@swallowhillhomes.com for a prompt consultation.

Categories
Brickwork Build costs Renovation

Brickwork remediation in East Leake, Leicestershire

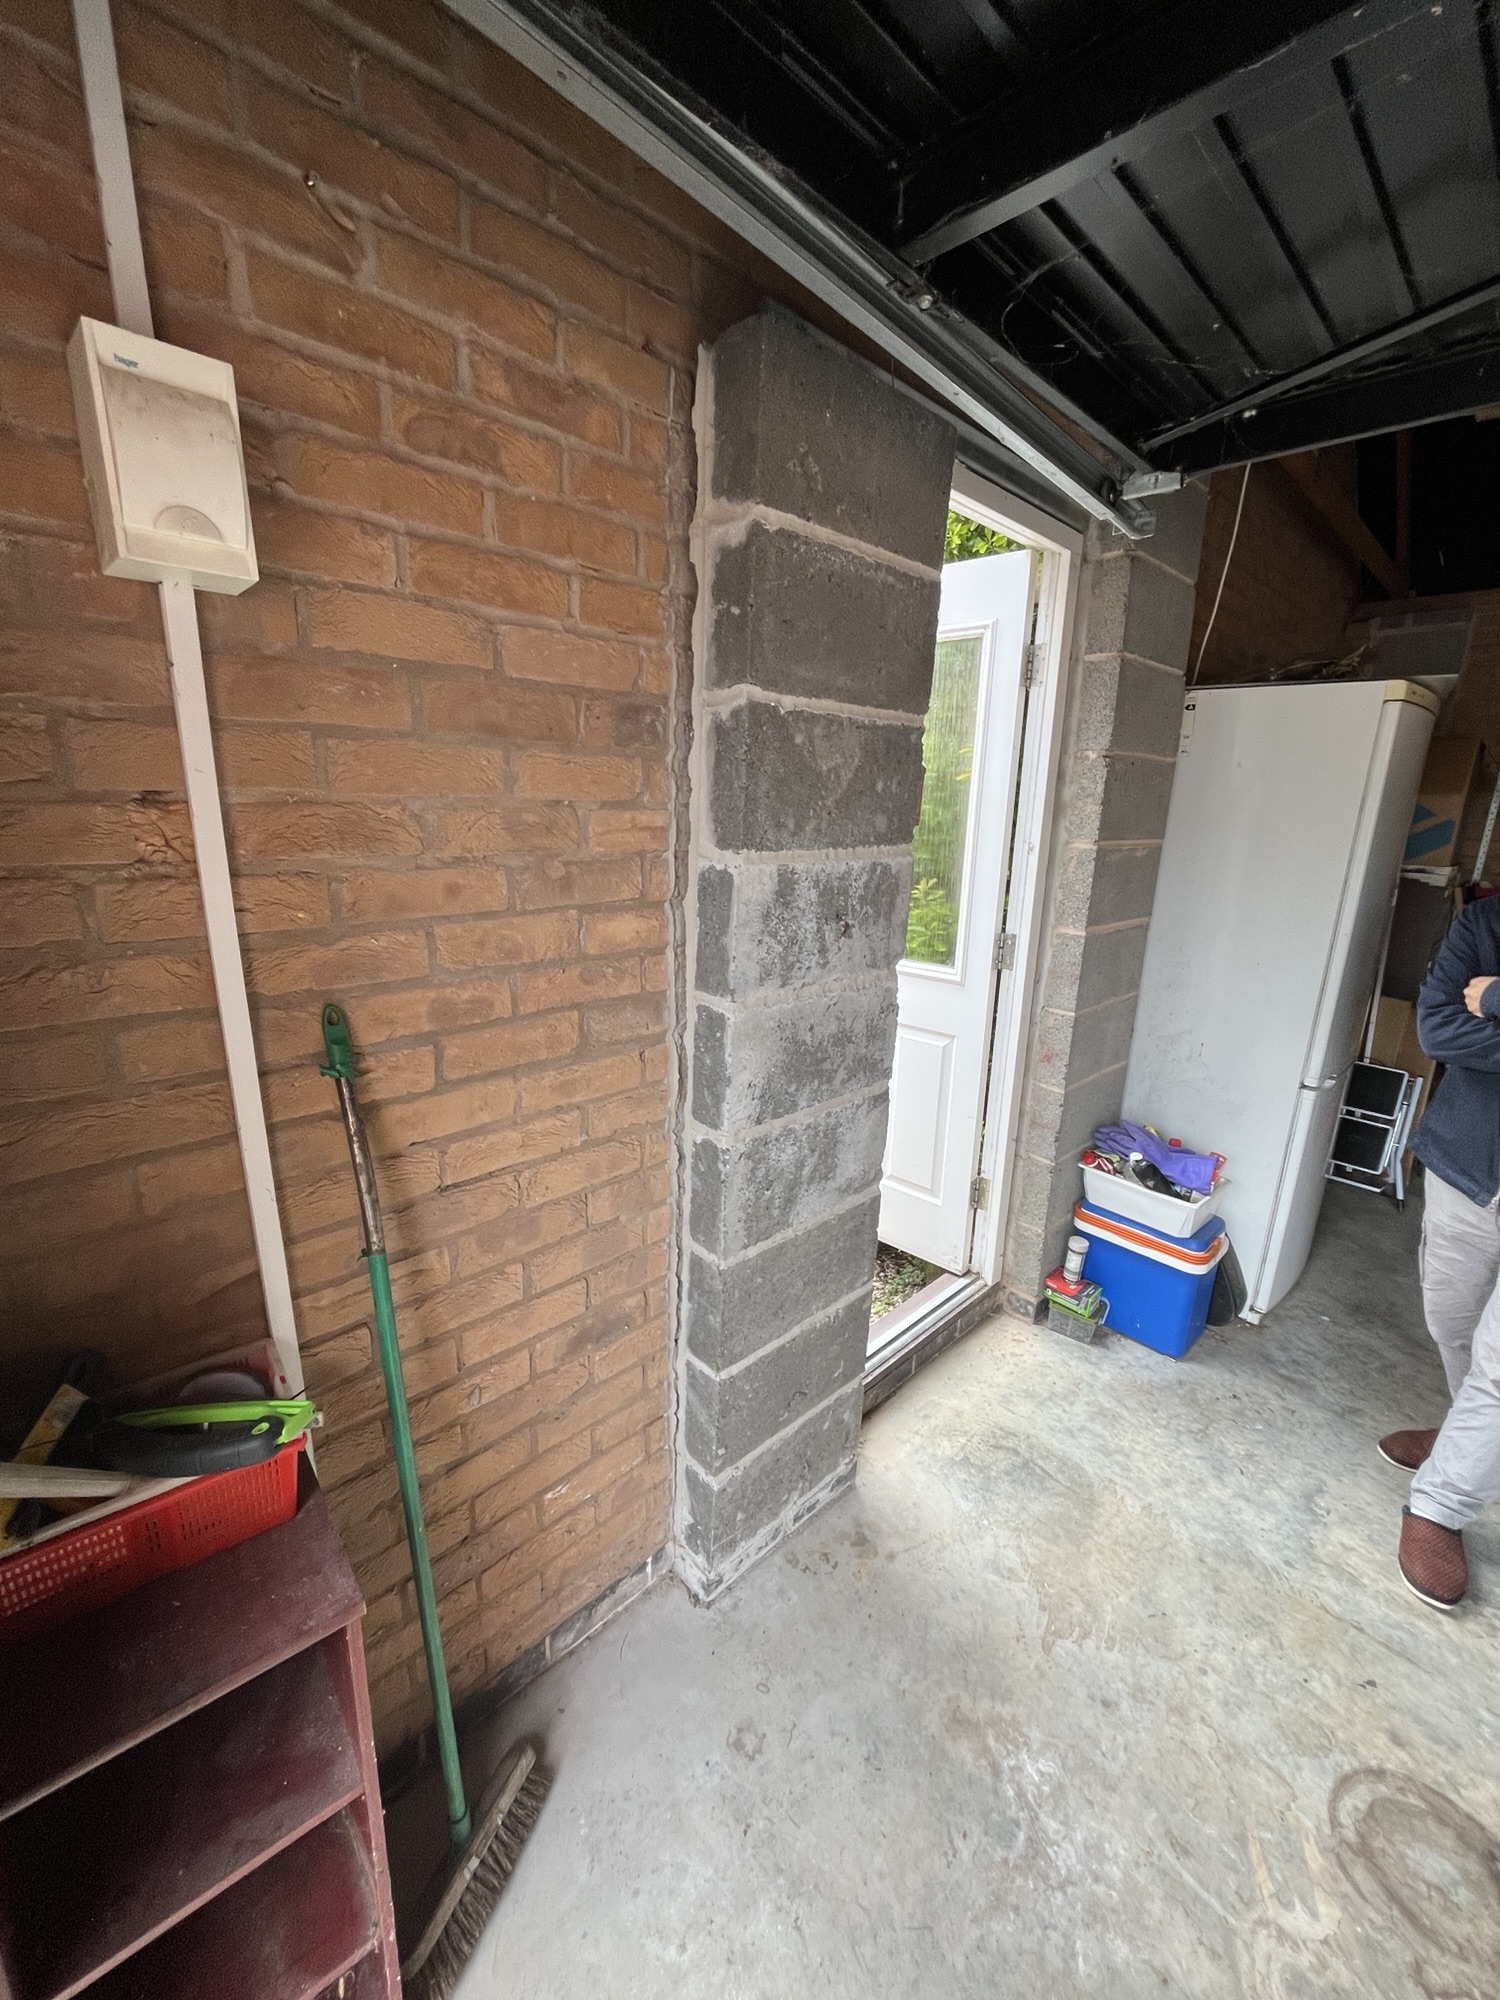
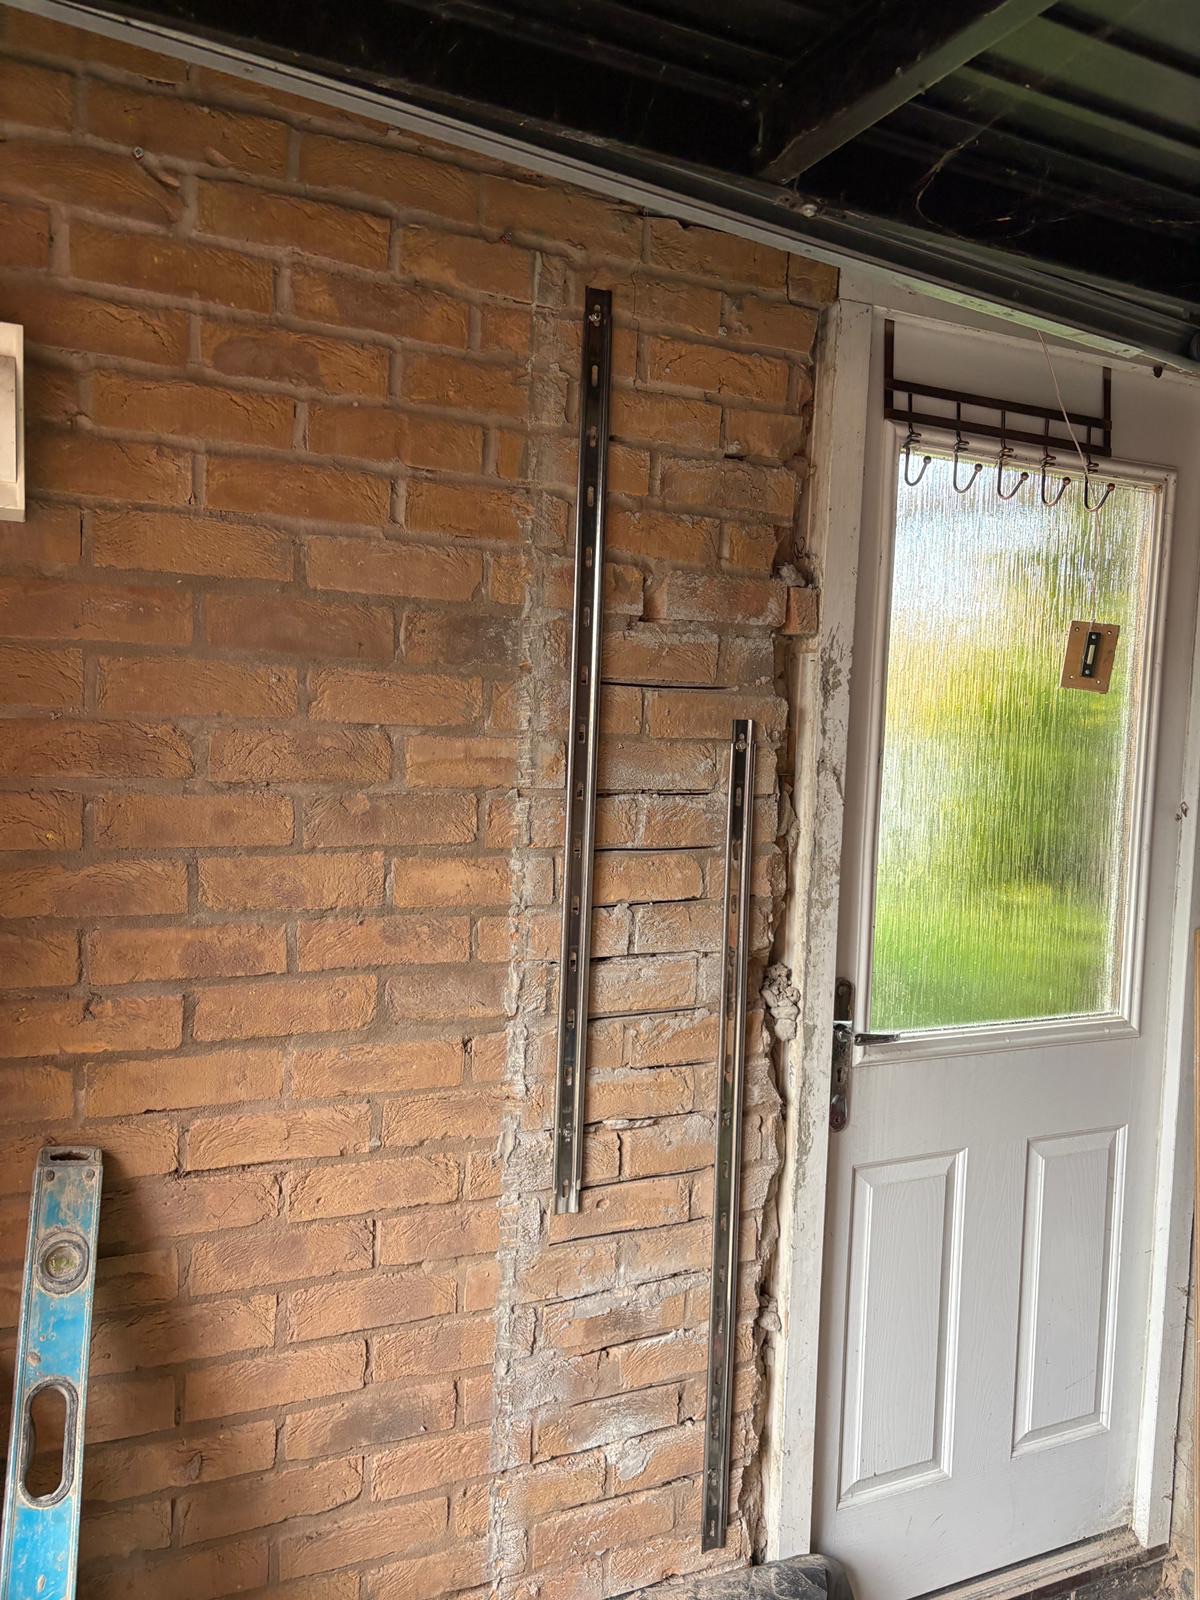
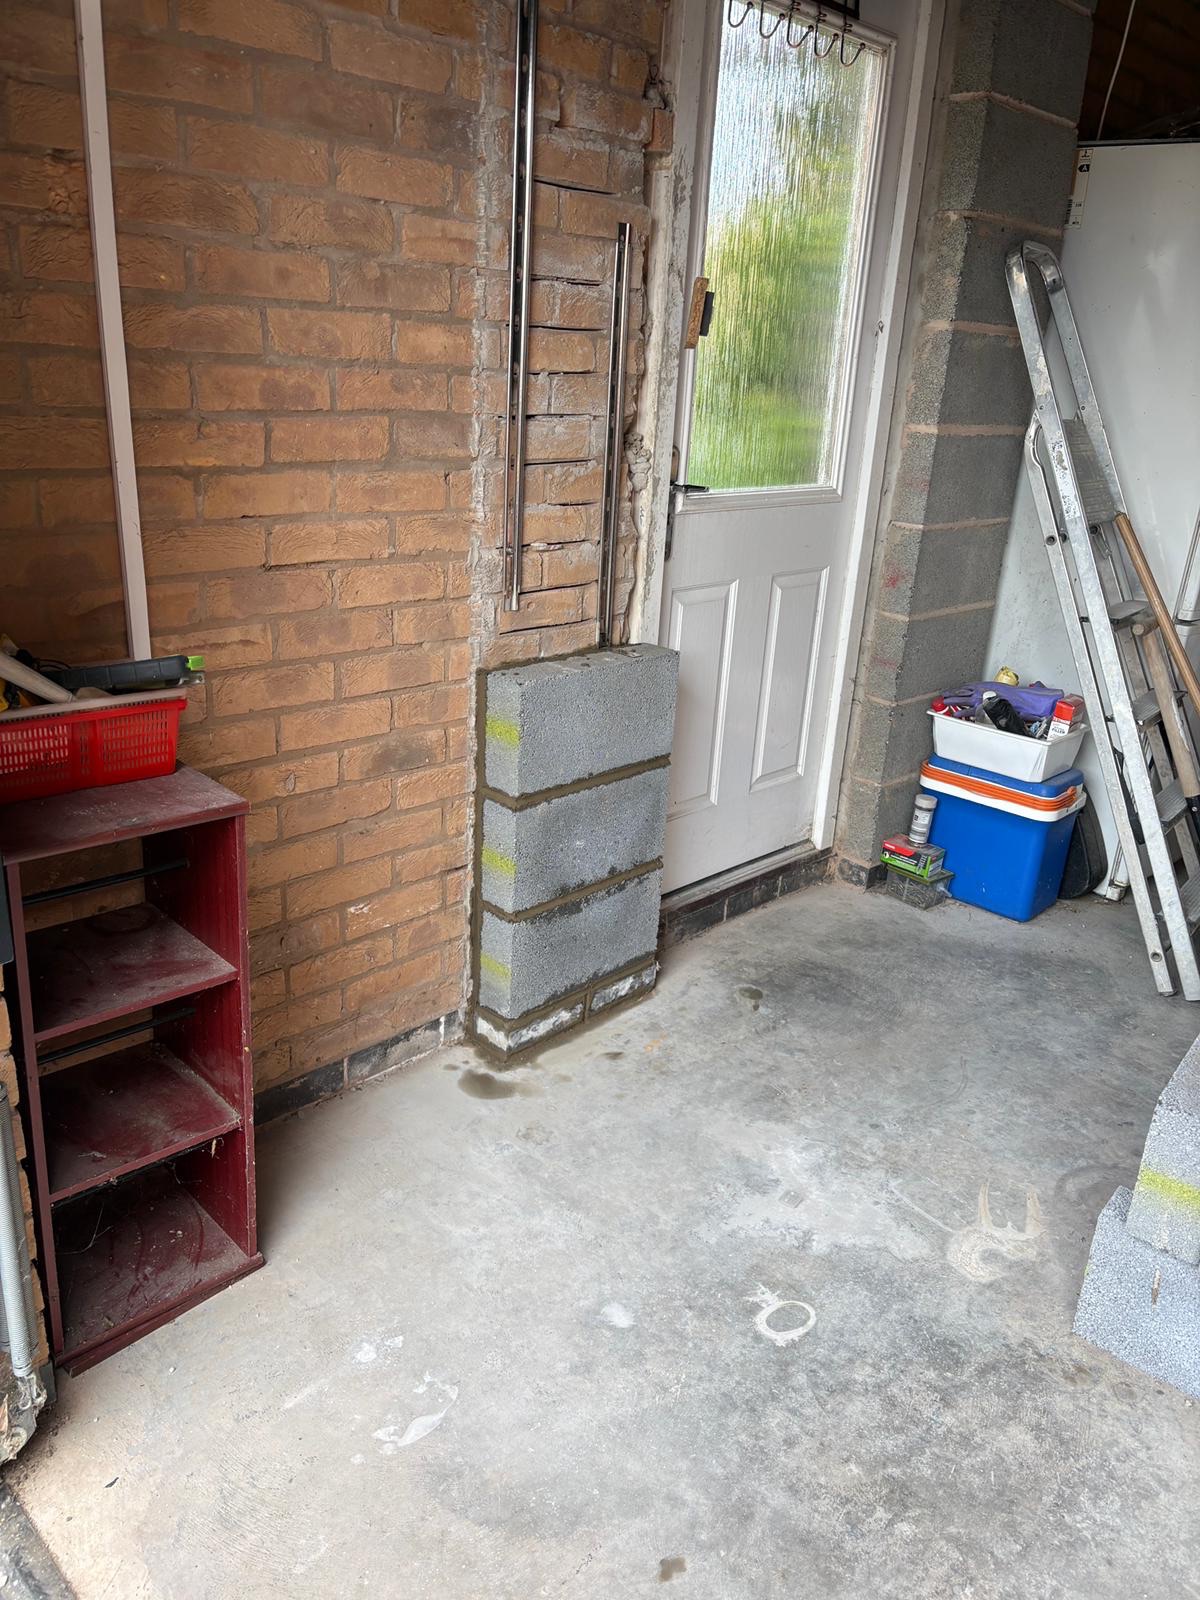
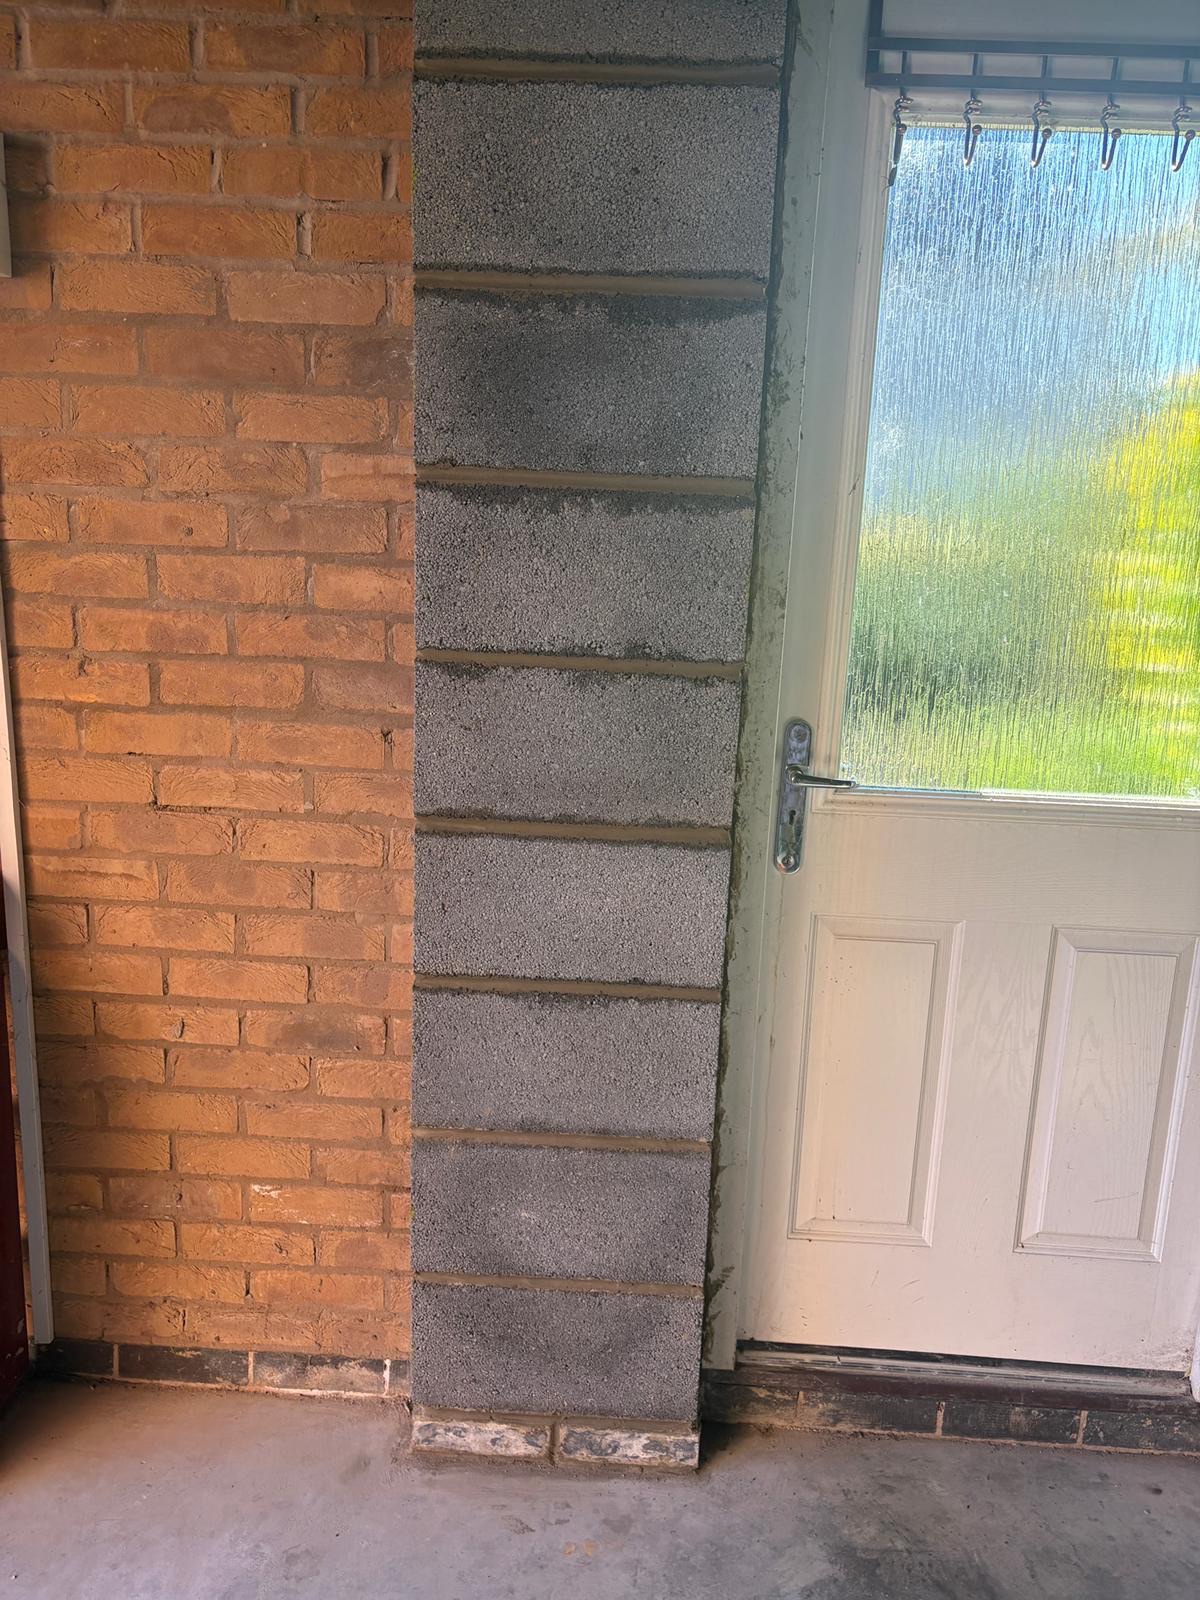
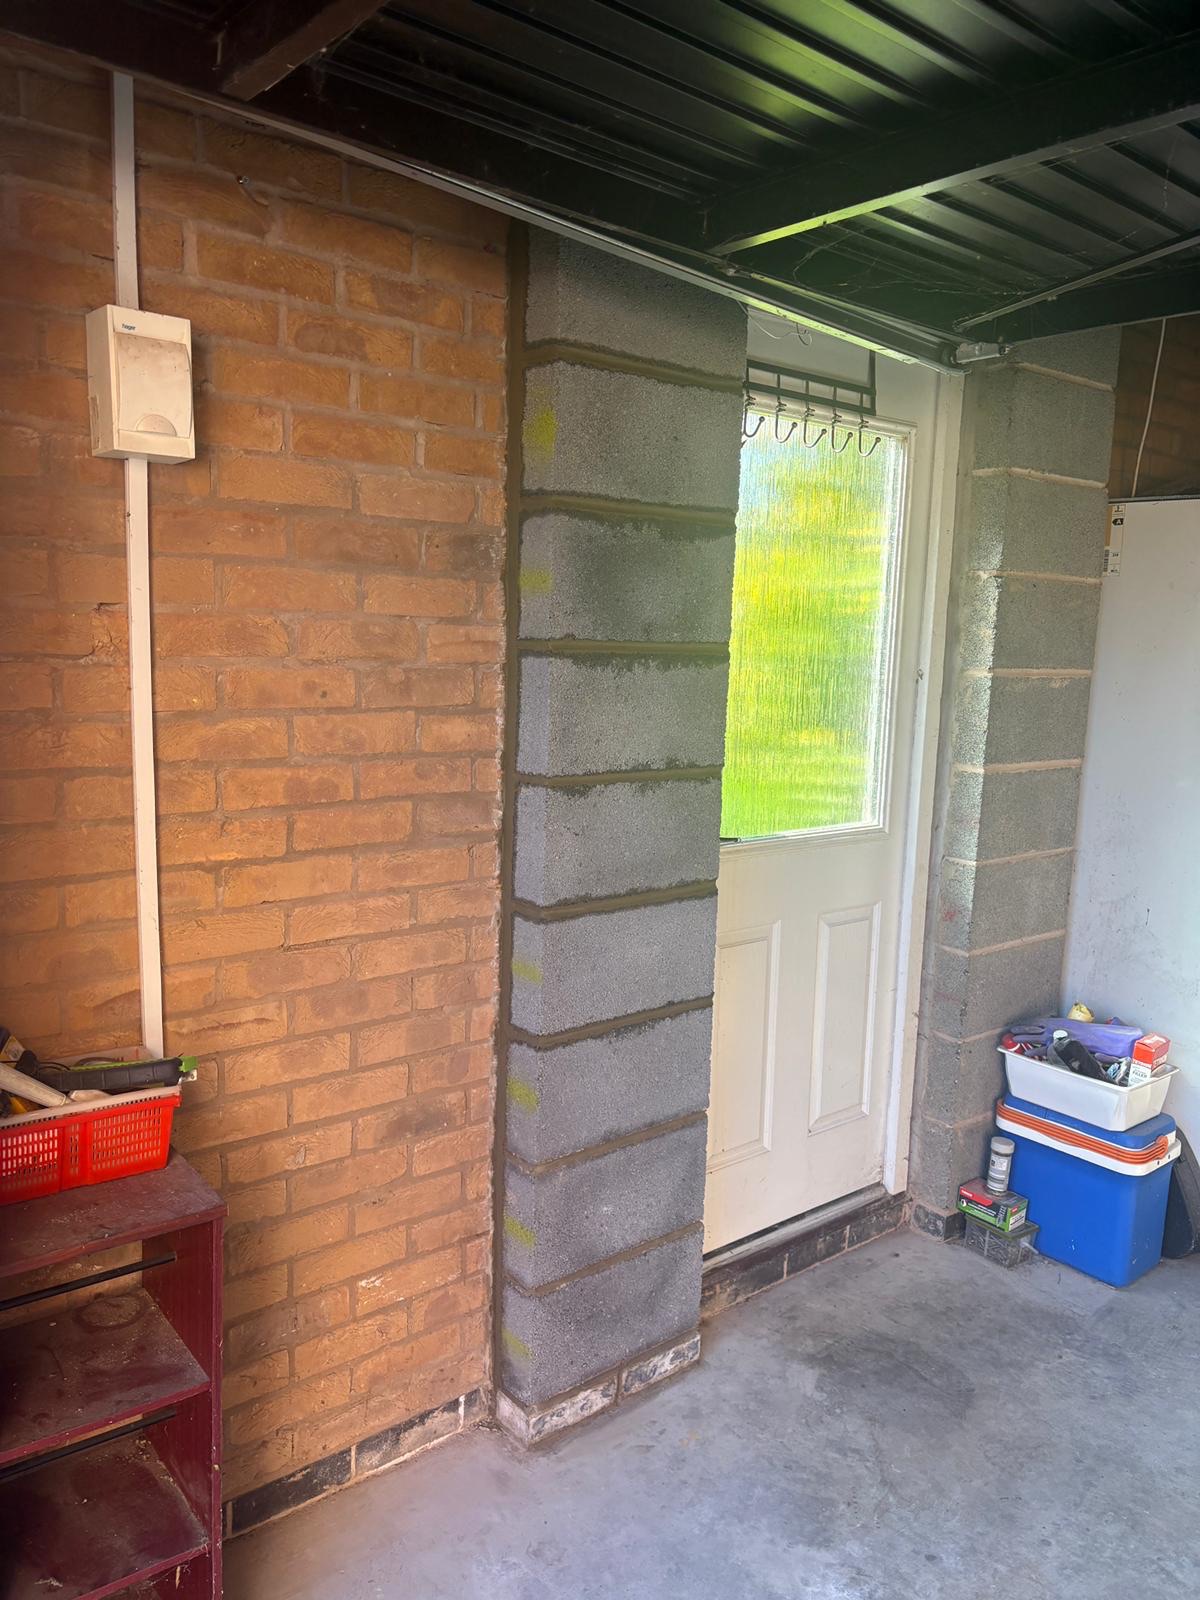
A leaning pillar in a garage might seem like a minor annoyance, but for one of our recent clients, it was a major concern. With their property currently on the market, any sign of structural instability can cause potential buyers to hesitate. They needed a prompt, reliable fix to ensure the garage was safe and the property remained attractive to buyers.

img_6628
previous arrow
next arrow

Structural Integrity: How We Fixed a Leaning Garage Pillar Promptly: A Two-Visit Approach

When we assessed the pillar, it was clear that a quick, one-day fix wouldn’t meet our quality standards.

In masonry, if you lay too many courses of brick in a single go, the weight of the upper bricks puts too much pressure on the fresh, wet mortar below. This causes the mortar to “slump” or squeeze out of the joints, which significantly weakens the structural integrity of the final build.

We used Starter bars (also known as dowel bars) because they ensure continuity of reinforcement between the existing wall and the newly laid blocks, safely transferring loads and preventing separation or structural weakness.

To ensure a permanent, high-quality result, we scheduled the job across two visits:

  1. Visit One: We reconstructed the lower 5 courses, allowing the base to set firmly and take the weight of the structure without compromising the mortar joints.
  2. Visit Two: We completed the remaining 5 courses, ensuring the pillar was perfectly plumb, stable, and ready to last for years to come.

This two-step process allows us to guarantee structural strength that a rush job simply cannot offer.

Costs

For this repair, the costs were broken down as follows:

  • Materials: £30
  • Labour: £50–£300 (This varies depending on the location and the specific time required for the repair).

Need Help with Your Brickwork? Whether it’s a structural concern or a cosmetic update, we are here to help you get the job done right.

If you have a project in mind, call us today on 07737 088243 or send your details to quote@swallowhillhomes.com for a prompt consultation.

Categories
Brickwork Renovation

The “Window Upgrade” Trap – lintel installation in Beeston

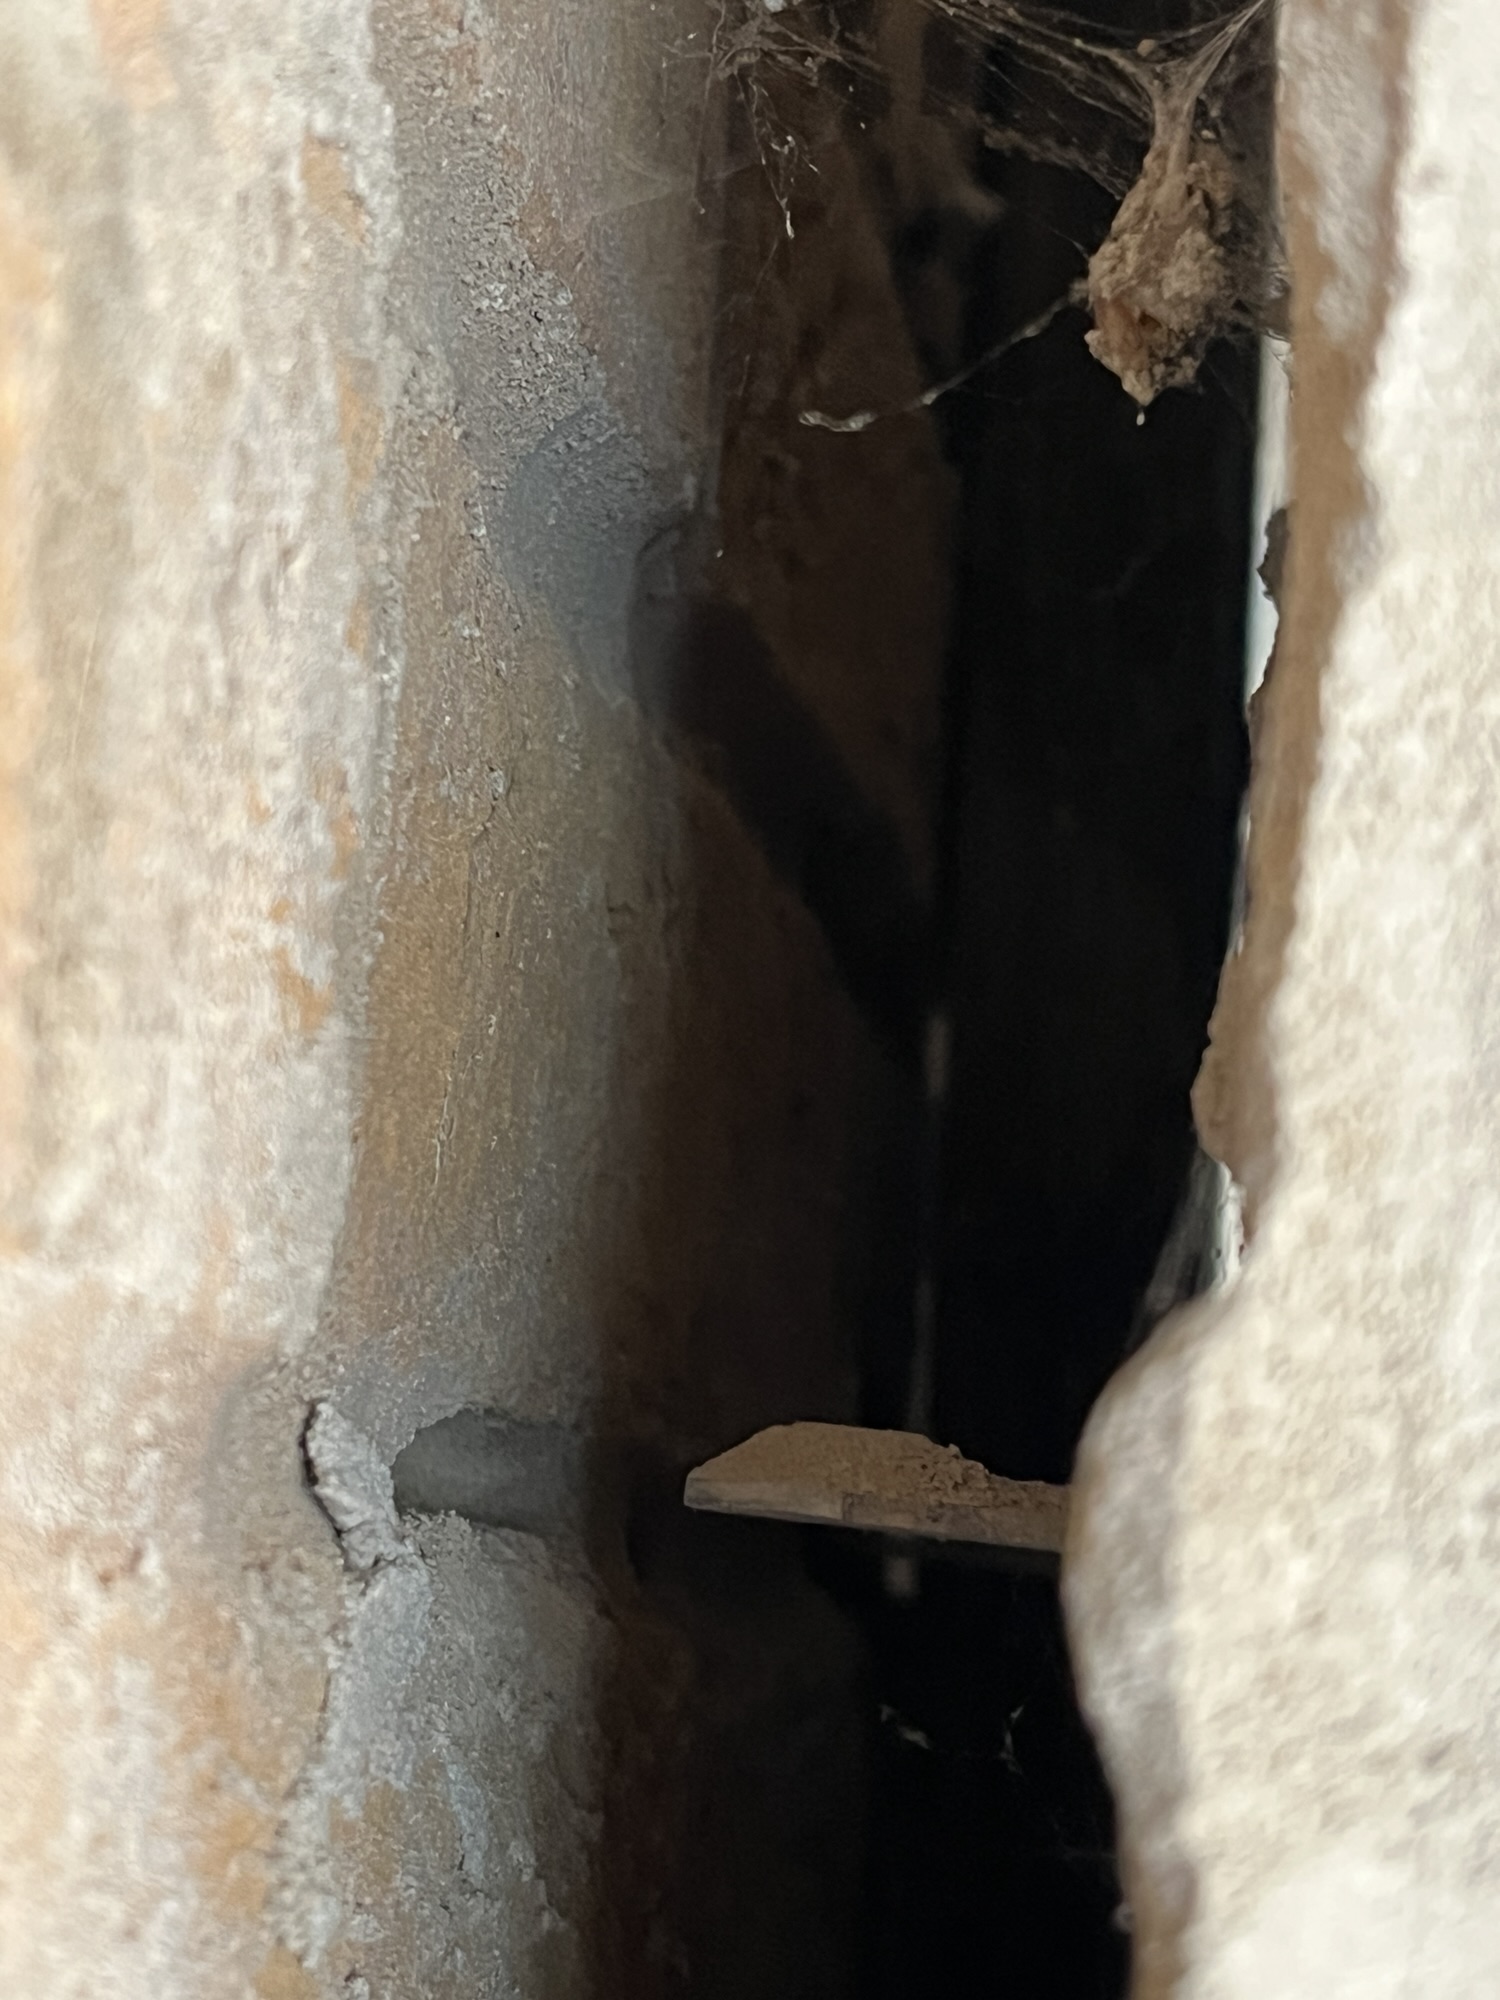
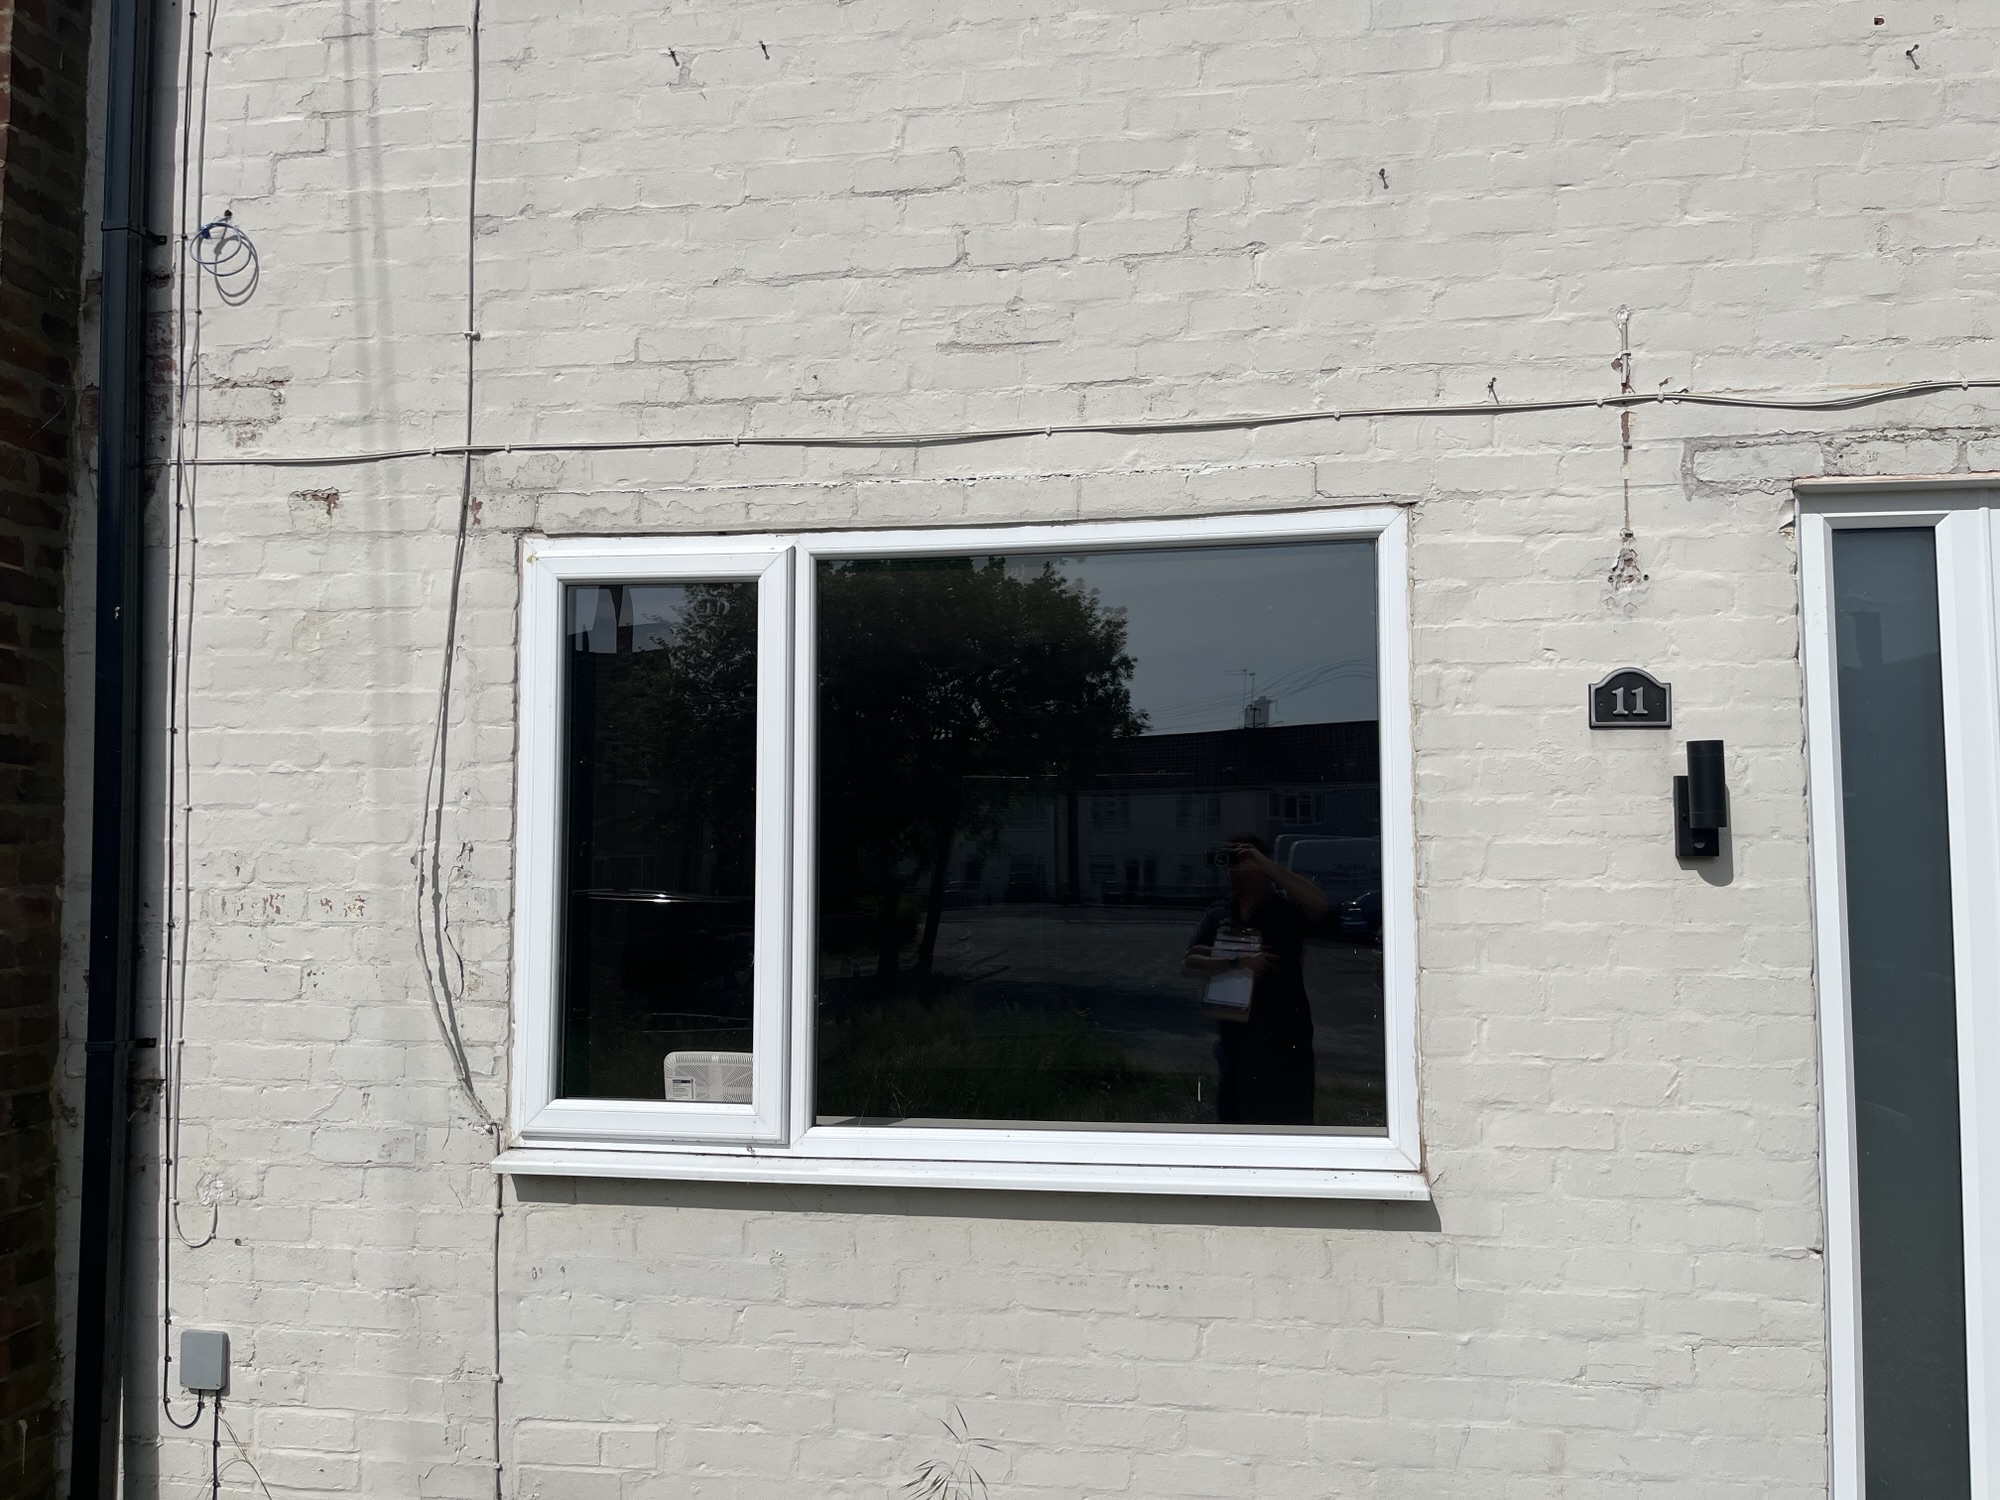
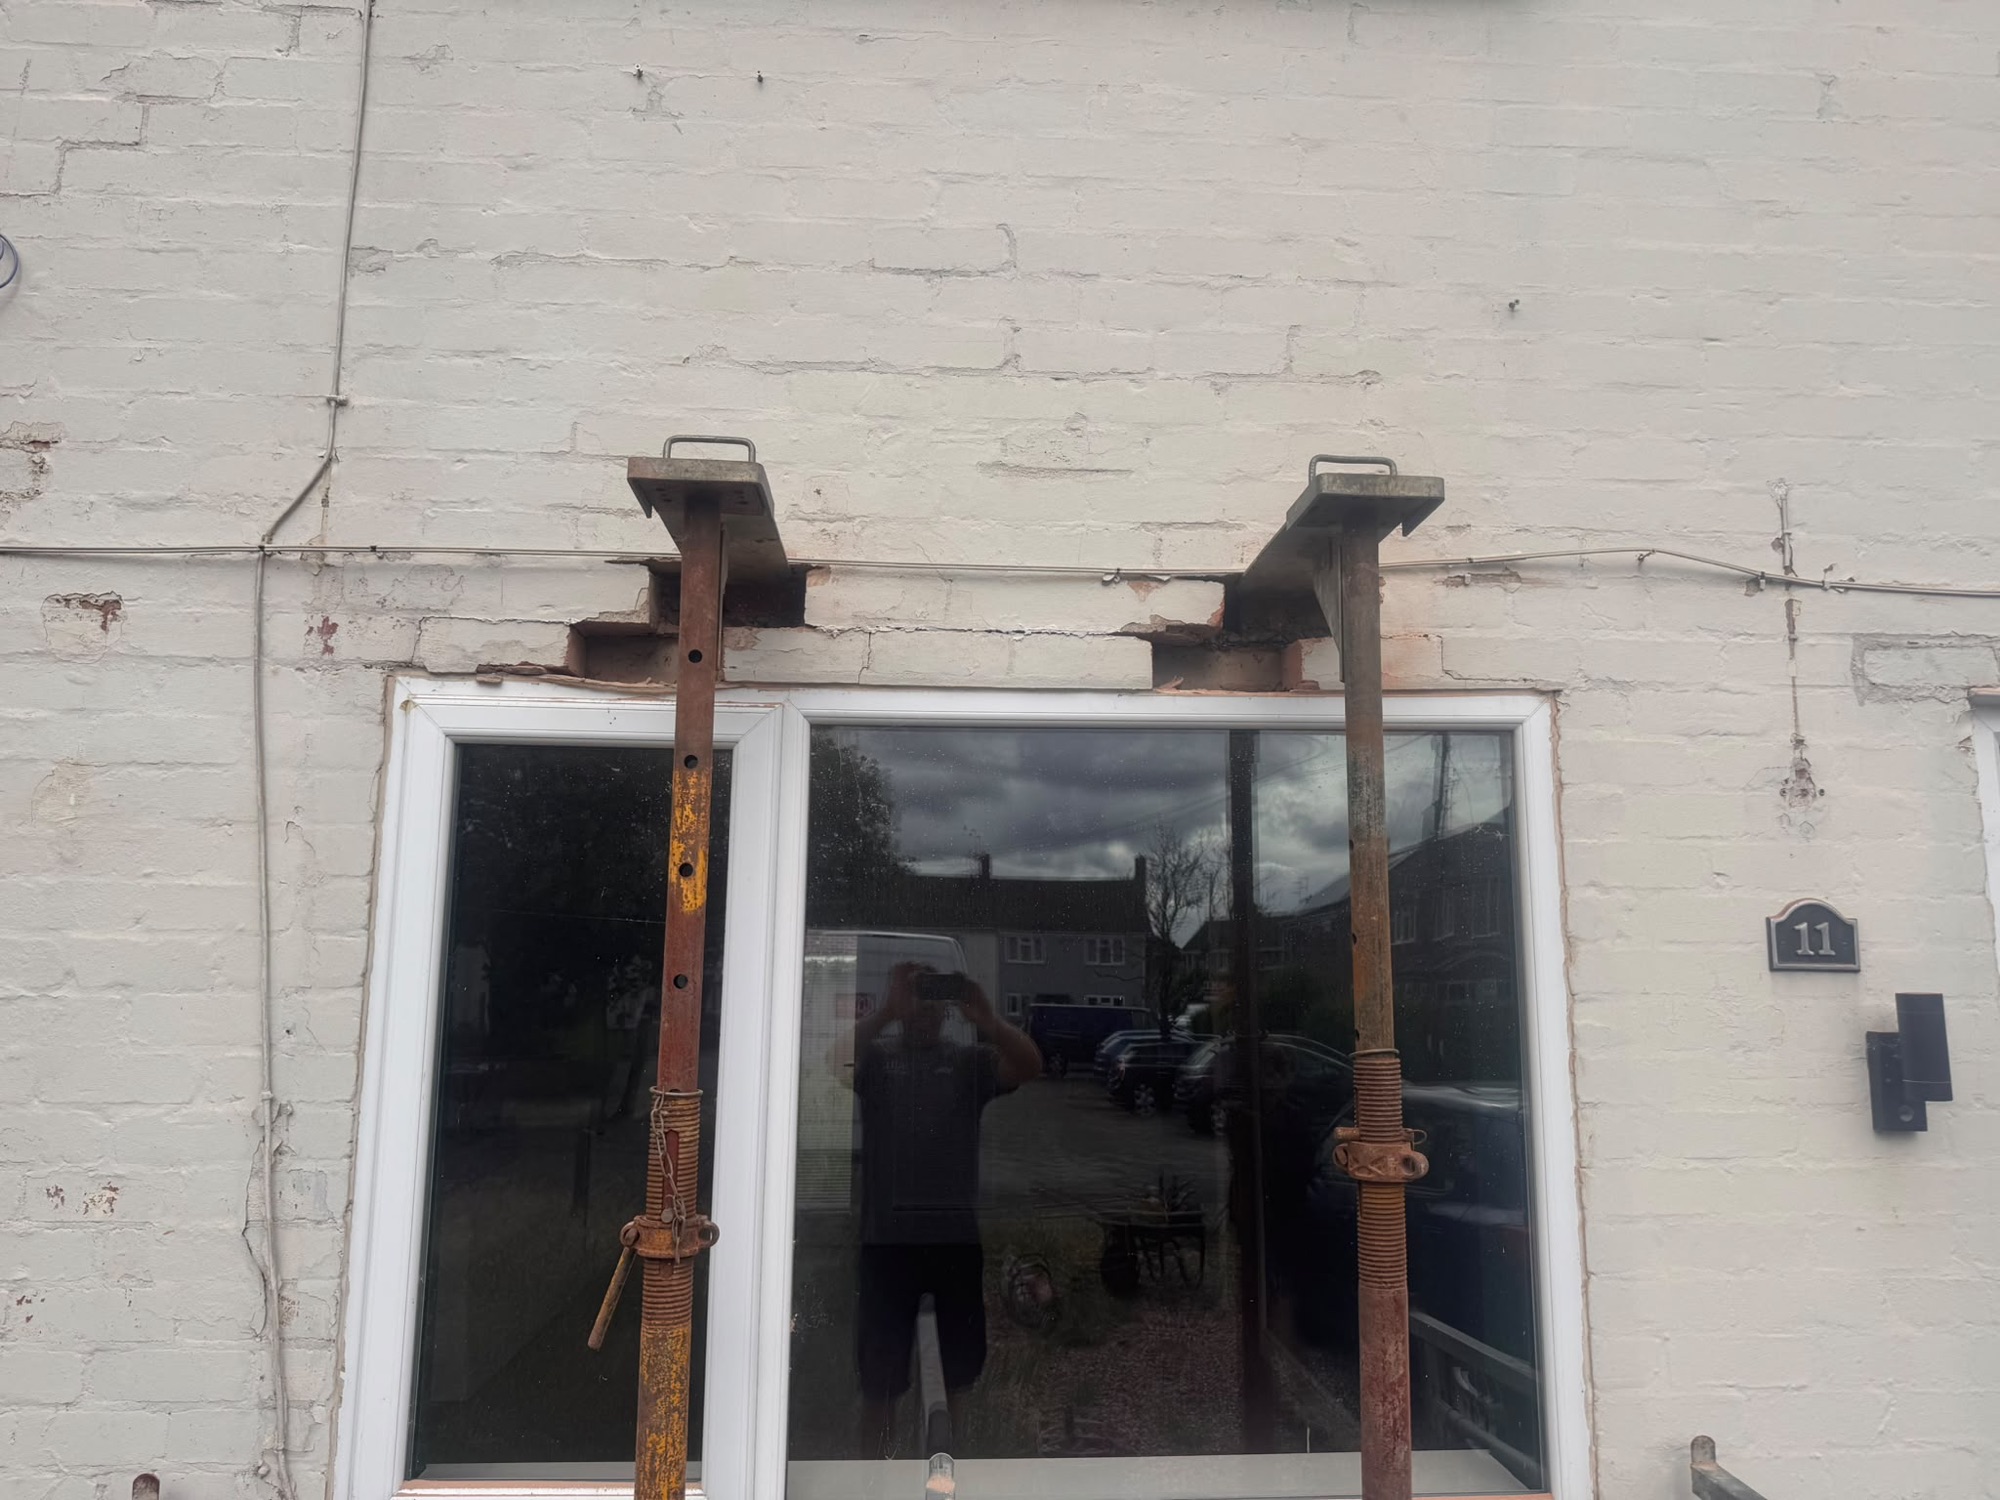
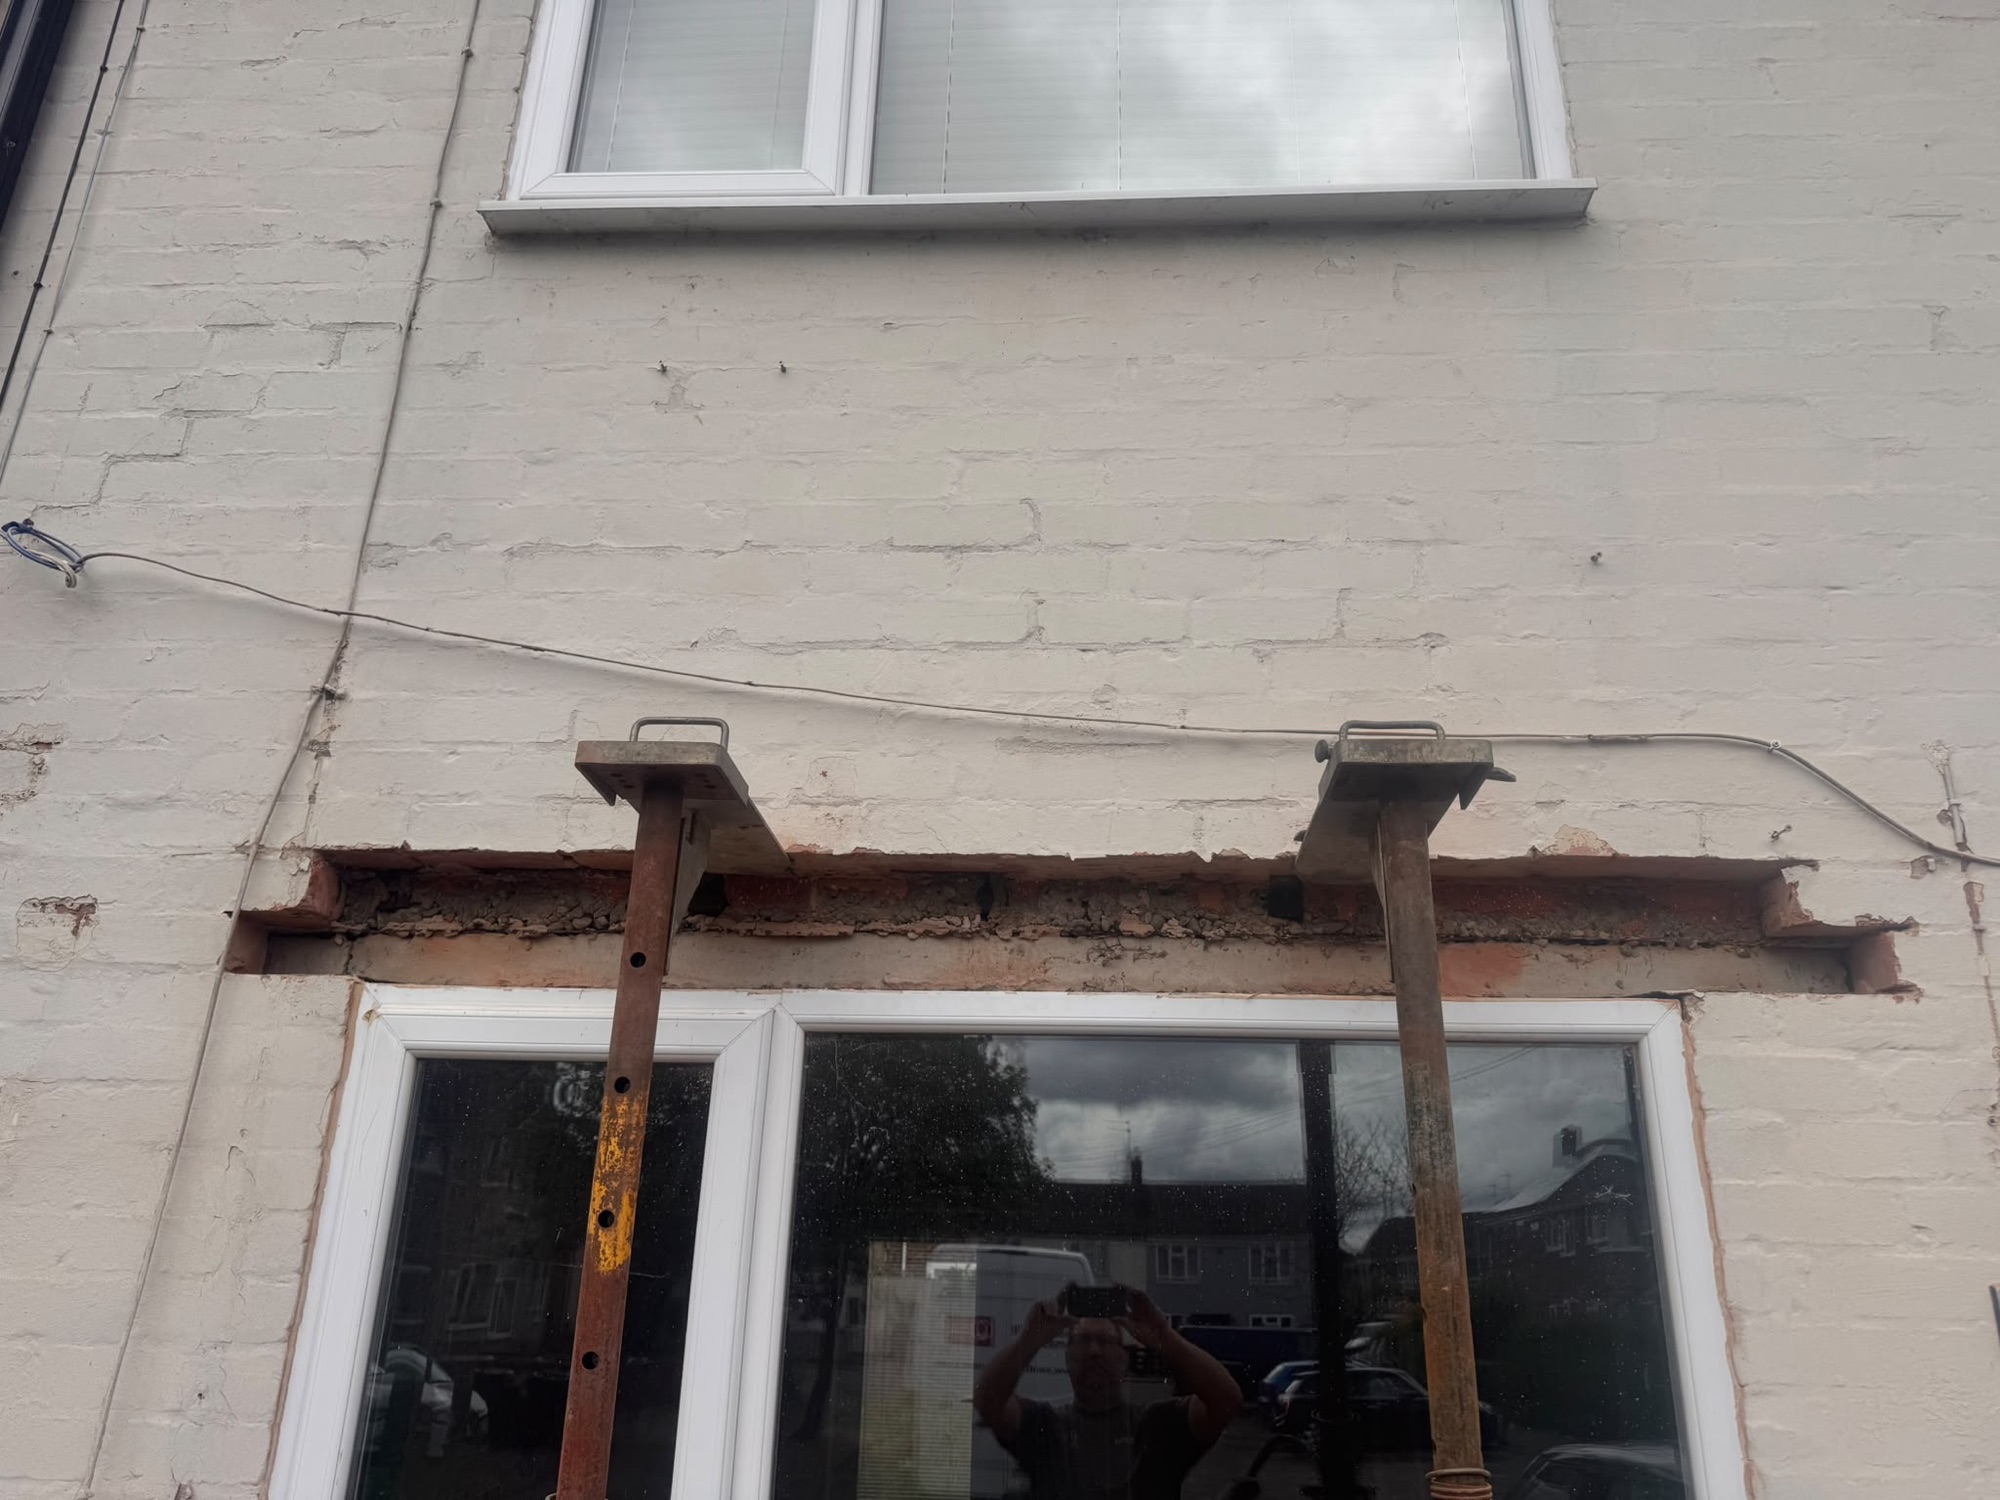
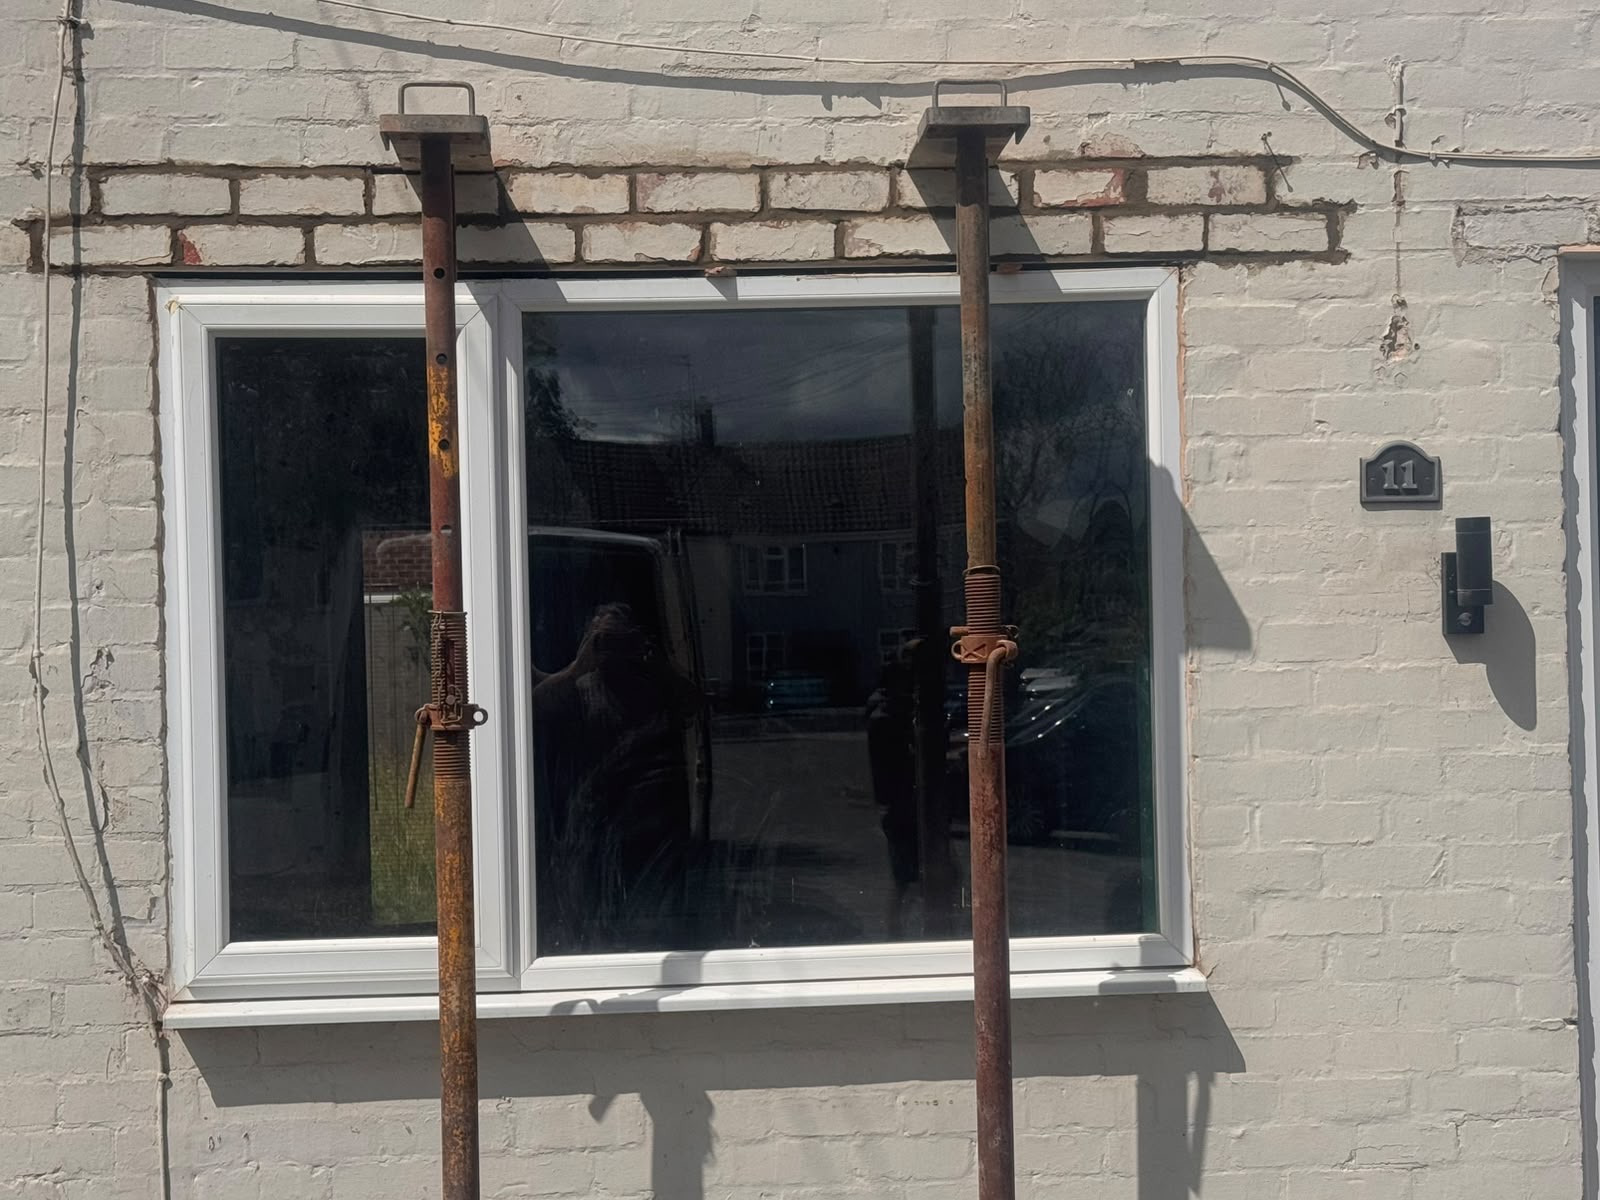
We get asked to quote regularly where bricks have dropped down over uPVC windows, a dropped lintel is a serious structural issue that should not be ignored. The lintel is the horizontal beam spanning across the top of a window or door opening, designed to carry the heavy load of the brickwork above it.

This job was in Beeston Rylands, we were concerned we would need access internally but we managed to do this job entirely from the inside.

A Common Culprit: The “Window Upgrade” Trap

Most of the dropped lintels we attend to happen when old wood or metal window frames are replaced with modern uPVC. In older houses, those sturdy timber frames were actually helping to hold up the brickwork. When installers replace them with lightweight uPVC without installing a new steel lintel, the heavy masonry above immediately drops onto the weak plastic frame.

Dropped lintel
img_6509
previous arrow
next arrow

A bit more information on fallen lintels –

When a lintel sags, fails, or “drops,” that weight is no longer being distributed properly to the surrounding walls. This triggers a destructive chain reaction of problems throughout the property.

1. Structural Cracking and Masonry Damage

The most immediate consequence is that the bricks directly above the opening lose their support and begin to sink.

  • Diagonal “Stepped” Cracking: You will typically see jagged, stepped cracks opening up in the mortar joints starting from the top corners of the window or door frame and moving upwards and outwards.

  • Loose or Bulging Brickwork: In advanced cases, the brick courses (especially “soldier courses,” where bricks stand vertically) will visibly bow outwards or sag into the opening. Left long enough, individual bricks can loosen completely and fall out.

2. Distorted and Jammed Windows/Doors

As the masonry drops, the immense weight of the wall is transferred directly onto the window or door frame below it—something the frame was never designed to handle.

  • Sticking Openings: uPVC, timber, or aluminum frames will begin to compress and warp. This causes doors and windows to catch, jam, or become completely impossible to open and close.

  • Cracked Glass: The shifting, downward pressure on the window frames can distort them enough to shatter or crack the glass panes.

3. Water Ingress and Internal Damp

Structural movement creates paths for water to enter your home.

  • Gaps in Mortar: As the brickwork shifts, gaps open up in the external mortar joints, acting like a funnel for rainwater.

  • Internal Damp Patches: This water will seep through the cavity or internal blockwork, destroying internal plaster, causing paint to peel, and creating localized patches of damp and mold around the window or door heads.

4. Severe Damage to Internal Finishes

The movement isn’t just external. The dropping of the wall shifts the internal blockwork as well.

  • You will likely notice deep horizontal or diagonal cracks in the plaster above the window or door on the inside of the room.

5. Risk of Collapsing Brickwork

While rare for a house to fall down entirely from a single failed lintel, a localized collapse of the brick triangle directly above the window or door is a very real hazard if the problem is completely neglected.

How much does it cost?

  • The lintel is £150-£400 depending on the load and if it needs a calculation
  • Its normally a days work to set up, put the lintel in then a return visit to take the Acro’s down and point up. Allow £600-£850
  • Depending on the height scaffold may be required to provide safe access. Allow £300-£400 for an upstairs window
  • Plus VAT

If you have a lintel that has dropped call us on 07737 988 243 for a free quote or email quote@swallowhillhomes.com

Categories
Flooring Renovation

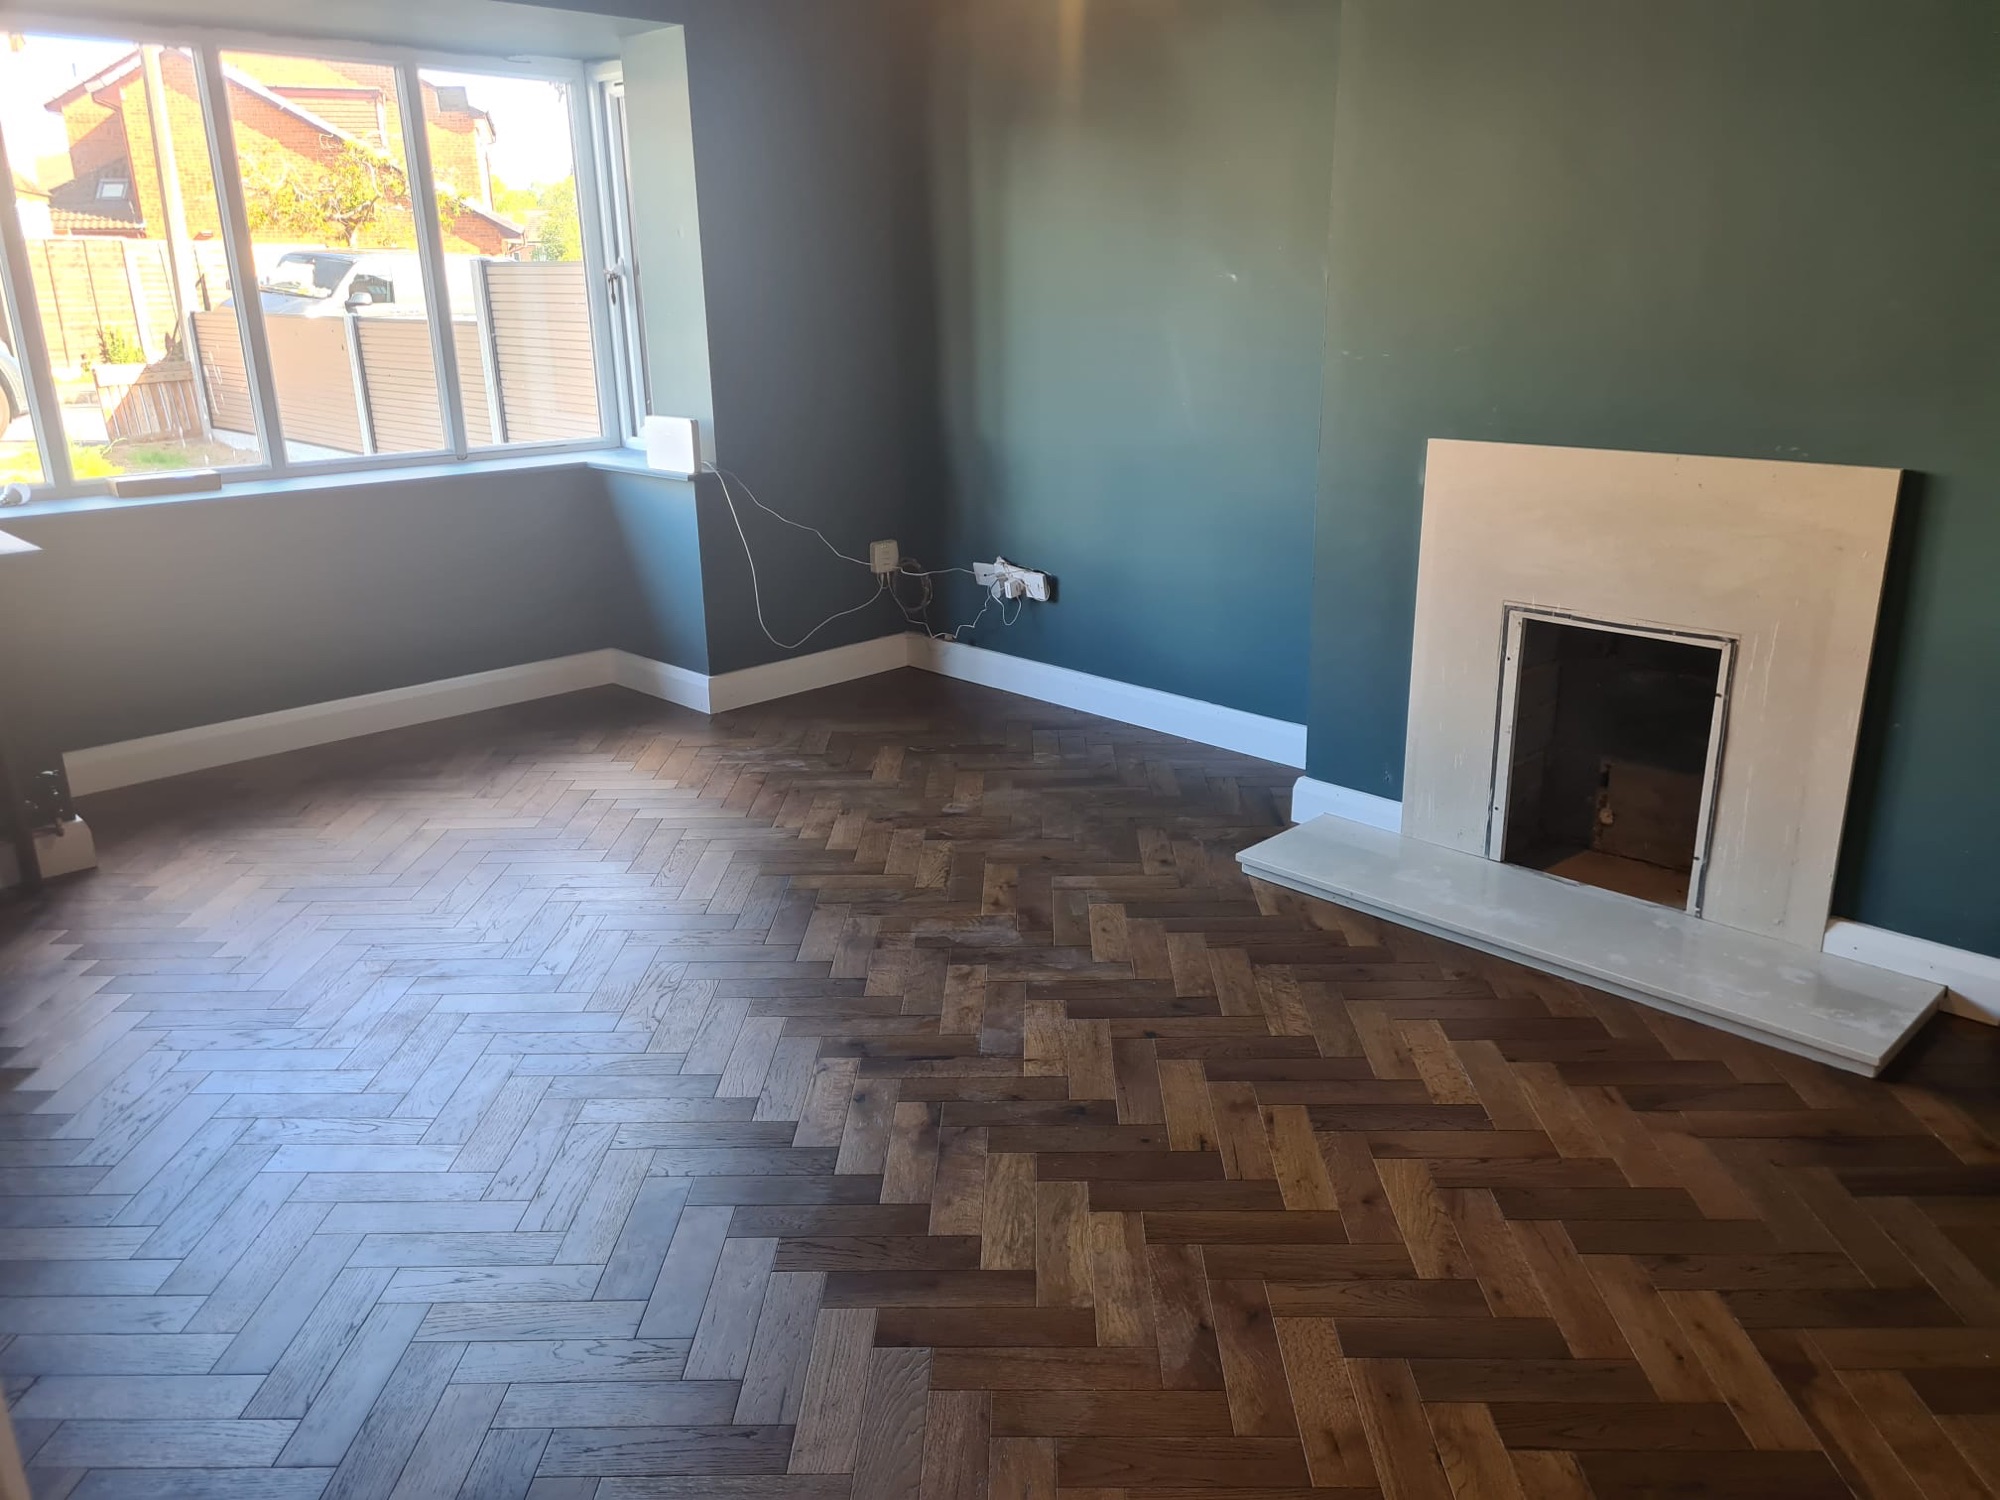
Herringbone Oak parquet floor, Watnall, Nottingham

Installing Herringbone Oak Parquet Flooring

We recently completed the installation of a beautiful Herringbone Oak floor sourced from Stories Flooring. Our second from them in as many months. This project highlights our approach to subfloor preparation, a critical factor in achieving a lasting, high-quality finish.

img_6111
previous arrow
next arrow

A key consideration during preparation was the existing subfloor, which contained original tiles potentially dating from the 1980s. To ensure compliance and safety—and specifically to mitigate the risk associated with disturbing potential asbestos-containing materials (ACMs)—we opted for a non-intrusive overlay solution. This professional decision avoided complex and costly remediation.

We applied F. Ball Stopgap P131 primer and self-levelling compound. This choice allowed us to achieve a perfectly smooth and stable surface with minimal build-up, creating the ideal base for the new parquet system. Precision Installation Technique

Our method for installing this type of parquet flooring is rooted in precision and patience. The most effective technique is a staged adhesive application to manage the elasticity of the glue and ensure optimal alignment:

  1. We initially lay and fix the central key column or the first two rows of the product.
  2. We allow this central element time to fully cure and stabilize before proceeding with the remainder of the floor.

By allowing the adhesive to cure completely in these crucial early stages, we prevent movement and ensure the long-term integrity and alignment of the entire floor.


Cost Guide: Herringbone Parquet Flooring

For full transparency, here is a breakdown of the typical costs per square metre (m²) for a high-quality Herringbone Parquet installation:

  • Preparation (Self-levelling compound): £15
  • Flooring Material: £50
  • Adhesive: £10
  • Professional Labour: £90 – £150

These costs are excluding VAT, this job needed 15% wastage so make sure you allow for it otherwise you’ll need an emergency trip to Leeds to pick up an extra box

Categories
Brickwork Renovation

Wall repointing in Bestwood, Nottingham

Case Study: Saving a Failing Brick Wall in Bestwood, Nottingham

At Swallow Hill Homes, we take pride in doing things right the first time. Unfortunately, we often get called out to fix projects where standard building practices weren’t followed by previous contractors.

Recently, we were called to a property in Bestwood, Nottingham, to tackle a garden and boundary wall with rogue pointing. The issue? The original builder had used a weak, poorly proportioned mortar mix, causing it to prematurely crumble, degrade, compromising the structure’s appearance and longevity.
Here is how our expert brickwork team stepped in to transform and save the wall.

IMG_6503
previous arrow
next arrow

#The Problem: Weak Mortar & Poor Workmanship
When mortar is mixed with too much sand or too little cement, it lacks the structural integrity to withstand the unpredictable British weather. Over time, water penetrates the weak joints, freezes, and completely erodes the mortar.

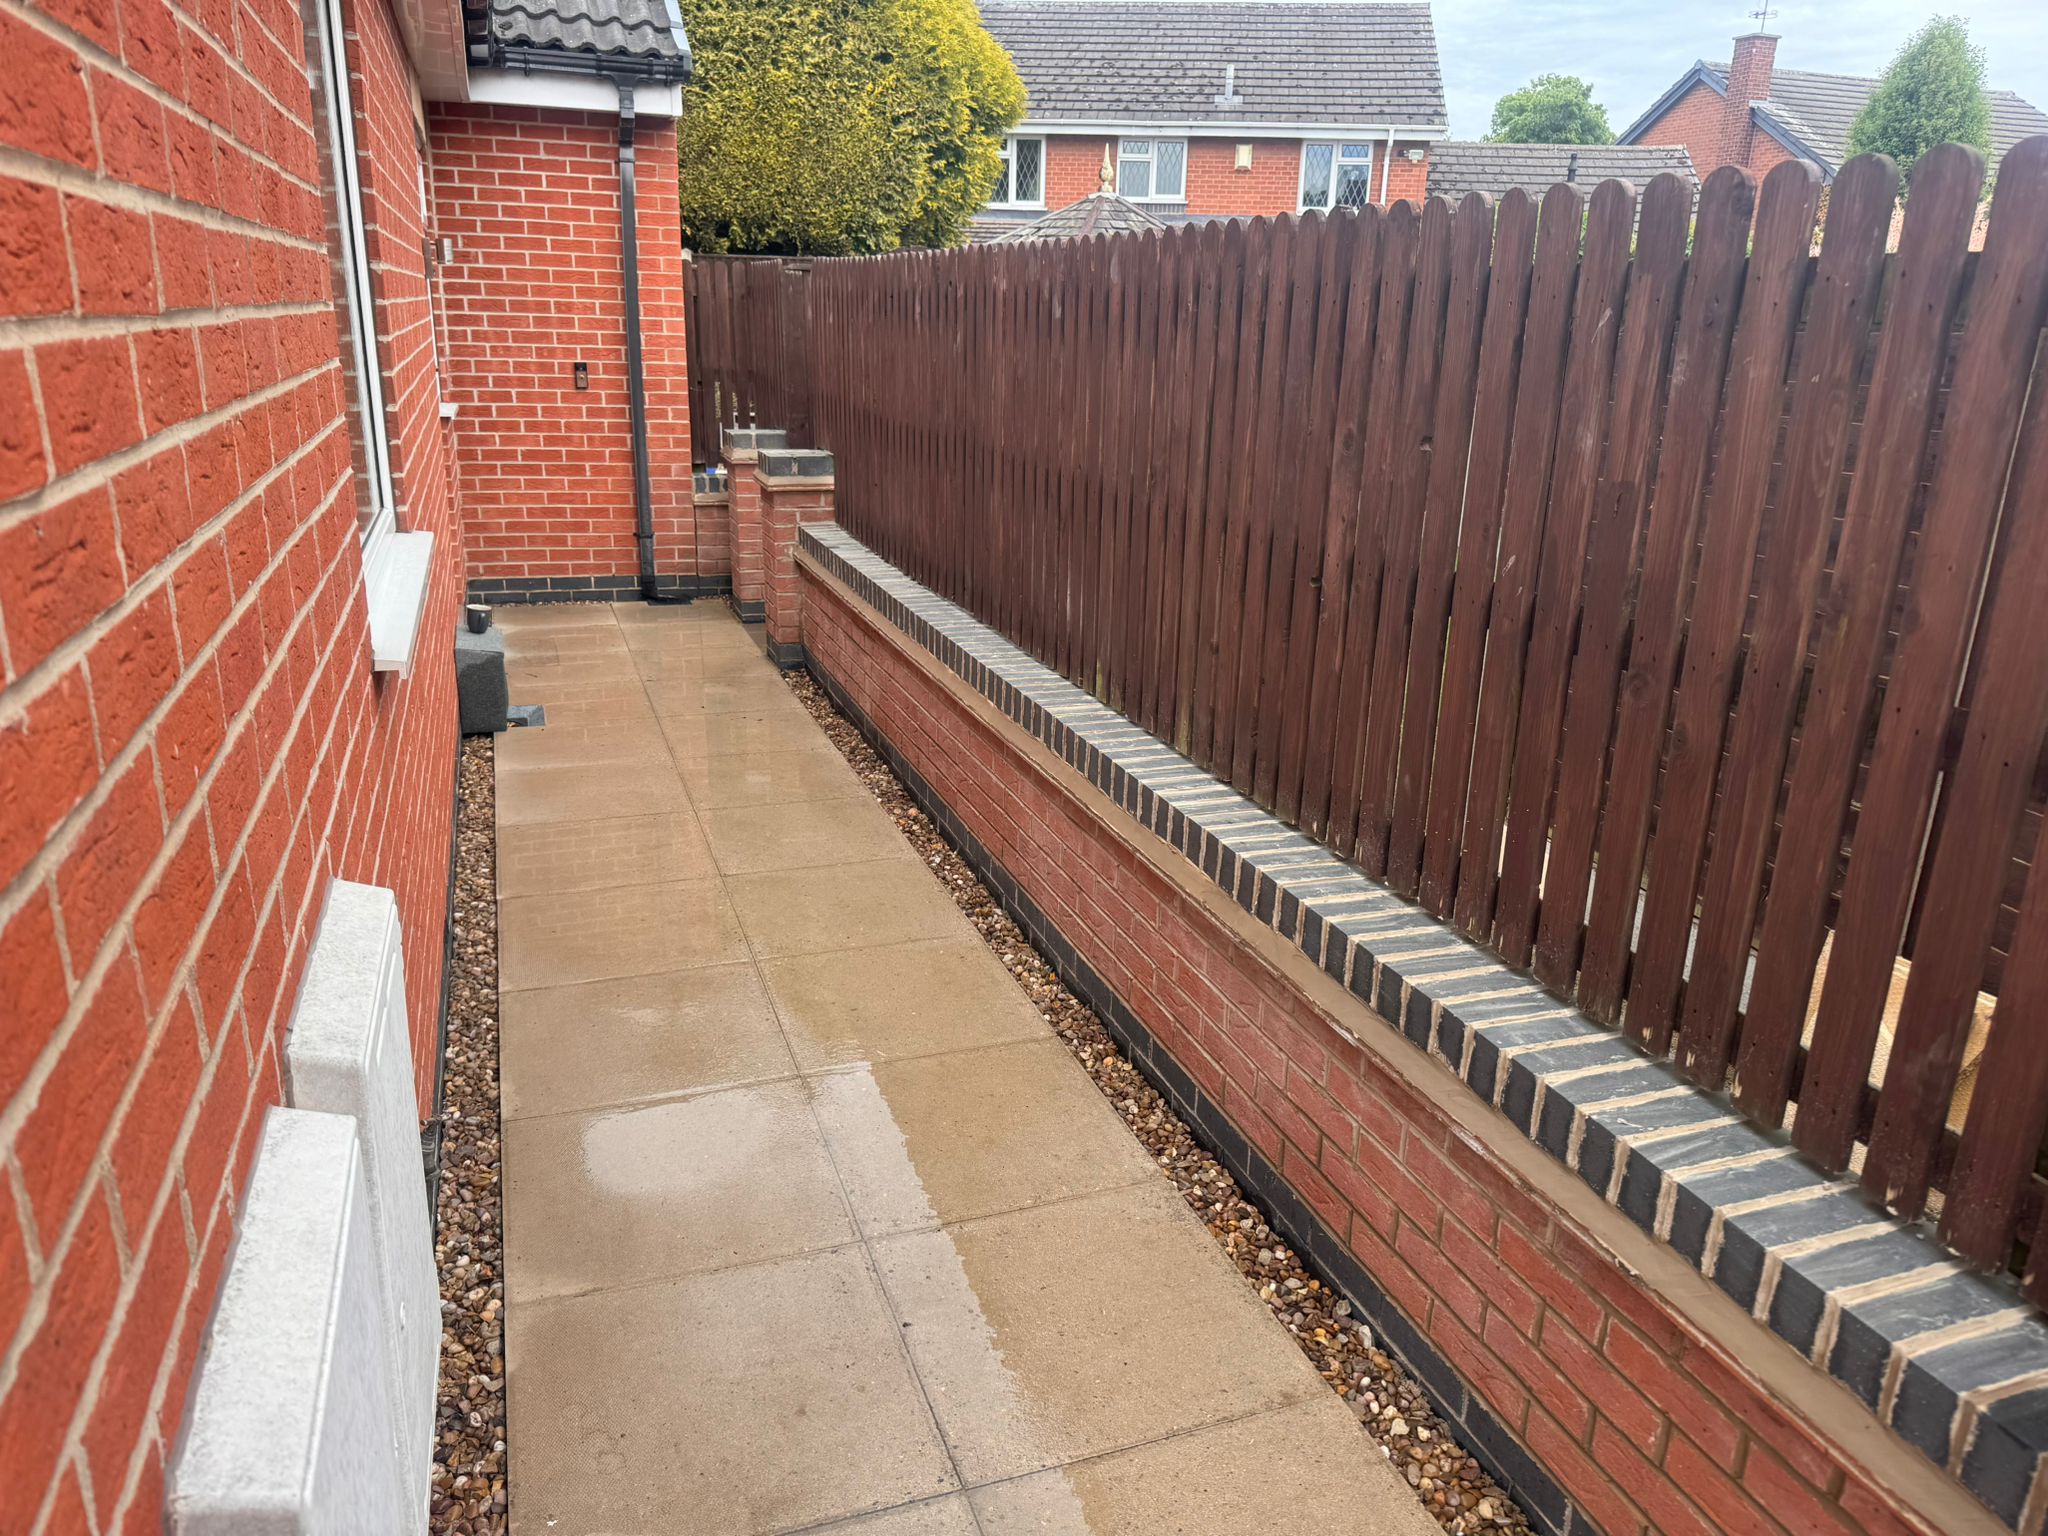
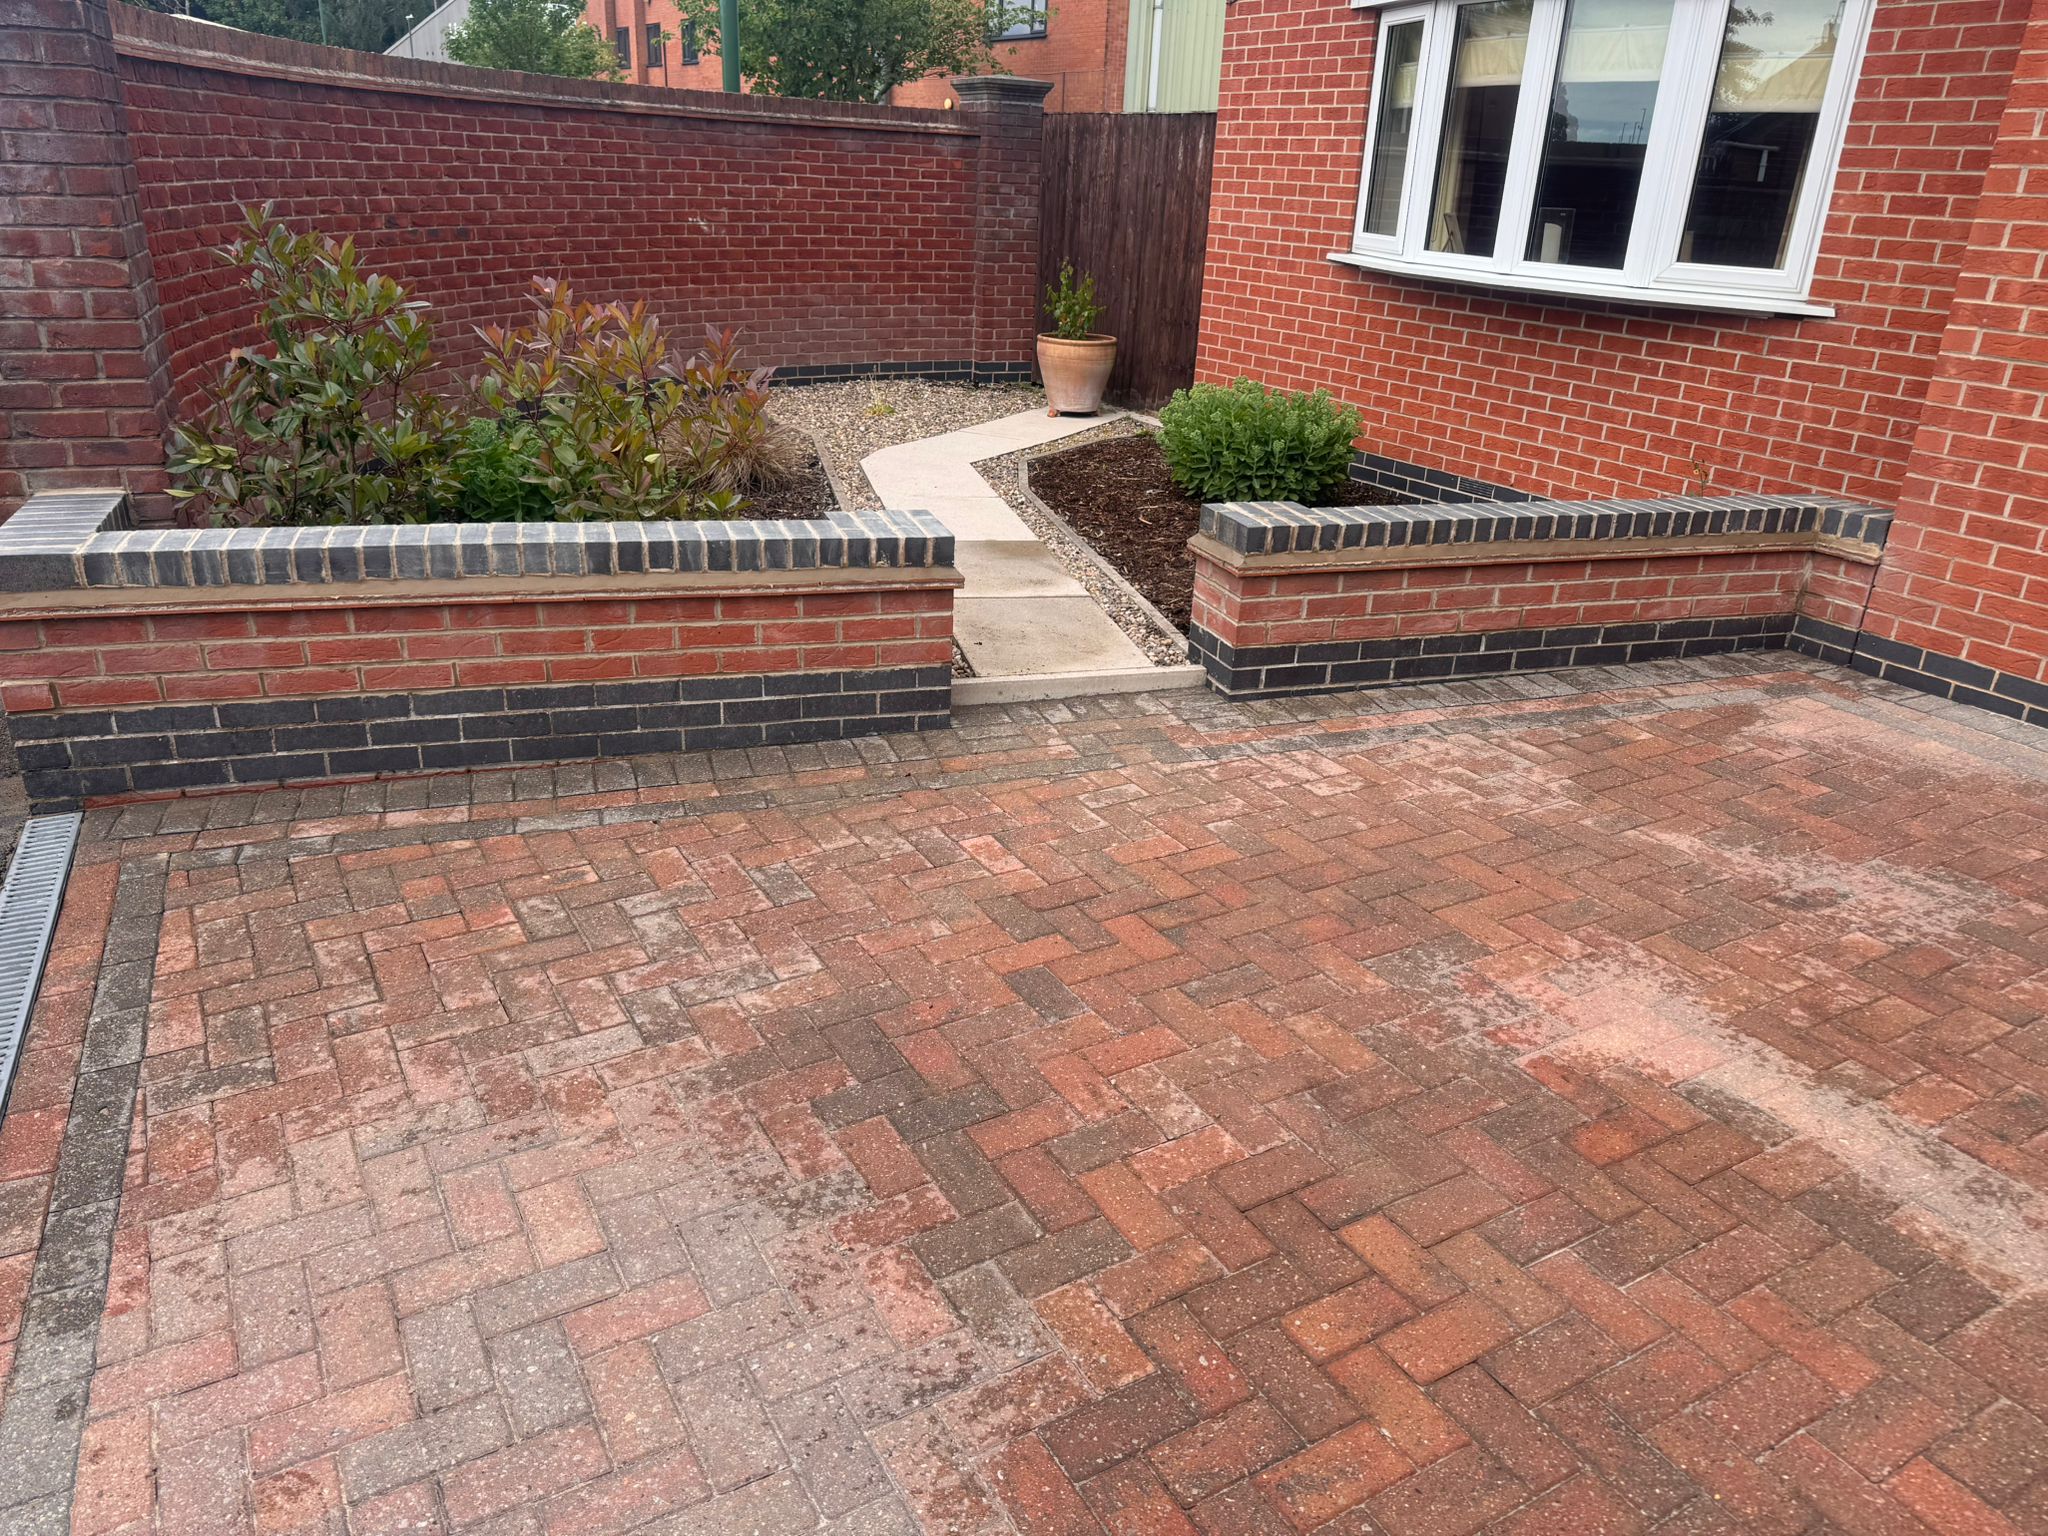
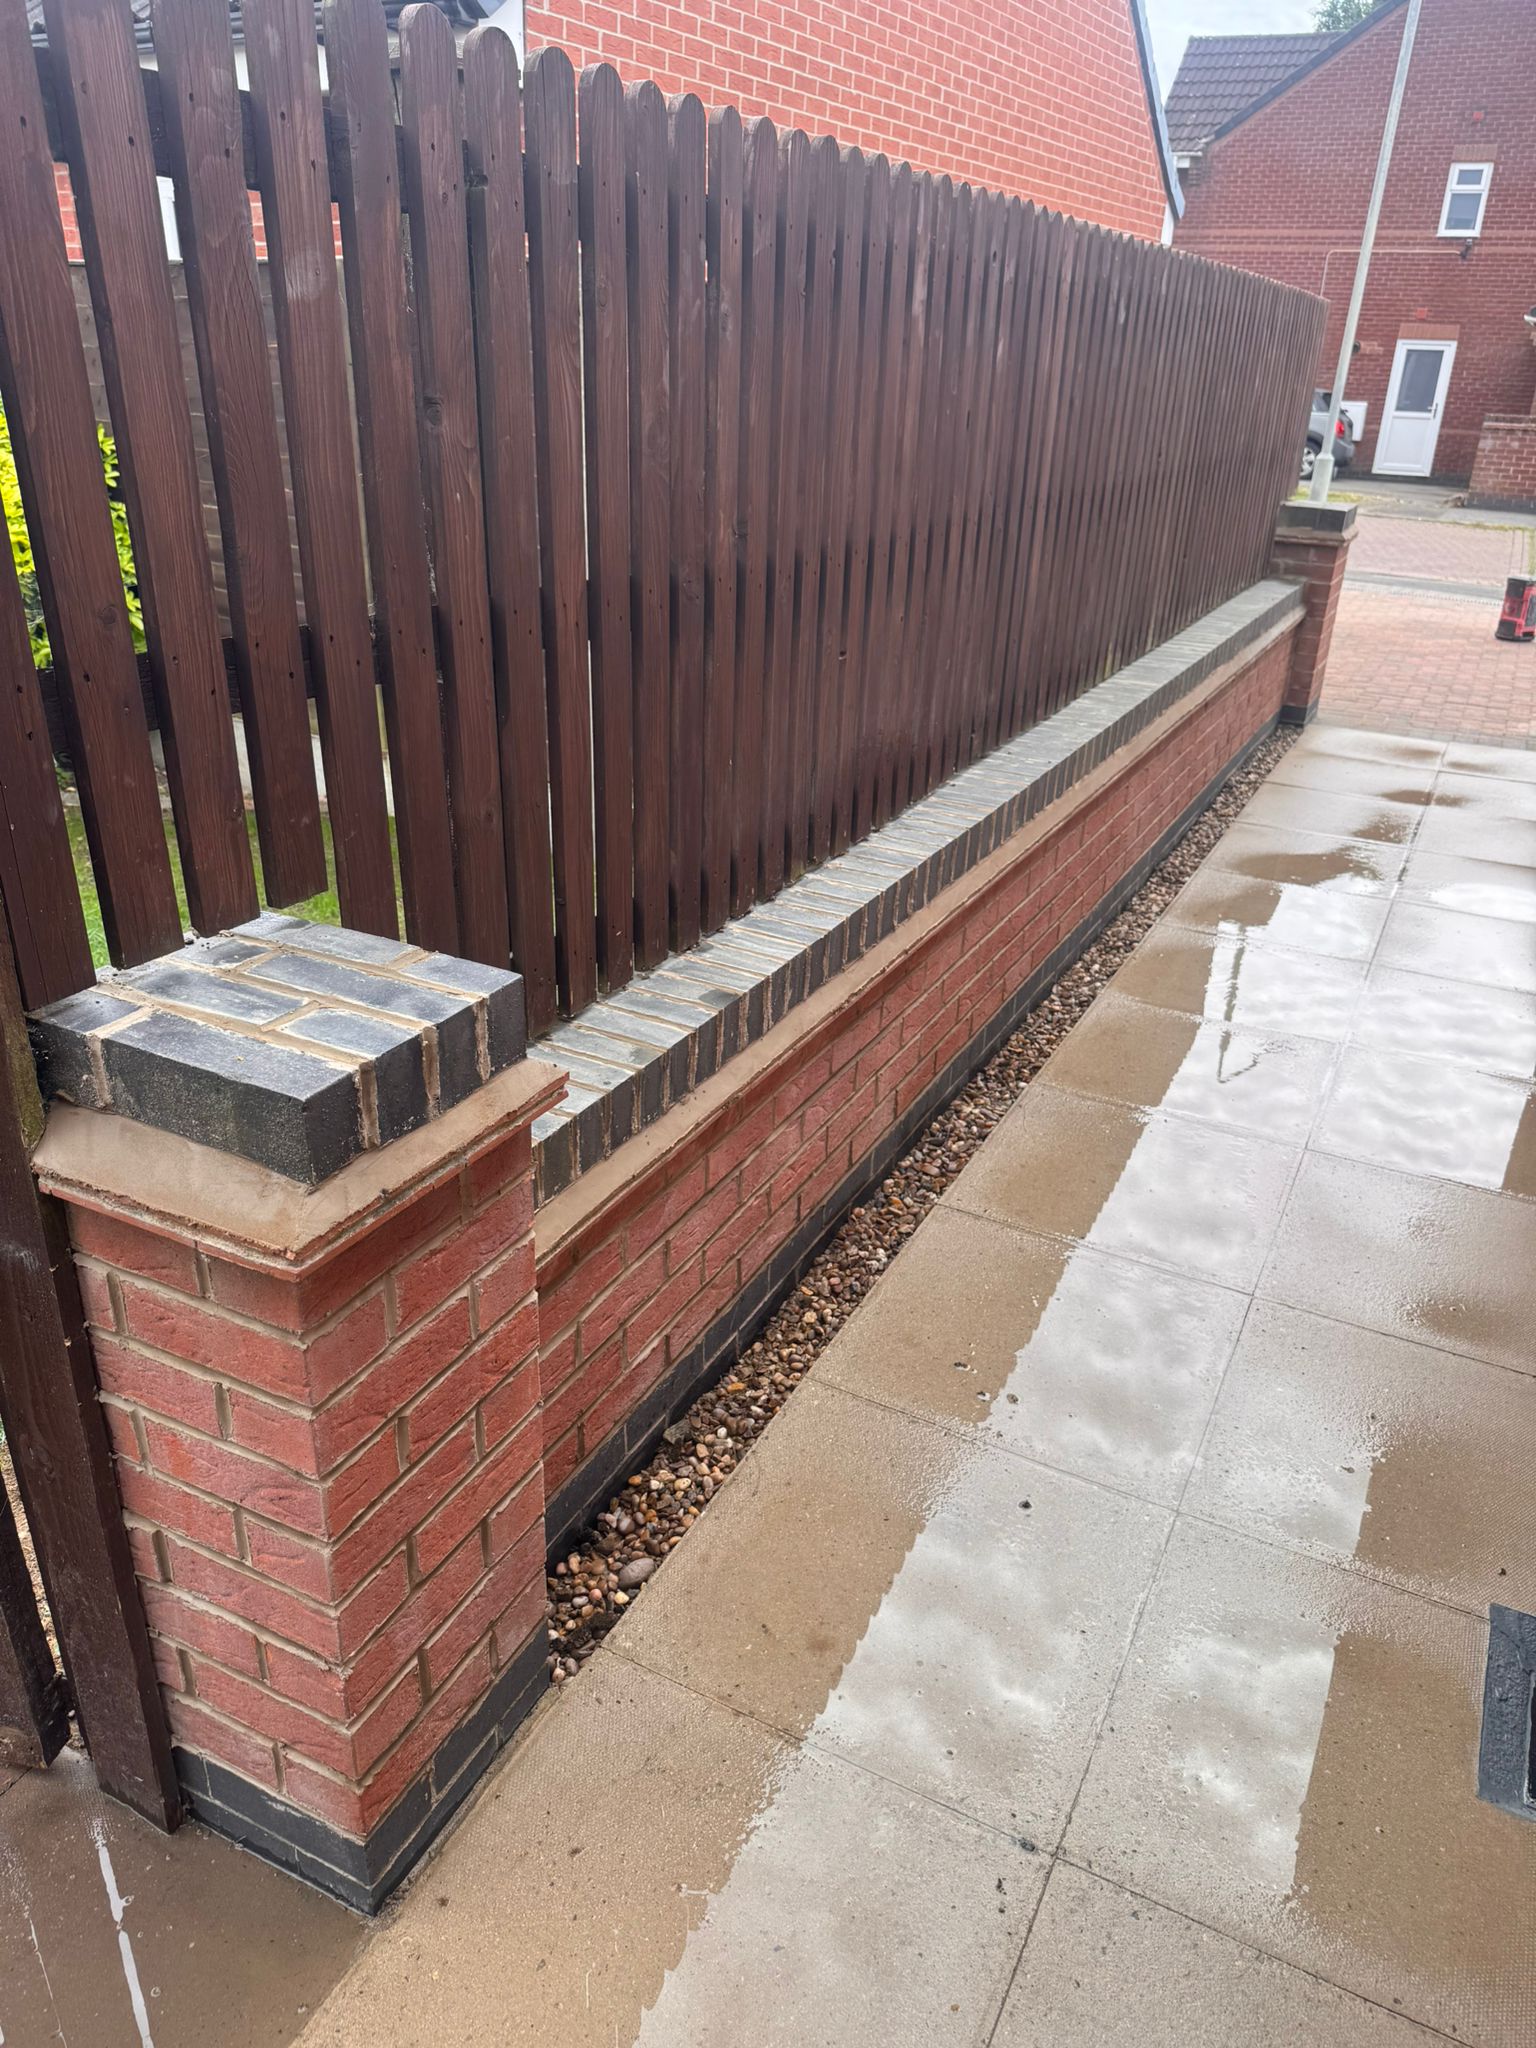
As you can see from the photos, this wall features a combination of classic red brick, dark blue engineering brick headers, and a striking timber fence insert. A wall with this much architectural detail deserves to stand the test of time!

Our Approach: Precision Repointing & The Perfect Finish
To fix the wall properly, our team had to meticulously rake out the failing, crumbly mortar without damaging the surrounding brickwork.

The Right Materials:We used regular cement and yellow sand for the new mortar mix. This not only ensured maximum strength and durability but also perfectly complemented the tones of the existing brickwork for a flawless aesthetic finish.

Patience for Quality: Quality building work requires the right conditions. We deferred this project from the previous week due to forecasted rain. Why? Because the cement from fresh mortar can easily wash out, this stains the brickwork. We also don’t want too hot a day as the mortar may dry too quickly. Waiting for the perfect dry window guaranteed a pristine, long-lasting finish.

The Result
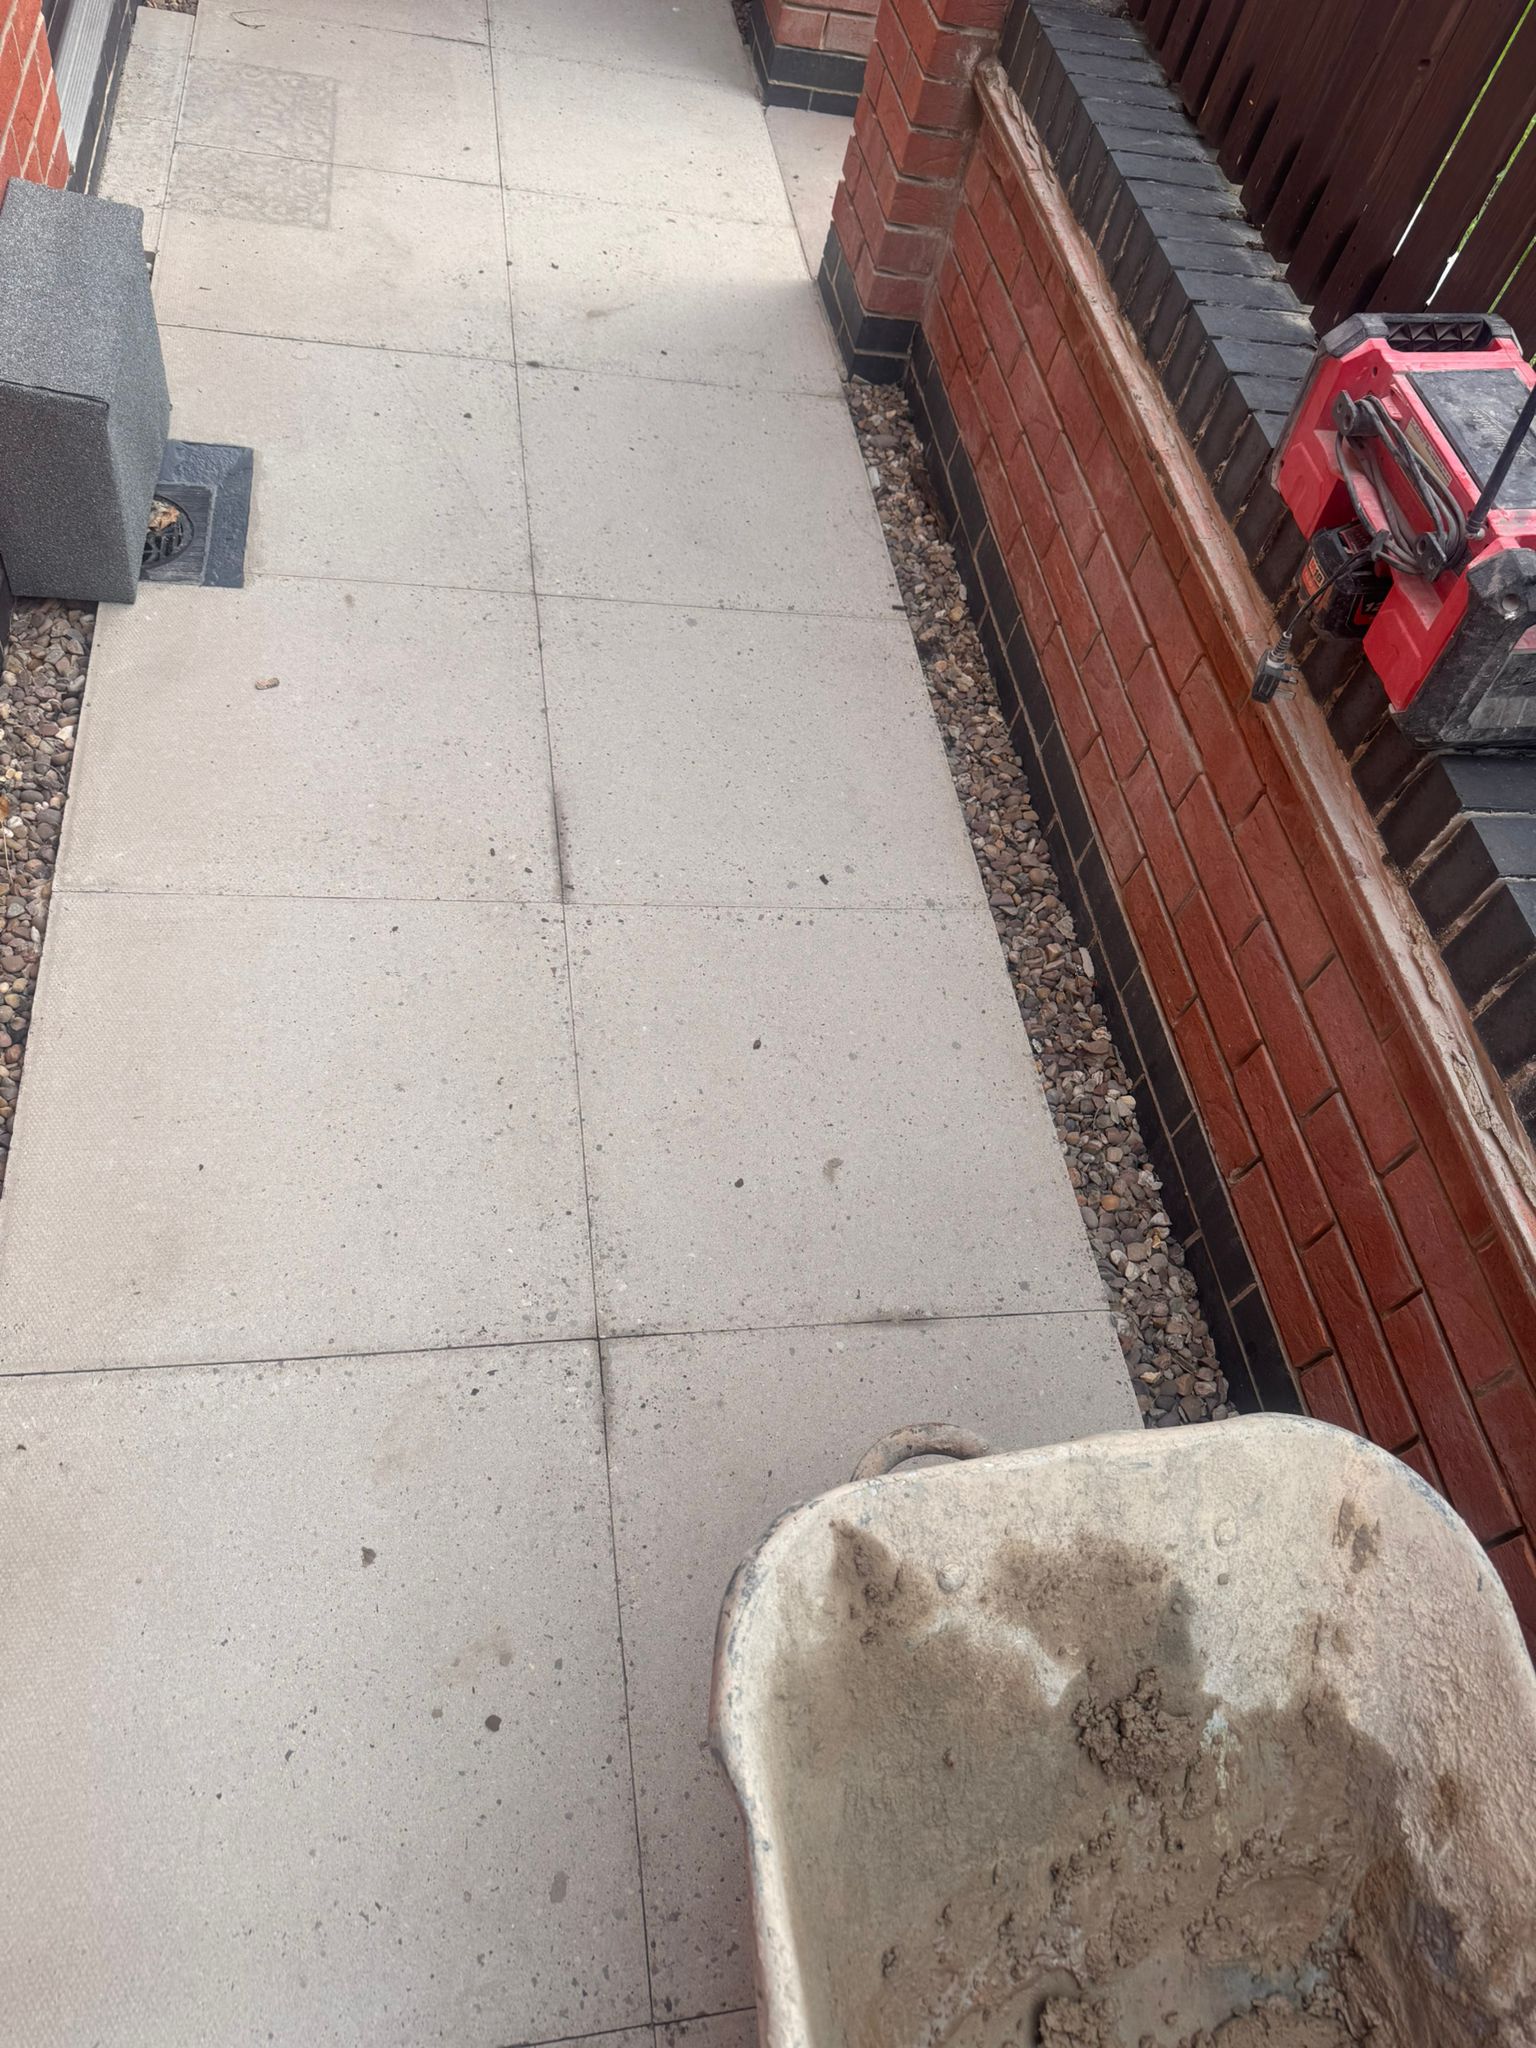
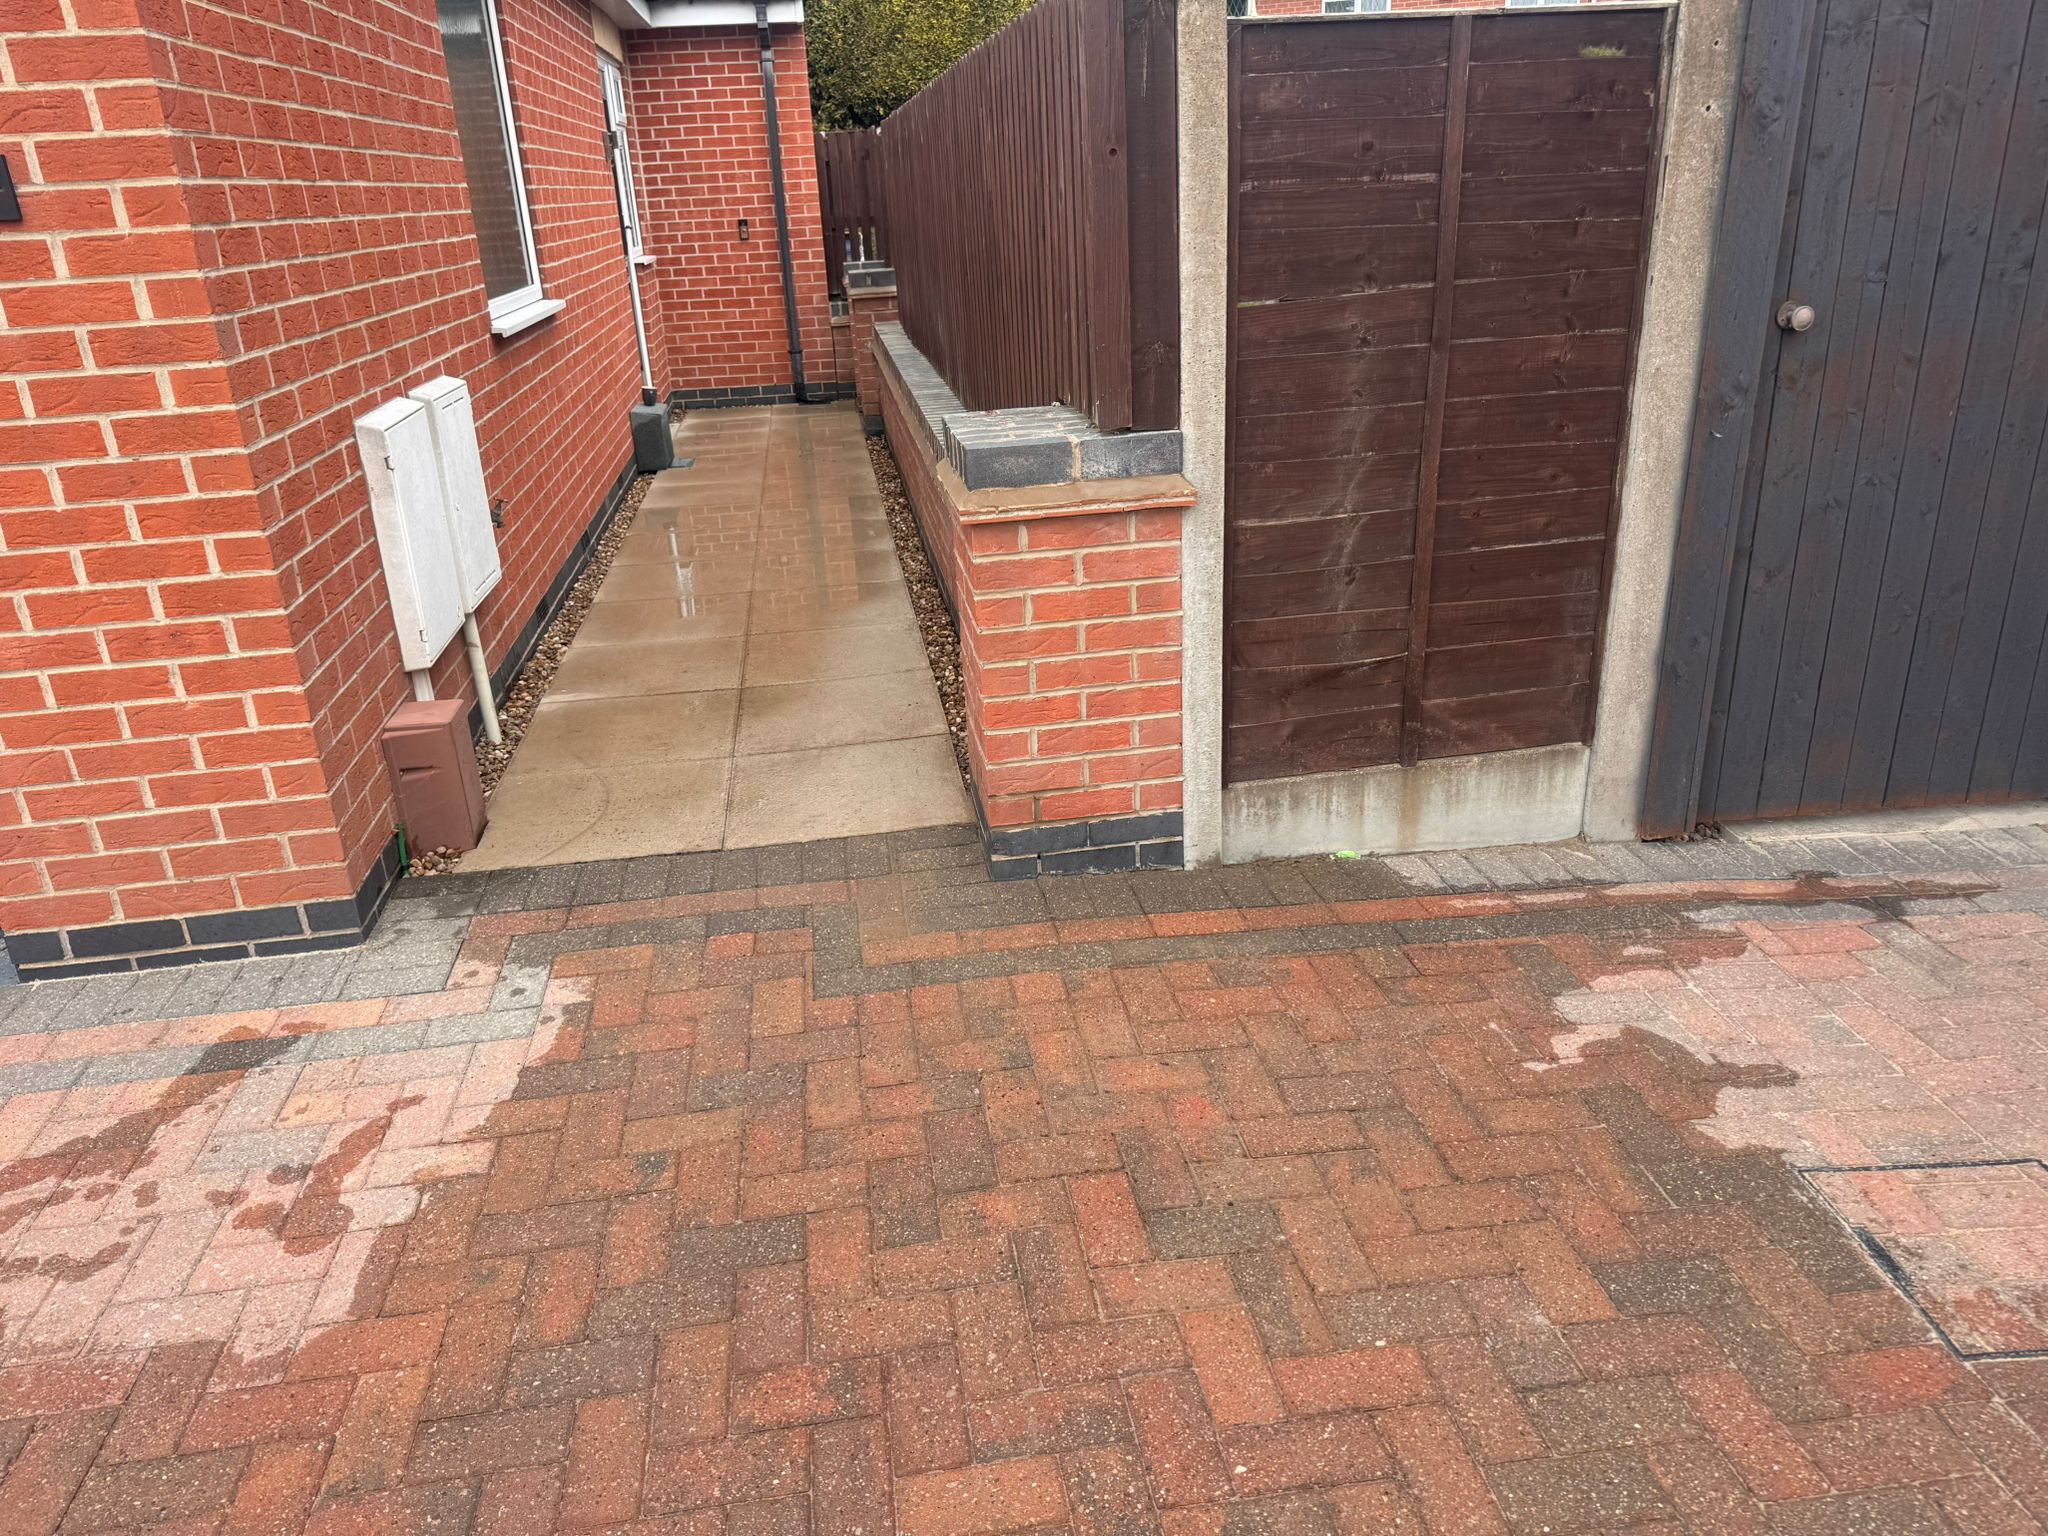
As shown in the project gallery, the wall is now structurally sound, fully weatherproofed, and looking as sharp as the day the house was built. From the intricate retaining walls near the block-paved driveway to the long boundary wall running alongside the paving slabs, the entire property has received a massive curb-appeal upgrade.

Looking for Reliable Bricklayers in Nottingham?
Whether you need a brand-new garden wall, structural repairs, extensions, or precision repointing work, Swallow Hill Homes is here to help. We bring master tradesmen, a strict eye for detail, and honest communication to every single job.

  • Get a Free, No-Obligation Quote Today
  • We cover Bestwood, Arnold, Hucknall, Wollaton, and the wider Nottingham area.
  • 📞 **Call us at:07737 988 243
  • ✉️ **Email us at:** quote@swallowhillhomes.com

Nottingham Bricklayers, Bestwood Builder, Repointing Nottingham, Swallow Hill Homes Project.

To make pointing mortar, use a standard 4 parts sand to 1 part cement mix for modern bricks, or a 3 parts sand to 1 part NHL 3.5 lime mix for older, historic properties. Combine dry ingredients thoroughly in a mixing tray before slowly adding water until it reaches a workable, crumbly-yet-sticky consistency.

Categories
Brickwork Renovation

Bay window construction, Hucknall, Nottinghamshire

The customer wanted the bay window expanding as the current window limited the amount of light coming into the room.

penhale window 1
previous arrow
next arrow

At Swallow Hill Homes, we believe in transforming houses into dream homes, often by maximizing the use of existing space and bringing more natural light inside. Our recent project at Penhale Drive, Hucknall, Nottingham, is a perfect example of this dedication, converting a simple bay window canopy into a spacious, full walk-in bay.

The client’s vision was to dramatically change their living room by extending the opening and creating a fully integrated bay space they could walk into. However, a seemingly straightforward extension presented a complex structural challenge: the foundations.

The property had a large, 1.7-meter-high Leylandi hedge situated close to where the new footing needed to be laid. When dealing with clay soil—the ground condition we expected on site—the removal of mature vegetation like this can cause significant issues due to potential soil heave as the ground rehydrates. Building Control (Turton) rightly required a detailed structural engineer’s design for the footing.

To ensure the structural integrity of the new addition and to avoid any long-term issues, such as undermining the existing house foundations, we brought in the expertise of Wayne Cheung, a Chartered Engineer from DFG Consulting. Our plan was to dig a new footing down to the level of the existing building’s foundation, which we estimated to be around 90-100cm below ground level.

Wayne’s team provided a comprehensive structural report and calculations, which allowed us to proceed with confidence. The design specifically incorporated 100mm of heave protection along the edge of the new footing to mitigate the risks associated with the removal of the dense Leylandi roots. This proactive approach ensures the new structure remains stable for decades to come, even with the presence of expansive clay soils.

We prioritise getting the groundwork right, as a solid foundation is essential for any renovation. After securing the necessary structural design, and with the hedge and roots quickly removed, we were able to press ahead with pouring the concrete footing in a timely manner. The structural package was delivered swiftly on March 17, 2026, allowing us to maintain our momentum on site.

The transformation from a modest canopy to a full bay window creates a stunning new focal point in the living room, adding valuable, usable space and flooding the room with light. The entire refurbishment of the living room at Penhale Drive was scheduled for completion over a five-week duration, starting in March 2026.

This project demonstrates Swallow Hill Homes’ commitment to delivering clients’ visions while expertly navigating technical and structural complexities. Whether it is a kitchen extension, a full renovation, or simply expanding a window space, we rely on precise planning and expert structural guidance to deliver uncompromising quality. If you are looking to enhance your home with high-end craftsmanship, from concept to compliant completion, contact us today.


Categories
Renovation

Property refurbishment in Sandiacre, Nottingham

Bringing History Into the Modern Era: A Complete Victorian Terrace Renovation in Sandiacre, Nottingham

Owning a 100-year-old Victorian or Edwardian terrace house in Nottingham comes with a lot of pride. These properties are packed with character, beautiful brickwork, and historic charm. However, they also come with a unique set of challenges: drafty rooms, outdated layouts, and decades of old plaster hiding underneath layers of wallpaper.

At Swallow Hill Homes we specialize in breathing new life into these classic homes. We don’t just paper over the cracks; we strip them back to their bones and rebuild them to meet modern living standards.

Here is a sneak peek behind the scenes of our latest total refurbishment project right here in Nottingham.

IMG_6382
PlayPause
previous arrow
next arrow

The Project: A Full-Scale Terrace Transformation

Our clients loved the location and character of this traditional terrace, but the interior needed serious intervention. To do this job right, we started with a blank canvas.

Here is exactly what we are undertaking on this comprehensive renovation:

1. Strip Back to Brick & Structural Upgrades

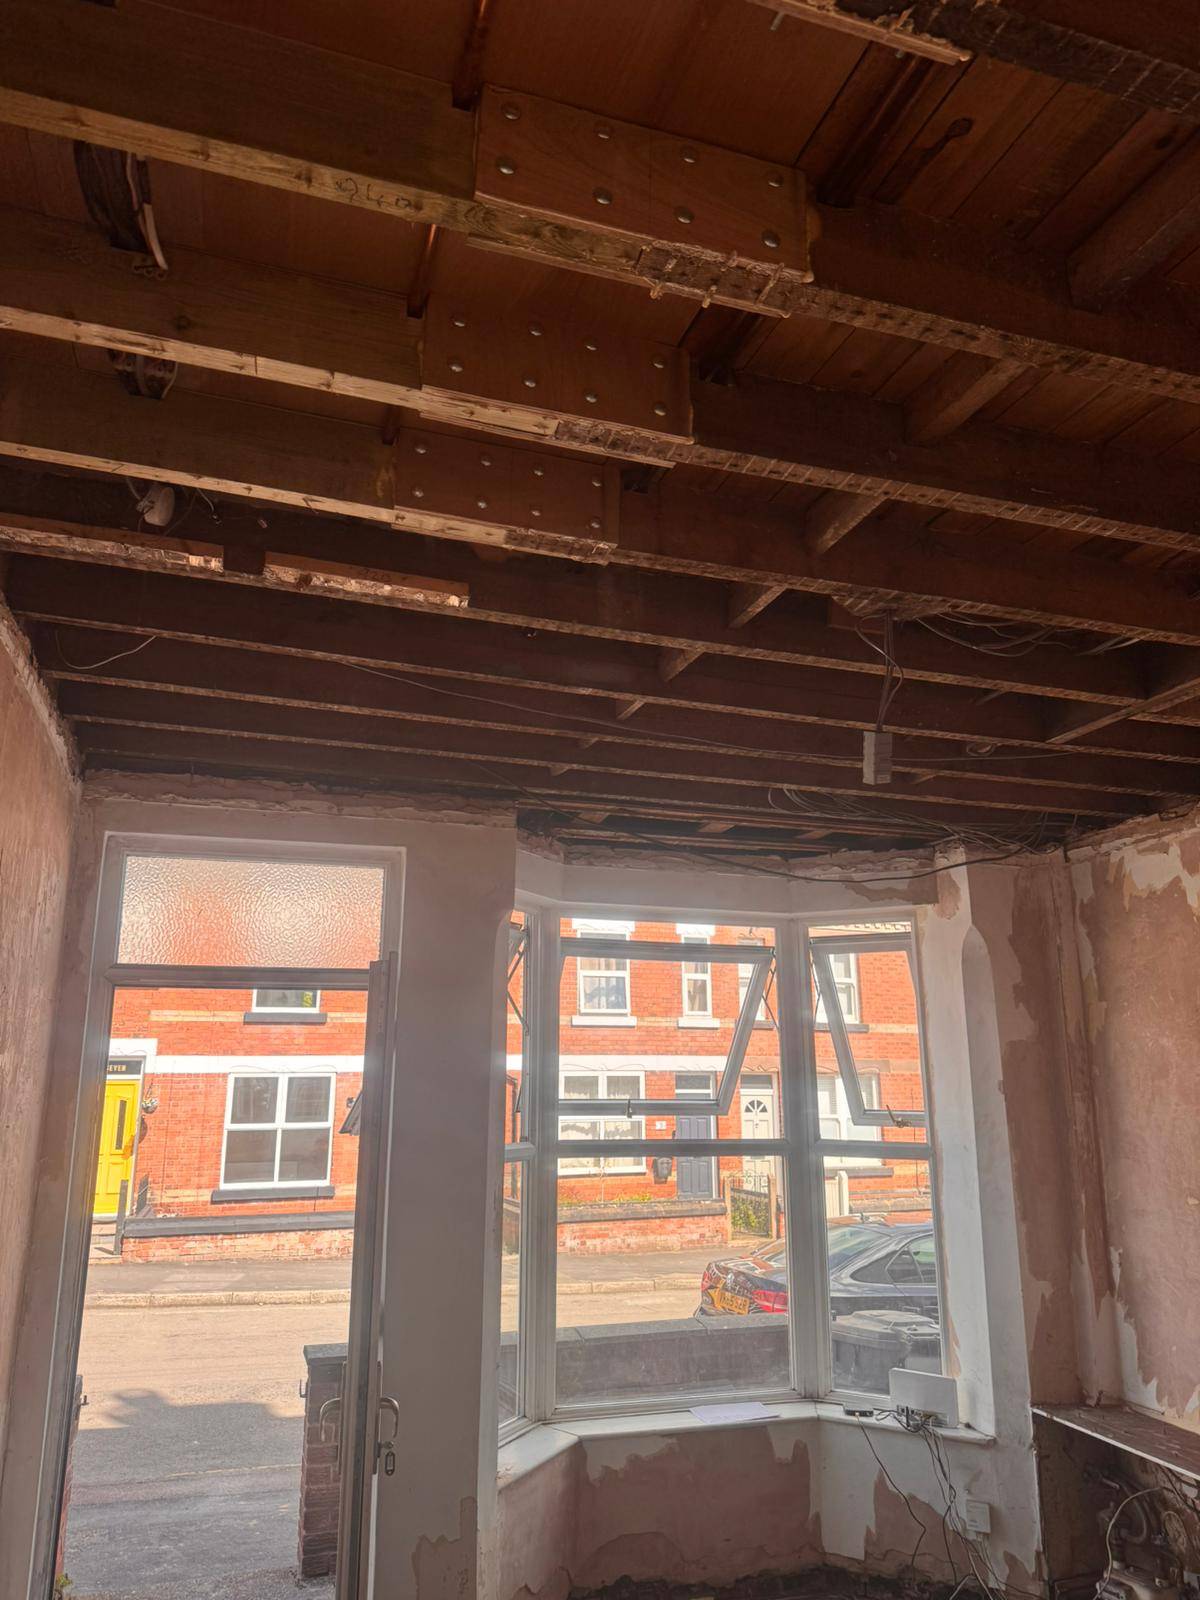
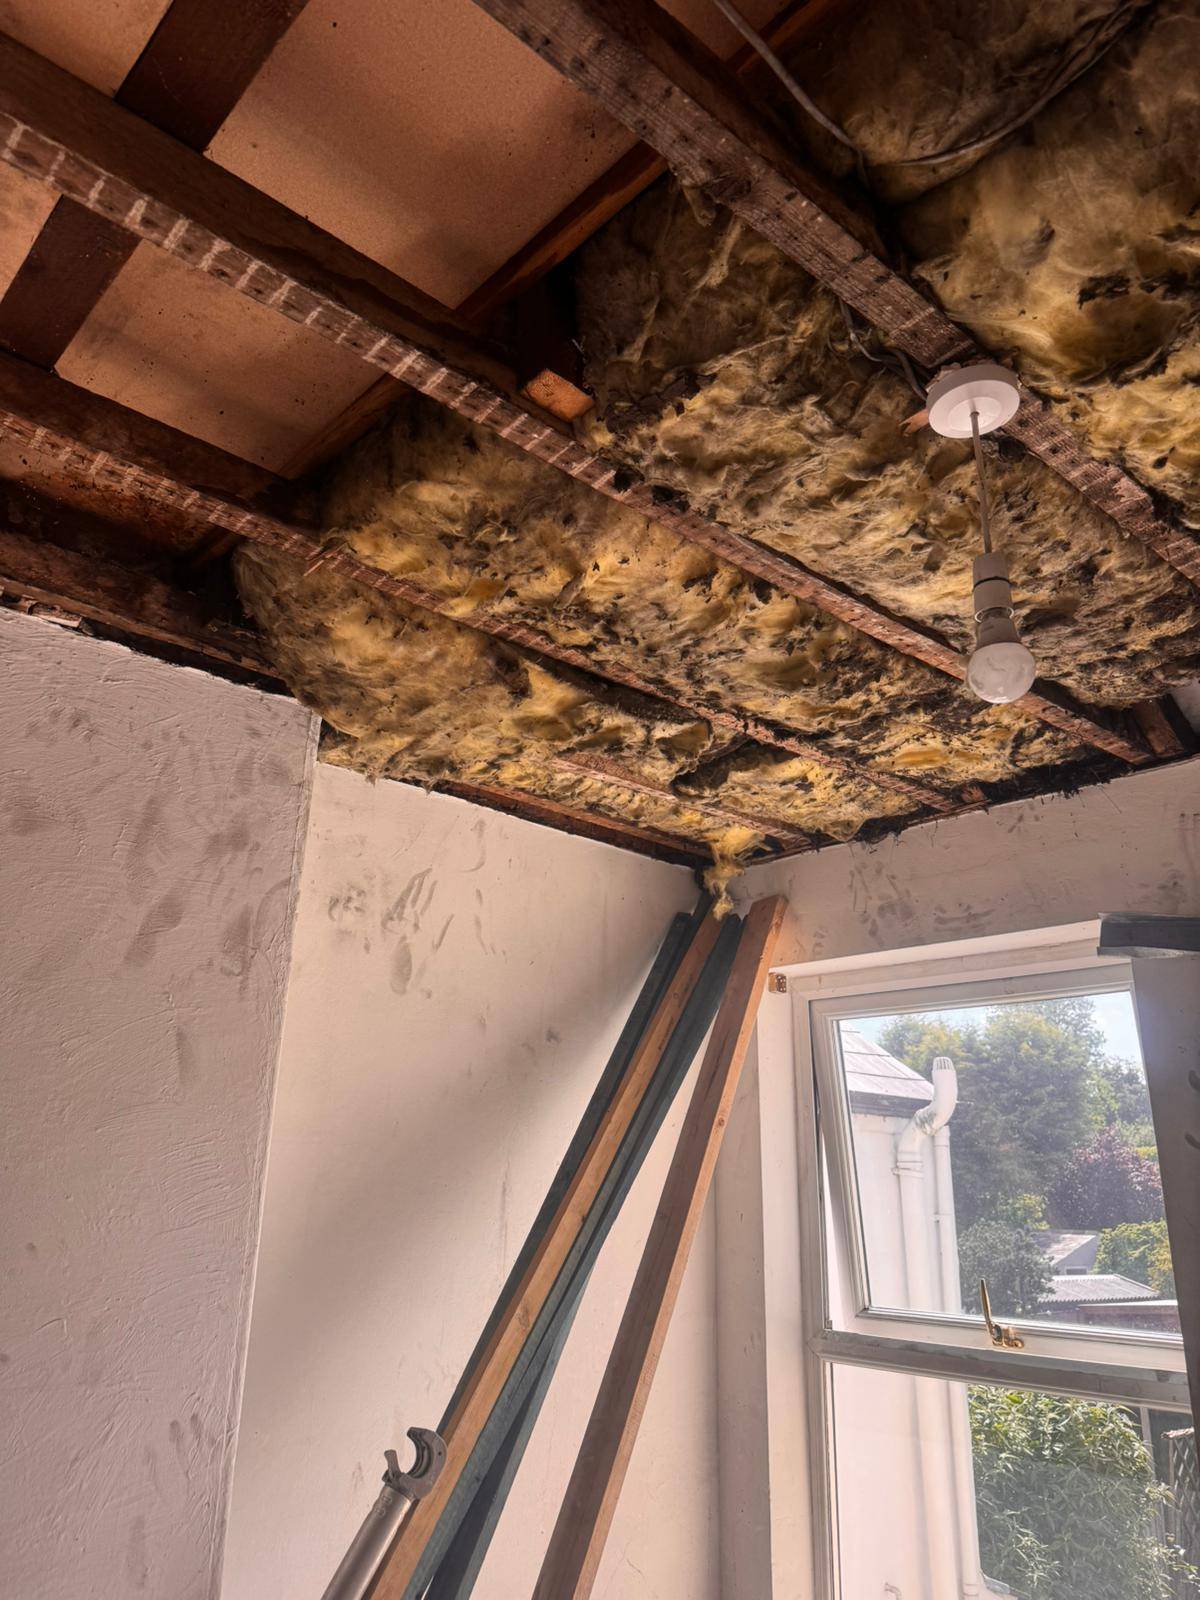
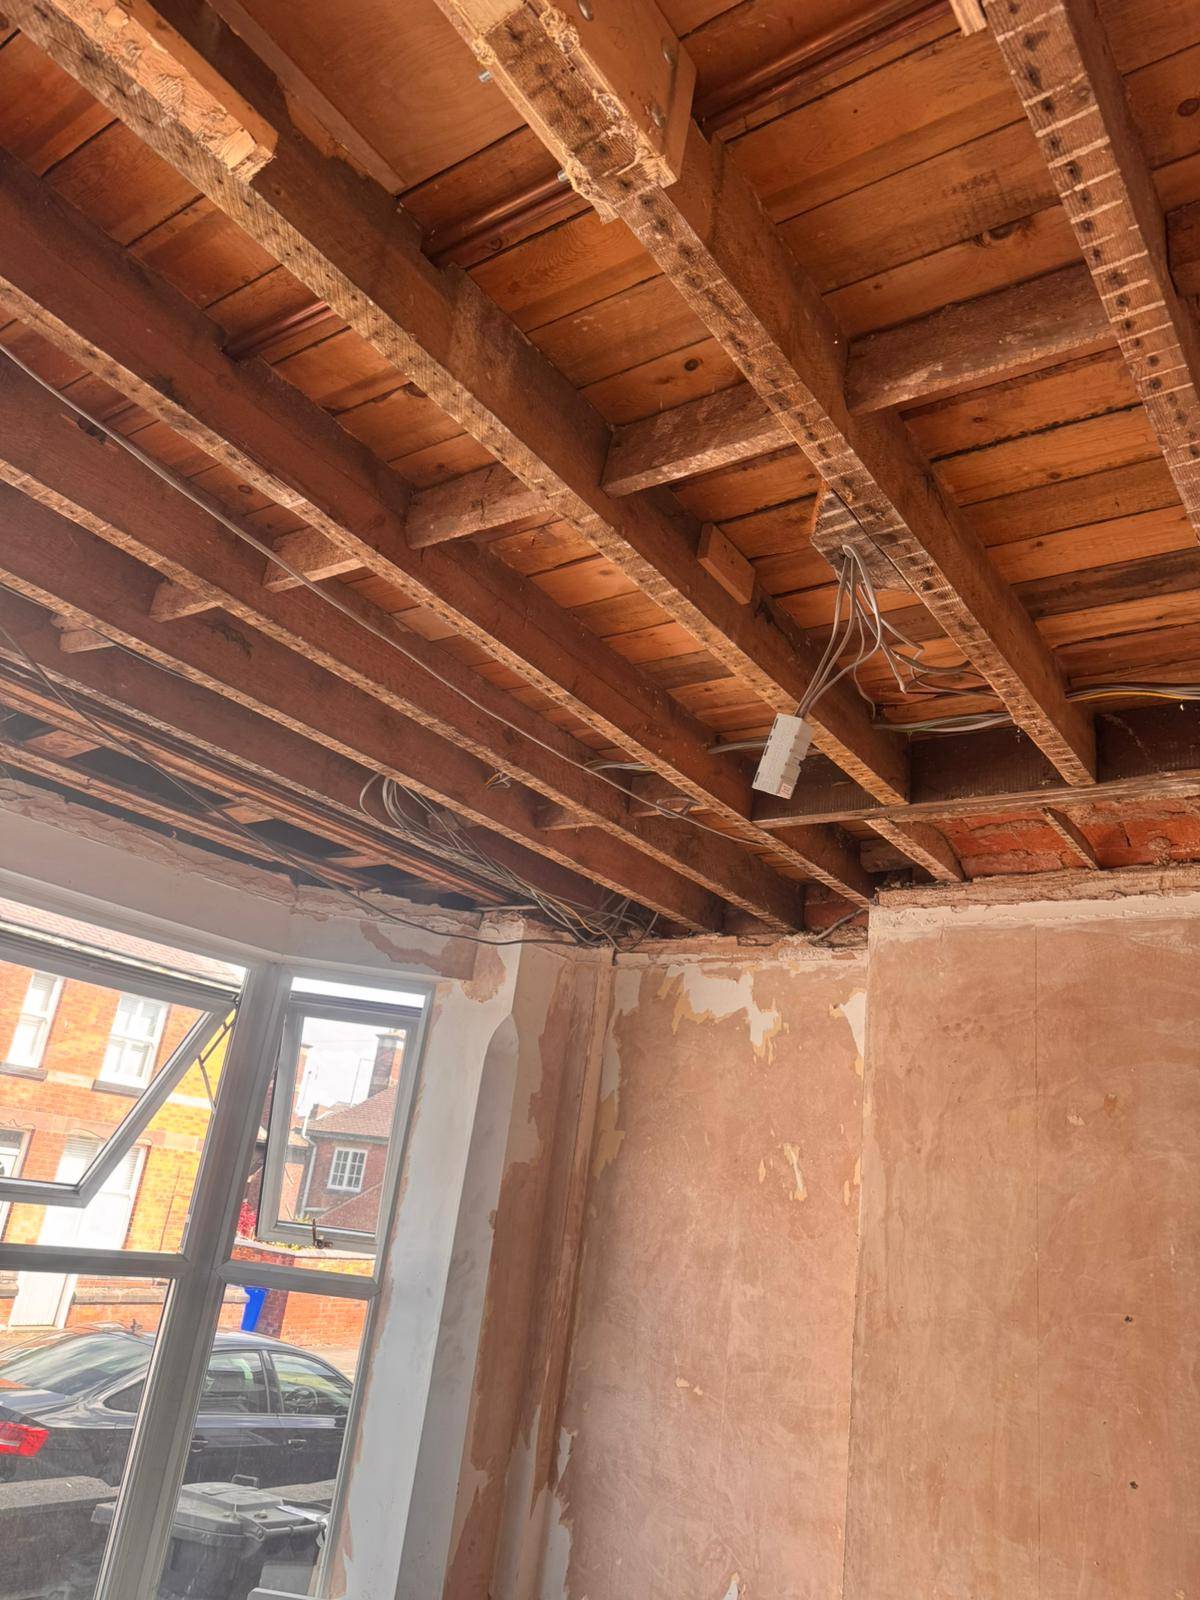
We have completely cleared out the old lath and plaster ceilings and stripped the walls back to the original brickwork. This allows us to inspect the structural integrity of the home. As you can see from our first on-site photos, we have already reinforced the ceiling joists with heavy-duty timber splicing and bolted structural plates to ensure the upper floors are level and secure for the next century.

JDP electrical fitted a new consumer unit for us
New consumer unit to replace the existing 2

2. Comprehensive Insulation & Energy Efficiency

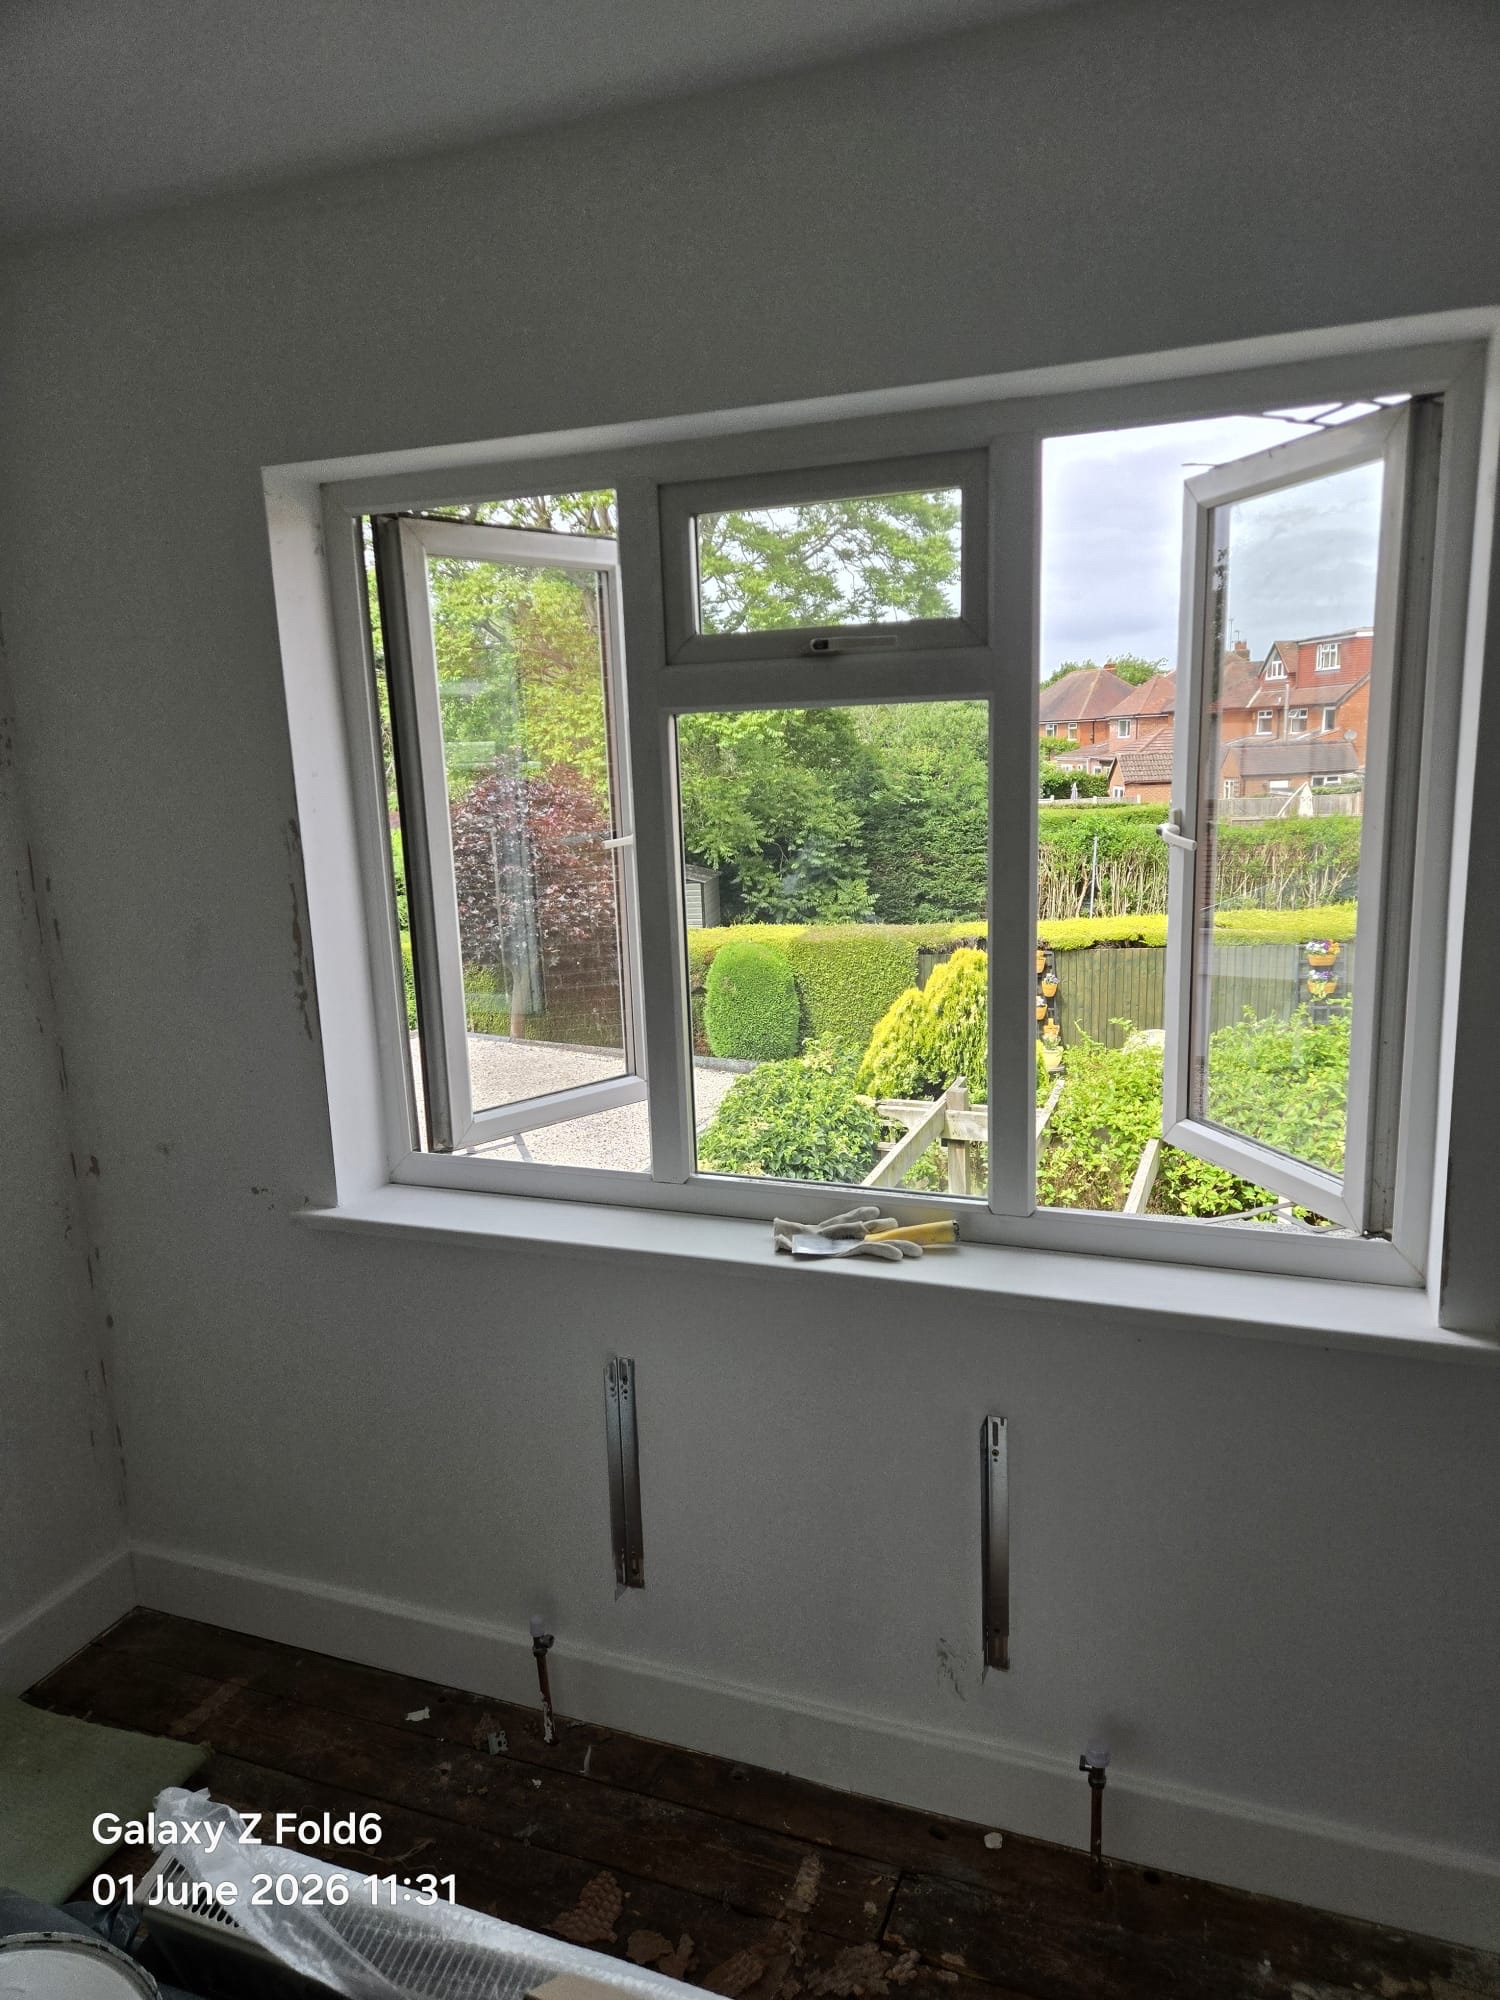
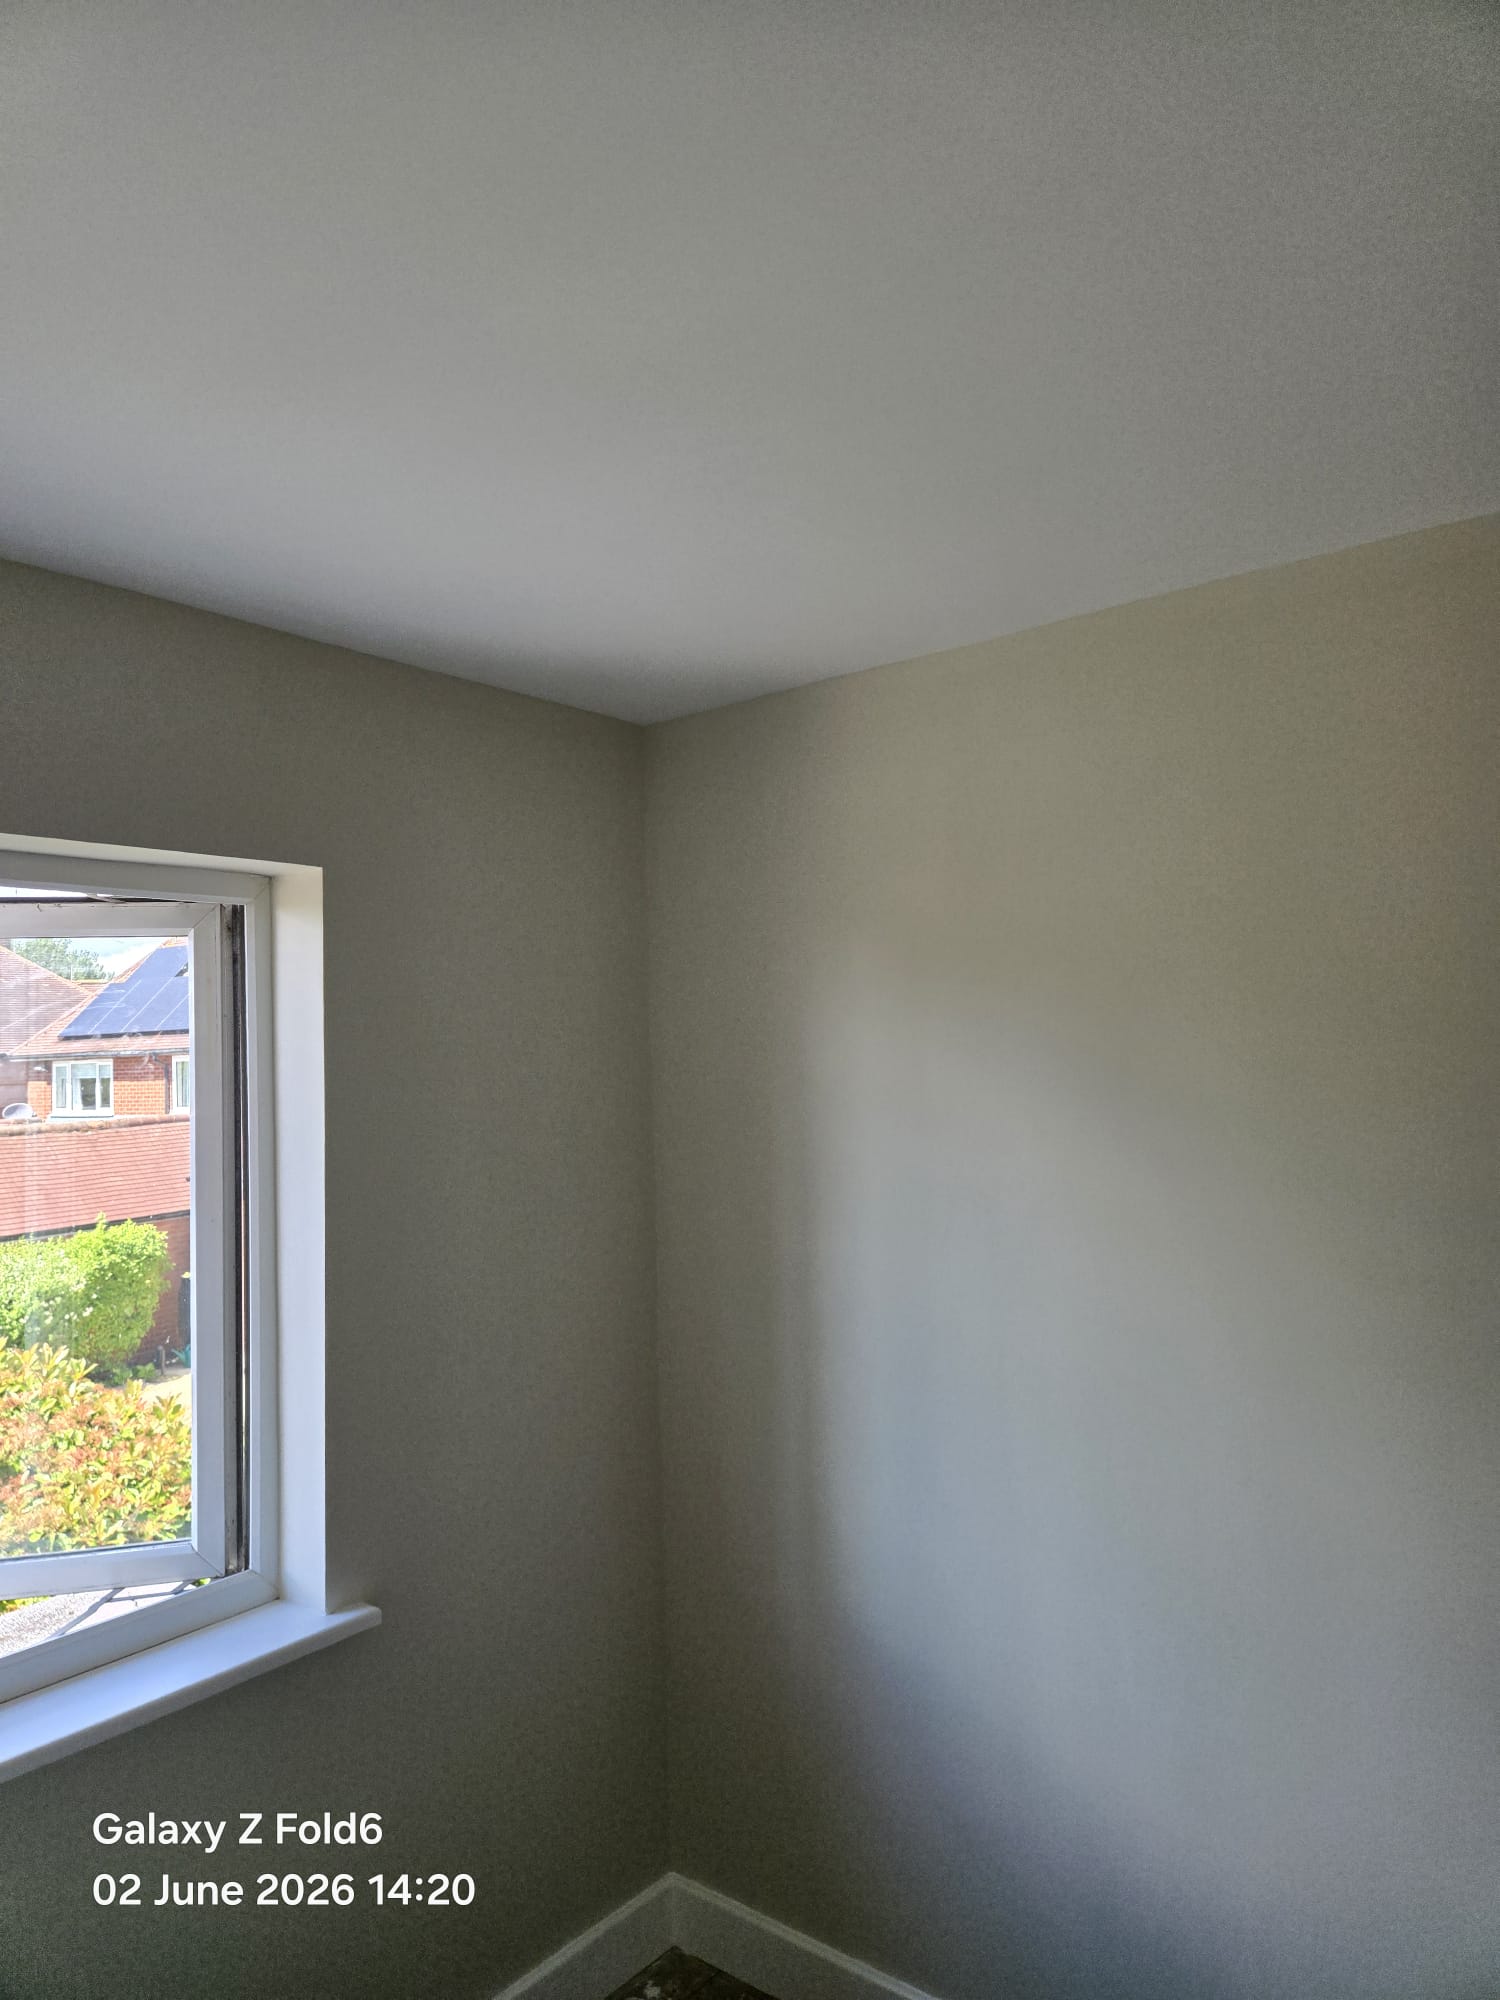
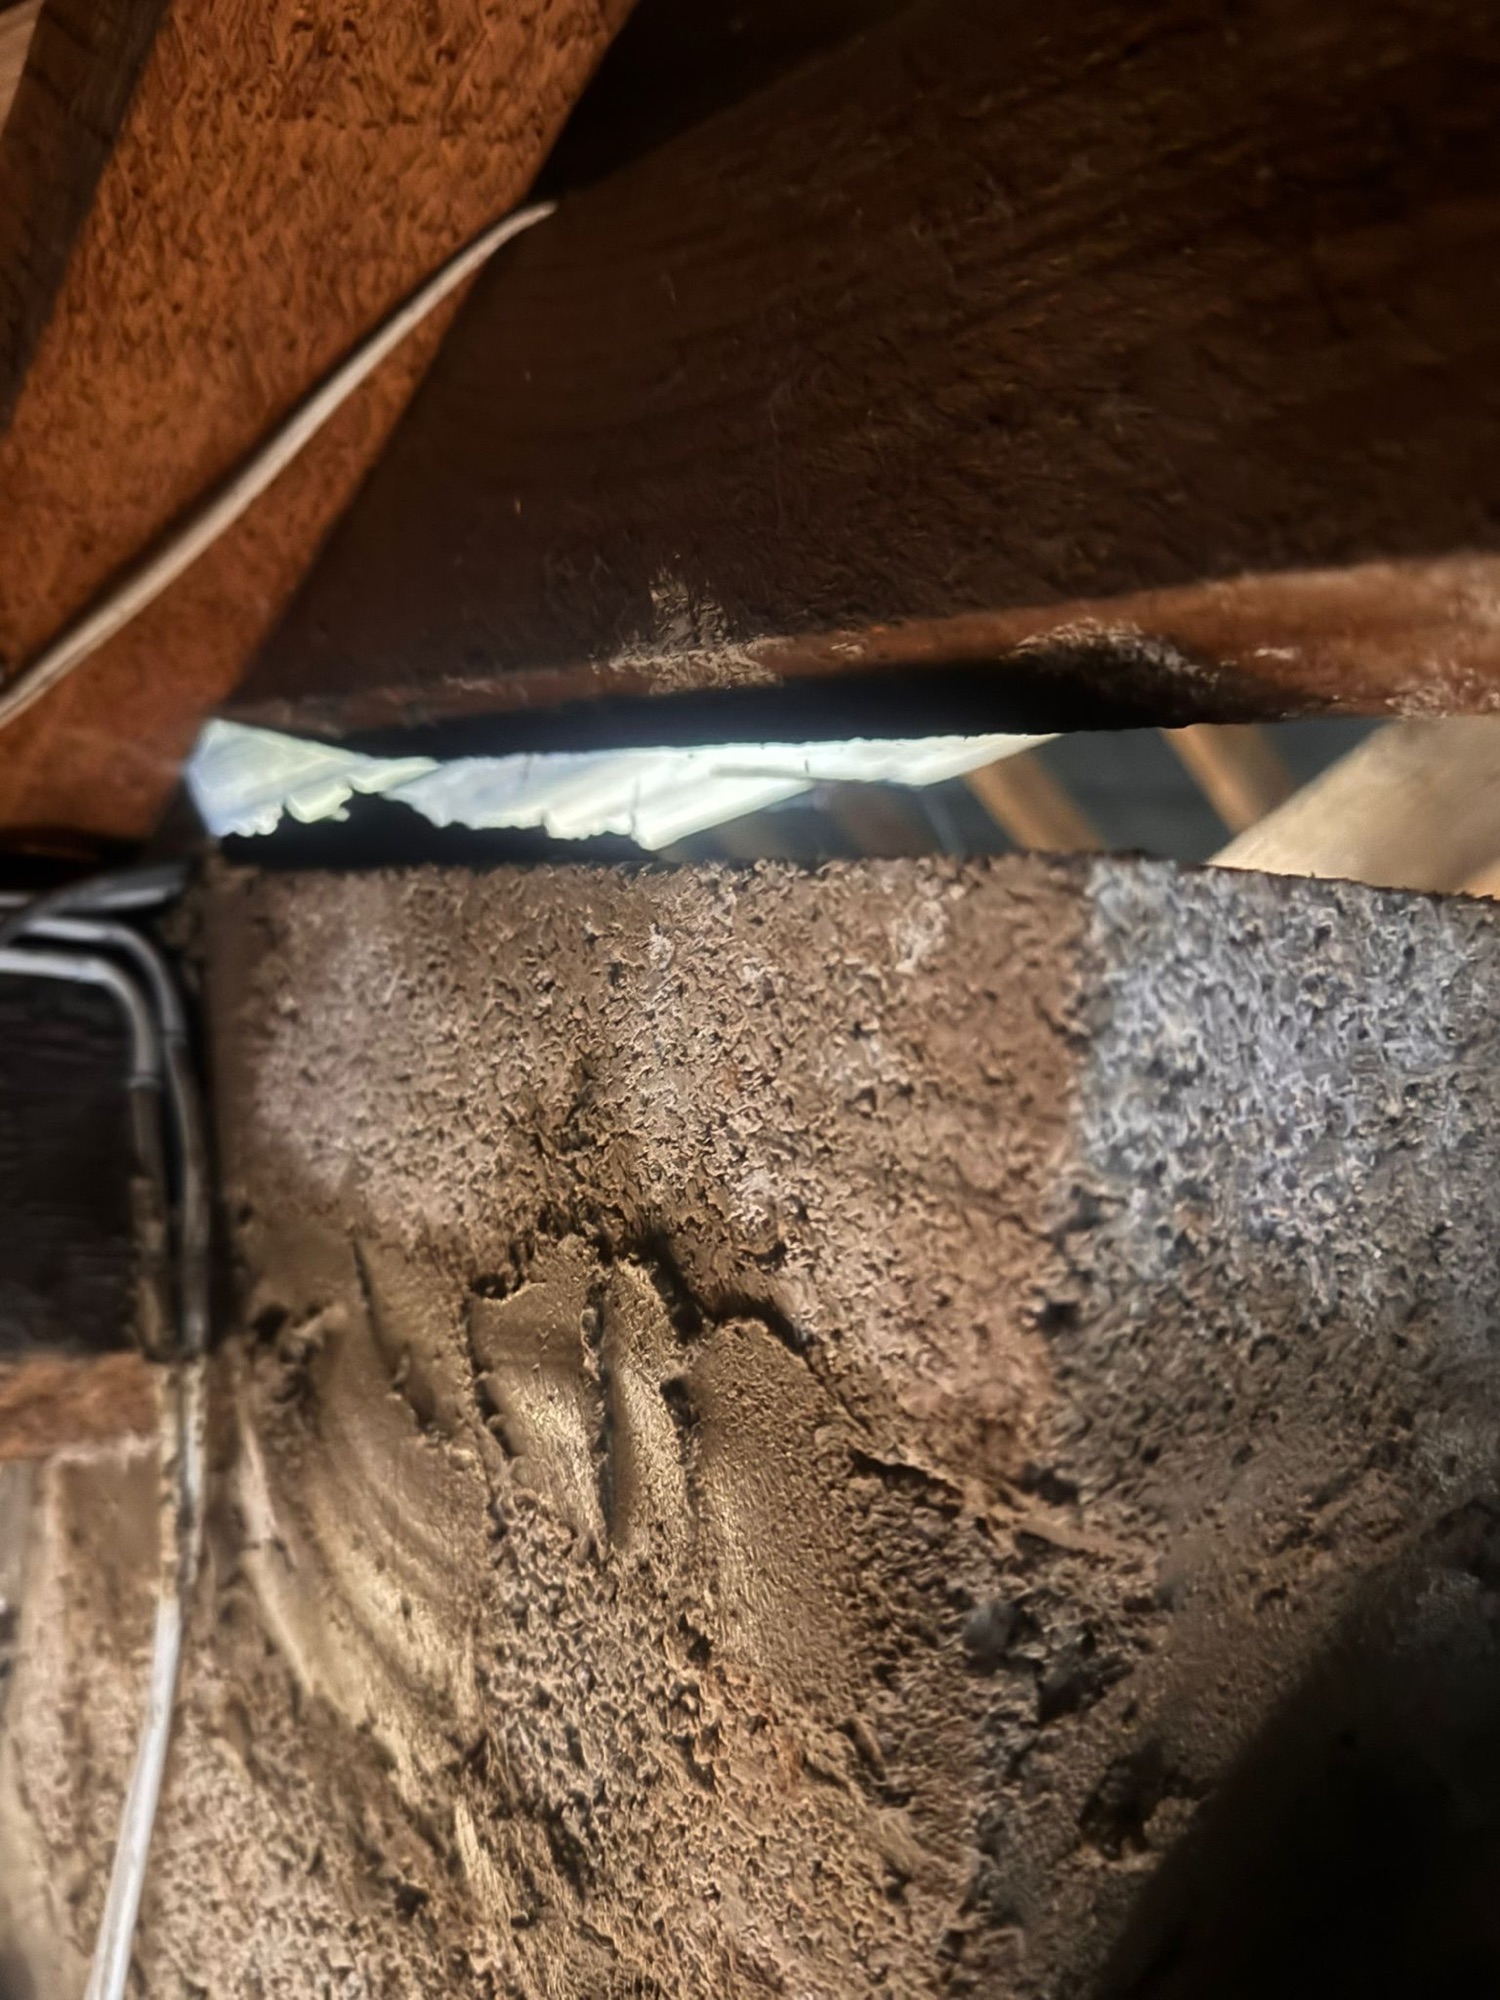
Older solid-wall terrace houses can be difficult to keep warm, leading to massive heating bills. By stripping the ceilings back int he bedroom we have fitted Super Foil SF19 X Foil which has an Roof Thermal Resistance : 2.54R (m2K/W) and is LABC approved. A standard cavity wall in the UK is between 2.3-4.5 so for a very small loss of head height 25mm your adding a huge amount of insulation.

By choosing SuperFOIL insulation you can save yourself Space, Time & Money over traditional forms of insulation. SuperFOIL is dedicated to improving Sustainbility of our products as well as our business as a whole. Our multifoil products are produced using up to 40% recycled materials. This helps save the equivalent of approx. 80 million plastic bottles from ending up in land fill every year! Because SuperFOIL consists of multiple layers of radiant barrier foil, it can protect against heat loss through radiation that non-foil insulation’s offer no protection against. Additionally, by installing as a continuous layer and sealing fully with SuperFOIL Tape, SuperFOIL insulation provides an effective air and vapour barrier. Controlling air leakage such as draughts is paramount to the achieve high levels of energy efficiency. Useful Links: SuperFOIL Brochure-2022
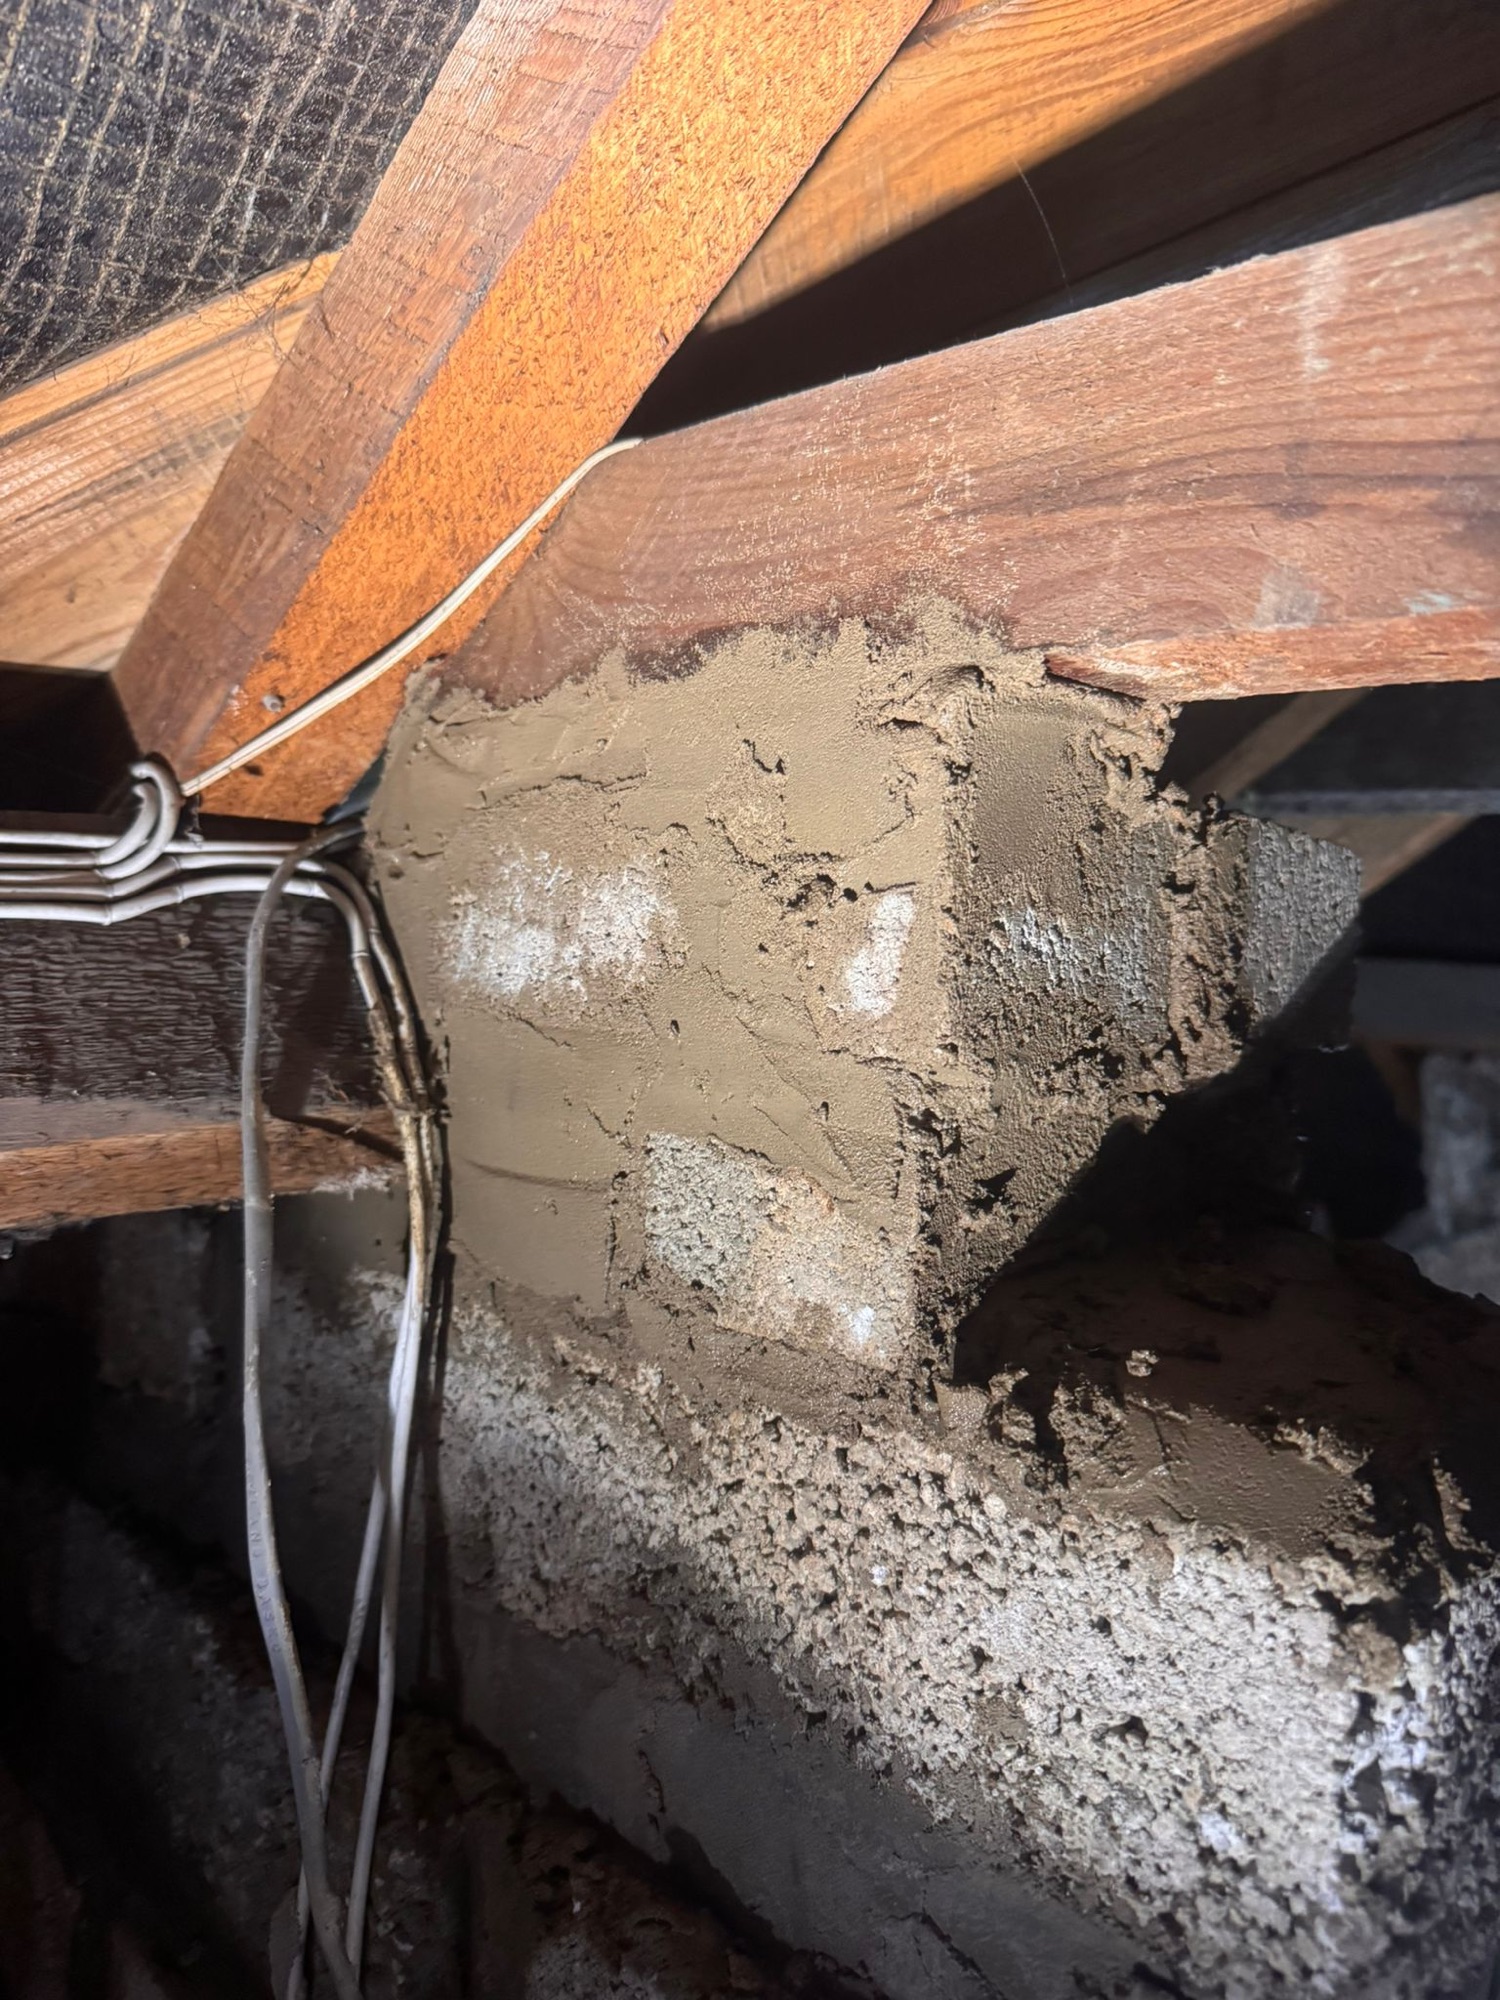
This simple step will make a significant difference to warmth in the bedrooms of this 1920s house into a cozy, energy-efficient home that retains heat and decreases monthly utility costs.

3. Professional Plastering

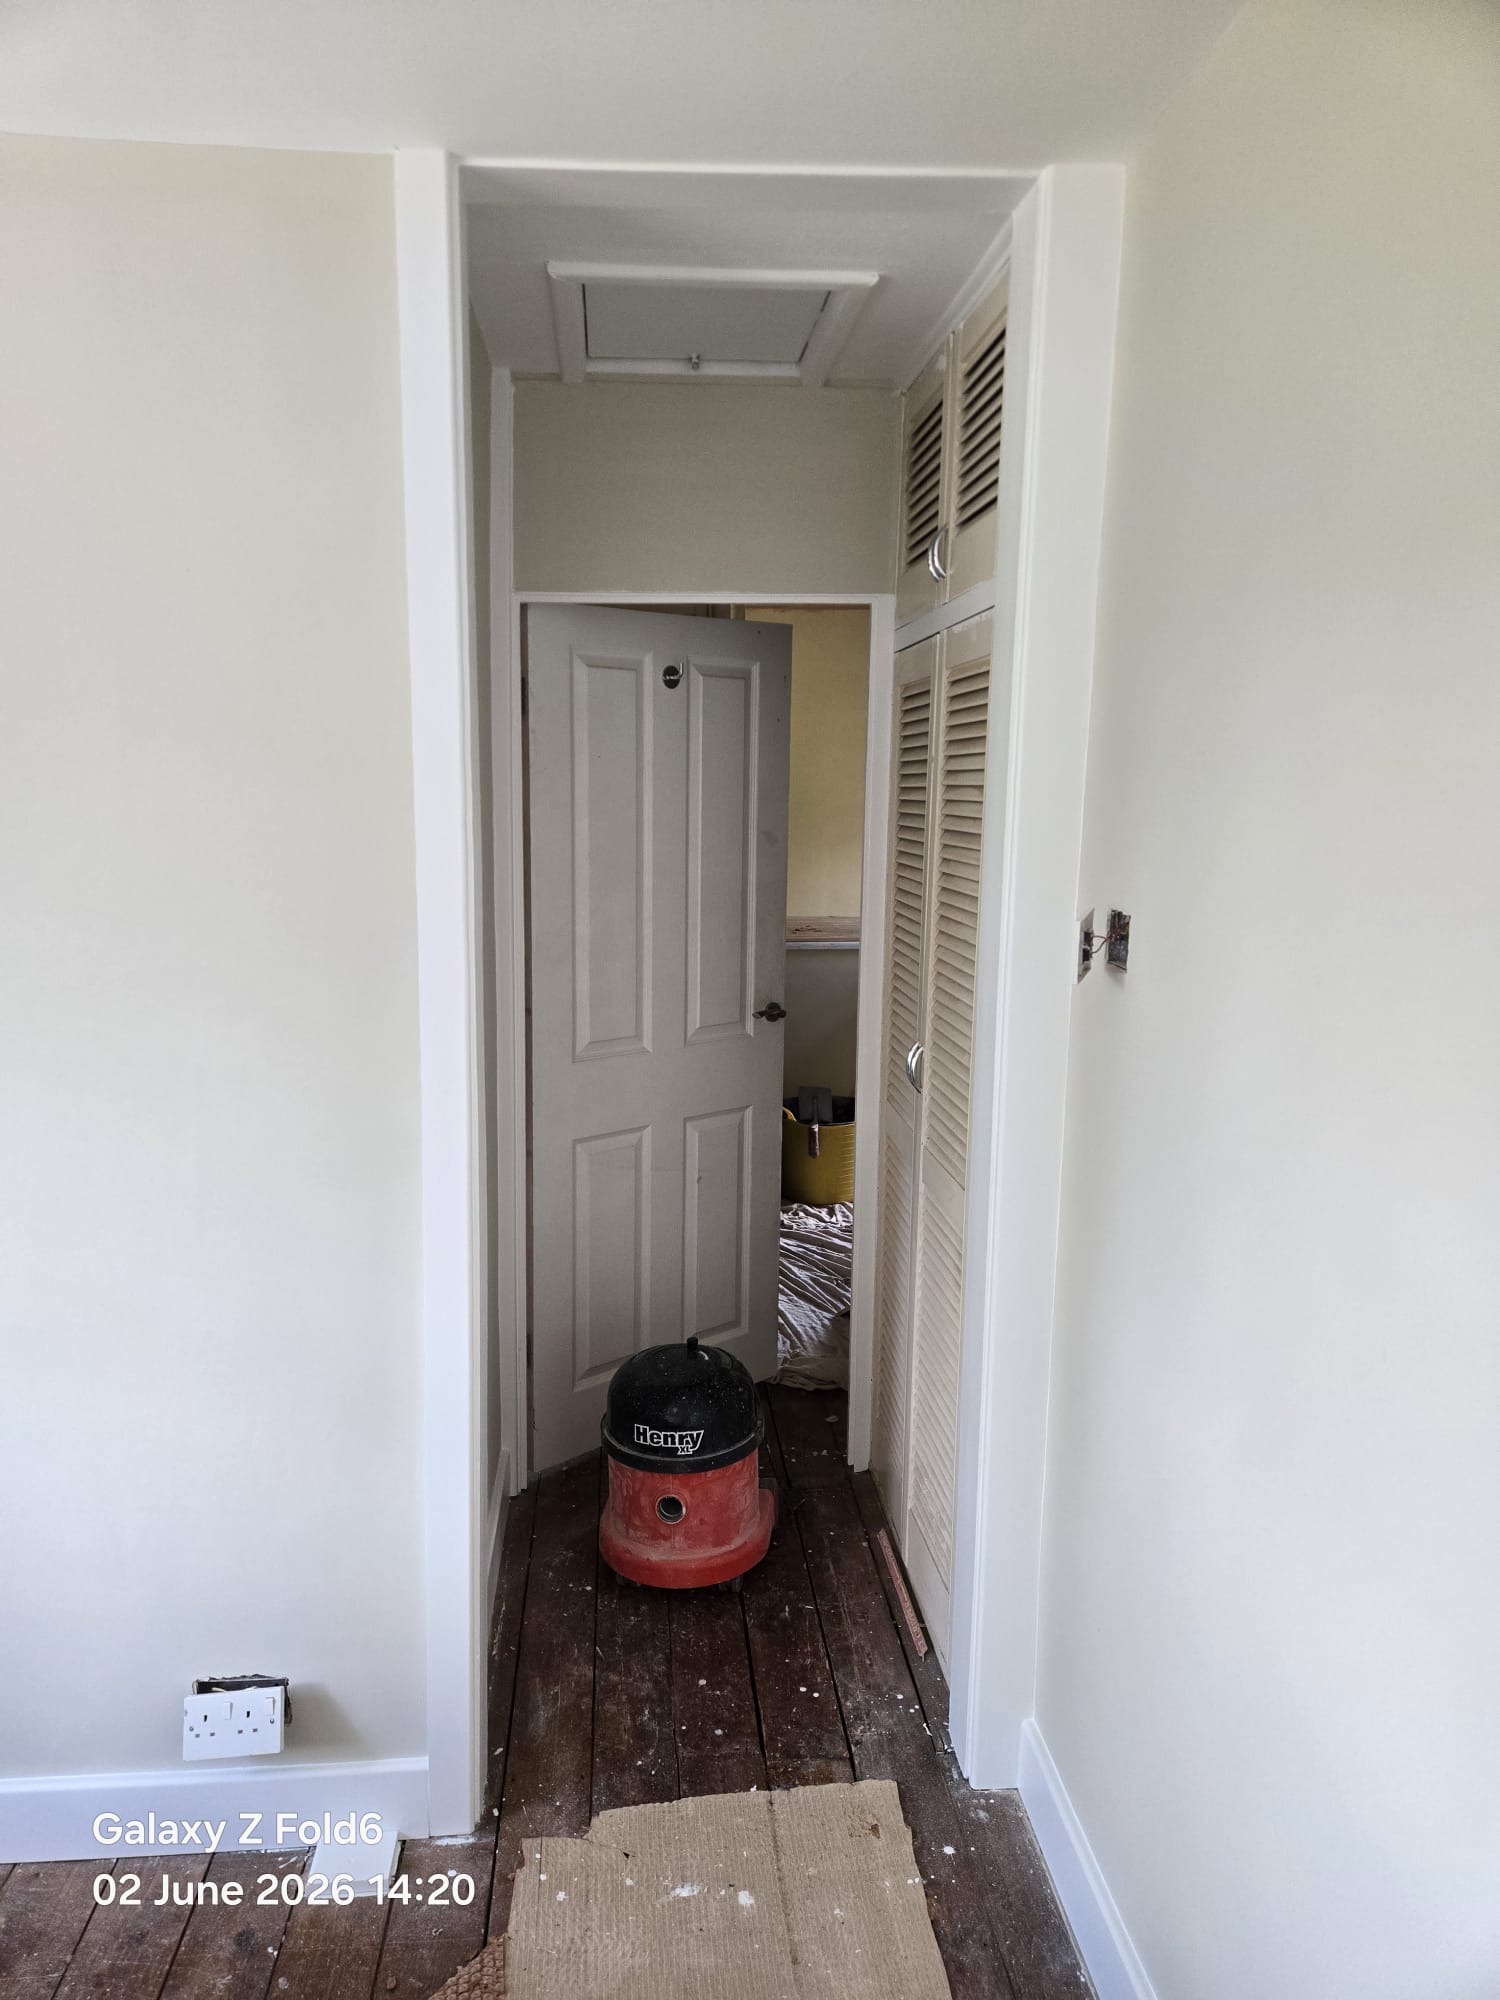
With the structural work done and insulation in place, our team is getting to work on the boarding and plastering. We use premium finishes (like the British Gypsum BoardFinish ready to go on-site) to achieve perfectly smooth, flawless walls that provide the ultimate foundation for decorating.

4. The Grand Finale: A Bespoke Media Wall

Once the room is plastered and modern flooring is laid, we will be constructing a fully custom, bespoke media wall. This will seamlessly integrate a modern widescreen TV, integrated mood lighting, hidden cabling, and a contemporary fireplace—proving that you can enjoy cutting-edge modern luxury without losing the cozy soul of a traditional terrace.

Progress Photos: Stage 1 (The Strip Out)

Take a look at the raw potential we are working with! These initial photos show the property right after the teardown phase, highlighting the exposed joists, stripped chimney breast, and the starting point of our plastering prep.

Categories
Renovation

Room refurbishment, Ruddington, NG11, Nottinghamshire

Categories
Brickwork

Garden brick walls. Ng9, Beeston

Neat brickwork in Forterra Hampton rural blend, the bricklayers like these bricks because they pick up the moisture at a steady rate.

They are classed as engineering bricks so can be used in the ground.

Small brick wall using Hampton Rural blend bricks.
Engineering Brick Coping: Durability and Cost
 
For finishing the top of the wall, we used engineering bricks on edgeThis is a detail often employed due to the brick’s high durability and low water absorption, making it excellent for capping walls or for demanding structural applications like the blue engineering brick upstands we utilize below the DPC level for porch structures.
 
It is essential to remember that for structural integrity and a clean stop-end, the final end needs to be solid. The going rate for a solid engineering brick to be approximately £2.25.

Hampton Rural Blend

Benefits of Hampton Rural Blend The Ecostock range is manufactured using the latest technology in sustainability and production efficiency. Forterra produce three kinds of this soft mud brick at their state-of-the-art factory in Measham, Leicestershire: stock pressed with a smooth, sand faced finish; stock thrown, which have a traditional handmade appearance; and waterstruck, which have a smooth but irregular surface. Ecostock bricks are available in wide selection of red, buff and yellow colours.
Categories
Brickwork Renovation

Brick wall repointing

The wall had been in place for approximately 130 years and needed some TLC. We removed the Staffordshire blue the coping  stones, repointed the wall and refitted the coping stones.

We used standard cement and yellow building sand, a few of the bricks could have been replaced but the client wished to patch up the wall to minimise expenditure. The work took 2 days for one of our skilled bricklayers to complete.

various bricks are blowing, but the customer wanted to minimise the spend so we simply patched up as best we could. Sometimes it is possible to chop out a blown brick and then use the other inward facing side on the outside. however in practice if the face of a brick has blown then when extracting the brick from the wall it tends to break up and can’t be reused.

Categories
Brickwork Renovation Uncategorised

Steel RSJ install

Categories
Brickwork

Bricking up windows

The customer was reconfiguring the internal layout of their home, as such three windows needed to be filled in.

We Sourced pinhole bricks from KRM in Ilkeston to match the existing brick in an imperial size. They were not cheap at all£1.29 each but we pride ourselves in delivering a great finish.

The window brick up on this unit was slightly more complex due to the door being on one side.

The mortar will dry a lighter colour in time when the moisture evaporates from it. We used yellow building sand.

A neat and tidy job. Finished in one day for customer.

Categories
Brickwork Extension New build

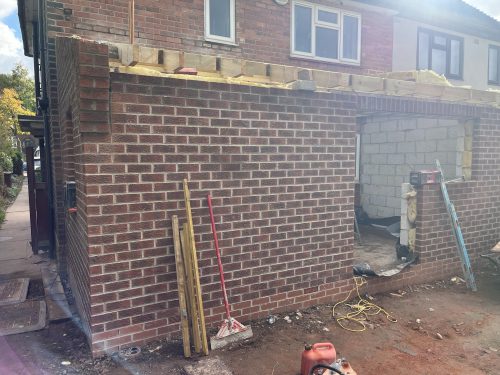
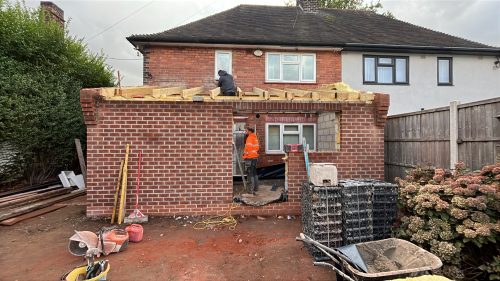
Room extension

Awaiting the arrival of the roofers and joiners

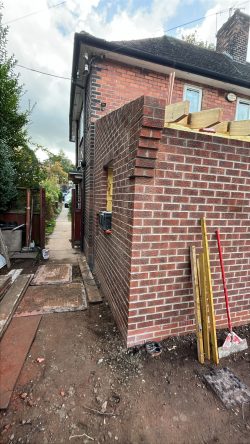
Possibly the smallest extension we have done so far. Only 2.5 square meters but it makes the room much more useable and the window lets lots of light in.

We constructed it, then left the roof open until we go to get the roofers on site

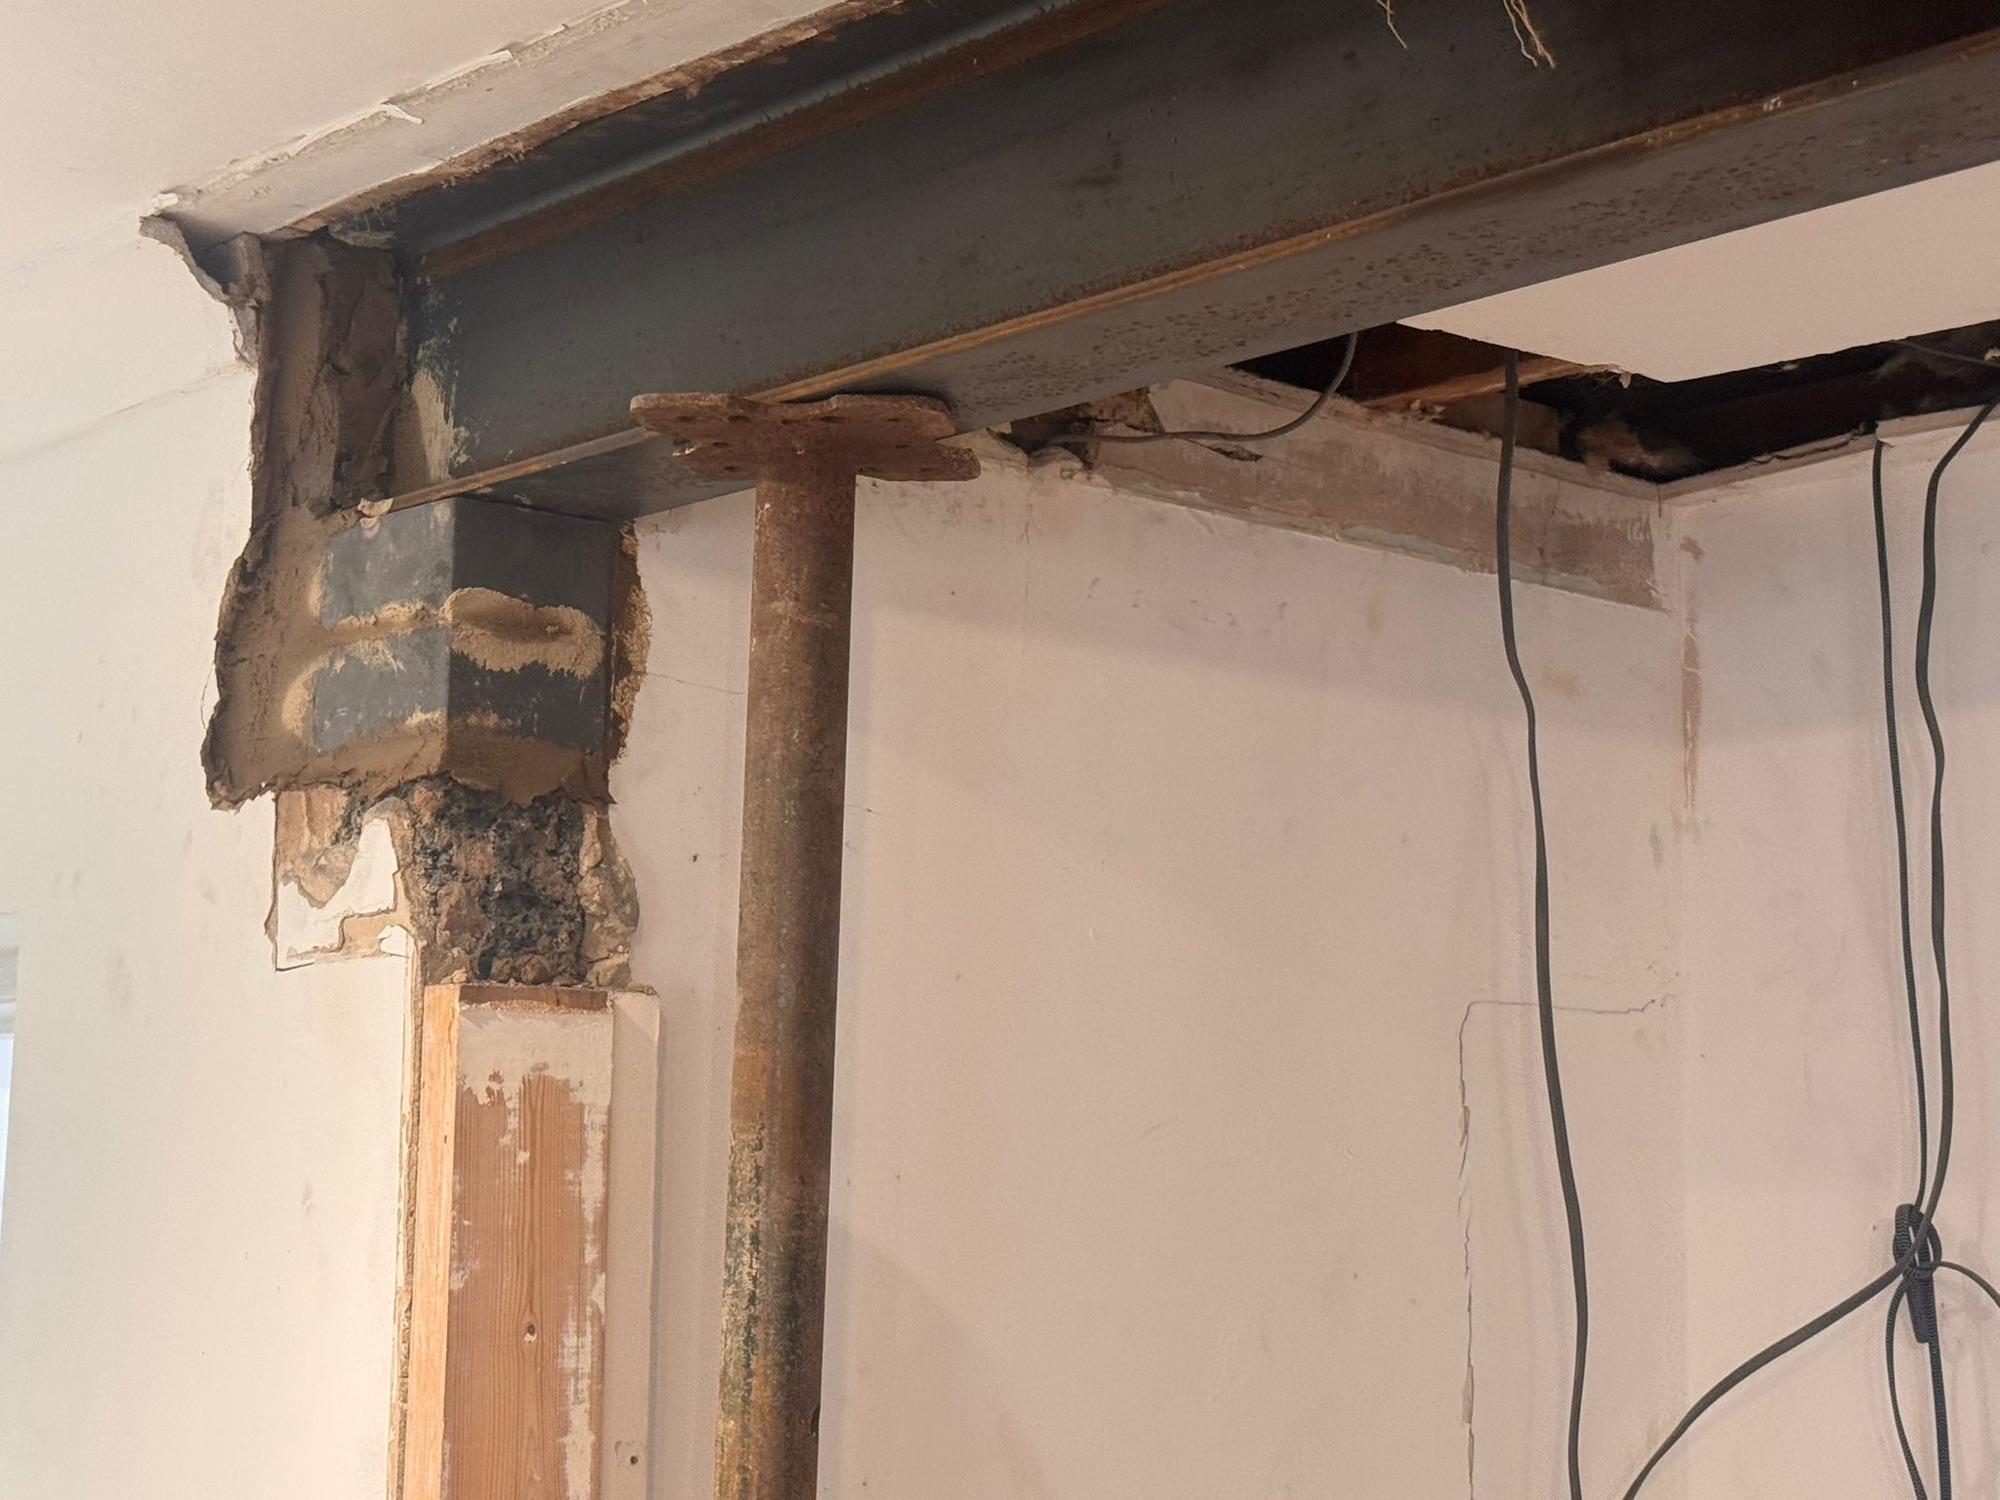
At the roof load here is being supported on the props

We fitted blocks above the window lintel because it was going to be covered by the facial soffit boards

The steel lentil was specified by our supplier

We supported the roof on acro pop props whilst we installed the steel lentil.

We install a single long lentil to allow complete freedom of where the internal wall went

Categories
Renovation

Construct new openings into Garage

Aspley – Construct new openings into Garage including building control.

Categories
Bathroom Brickwork Extension Flooring Groundwork Kitchen New build Renovation Roofing Uncategorised

Nottingham Refurbishment & extension

This was a large contract which involved building onto a 1930’s house.

We built a large open plan kitchen diner downstairs with a boot room, playroom and for home working. Upstairs we created an additional en suite bedroom .