Categories
Commercial

Replacing 15 glass windows in Nottinghams Park Estate

Commercial Project Spotlight: Window Replacement at Nottingham Squash Club
img_6788
previous arrow
next arrow

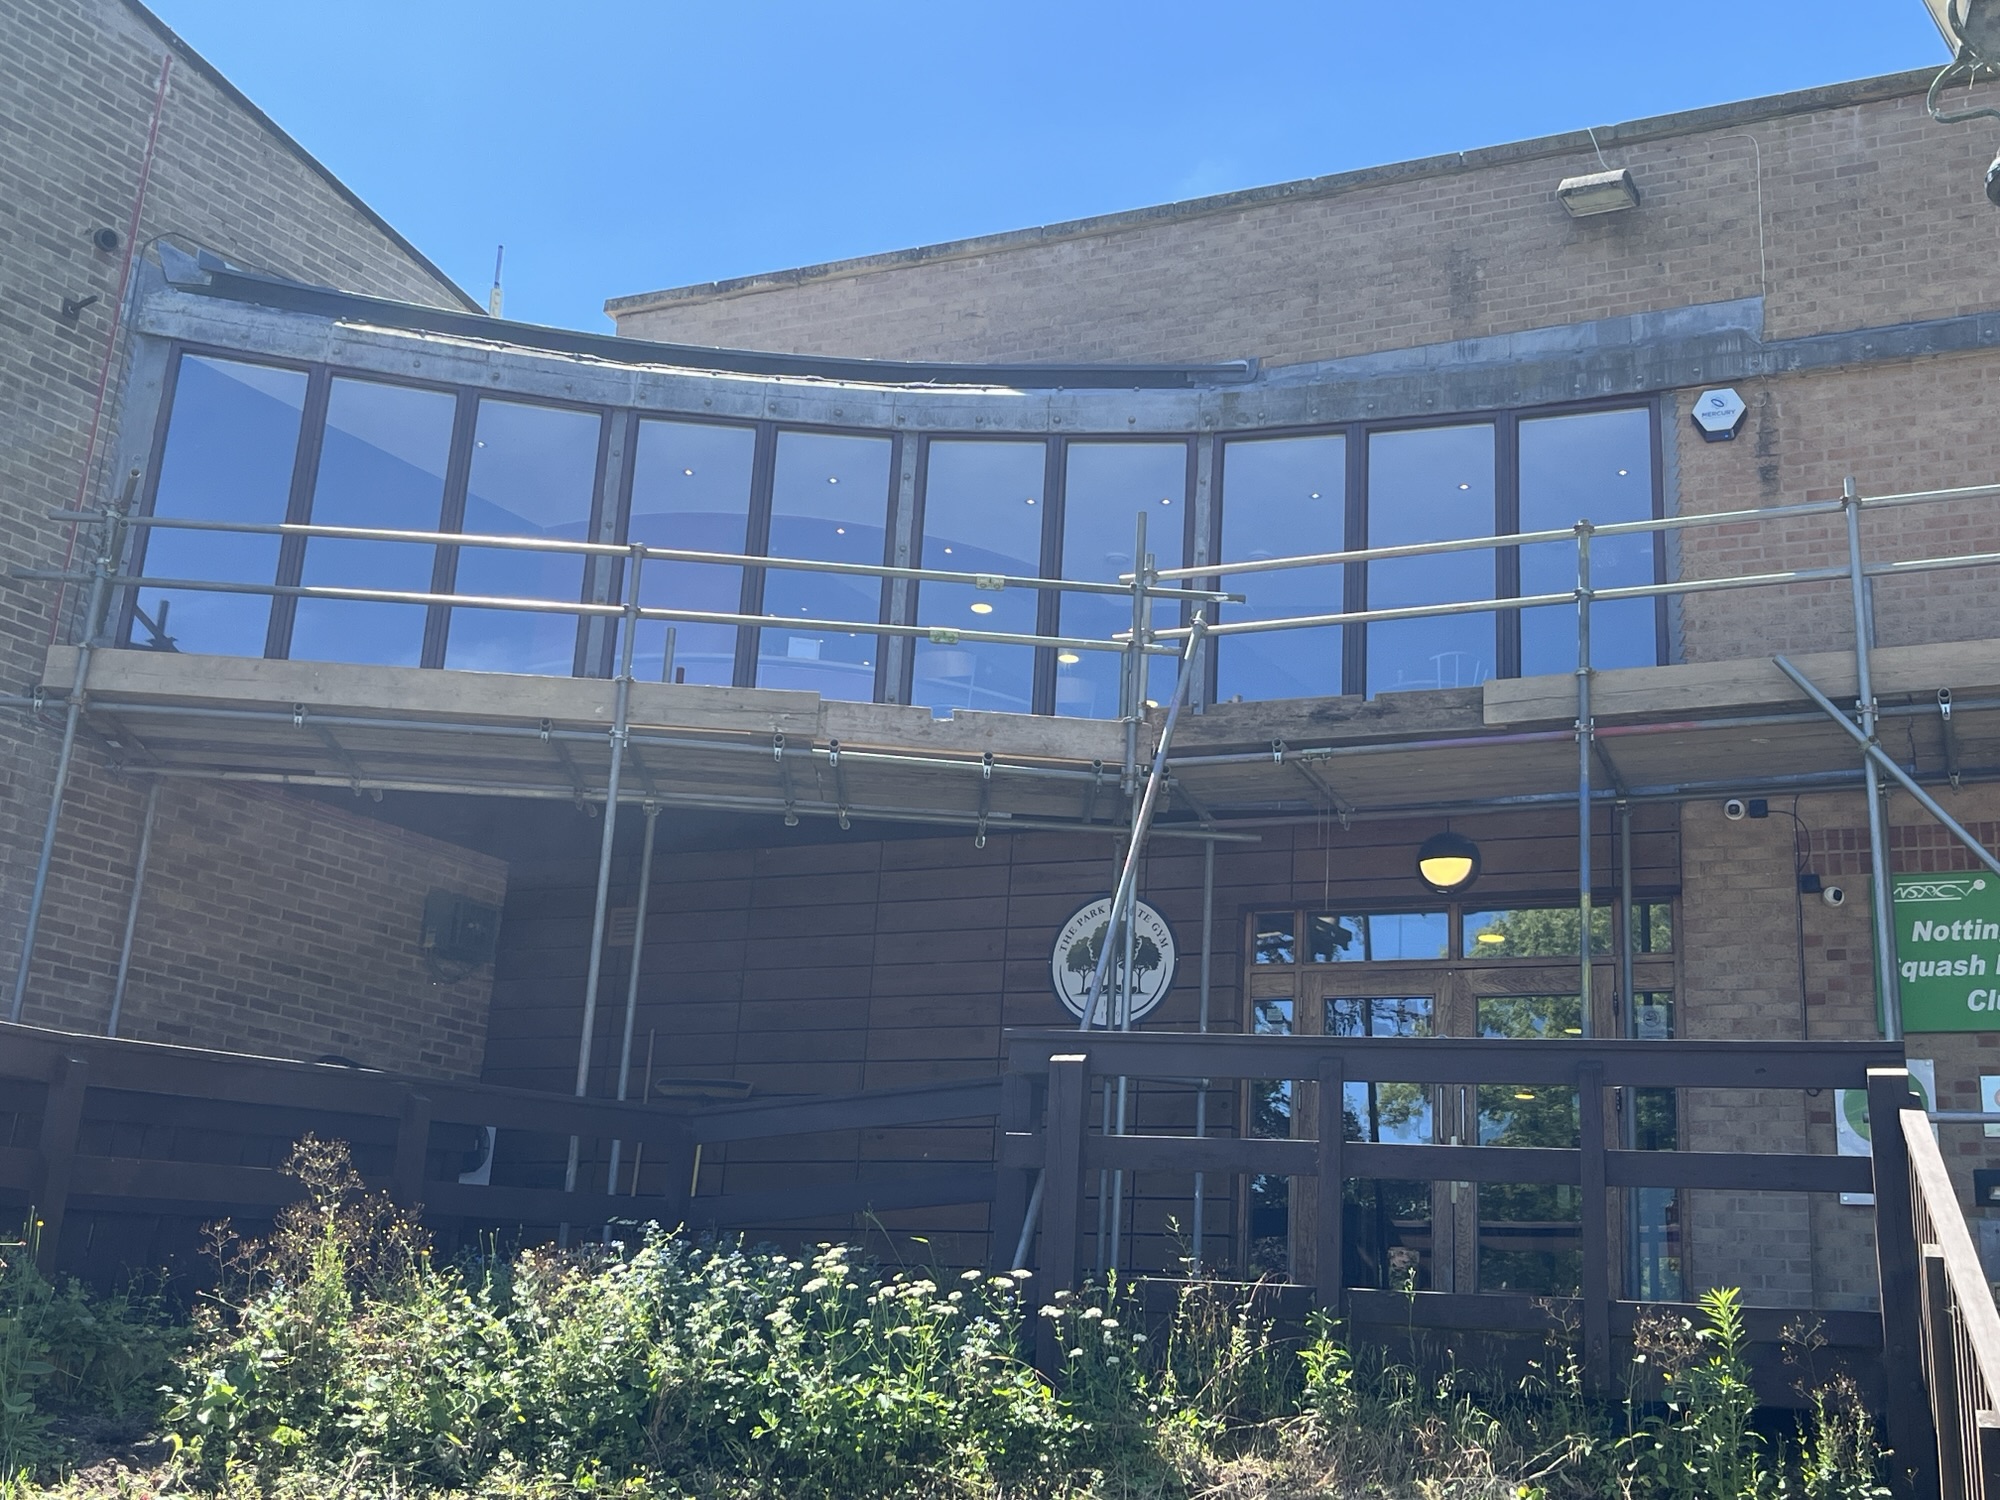
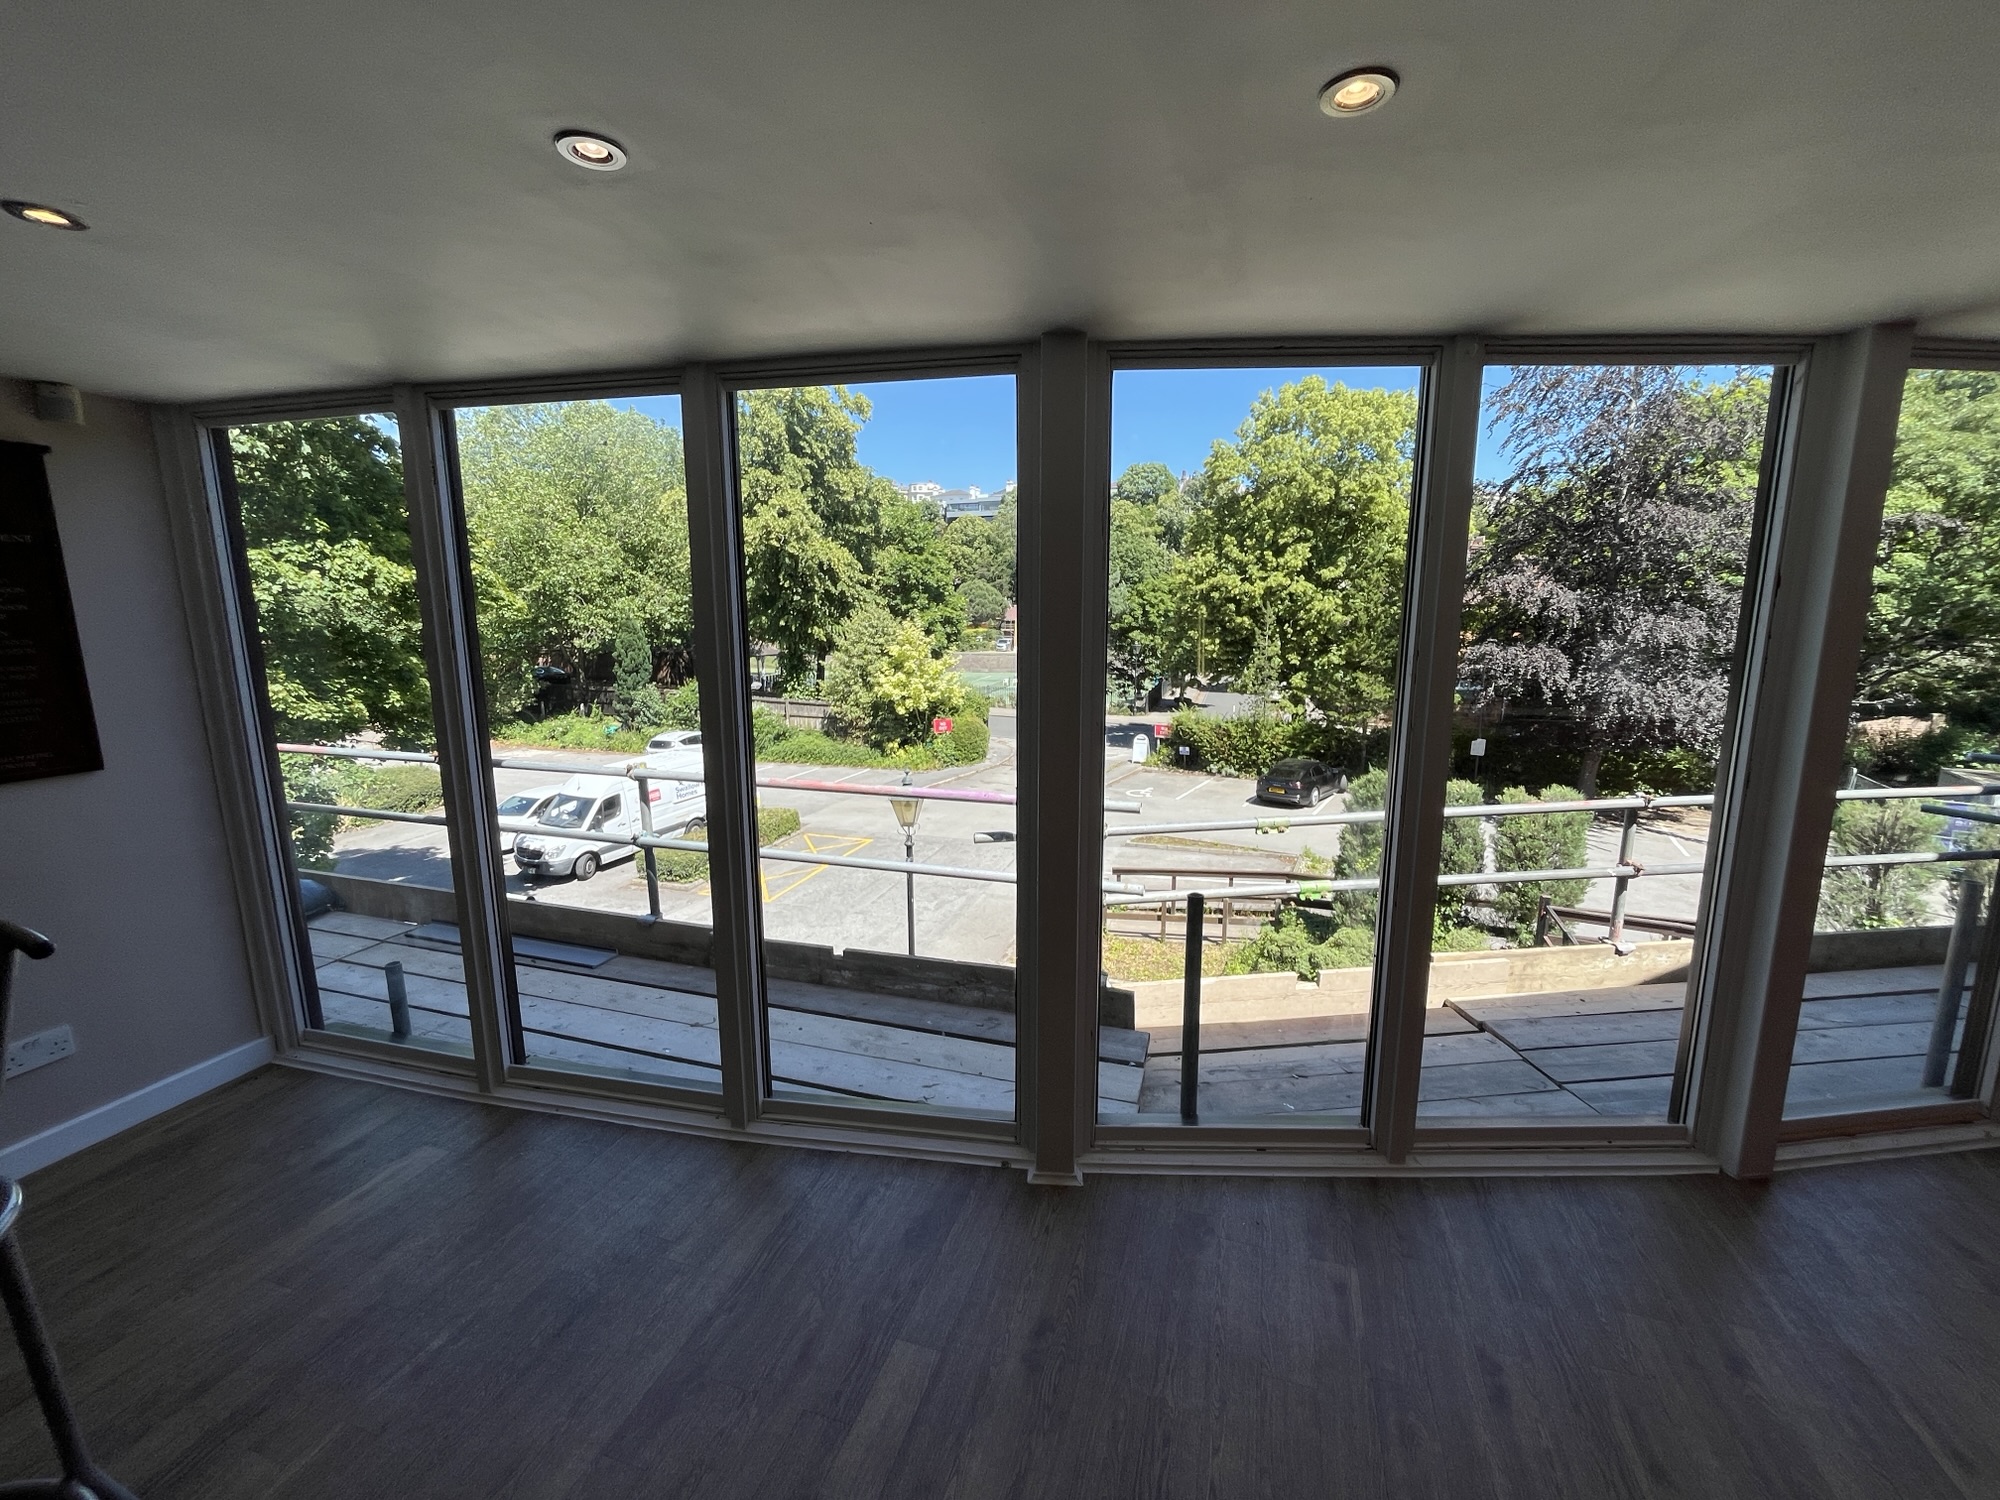
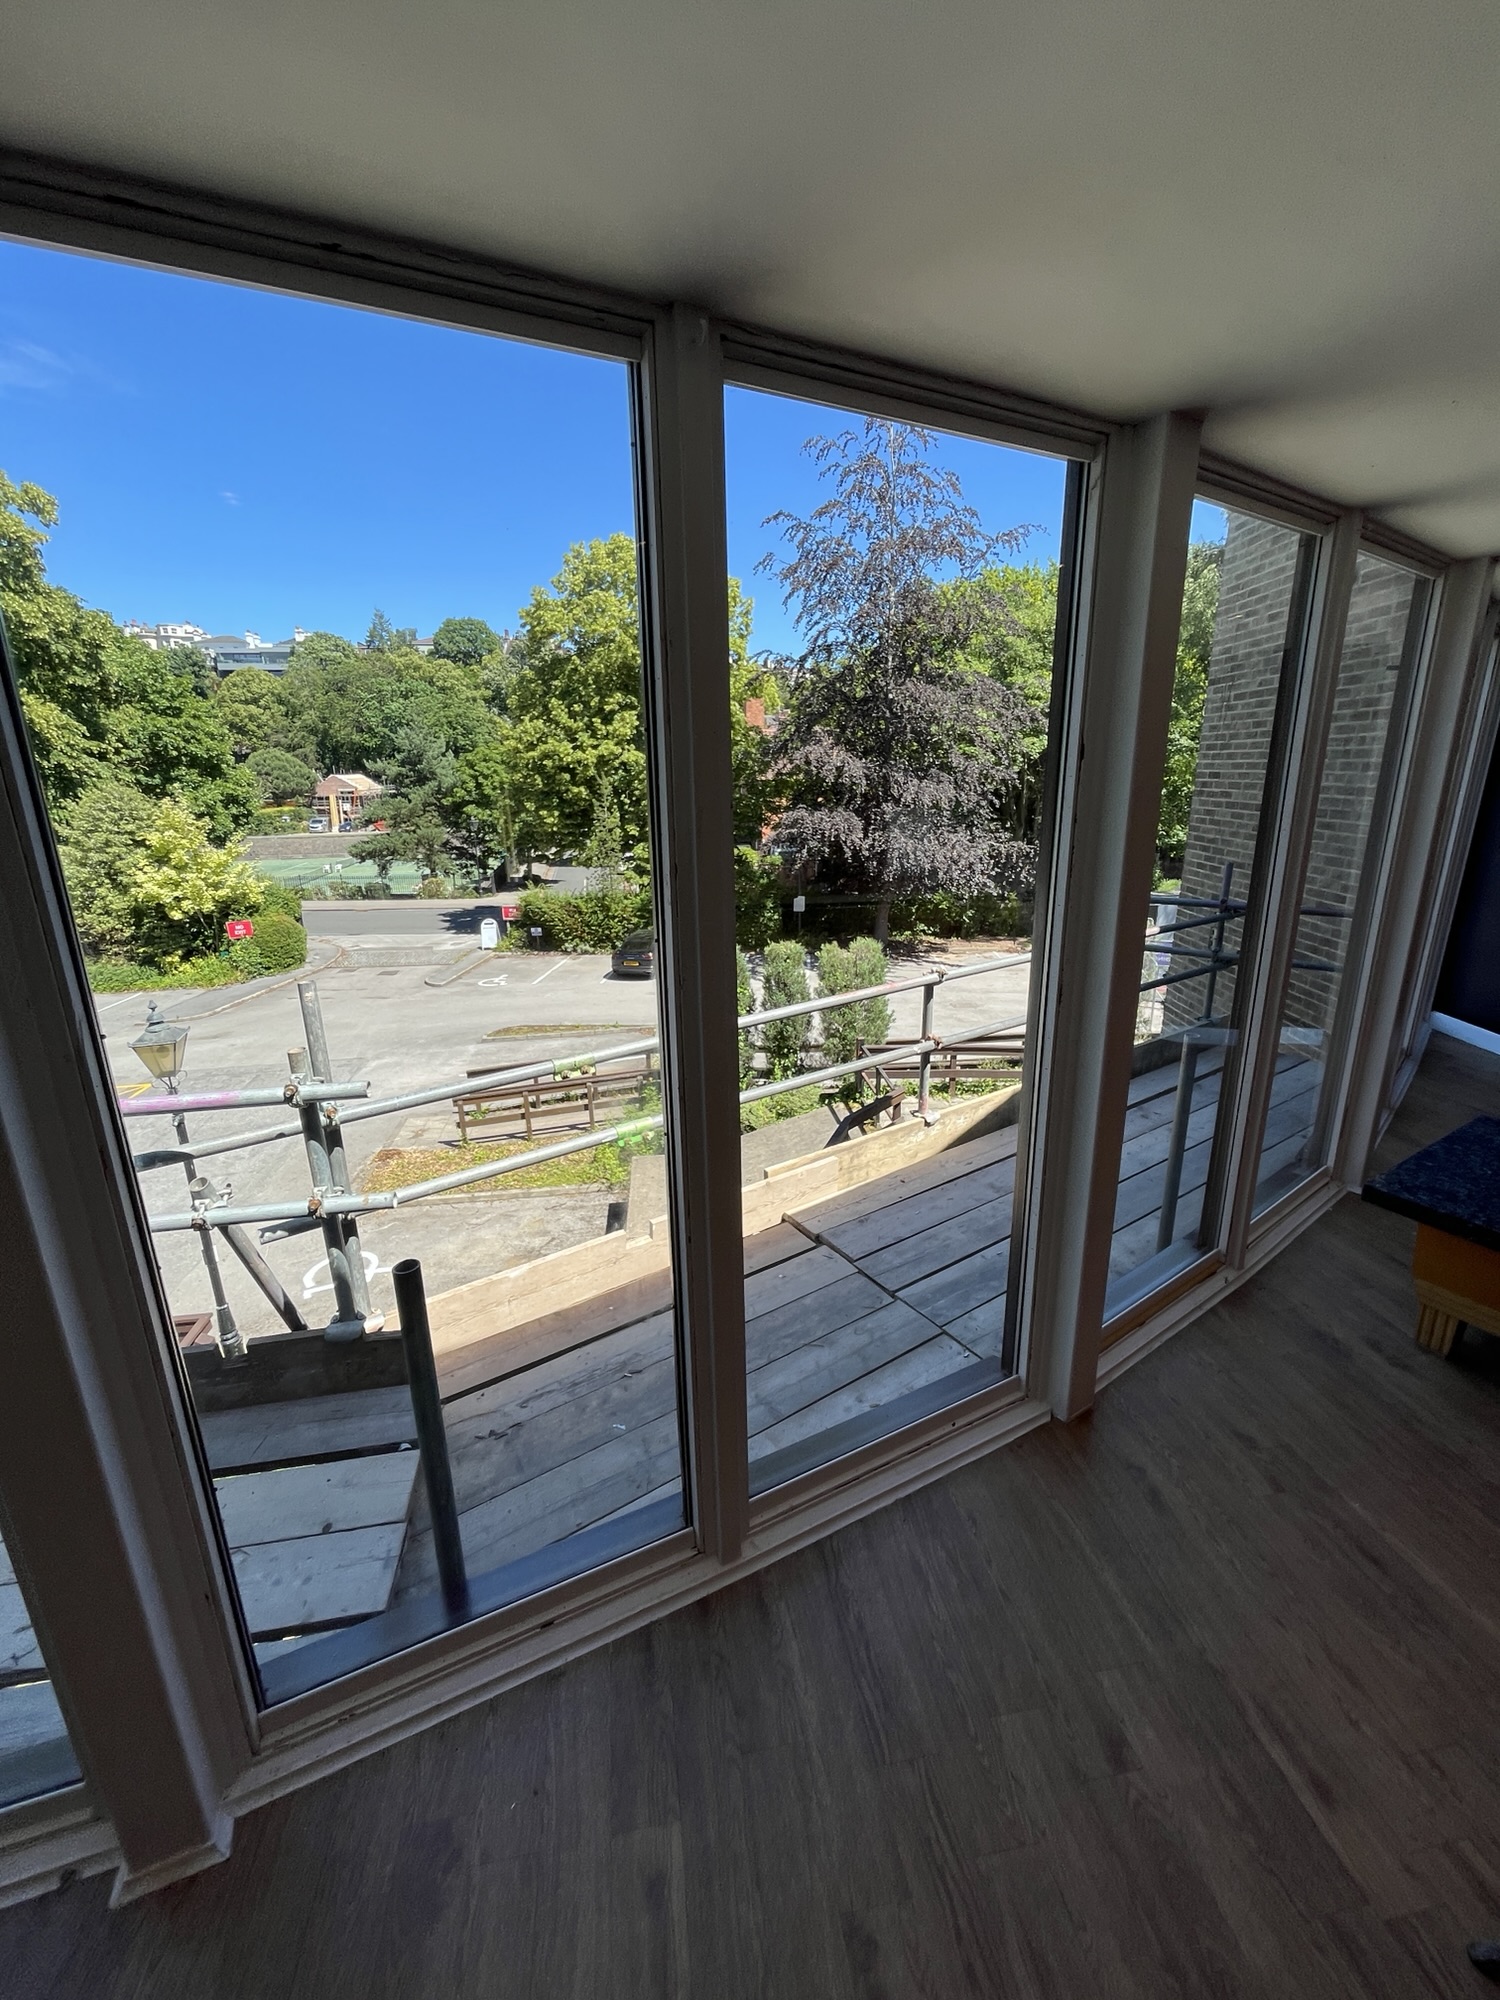
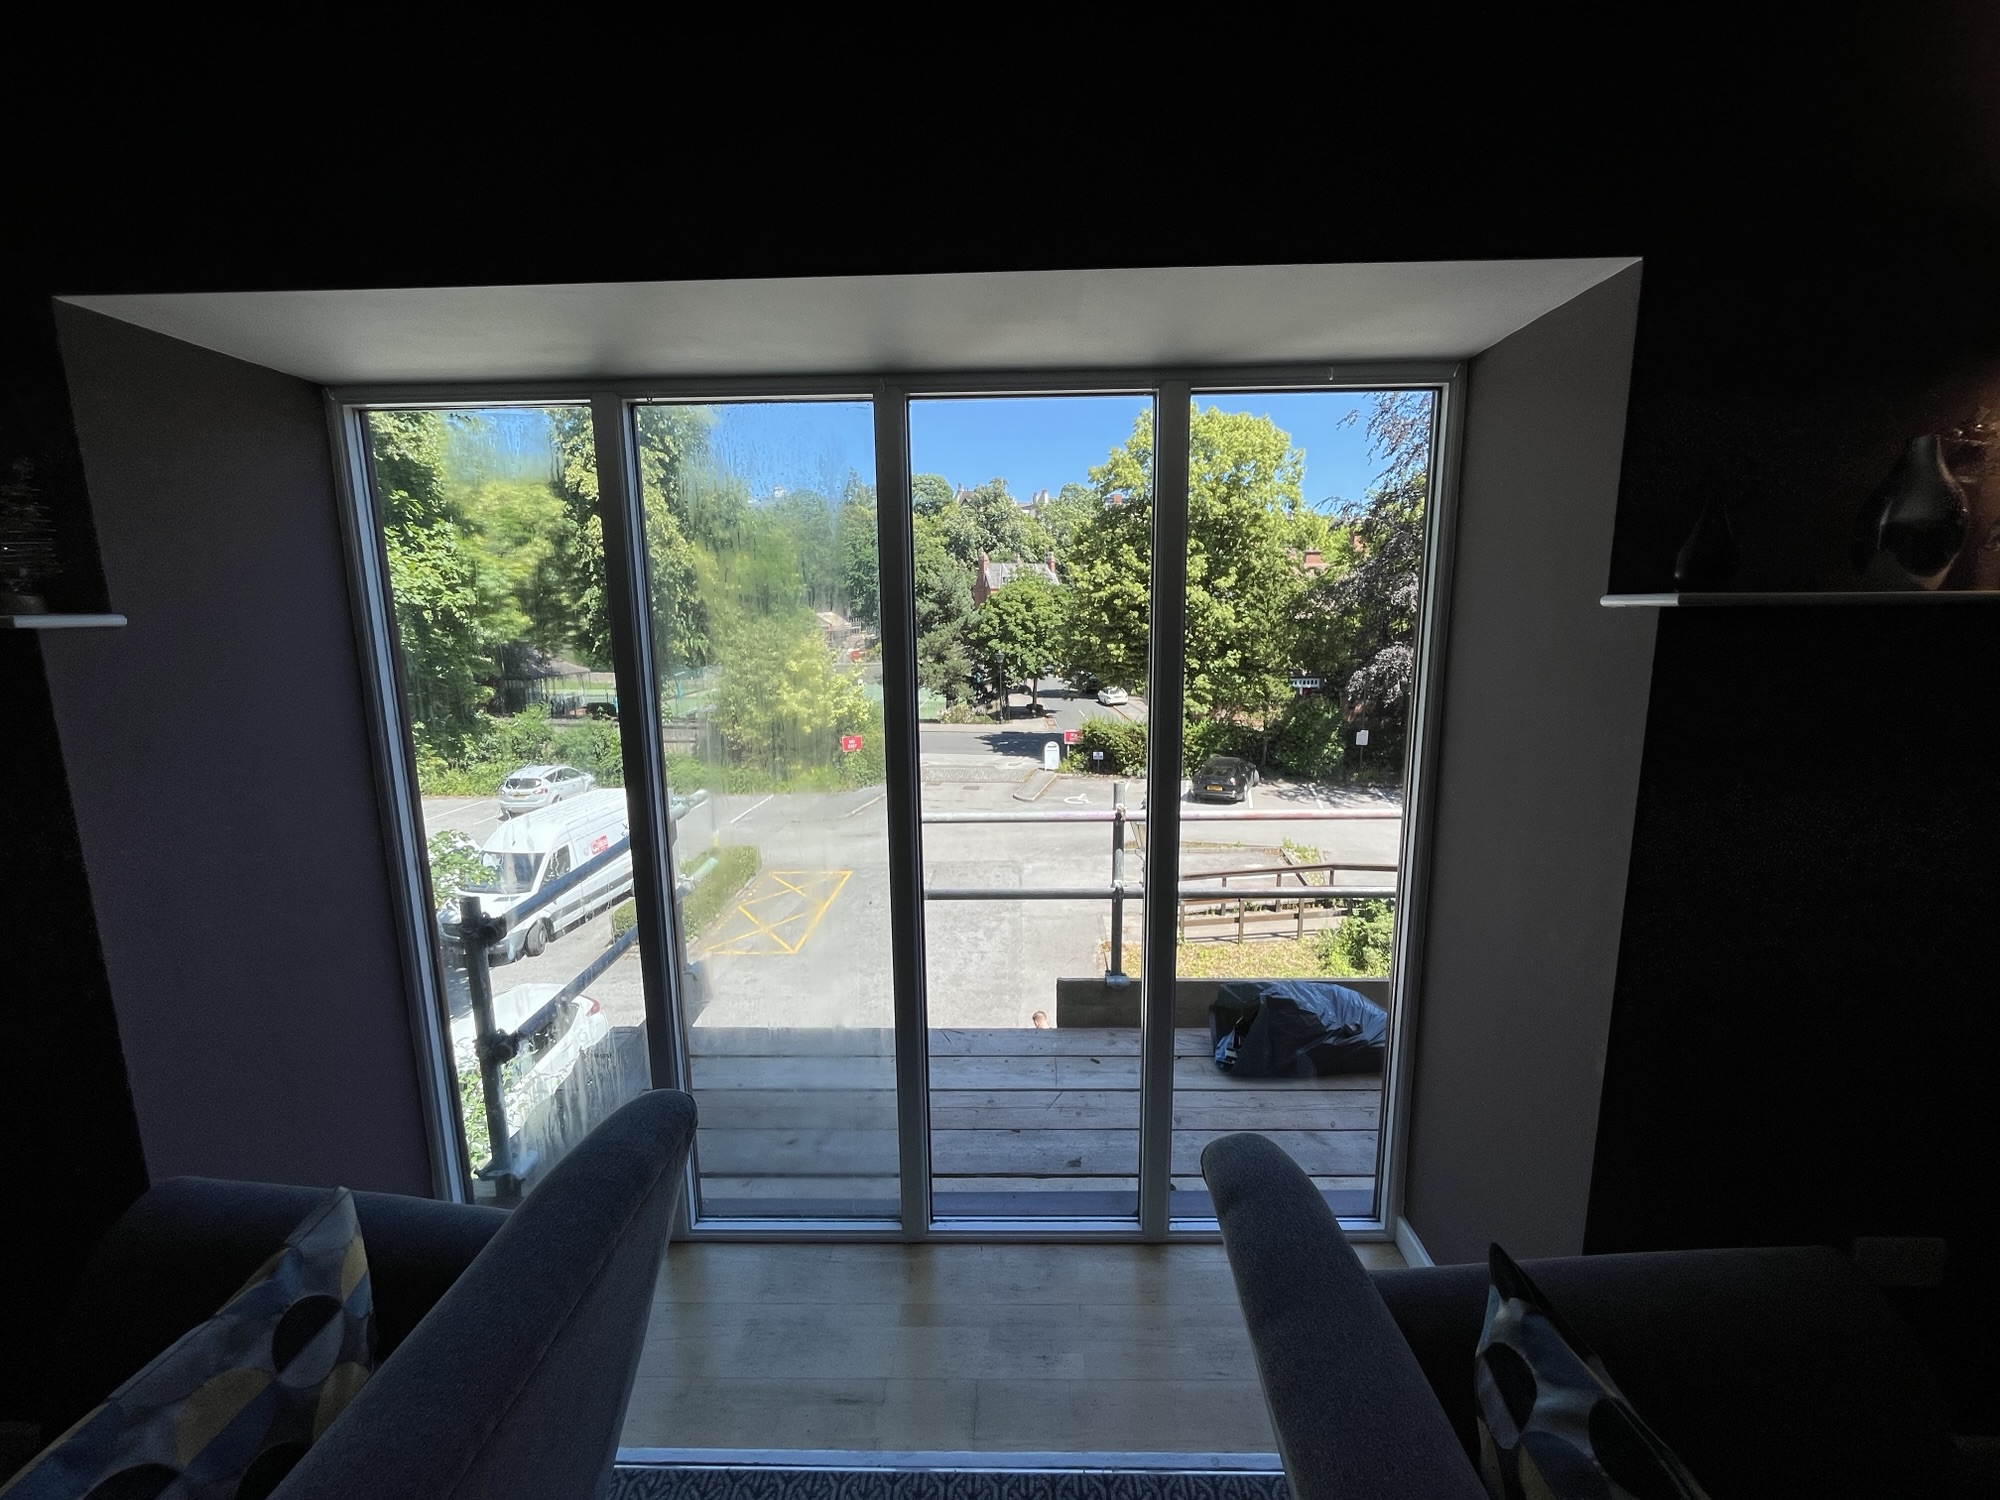
We were recently commissioned for a major commercial maintenance project: replacing 15 large, aging windows at the Nottingham Squash Club. Having been in place for over 25 years, the original units were well past their prime. Most of the windows had “popped,” creating condensation and significantly impacting the building’s aesthetic and thermal efficiency.

Why Windows “Pop”

Double-glazed windows rely on an airtight seal and a desiccant (a drying agent) to keep the cavity between the glass panes bone-dry. Over time, constant exposure to the elements and natural building movement cause these seals to deteriorate. Once the seal is broken, humid air leaks in, causing persistent condensation and cloudiness inside the unit.

The Installation Challenge

This wasn’t a standard window swap. Because the windows were internally beaded and located on the first floor with no existing fall protection, we had to be incredibly precise with our safety measures. We erected a full scaffold to allow us to remove the windows safely by pushing them inwards from the exterior.

Safety was our top priority throughout. We installed high-specification 6-10-6 toughened laminated glass, which ensures durability and safety for a busy public venue. With each panel weighing 50kg, this was a heavy-duty installation that required careful handling.

Going Above and Beyond

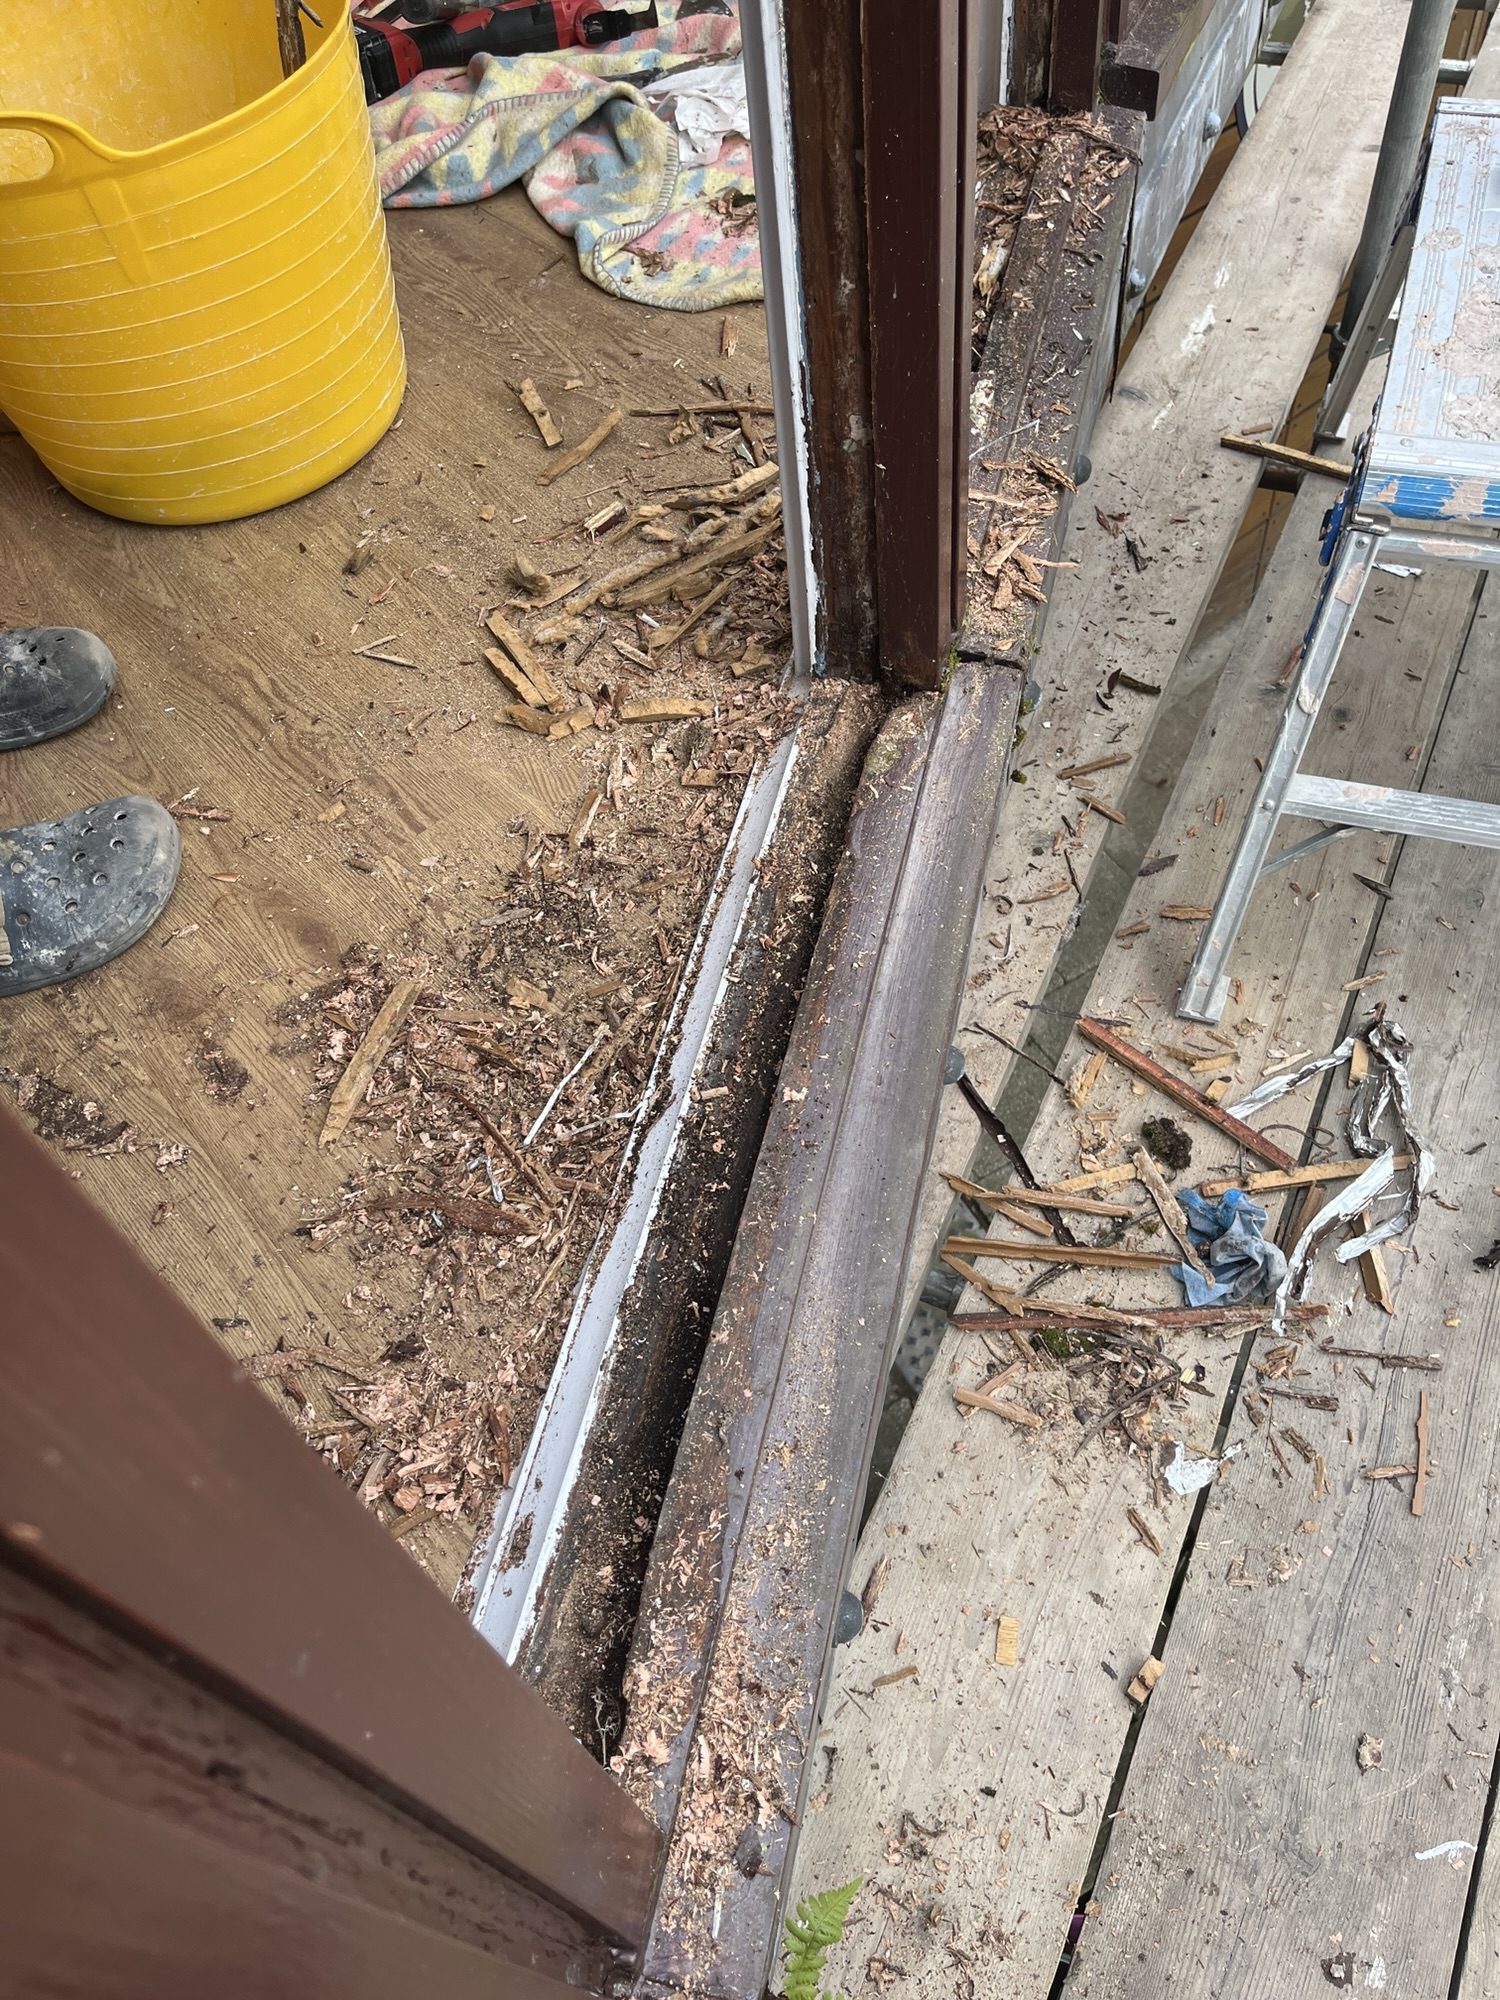
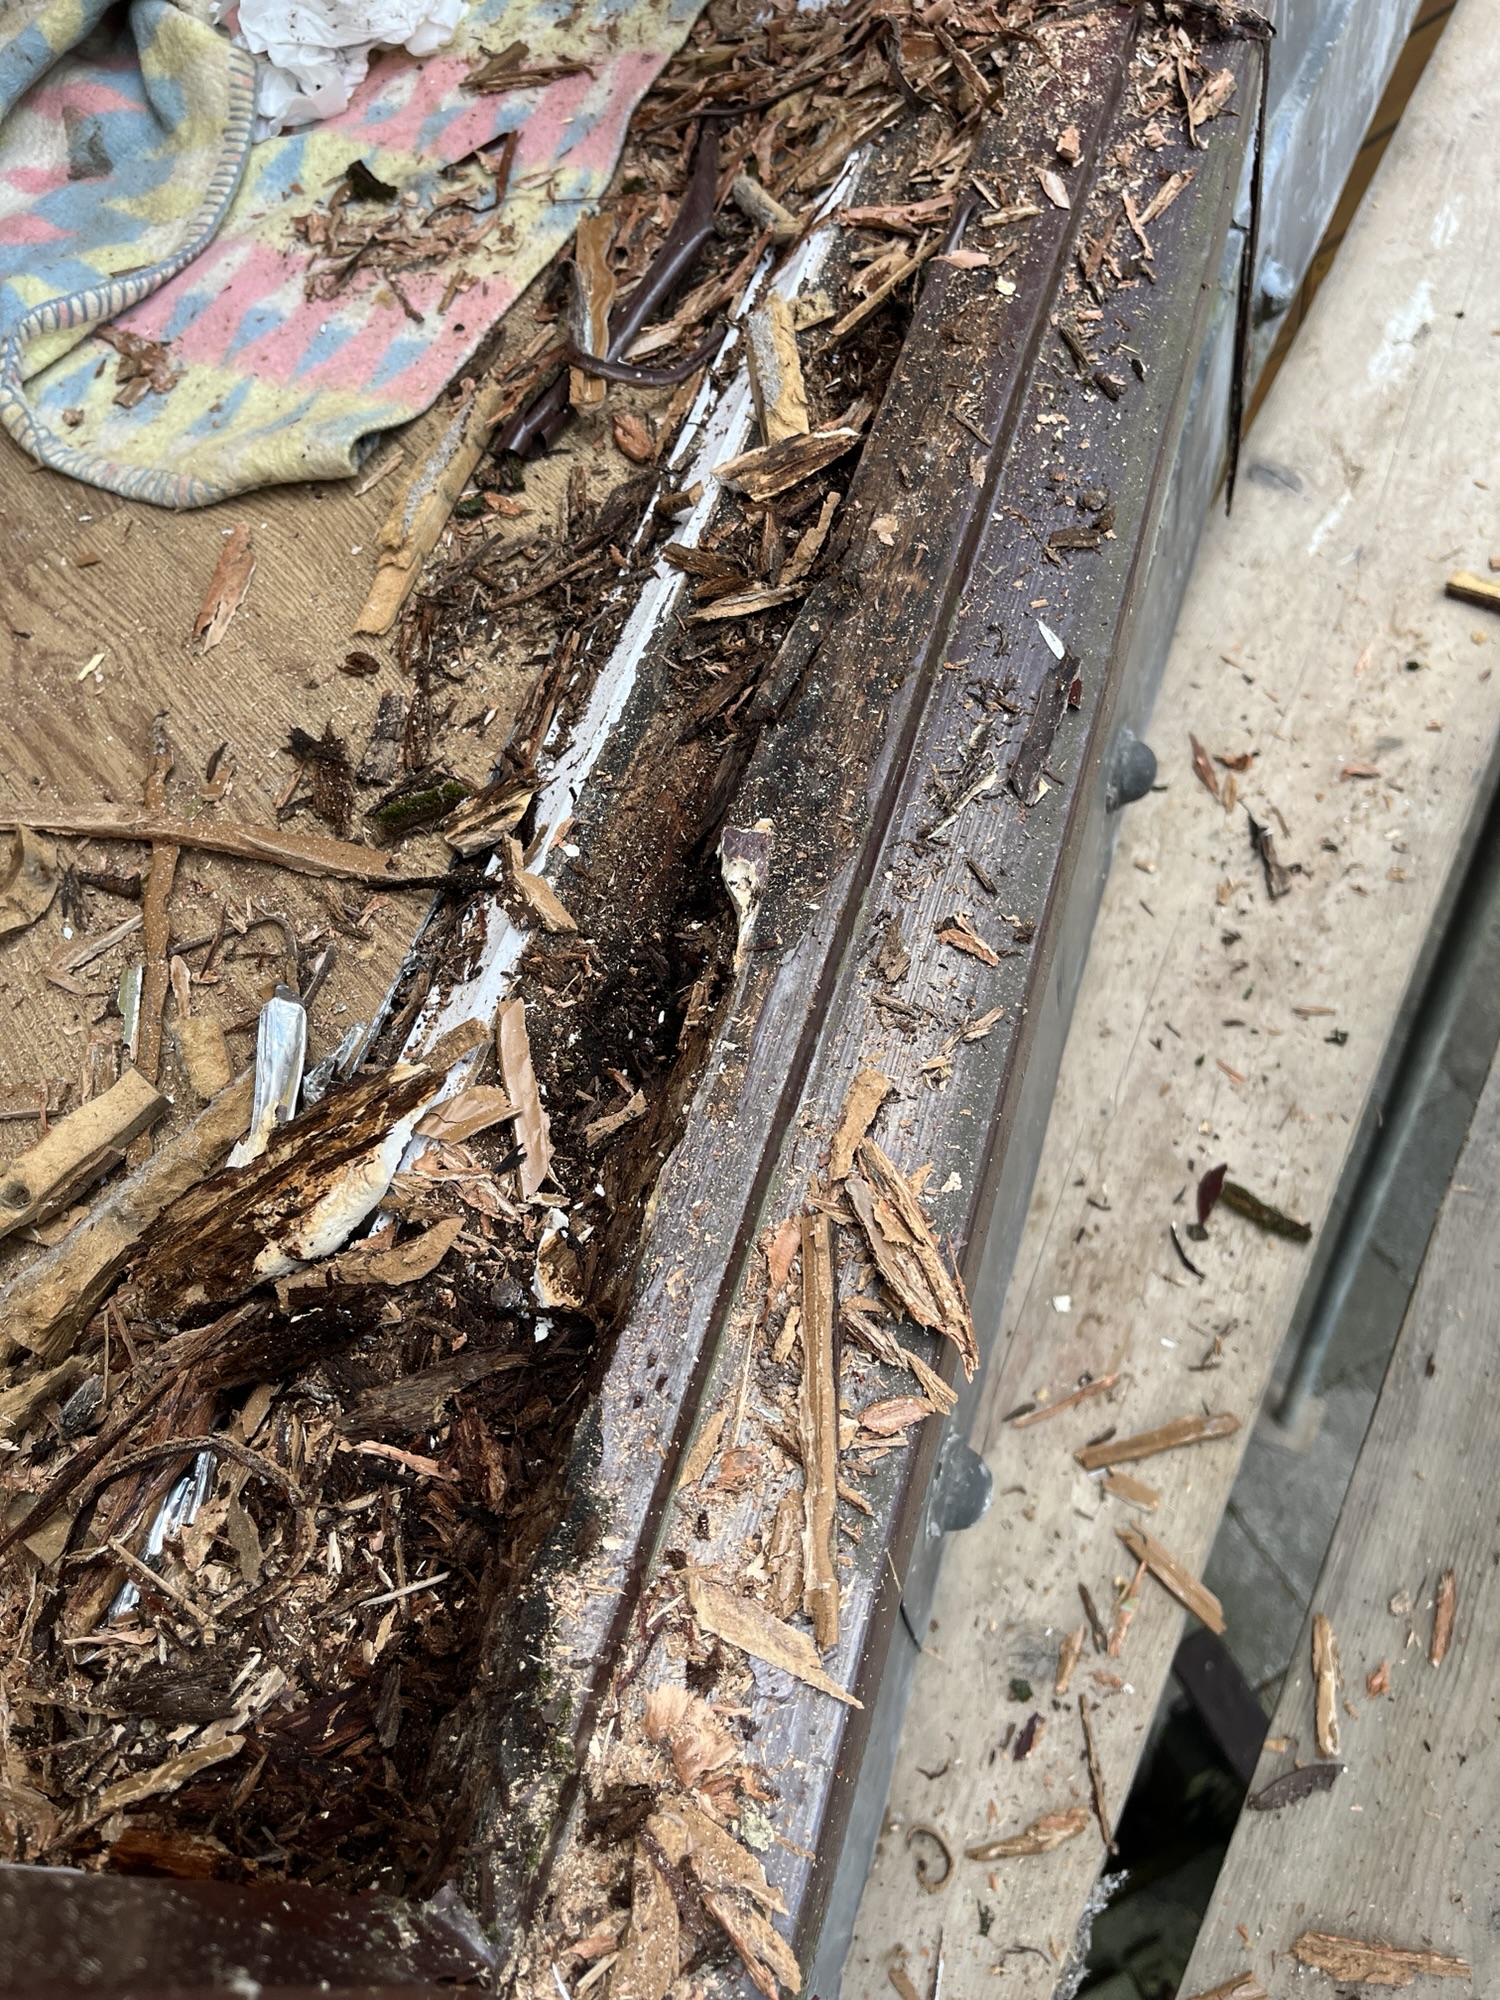
During the removal process, we identified that the window cills were badly rotted. Rather than simply installing new units onto compromised wood, we cleaned out the rot and applied a durable plastic capping. This proactive step will extend the life of the new windows by at least another decade.

Managing the Unexpected

As with many construction projects, we faced a small hiccup: our supplier, Byron Glass short-delivered two units, which we didn’t discover until partway through the job. However, as builders, part of the job is managing the unexpected. Byron Glass turned the new units round within 48 hours including the toughening and laminating process. We adjusted our schedule to keep the project moving and will complete the replacement to our usual high standards.

Project Breakdown

  • Duration: 4 days (from start to finish).
  • Scaffold Costs: £500
  • Glass Costs: £200 per pane
Categories
Brickwork Extension Internal fit out

Opening up kitchen with steel (RSJ) beams in Selston, Nottinghamshire

Open Plan Living: How We Safely Removed a Wall to Expand a Kitchen

Changing the layout of a property to create an open-plan kitchen is one of the most common requests we receive. It’s a fantastic way to transform how a home feels, but it requires careful structural planning.

img_6819
previous arrow
next arrow

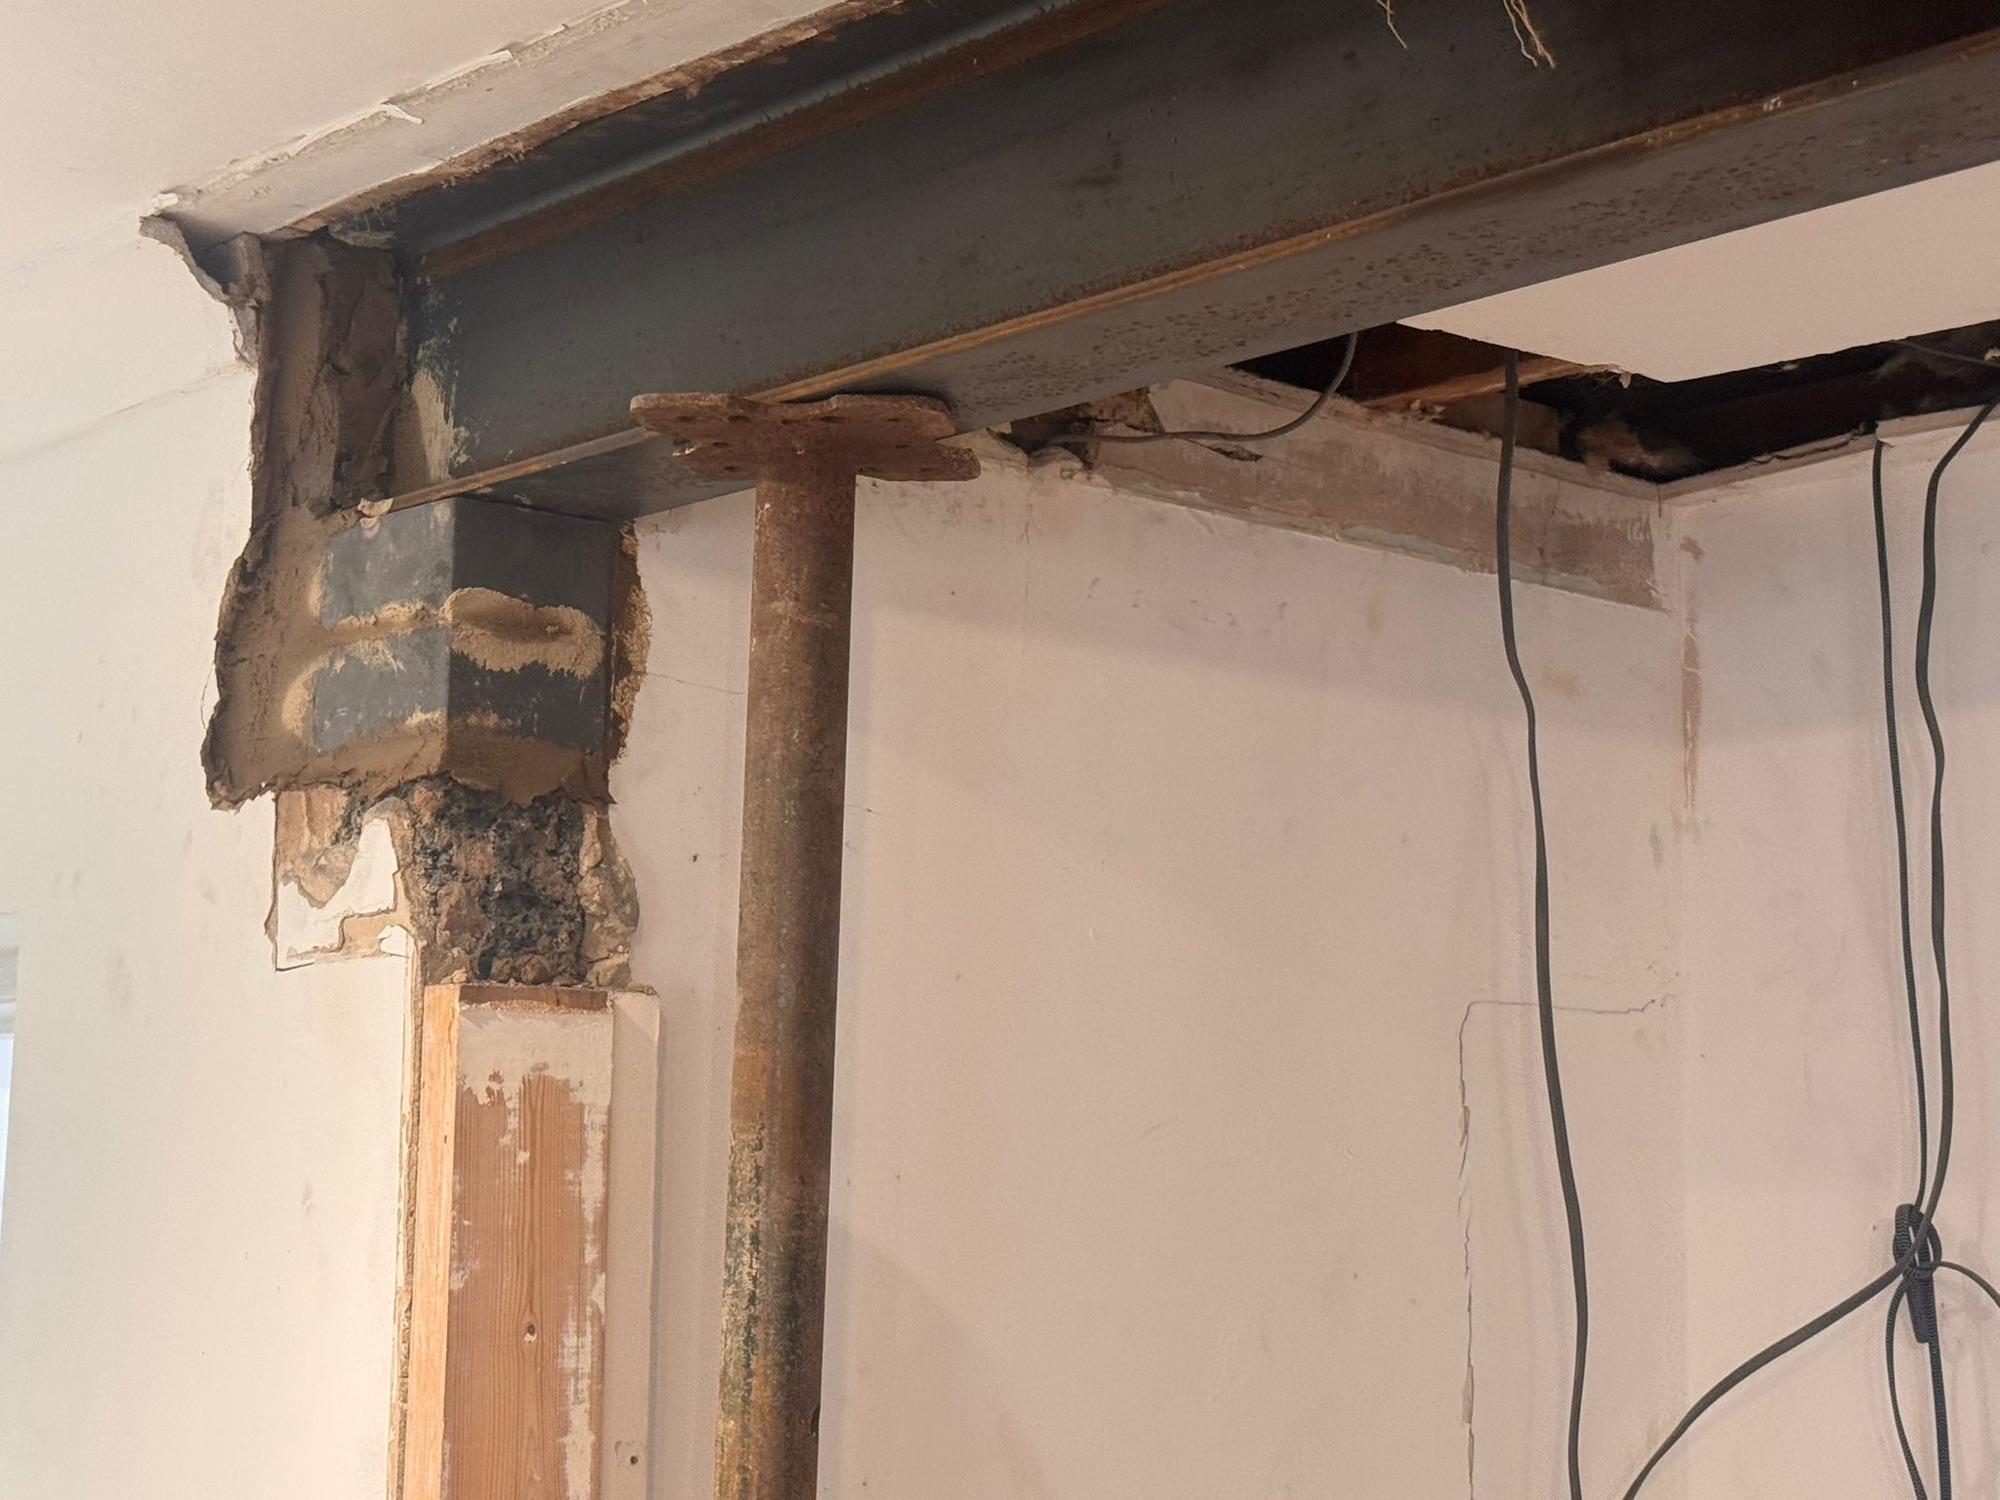
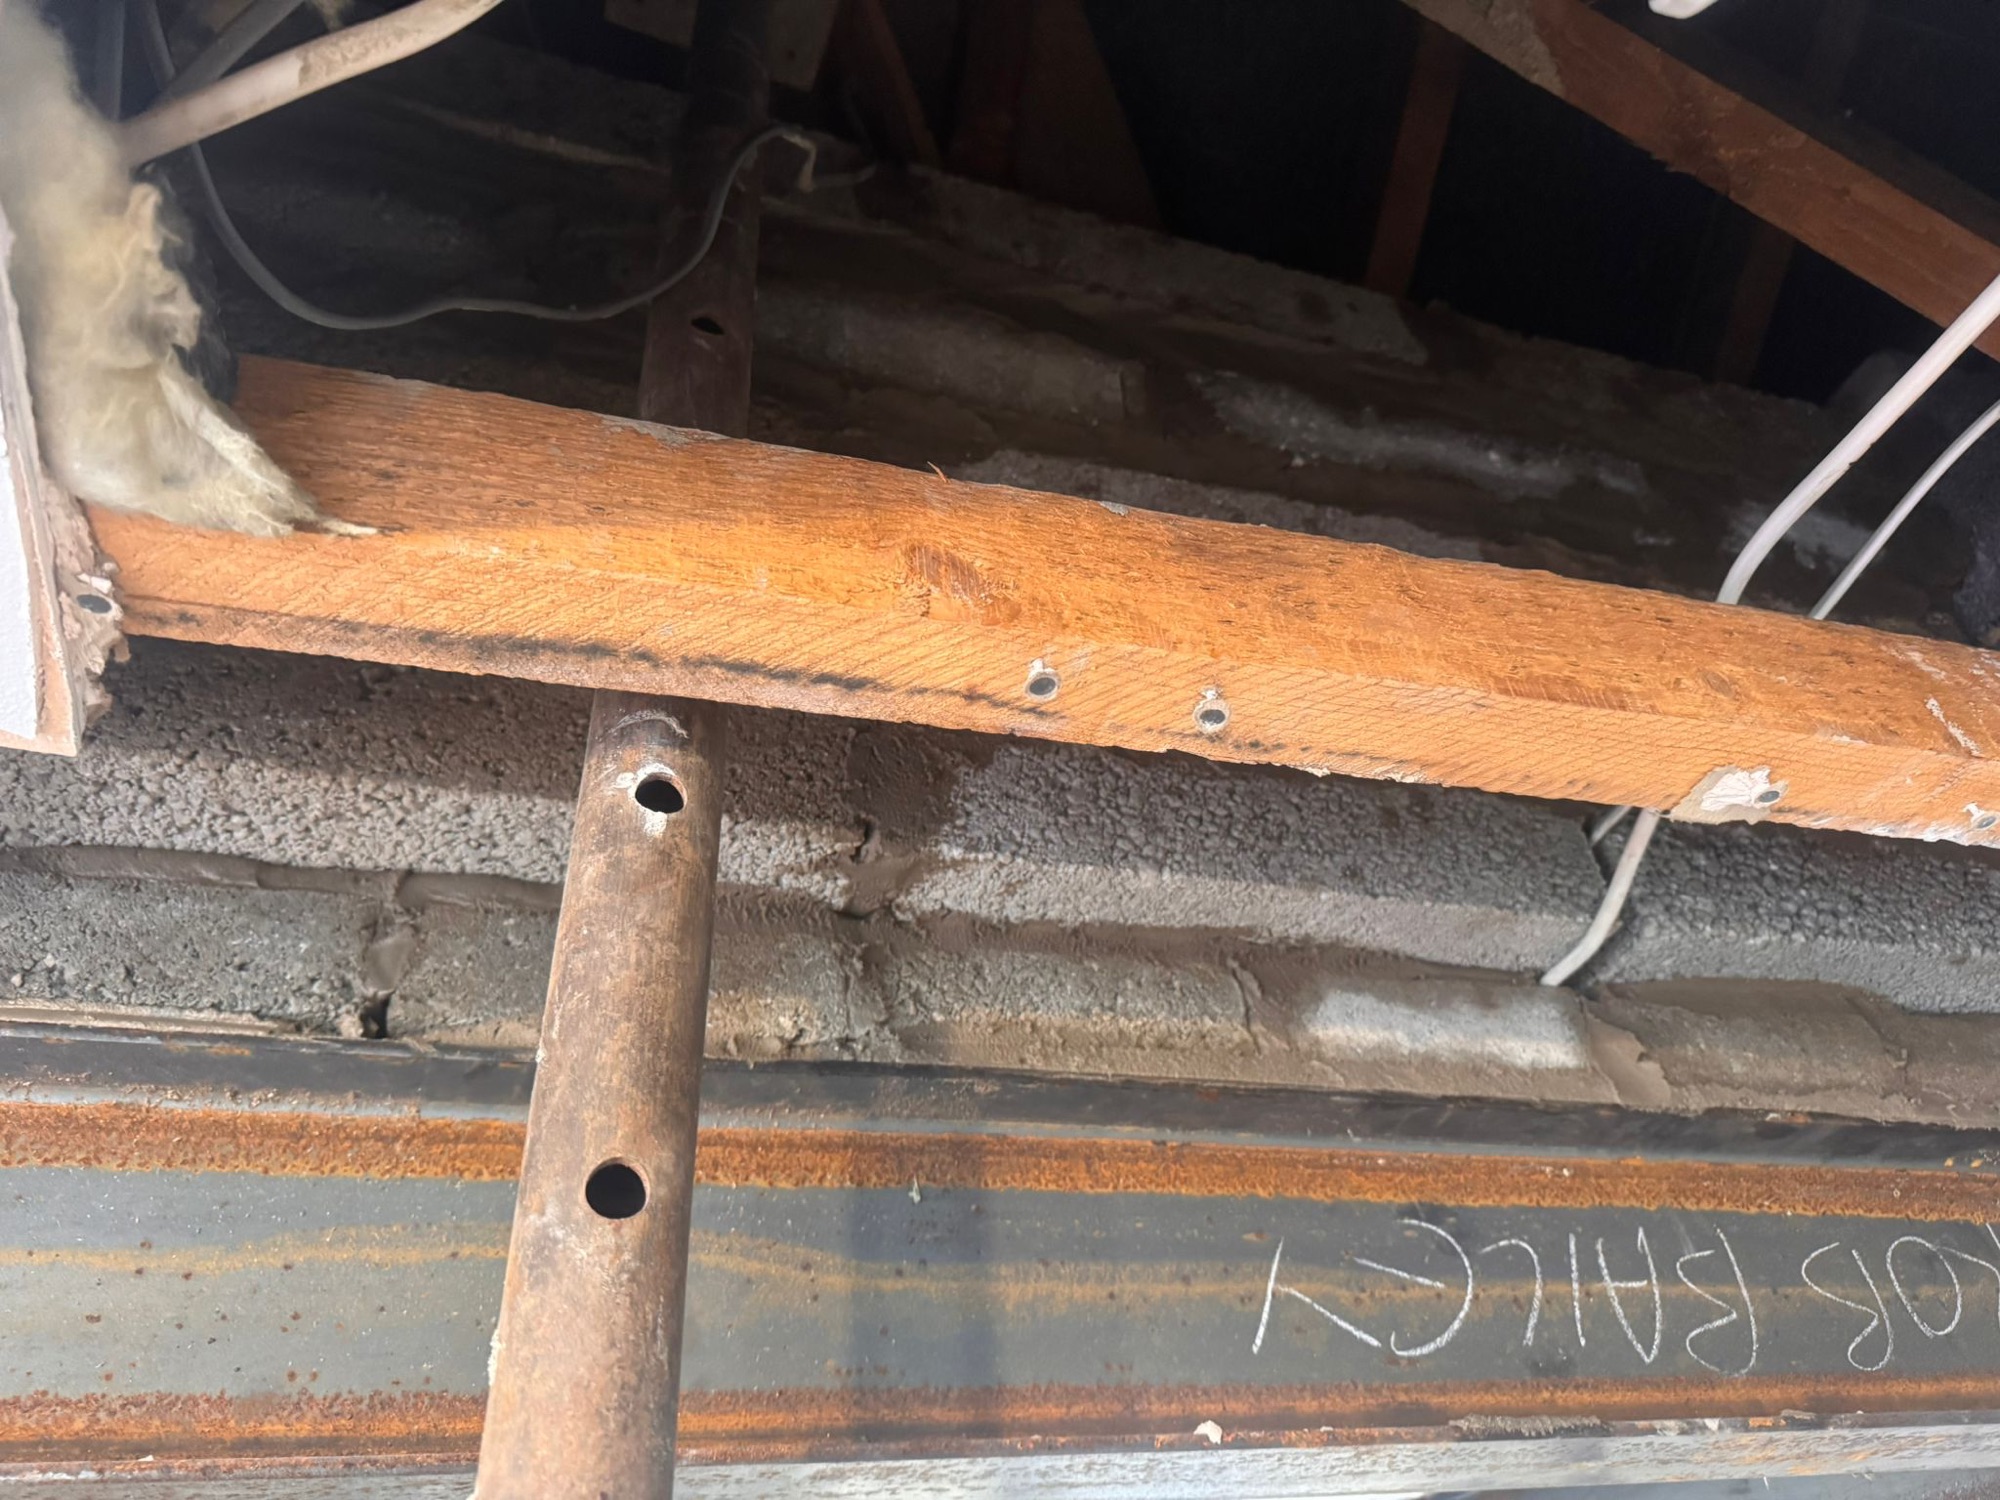
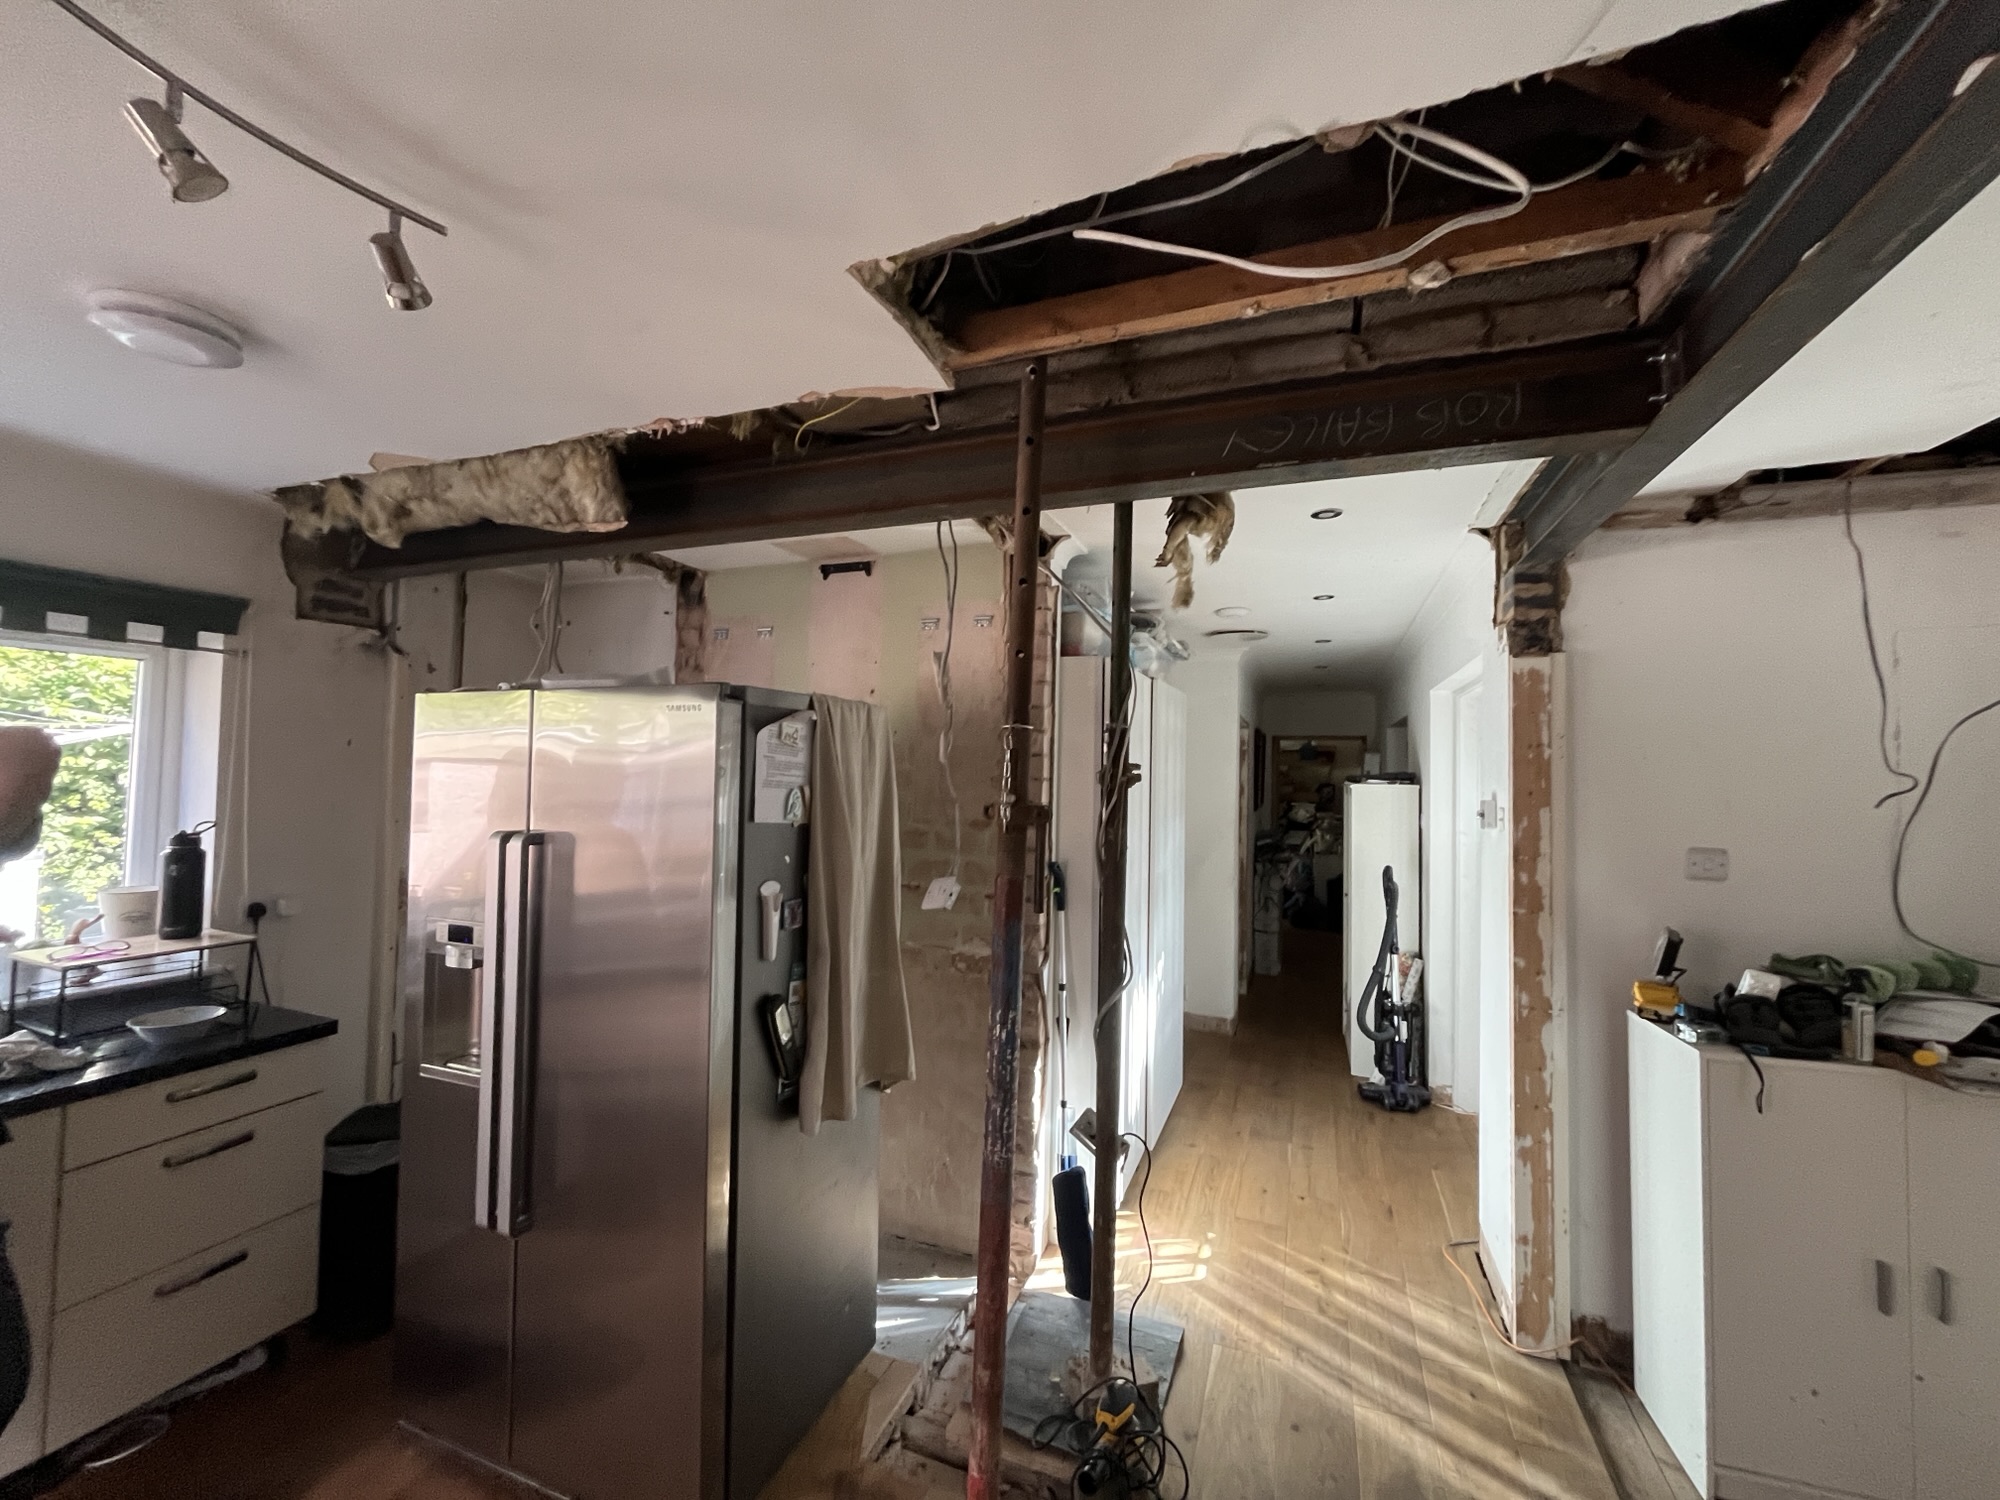
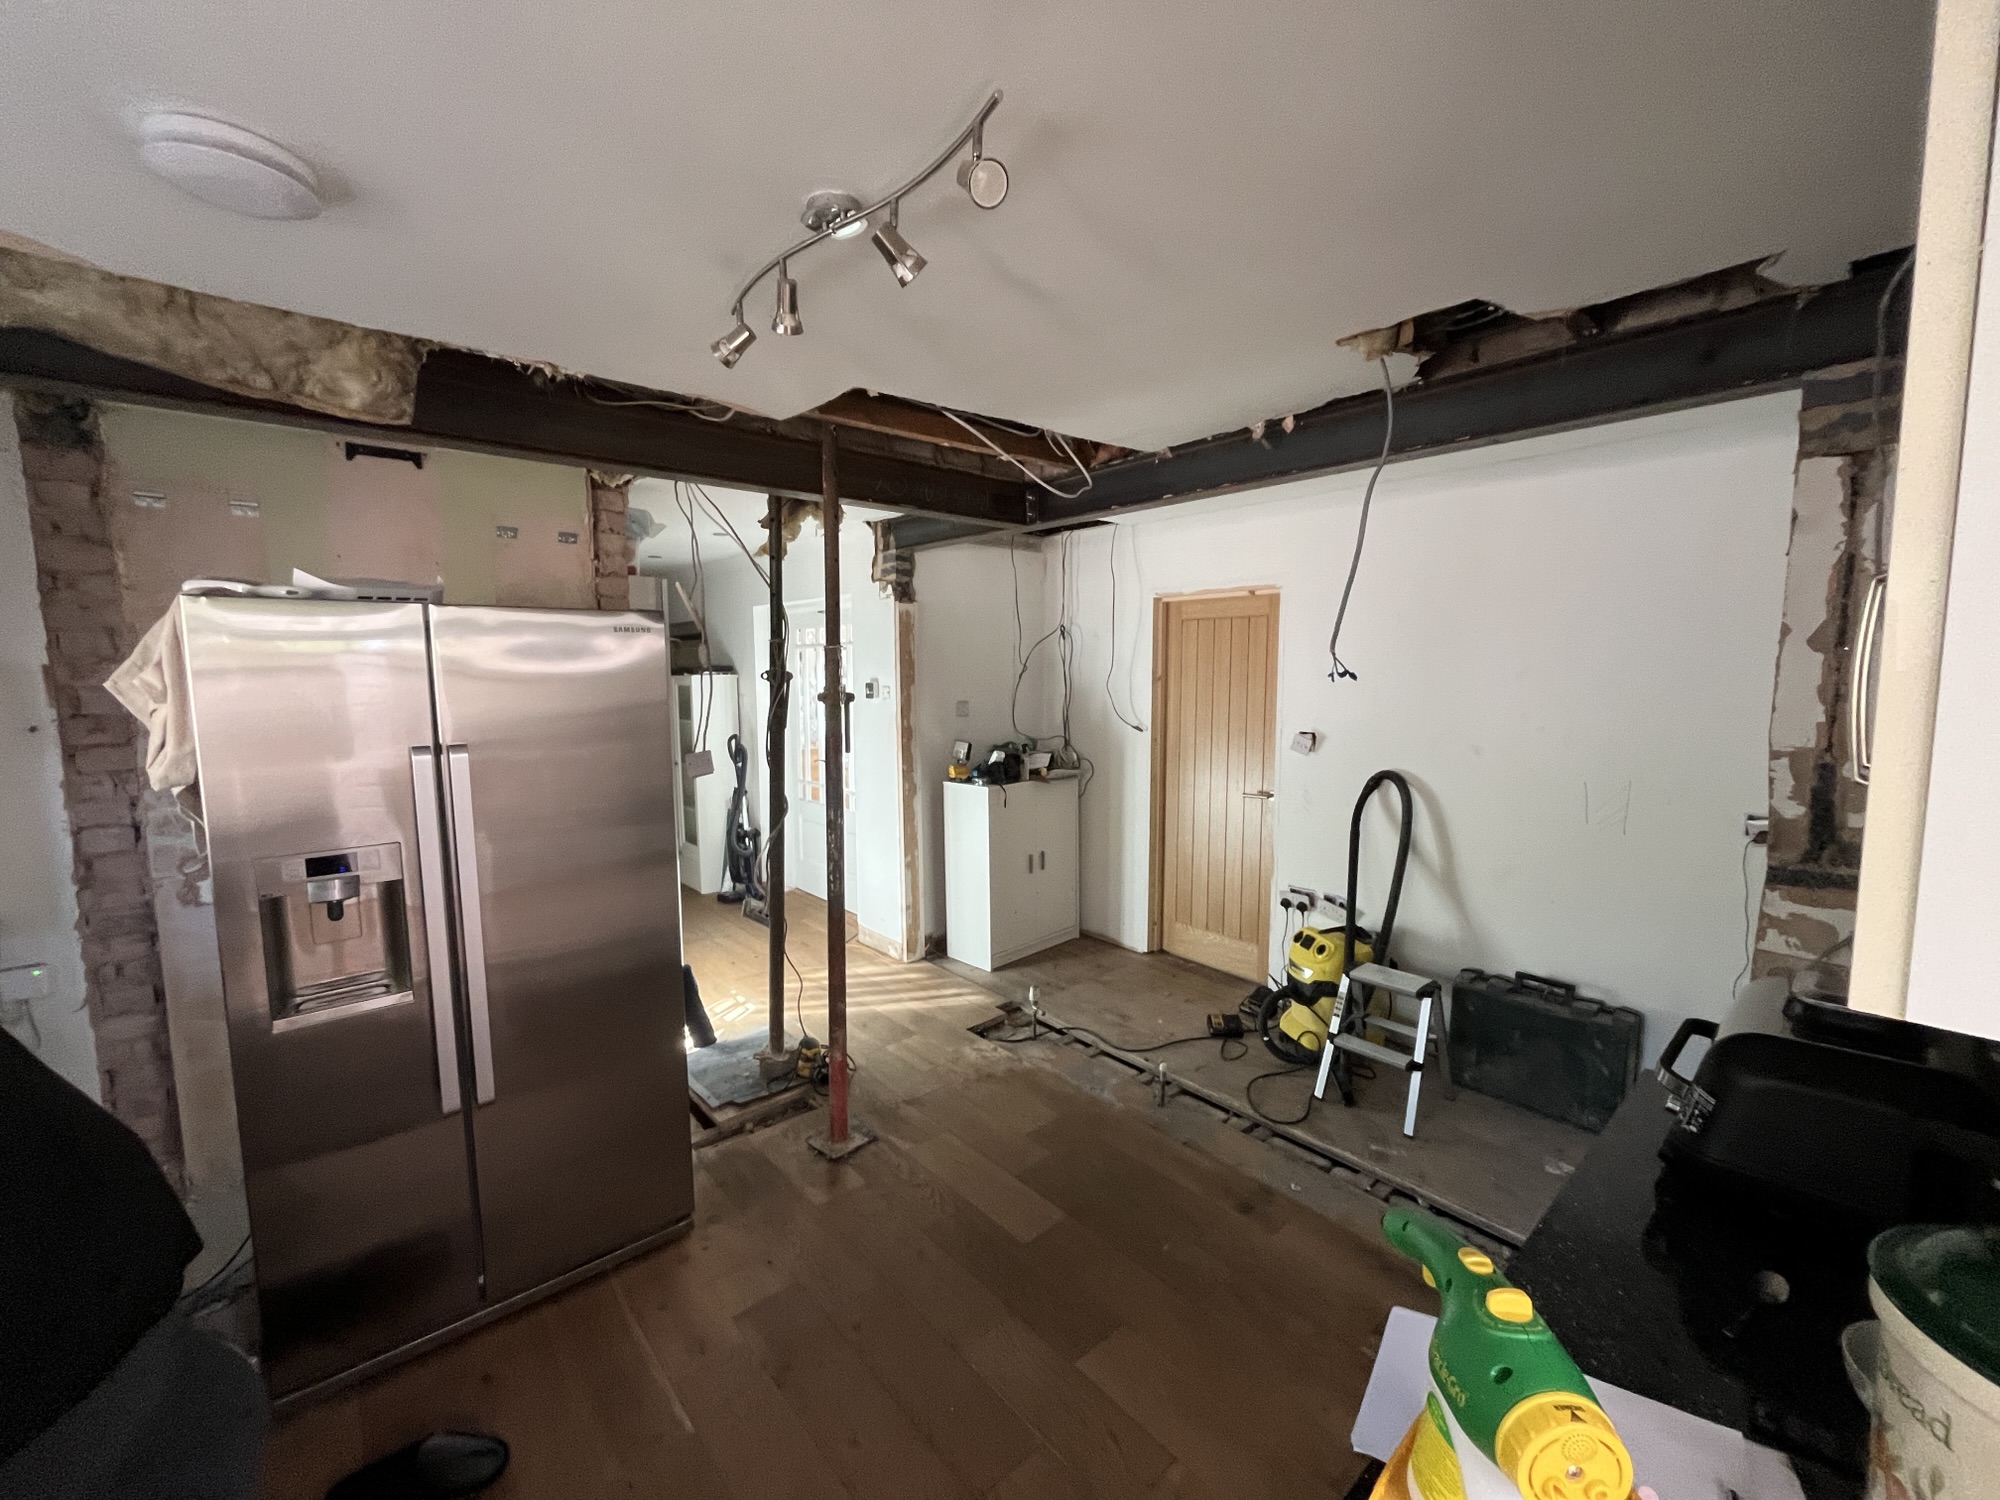
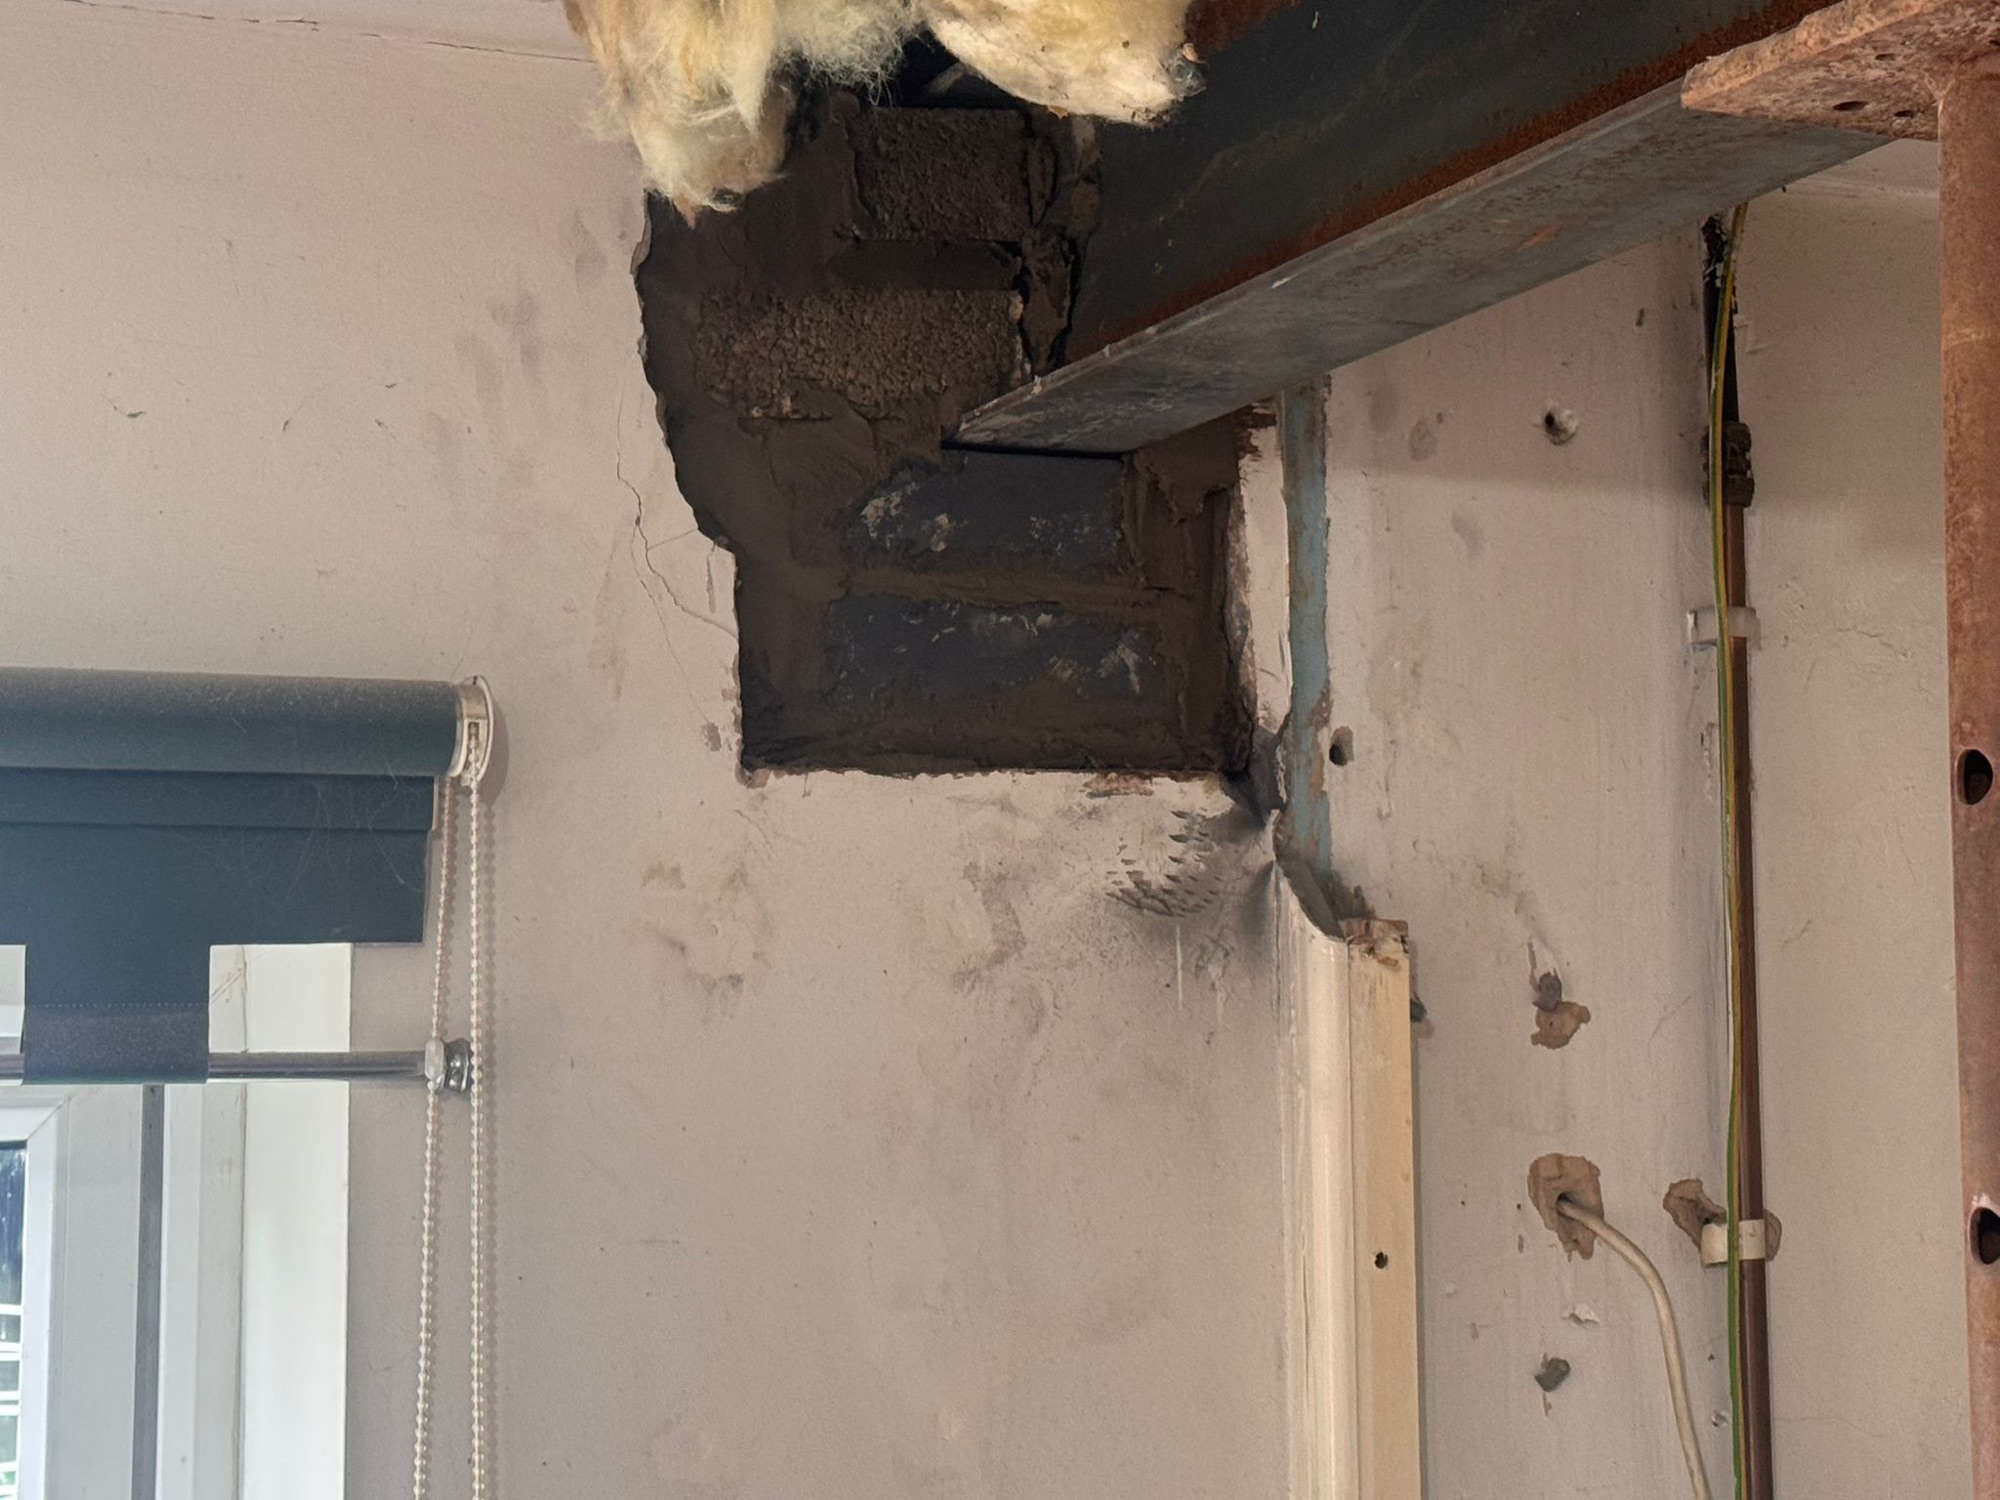
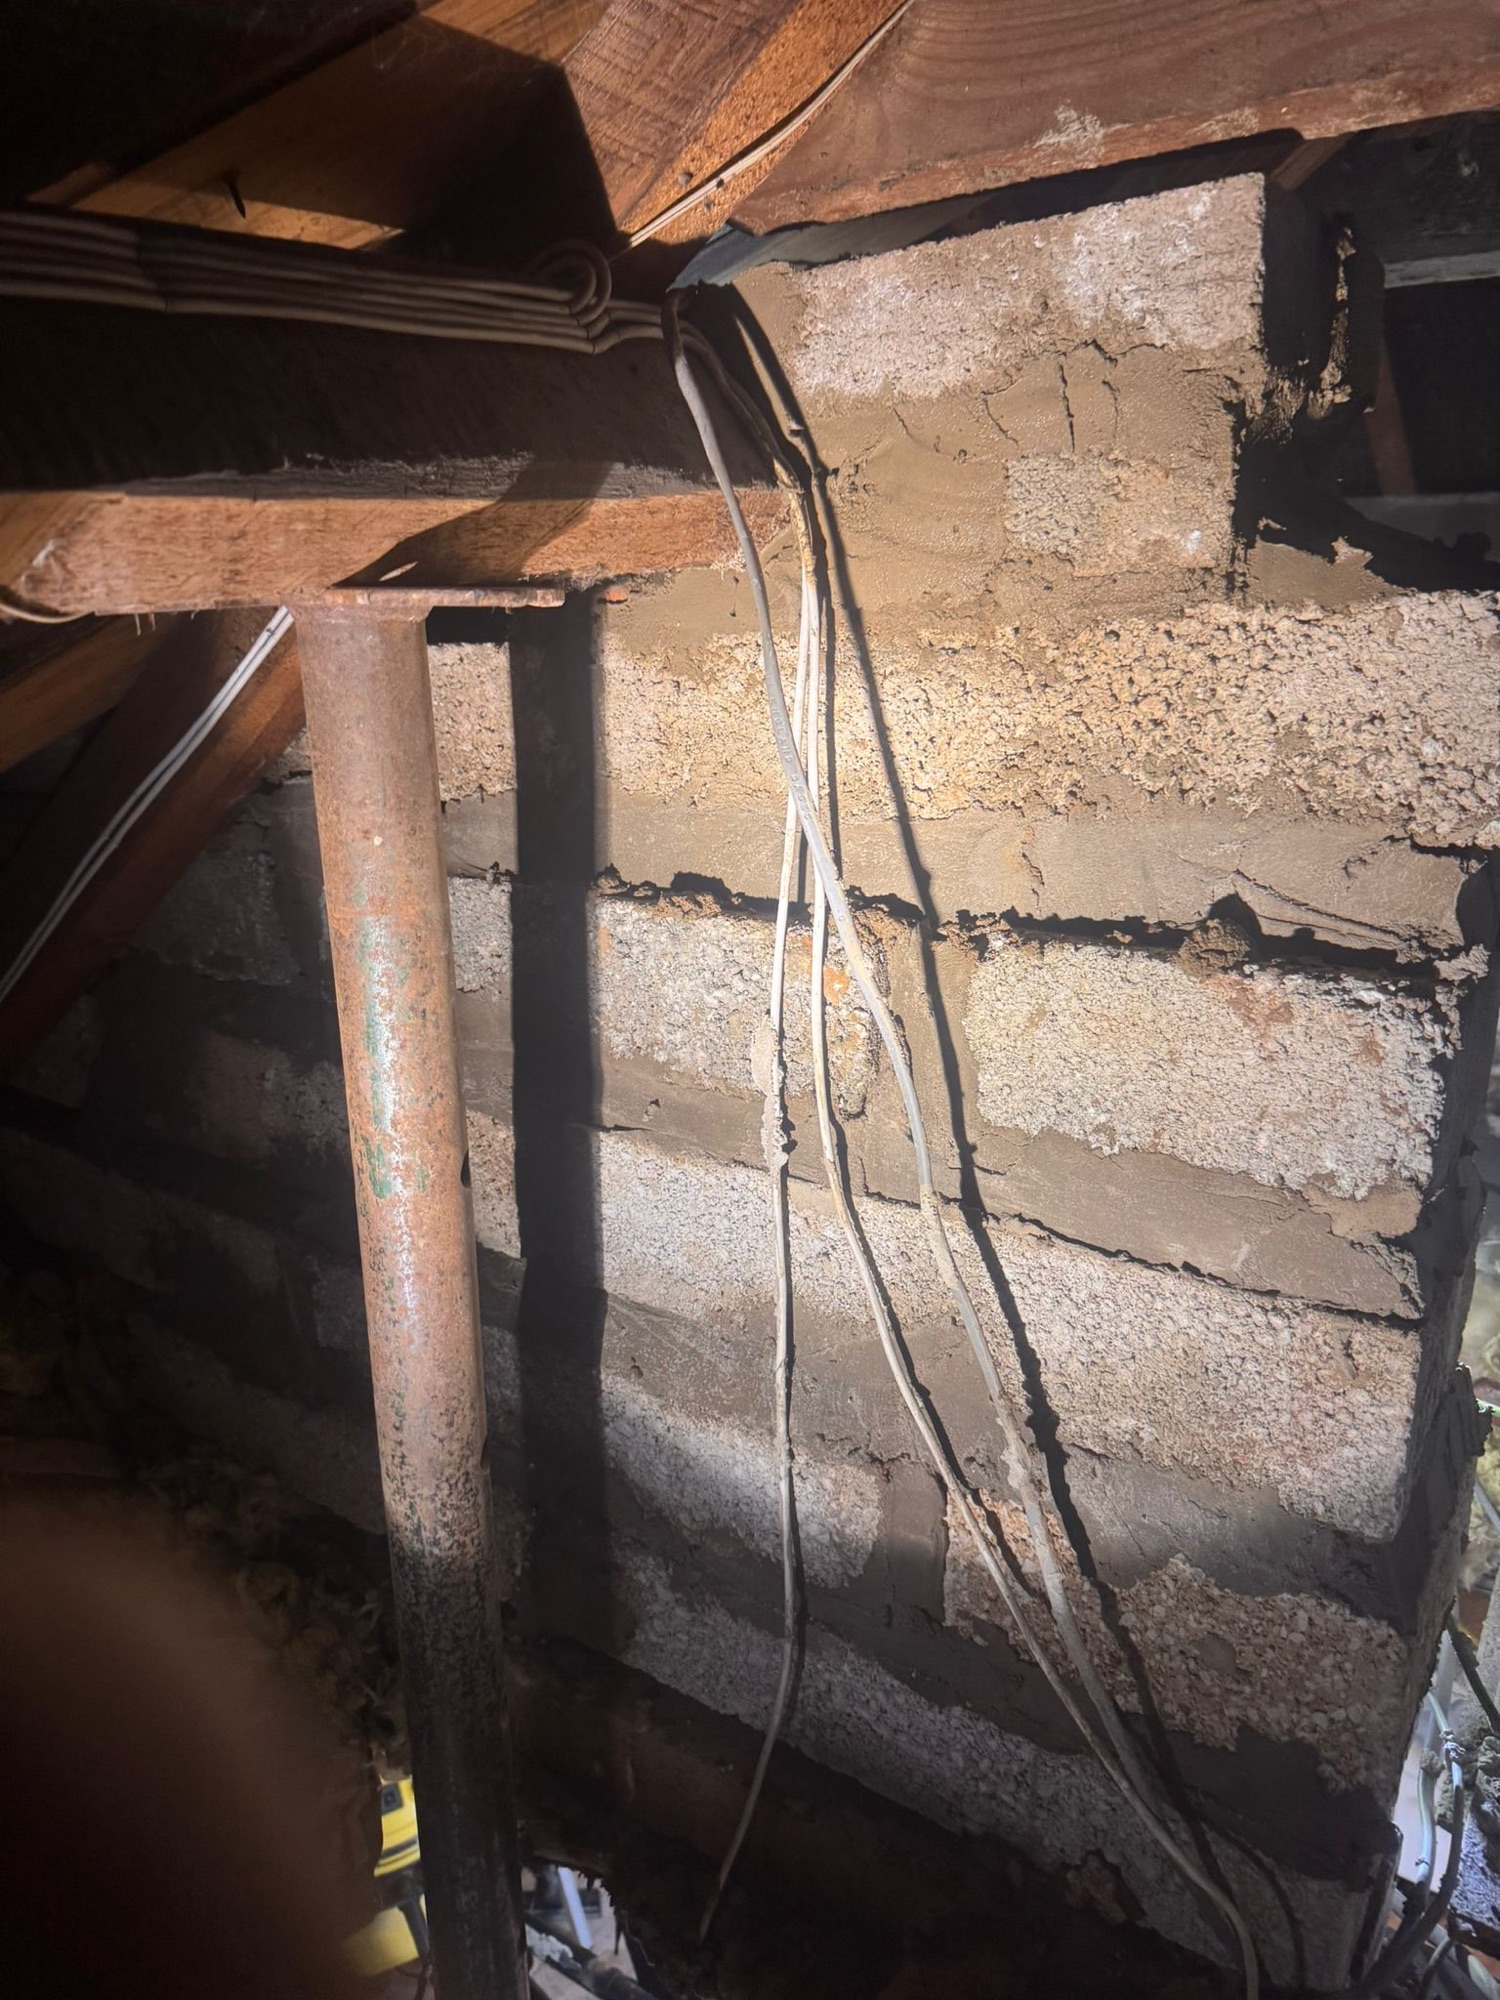
We recently worked on a bungalow where the client wanted to open up their kitchen space. This project had an extra layer of complexity: the property had been extended in the past, and the roof purlins were sitting directly on the internal walls that needed to be removed.

We never cut corners on safety. We started by engaging an Archetectural technician to provide cost-effective drawings, and we had a structural engineer specify two steel RSJ beams to take the load safely. 

The installation required a precise, multi-step approach:

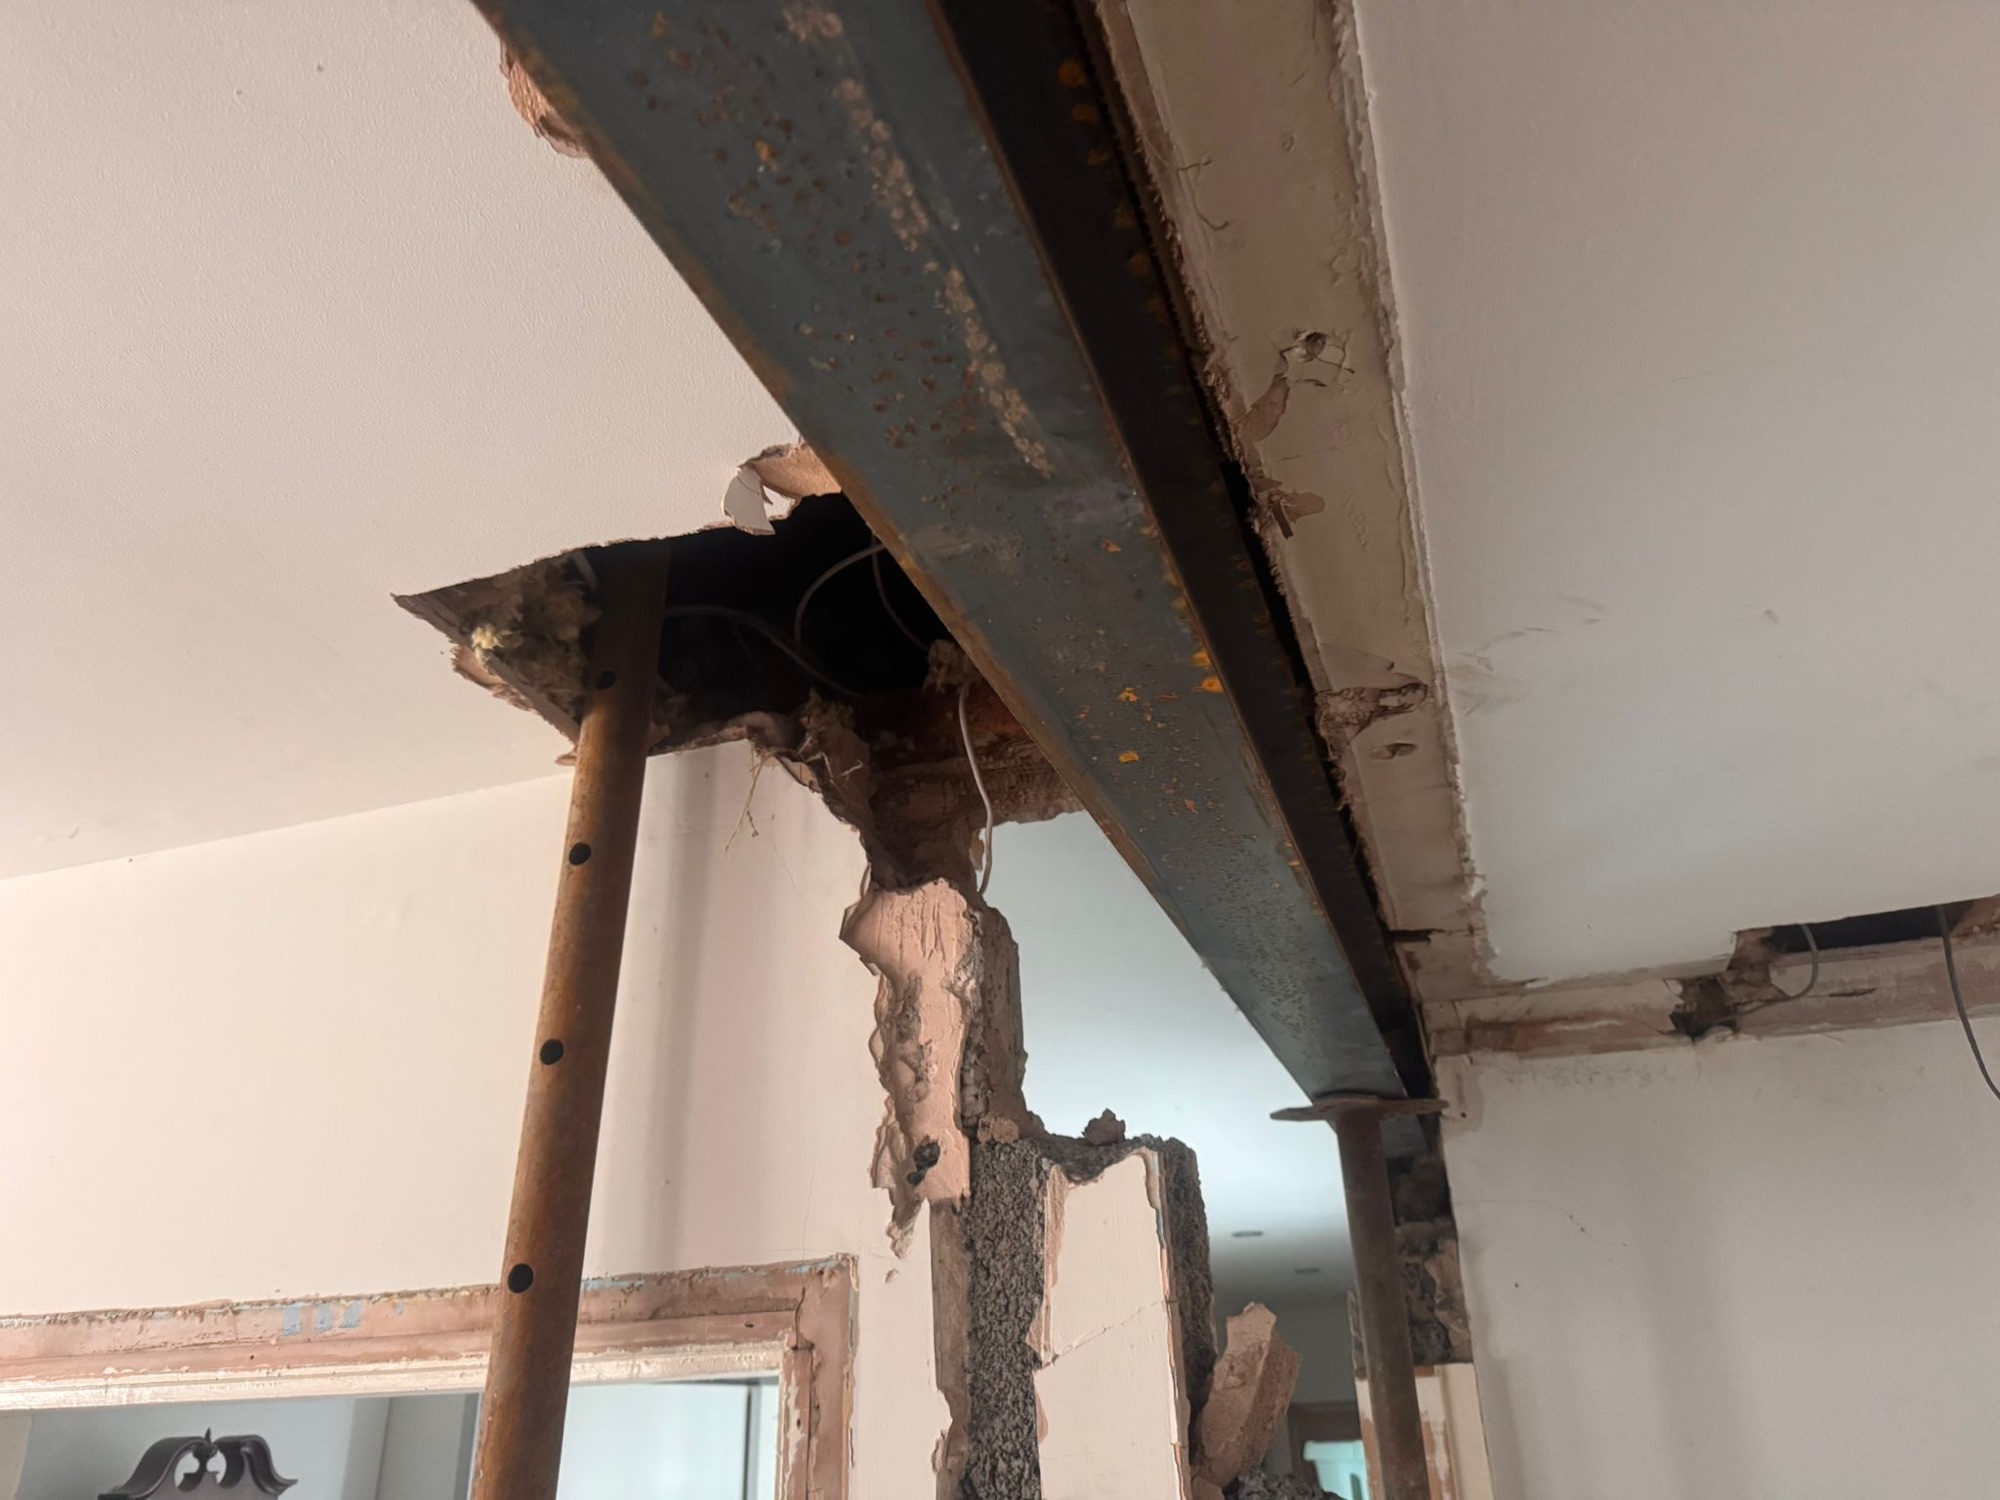
  1. Preparation: Once the steel beams arrived, we propped up the roof using Acro props in multiple locations to ensure stability.
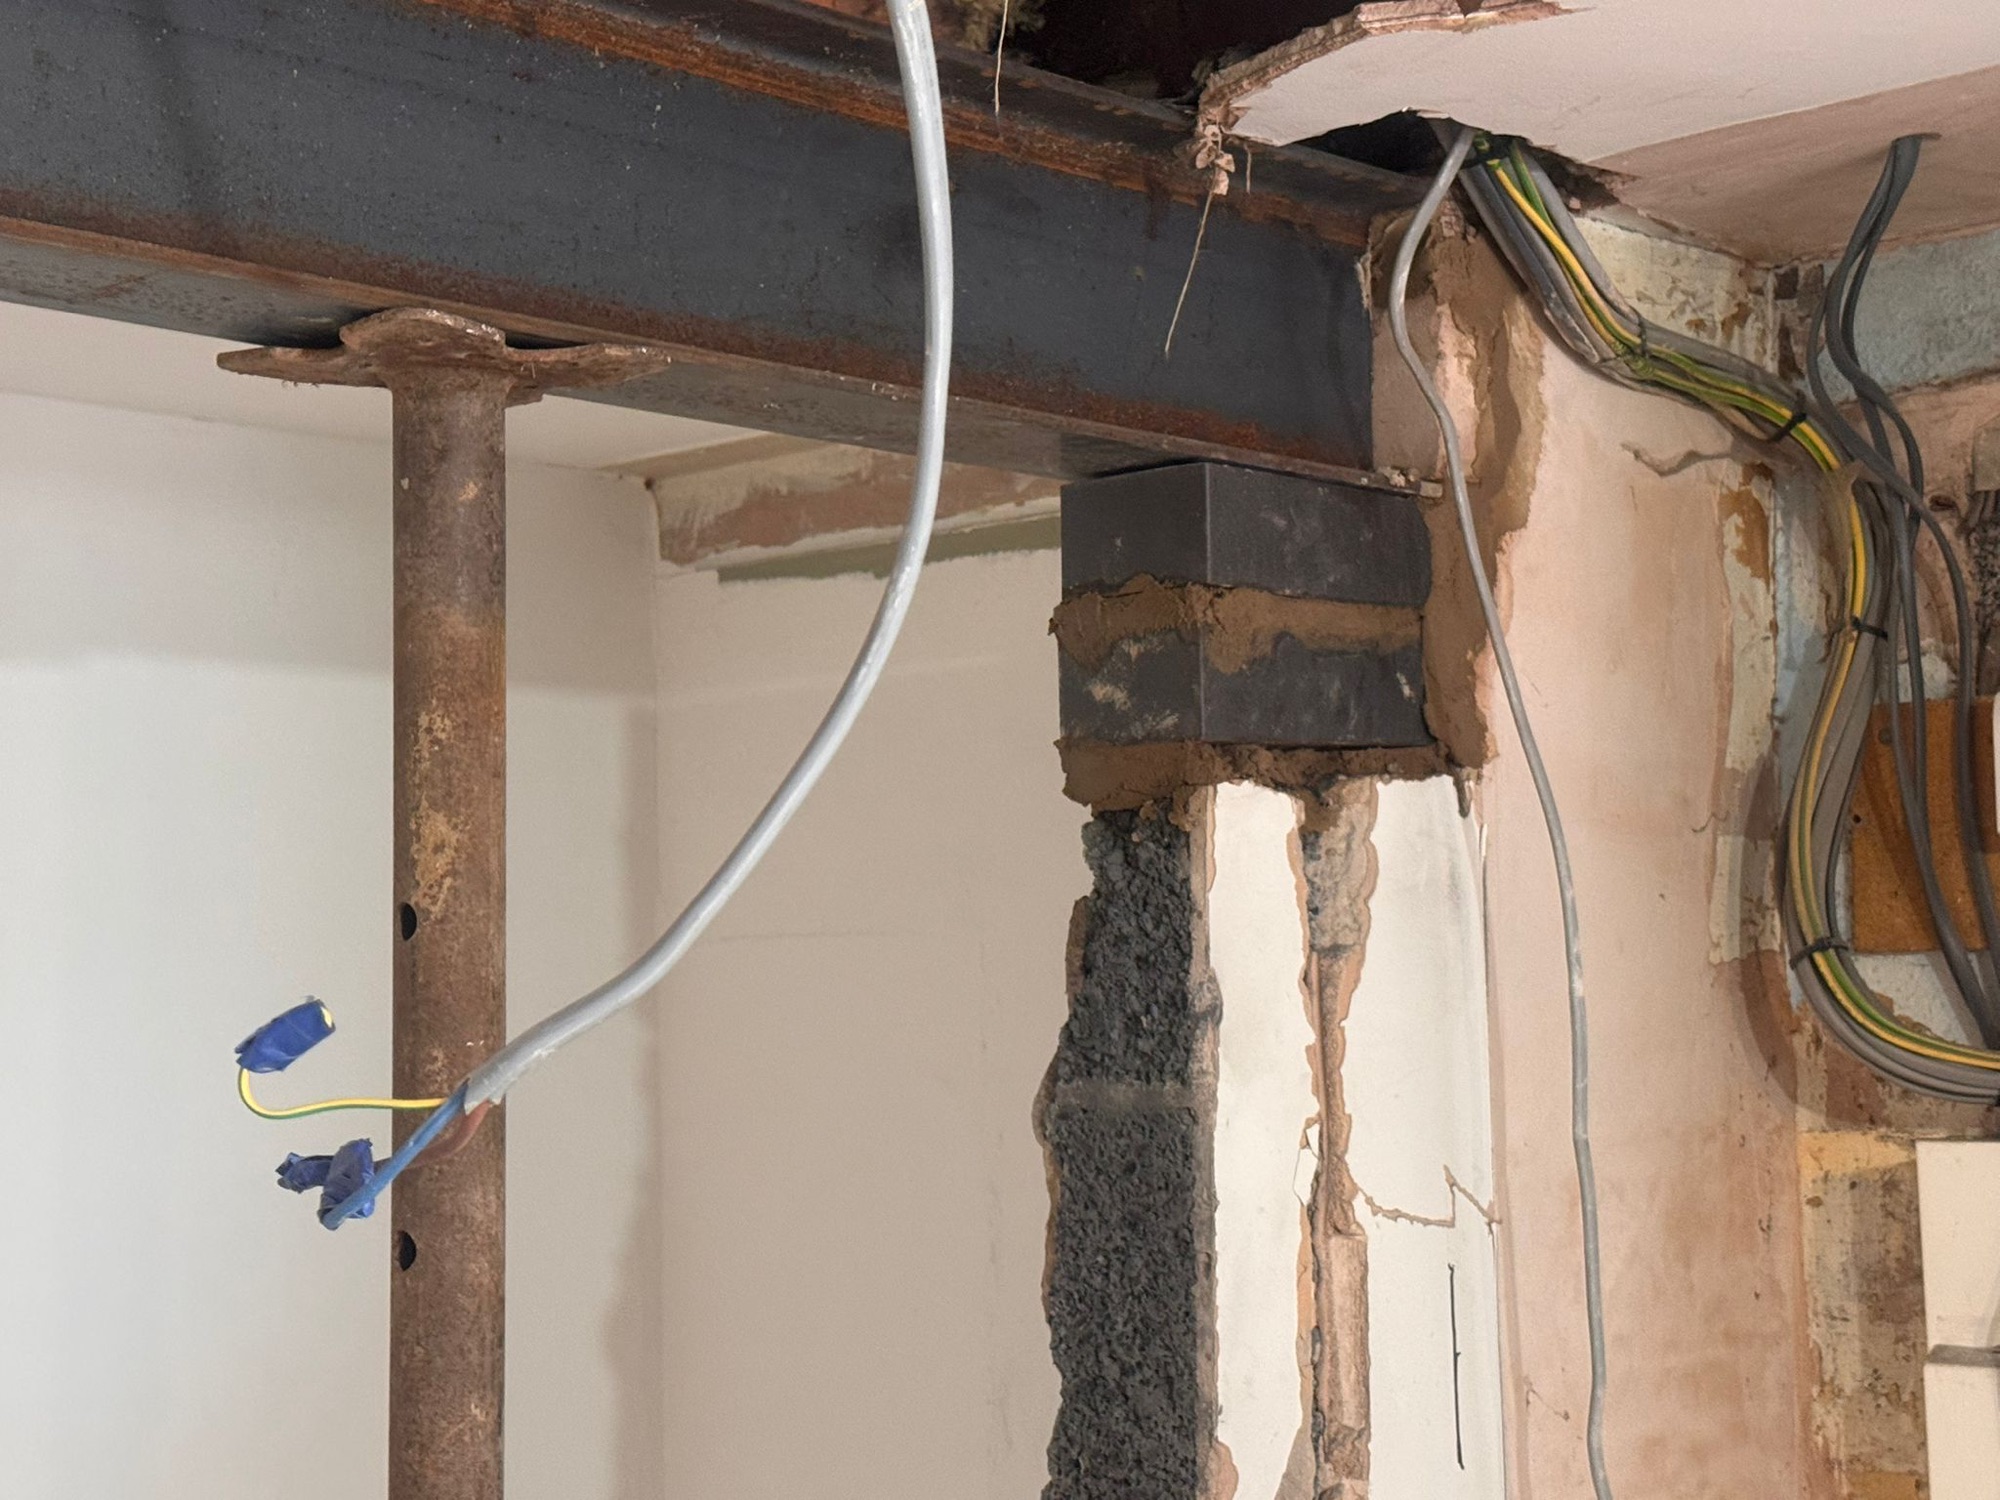
  2. Structural Installation: We removed the top section of brickwork and installed the two lintels (3.6m and 3.8m respectively) onto new pad stones, which spread the load evenly.
  3. Removal: Only once the structure was fully supported by the new steelwork did we remove the old block walls and clear the waste.

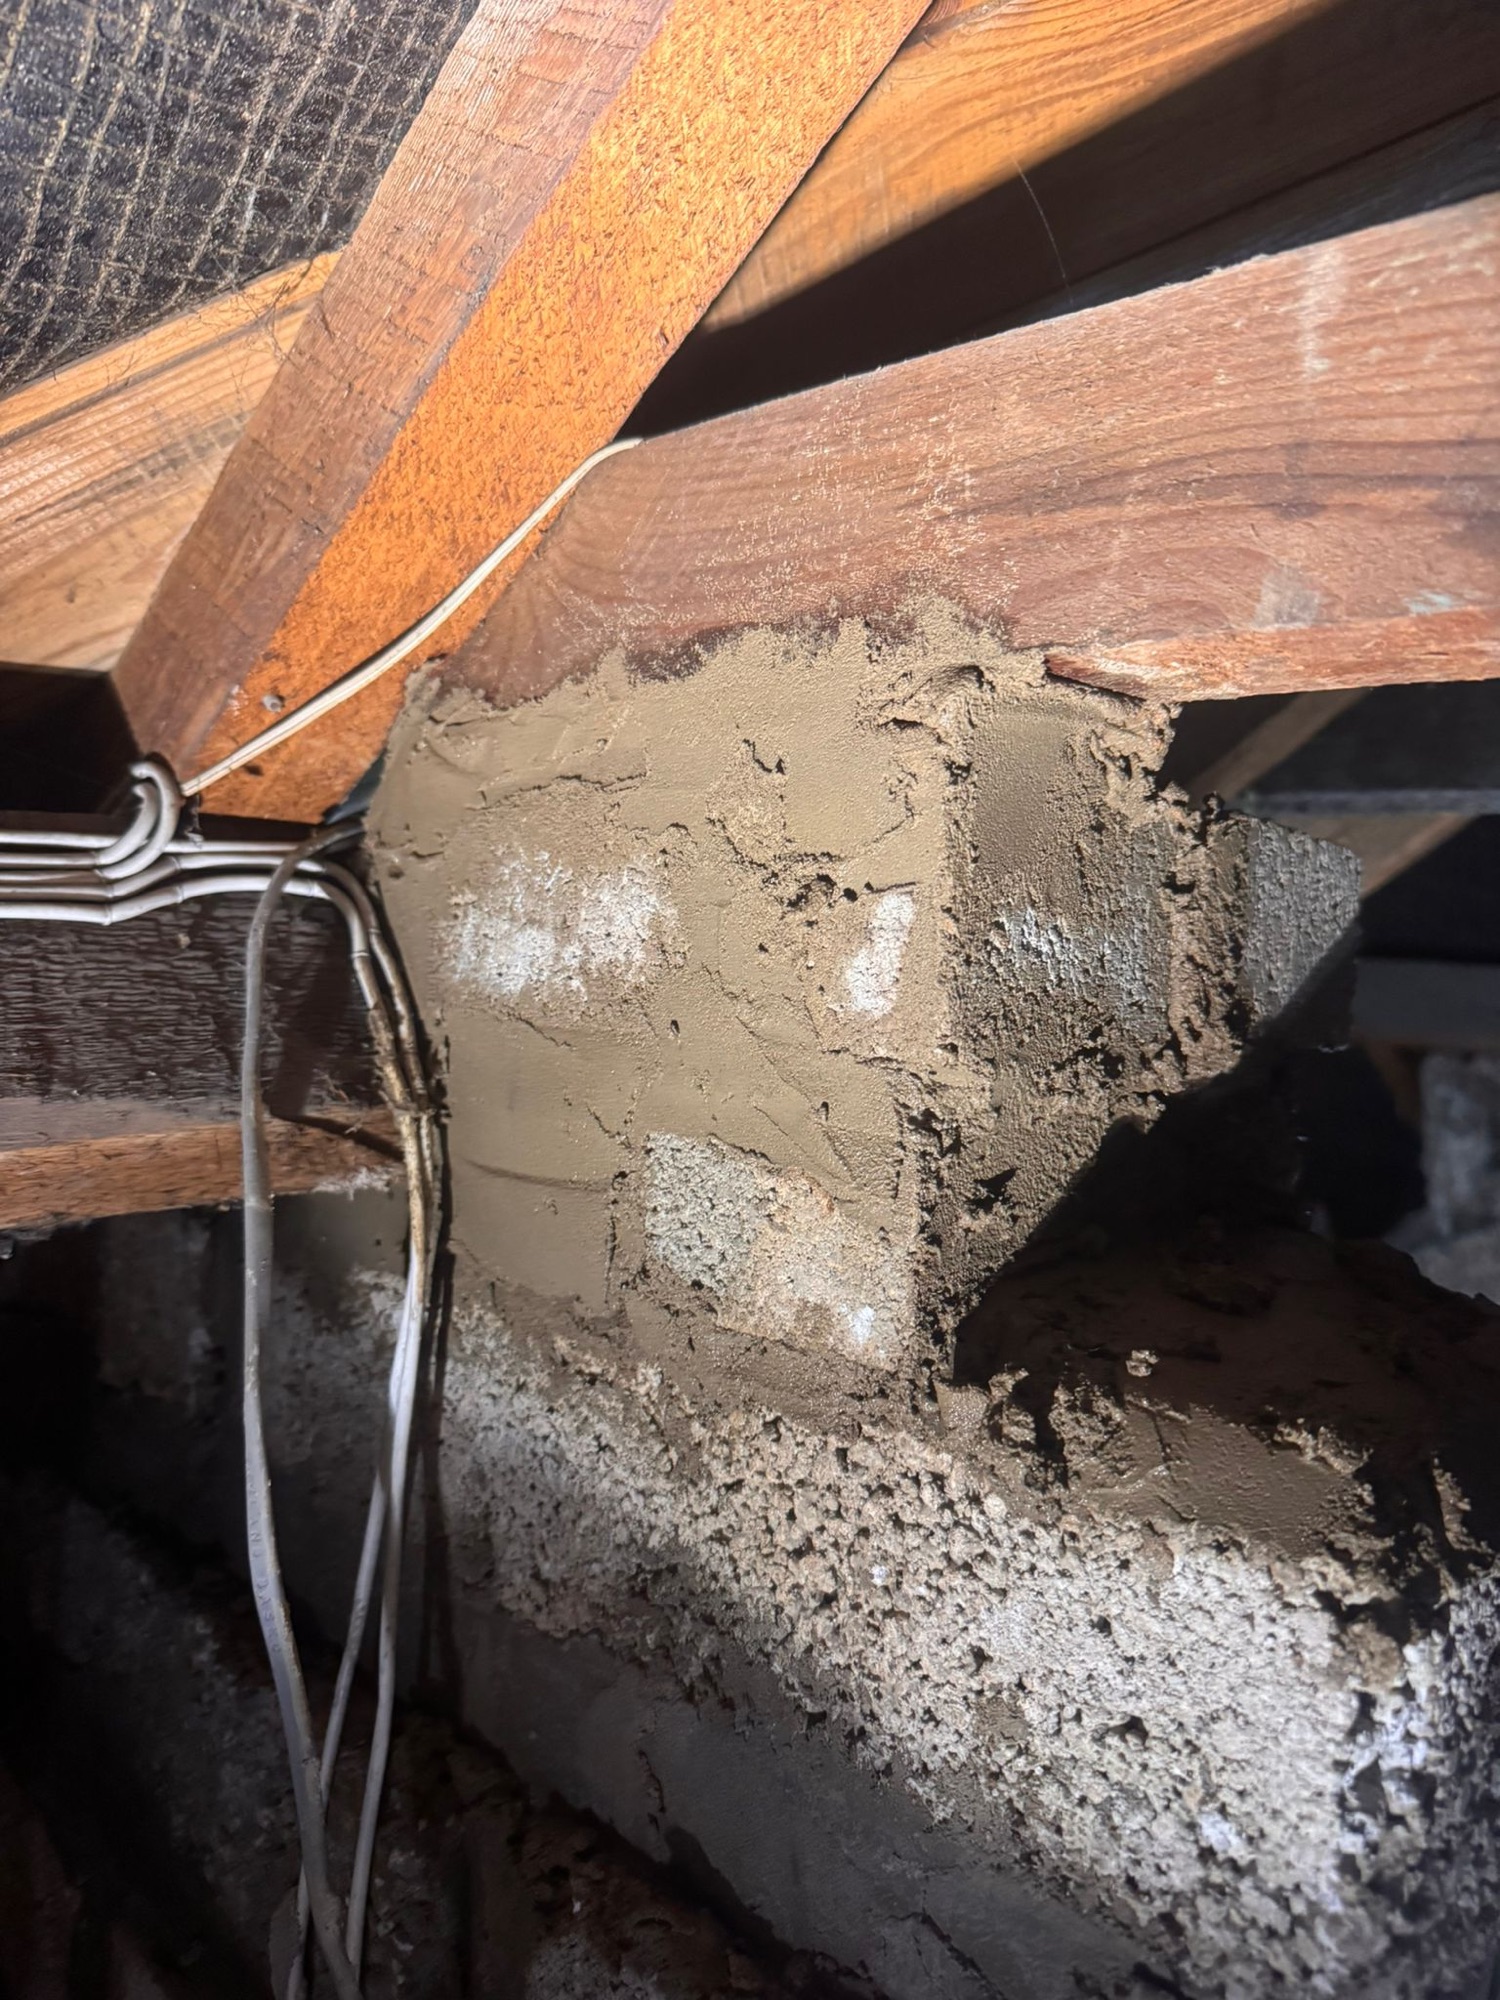
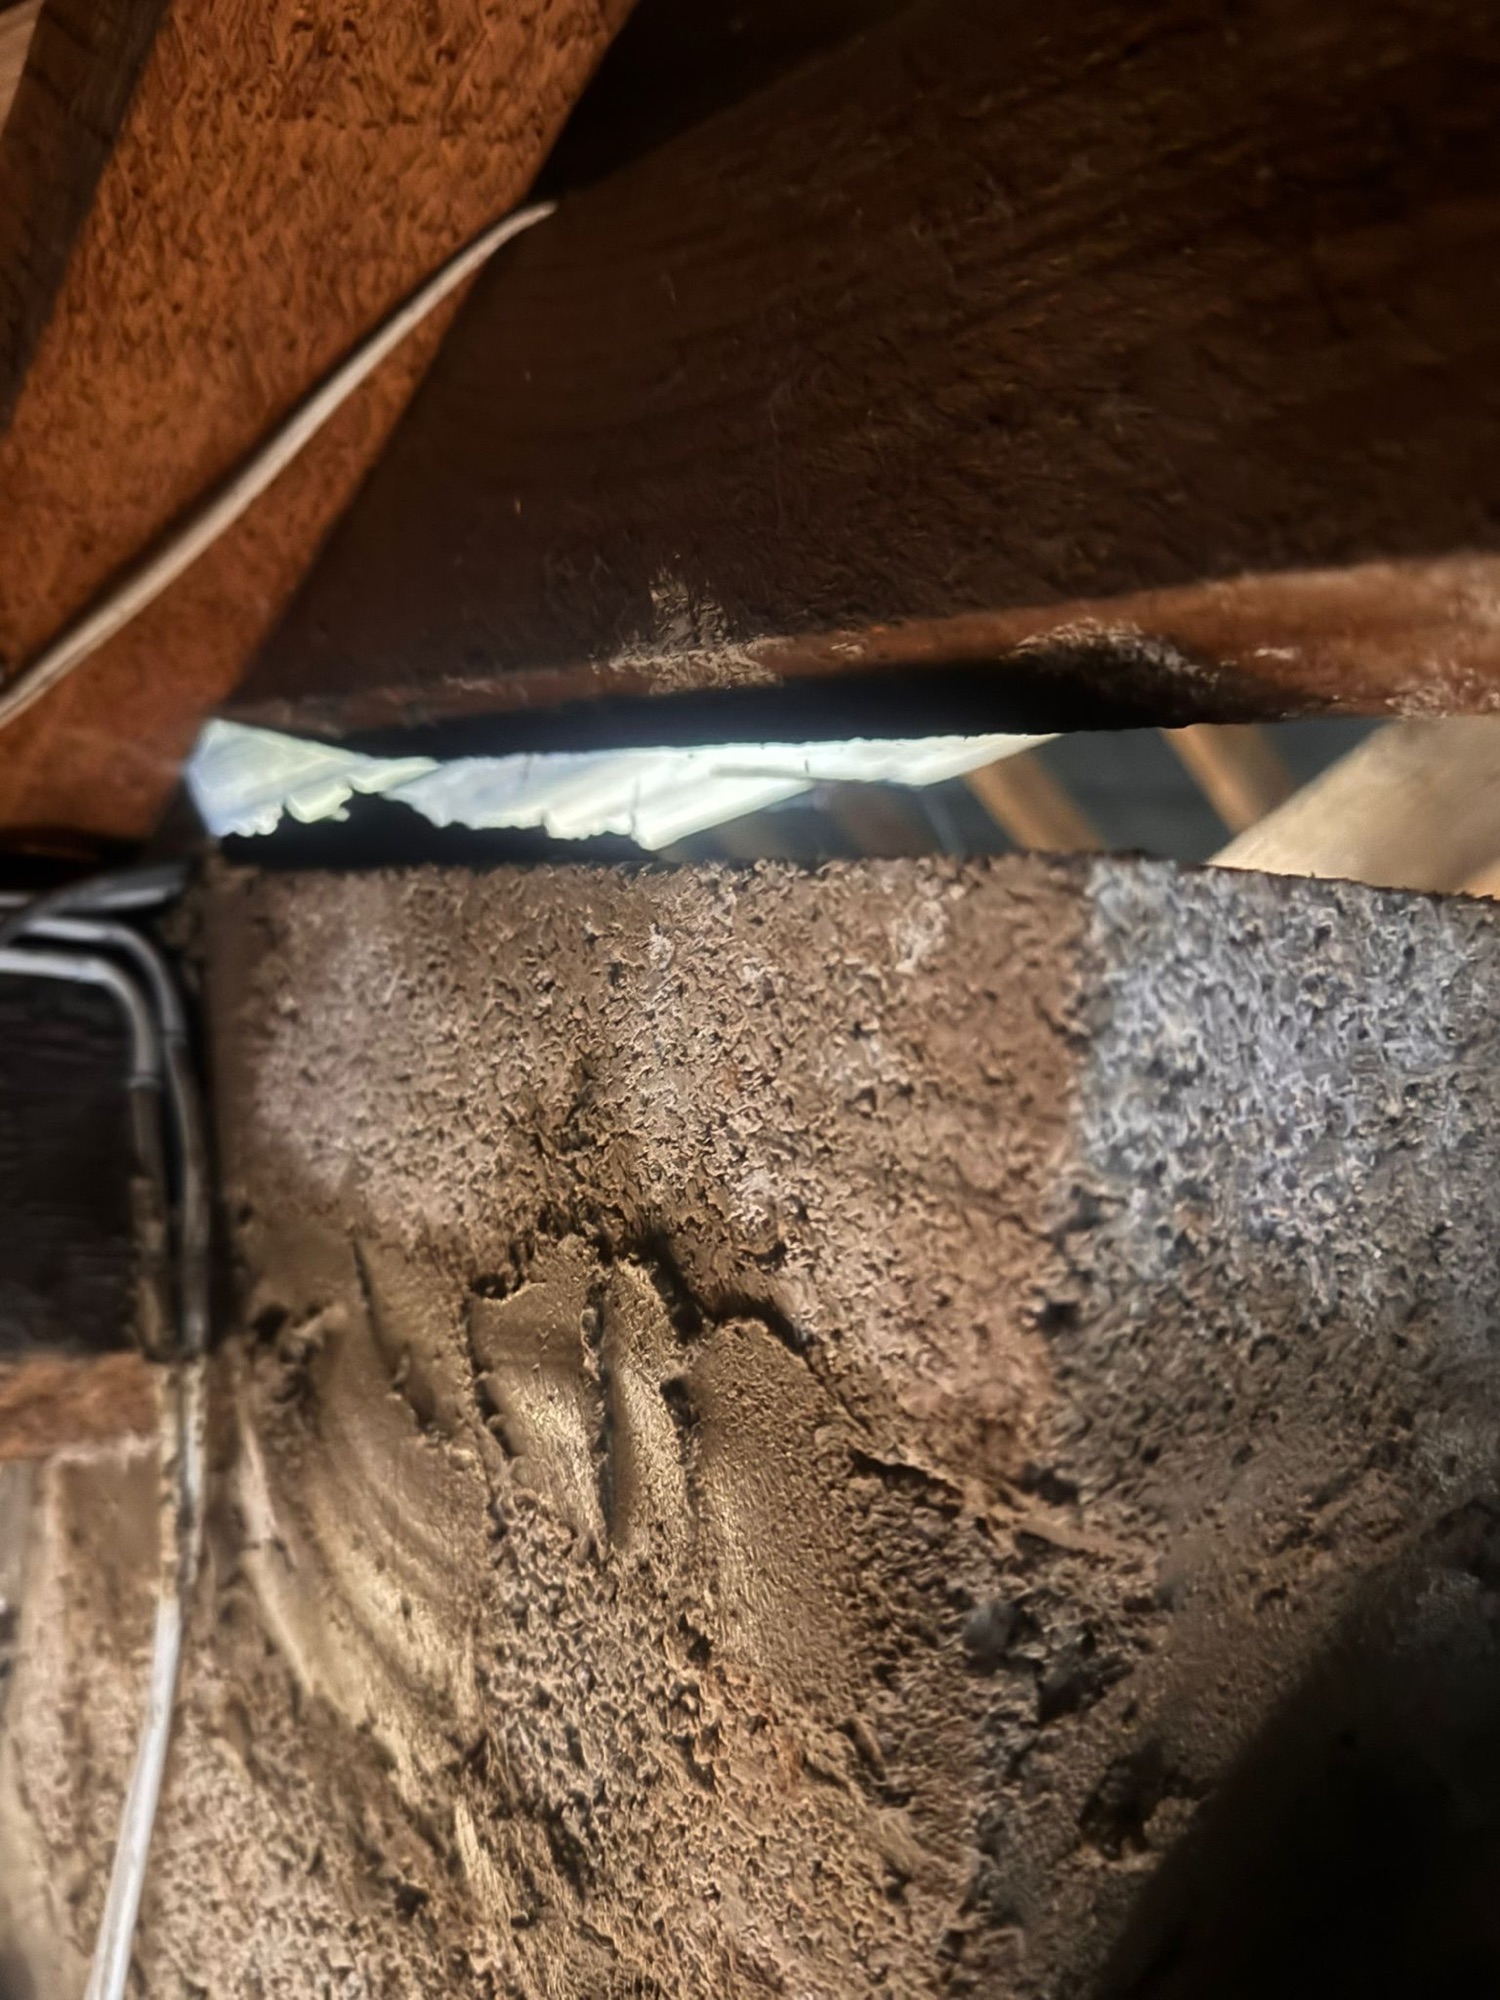
A Note on Quality: During the removal process, we discovered that the blocks supporting the existing roof purlins were already crumbling. It was a good thing we undertook this project when we did; had those supports failed, the structural consequences would have been severe. 

We always break down the costs of our jobs. This gives our clients the option to handle specific finishing tasks themselves—like “making good” the plaster and joinery—to save on their overall budget.

Estimated Costs for this Project:

  • Steel Beams: £500
  • Architectural Plans: £400
  • Structural Engineer Design: £250
  • Labour (Removal & Installation): £2,500 (approx. 4 days work requiring specialist tools/equipment)
  • Waste Disposal: £325
  • Basic Materials: £200 (Pad stones, cement, sand, bricks/blocks)

Optional:

  • “Making Good”: We didn’t perform this for this specific client, but we advise allowing £1,000 for plastering and finishing.

Other Considerations:

Always remember to check for hidden utilities. If radiators or electrical sockets are in the way, you may need specialist trades. In this case, we were able to isolate the electrical socket into the ceiling space ourselves using compliant fittings, which we did at no extra charge to the client.


Need Help with Your Structural Alterations?

Whether you’re looking to create an open-plan living space or need to remove a load-bearing wall, we are here to ensure it’s done safely and professionally.

Call us today on 07737 088243 or email quote@swallowhillhomes.com for a prompt consultation.

Categories
Brickwork Build costs Renovation

Brickwork remediation in East Leake, Leicestershire

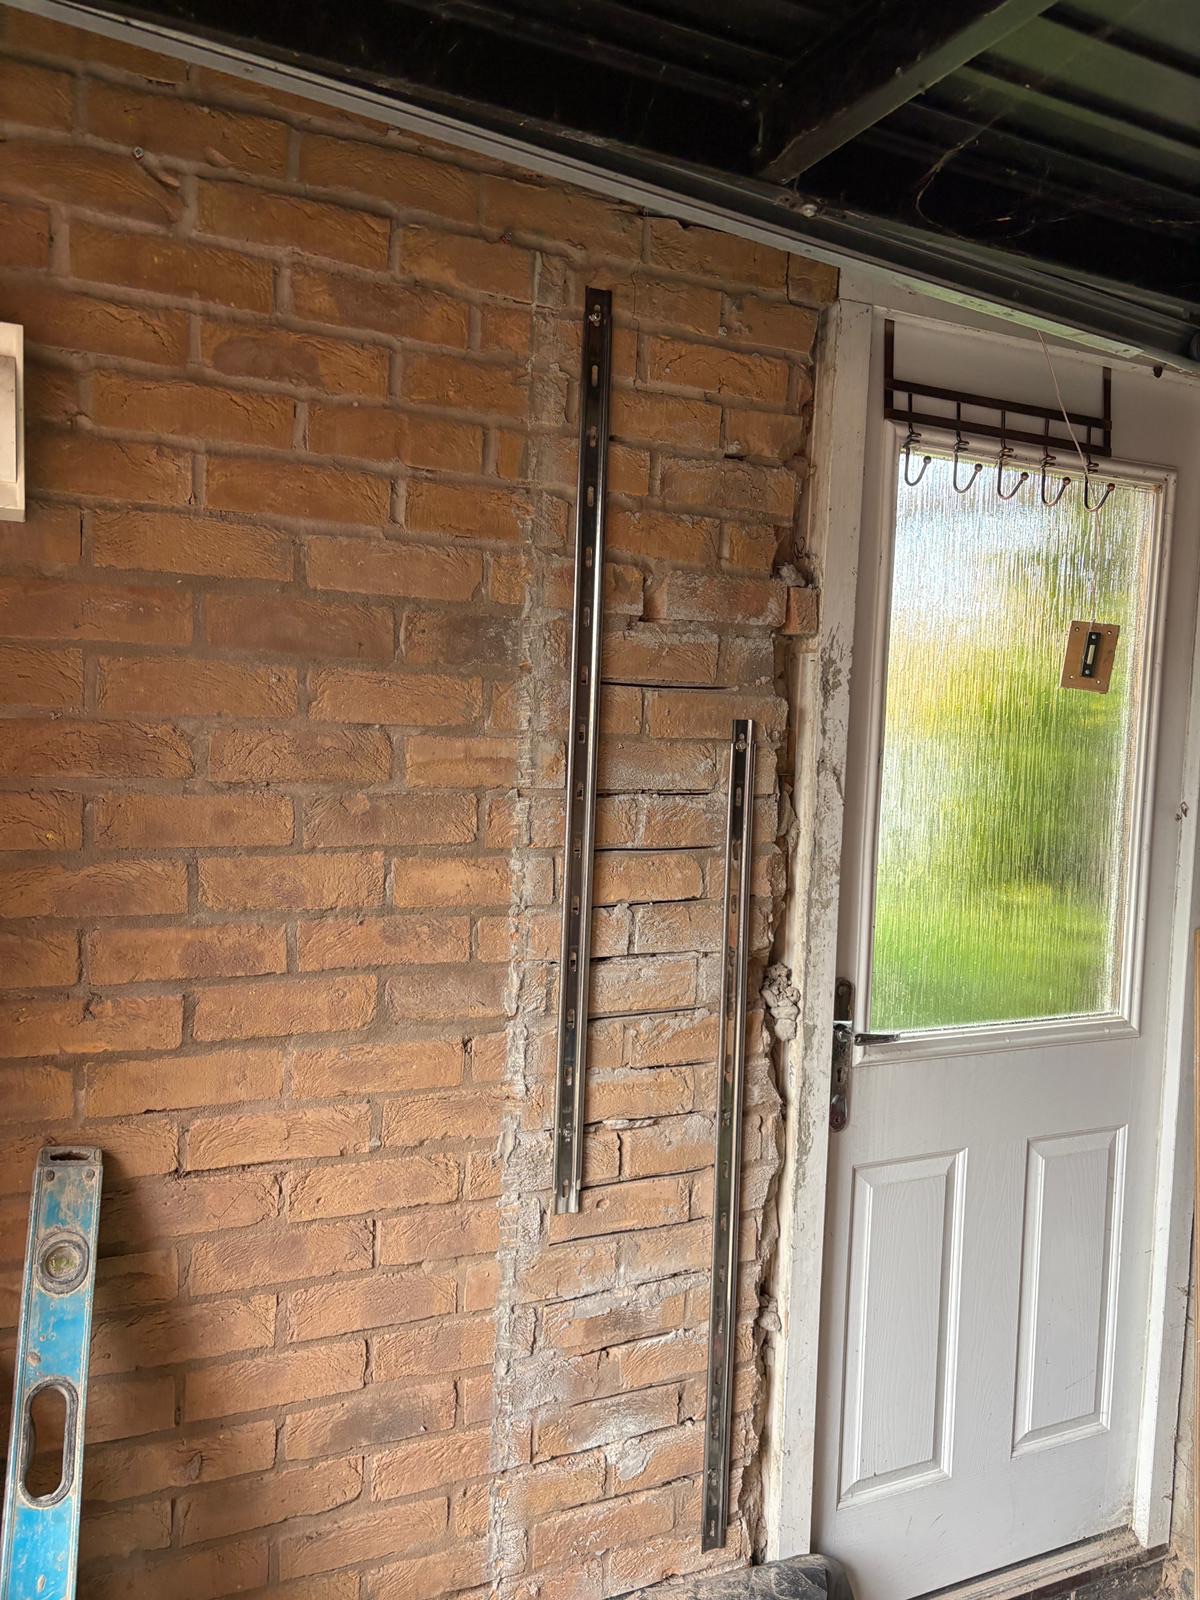
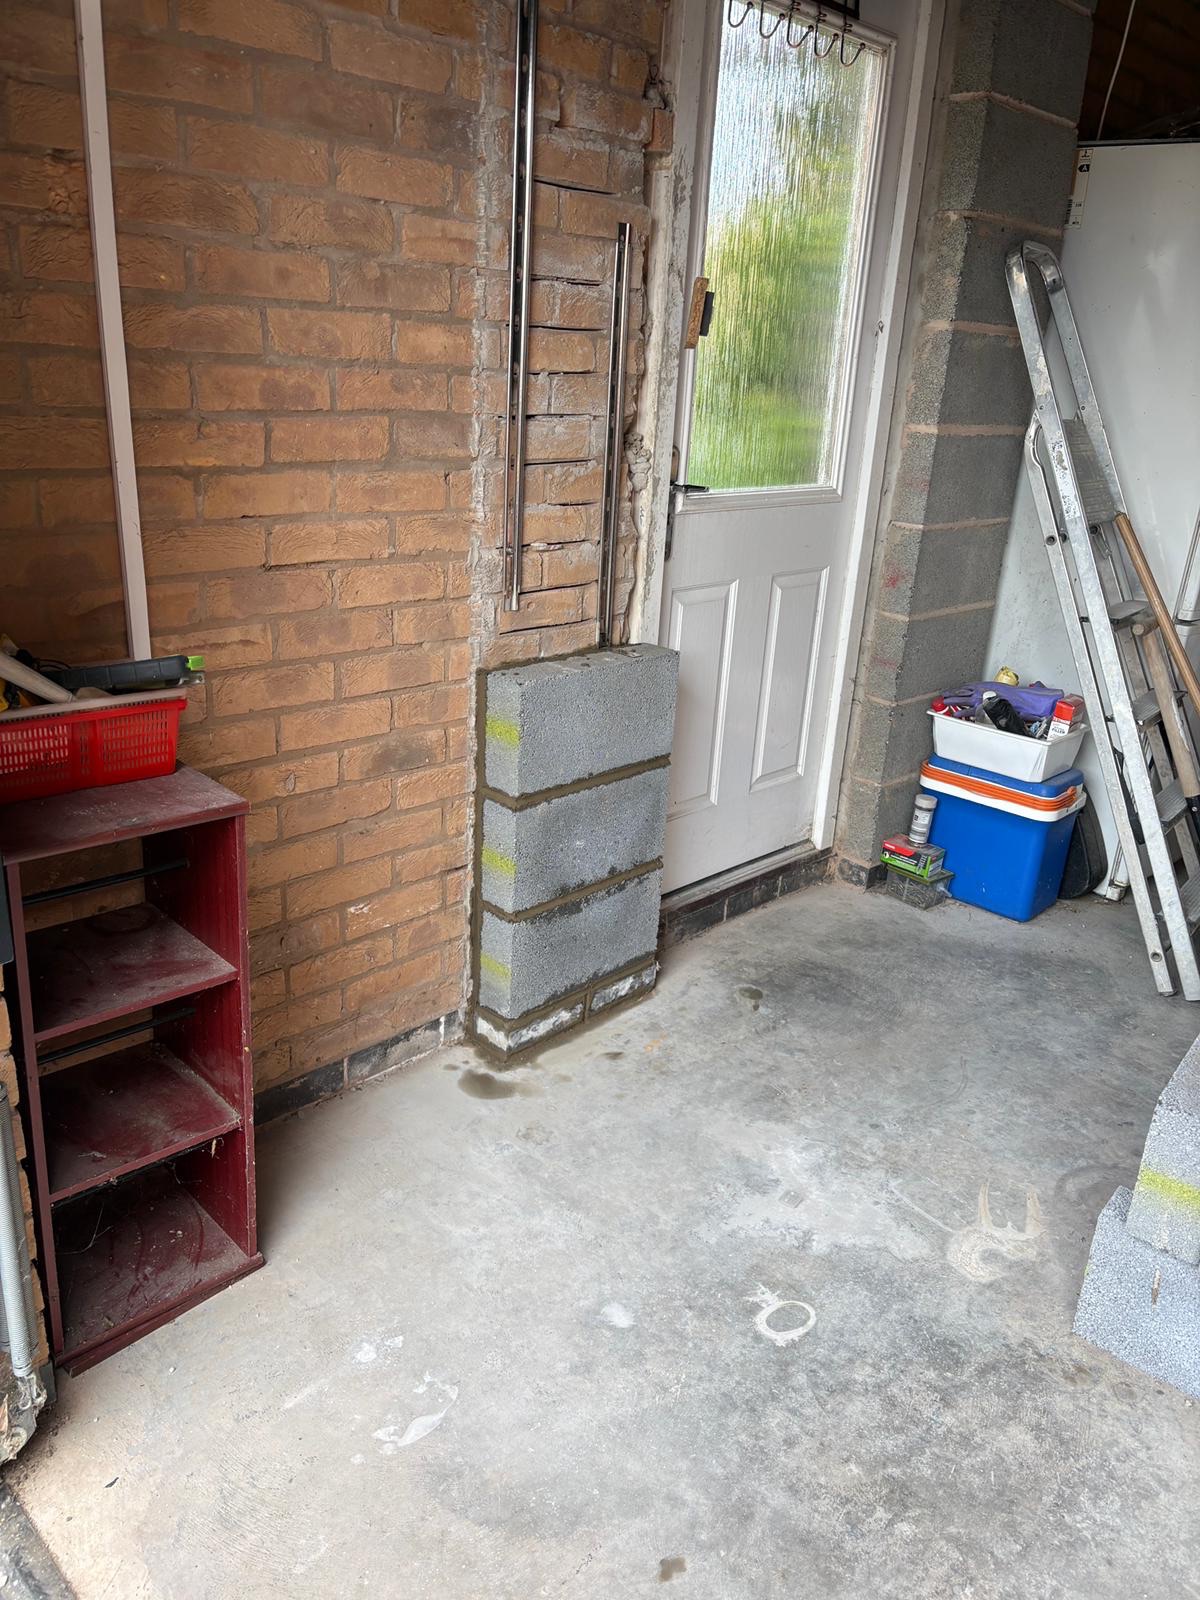
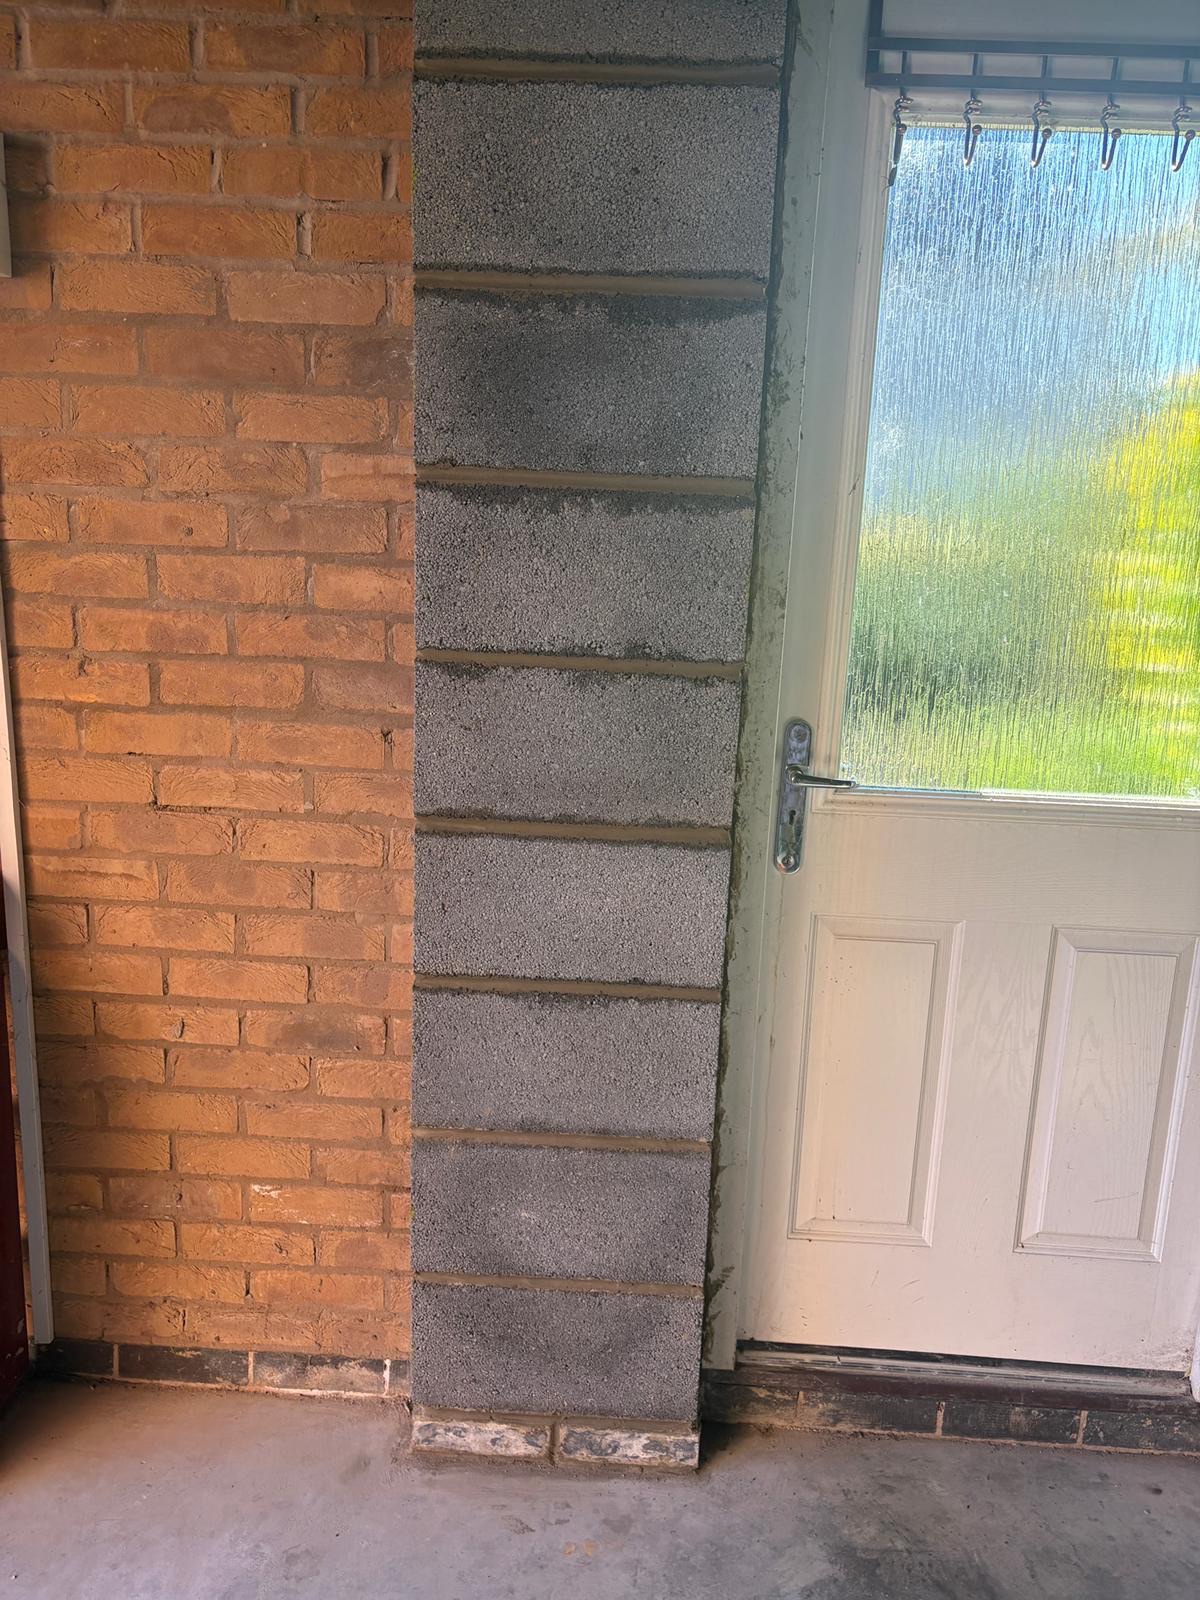
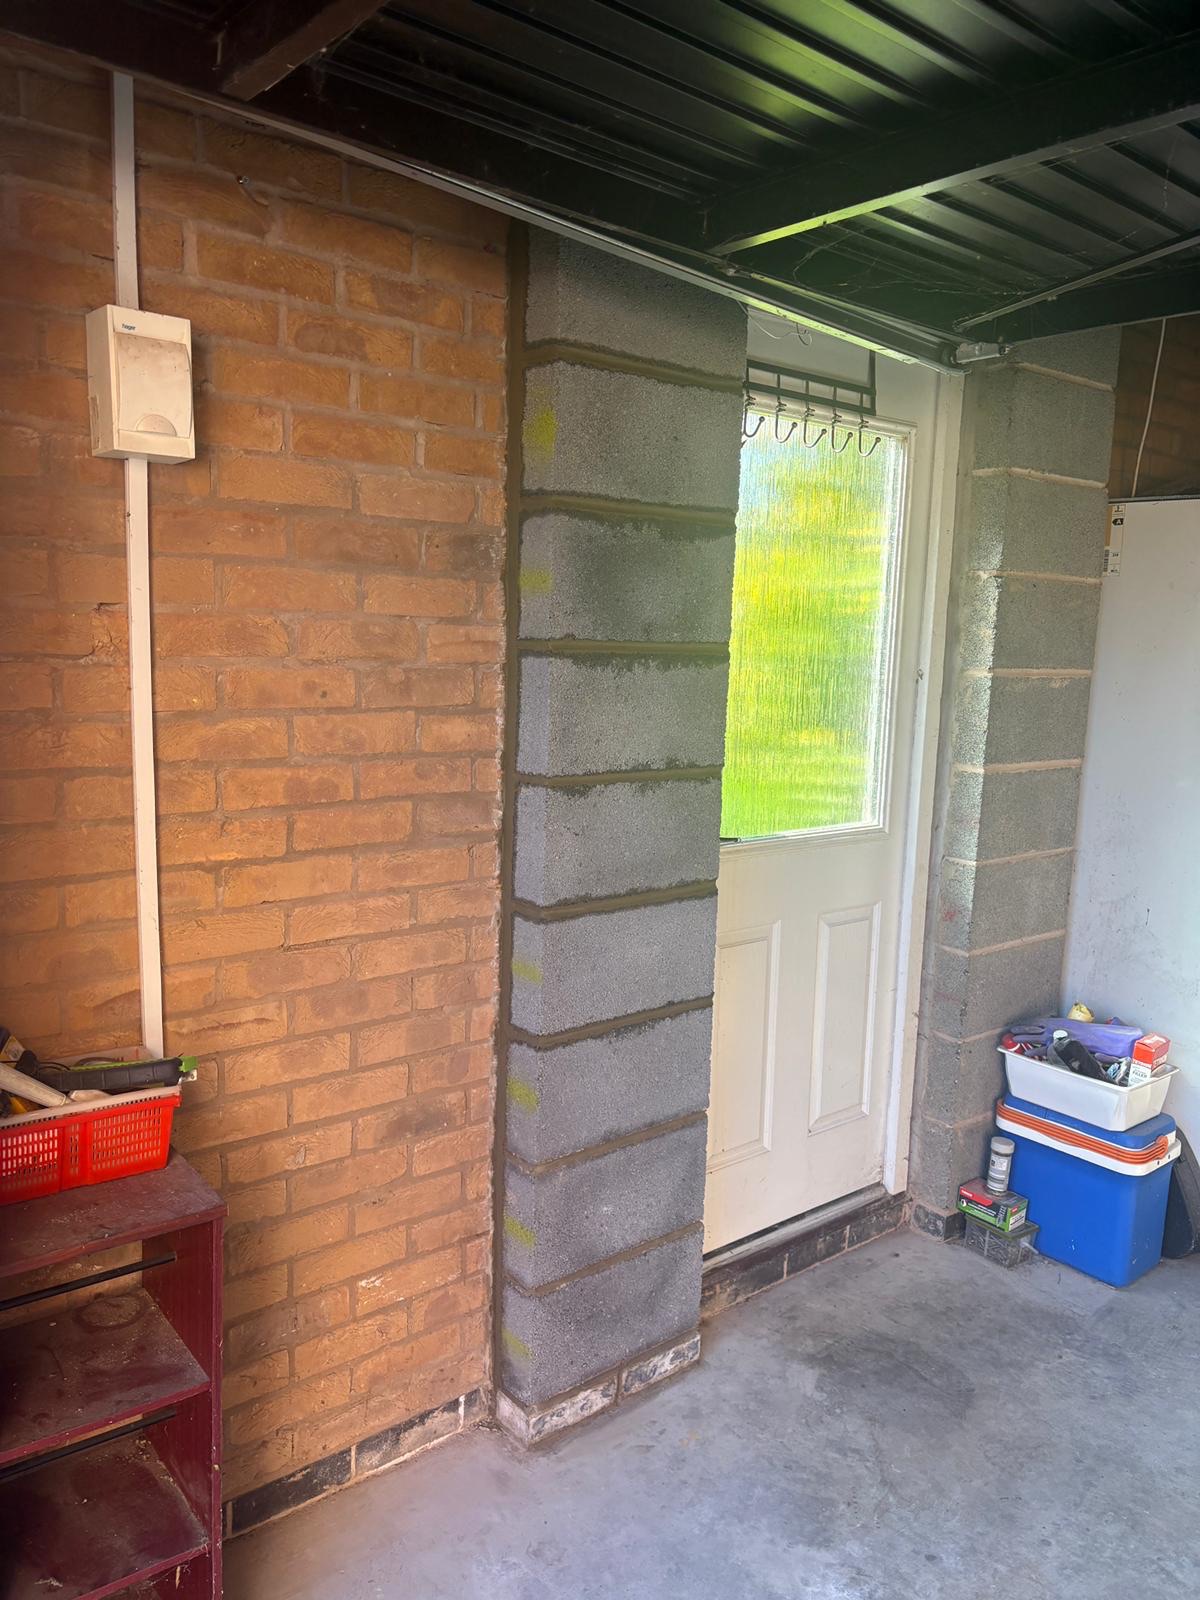
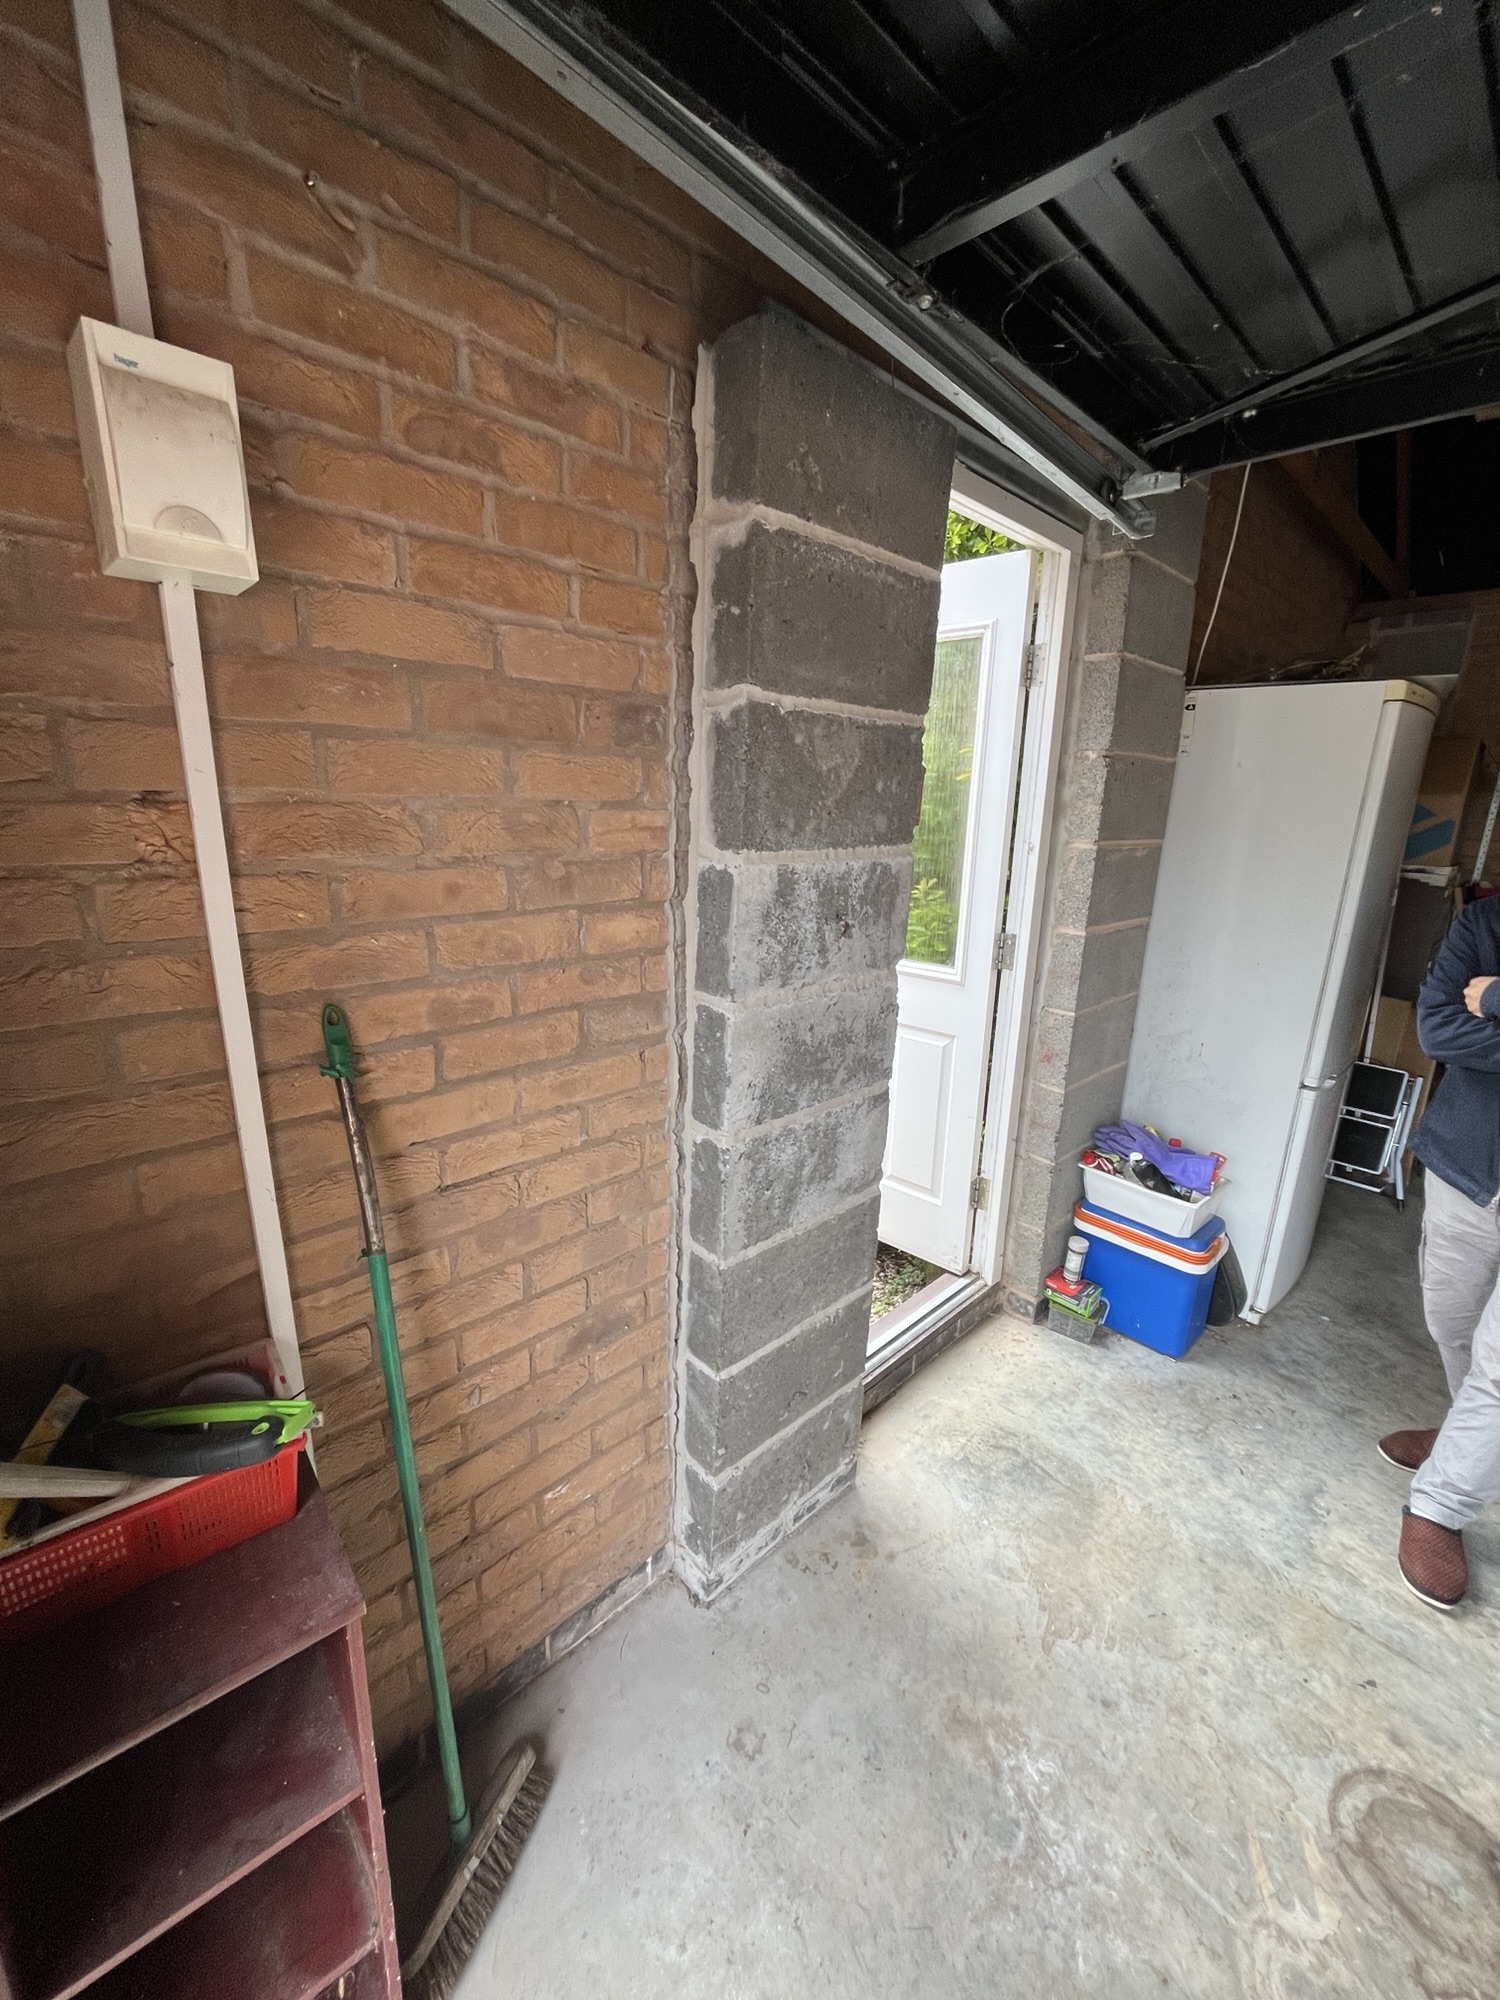
A leaning pillar in a garage might seem like a minor annoyance, but for one of our recent clients, it was a major concern. With their property currently on the market, any sign of structural instability can cause potential buyers to hesitate. They needed a prompt, reliable fix to ensure the garage was safe and the property remained attractive to buyers.

img_6628
previous arrow
next arrow

Structural Integrity: How We Fixed a Leaning Garage Pillar Promptly: A Two-Visit Approach

When we assessed the pillar, it was clear that a quick, one-day fix wouldn’t meet our quality standards.

In masonry, if you lay too many courses of brick in a single go, the weight of the upper bricks puts too much pressure on the fresh, wet mortar below. This causes the mortar to “slump” or squeeze out of the joints, which significantly weakens the structural integrity of the final build.

We used Starter bars (also known as dowel bars) because they ensure continuity of reinforcement between the existing wall and the newly laid blocks, safely transferring loads and preventing separation or structural weakness.

To ensure a permanent, high-quality result, we scheduled the job across two visits:

  1. Visit One: We reconstructed the lower 5 courses, allowing the base to set firmly and take the weight of the structure without compromising the mortar joints.
  2. Visit Two: We completed the remaining 5 courses, ensuring the pillar was perfectly plumb, stable, and ready to last for years to come.

This two-step process allows us to guarantee structural strength that a rush job simply cannot offer.

Costs

For this repair, the costs were broken down as follows:

  • Materials: £30
  • Labour: £50–£300 (This varies depending on the location and the specific time required for the repair).

Need Help with Your Brickwork? Whether it’s a structural concern or a cosmetic update, we are here to help you get the job done right.

If you have a project in mind, call us today on 07737 088243 or send your details to quote@swallowhillhomes.com for a prompt consultation.