Categories
Bathroom

Bathroom remodel

Case Study: Bathroom Reconfiguration and Specialist Upgrades

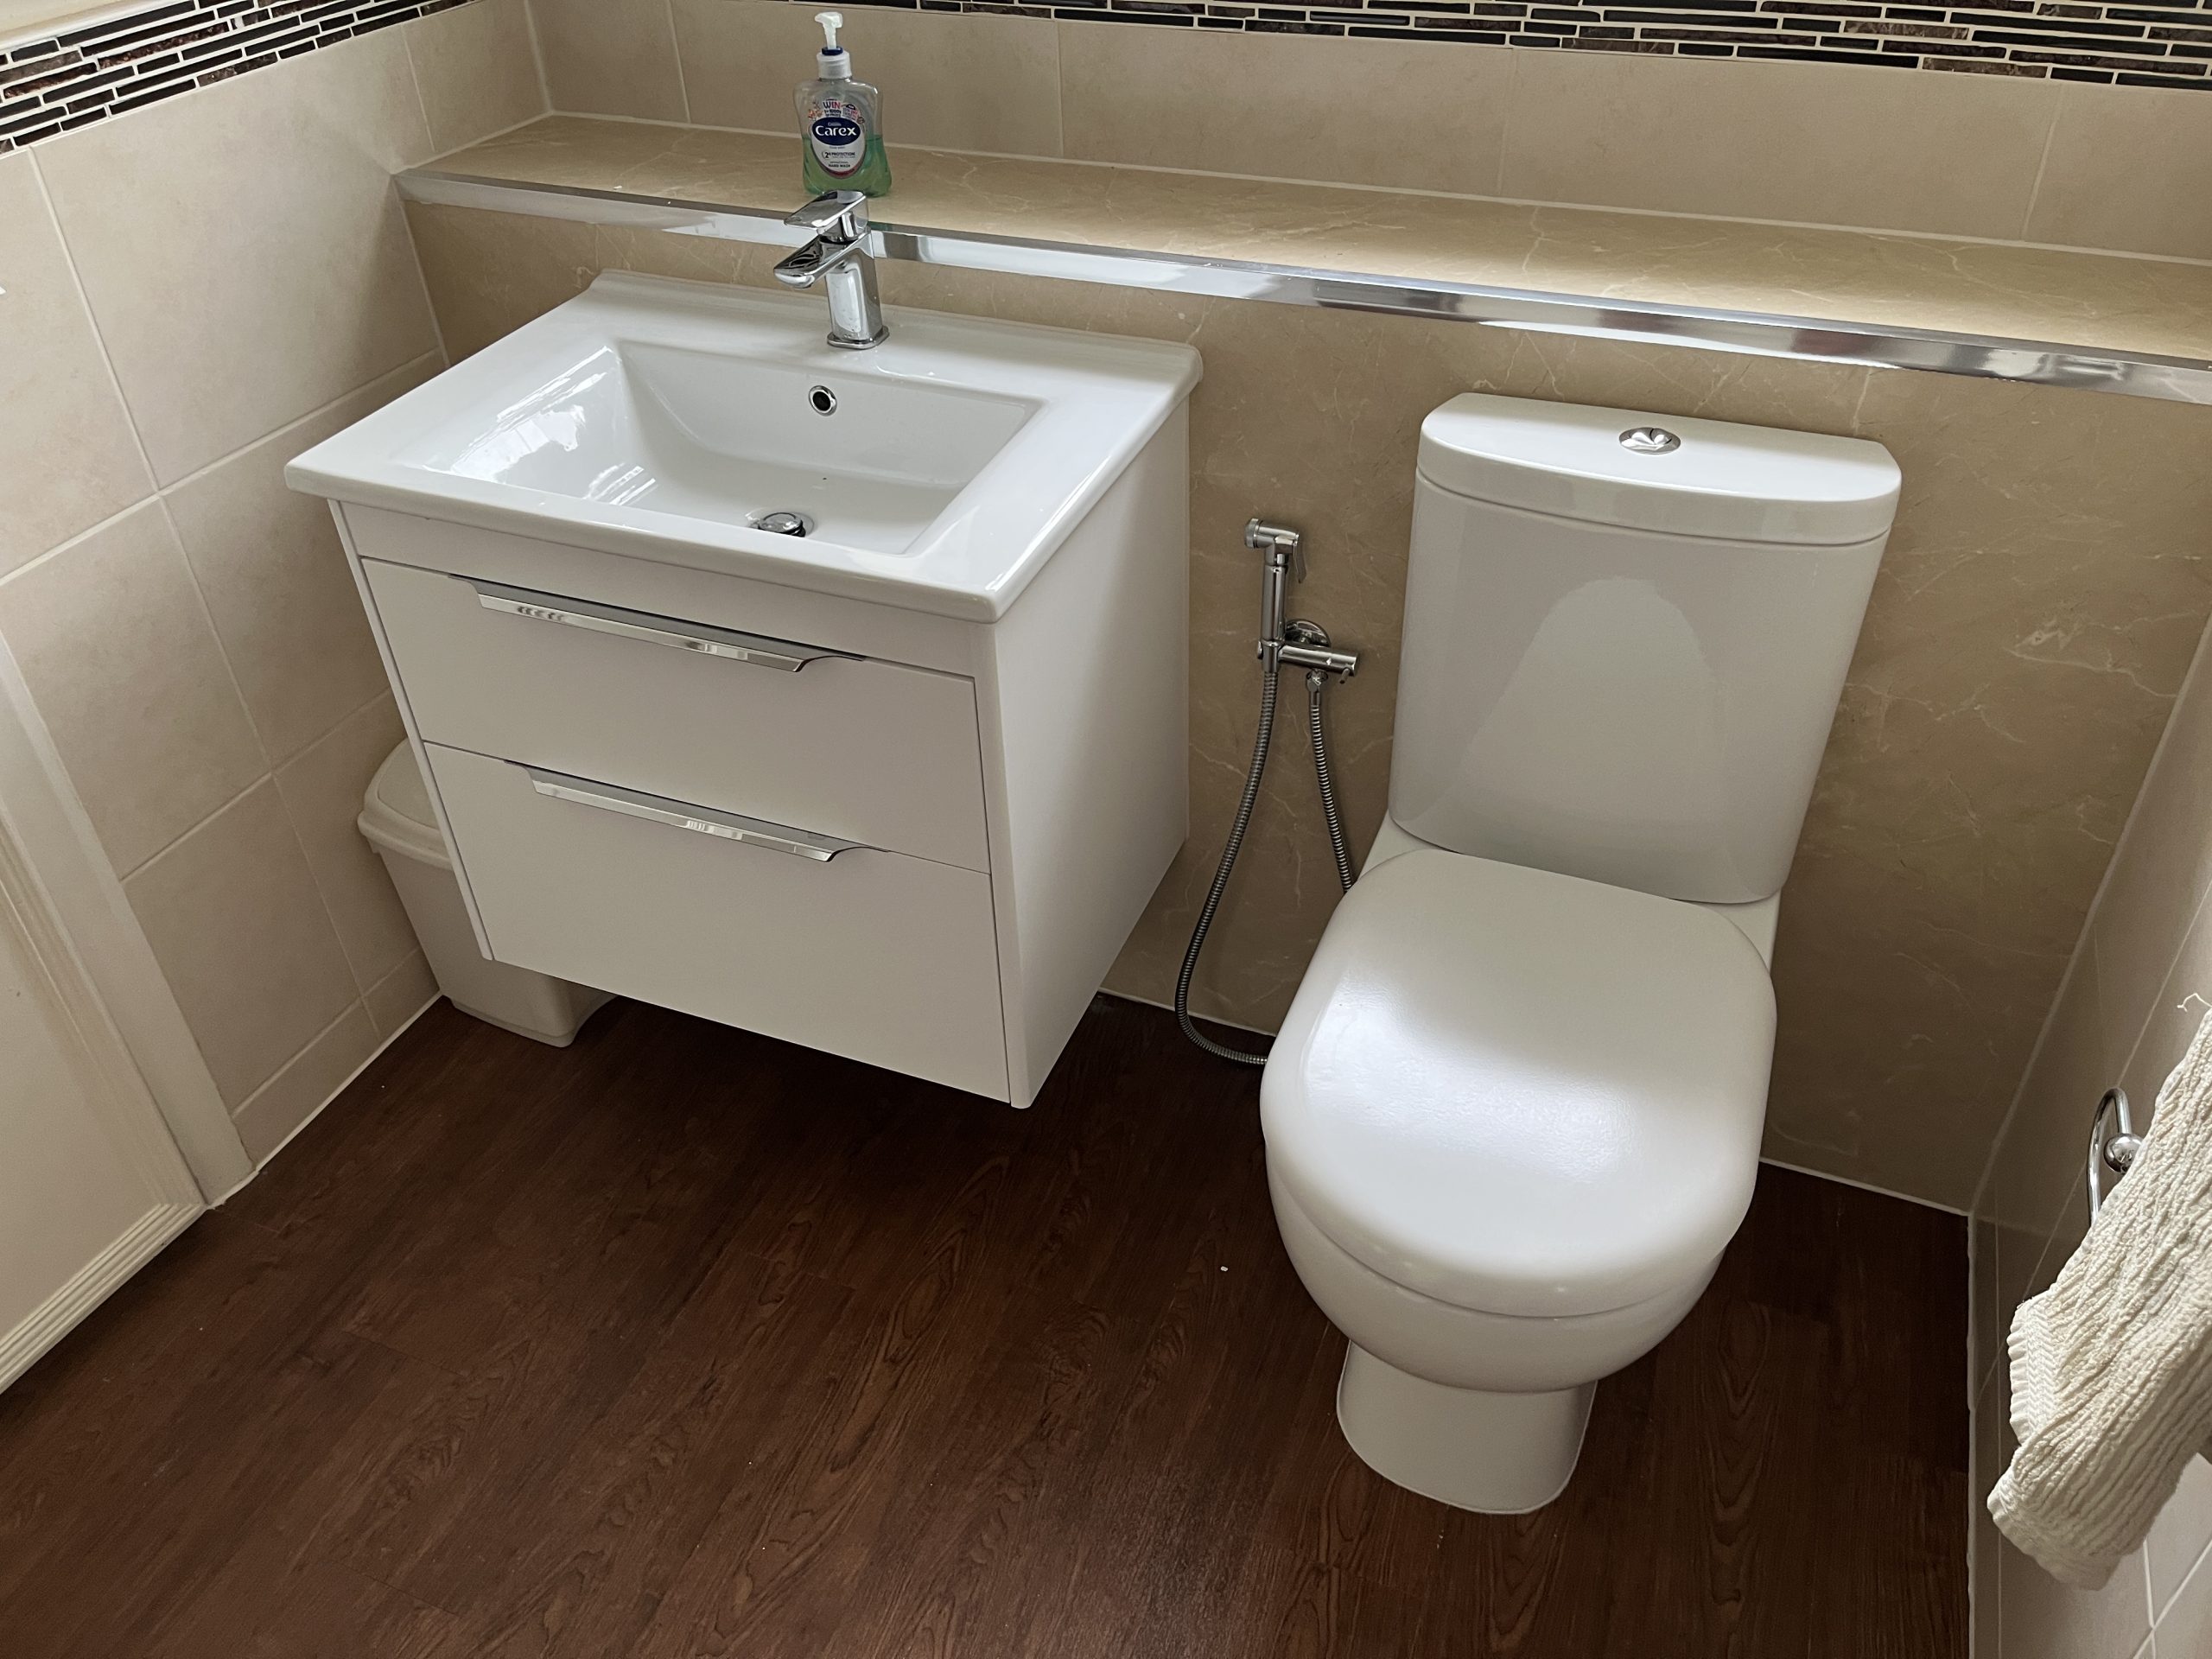
This project focused on a comprehensive bathroom refurbishment, involving plumbing & electrical modifications to resolve functional issues and enhance the client’s living space. Providing a private bathroom for a family member and a separate space to store shoes that cog up the hallway.

Project Scope and Functional Redesign

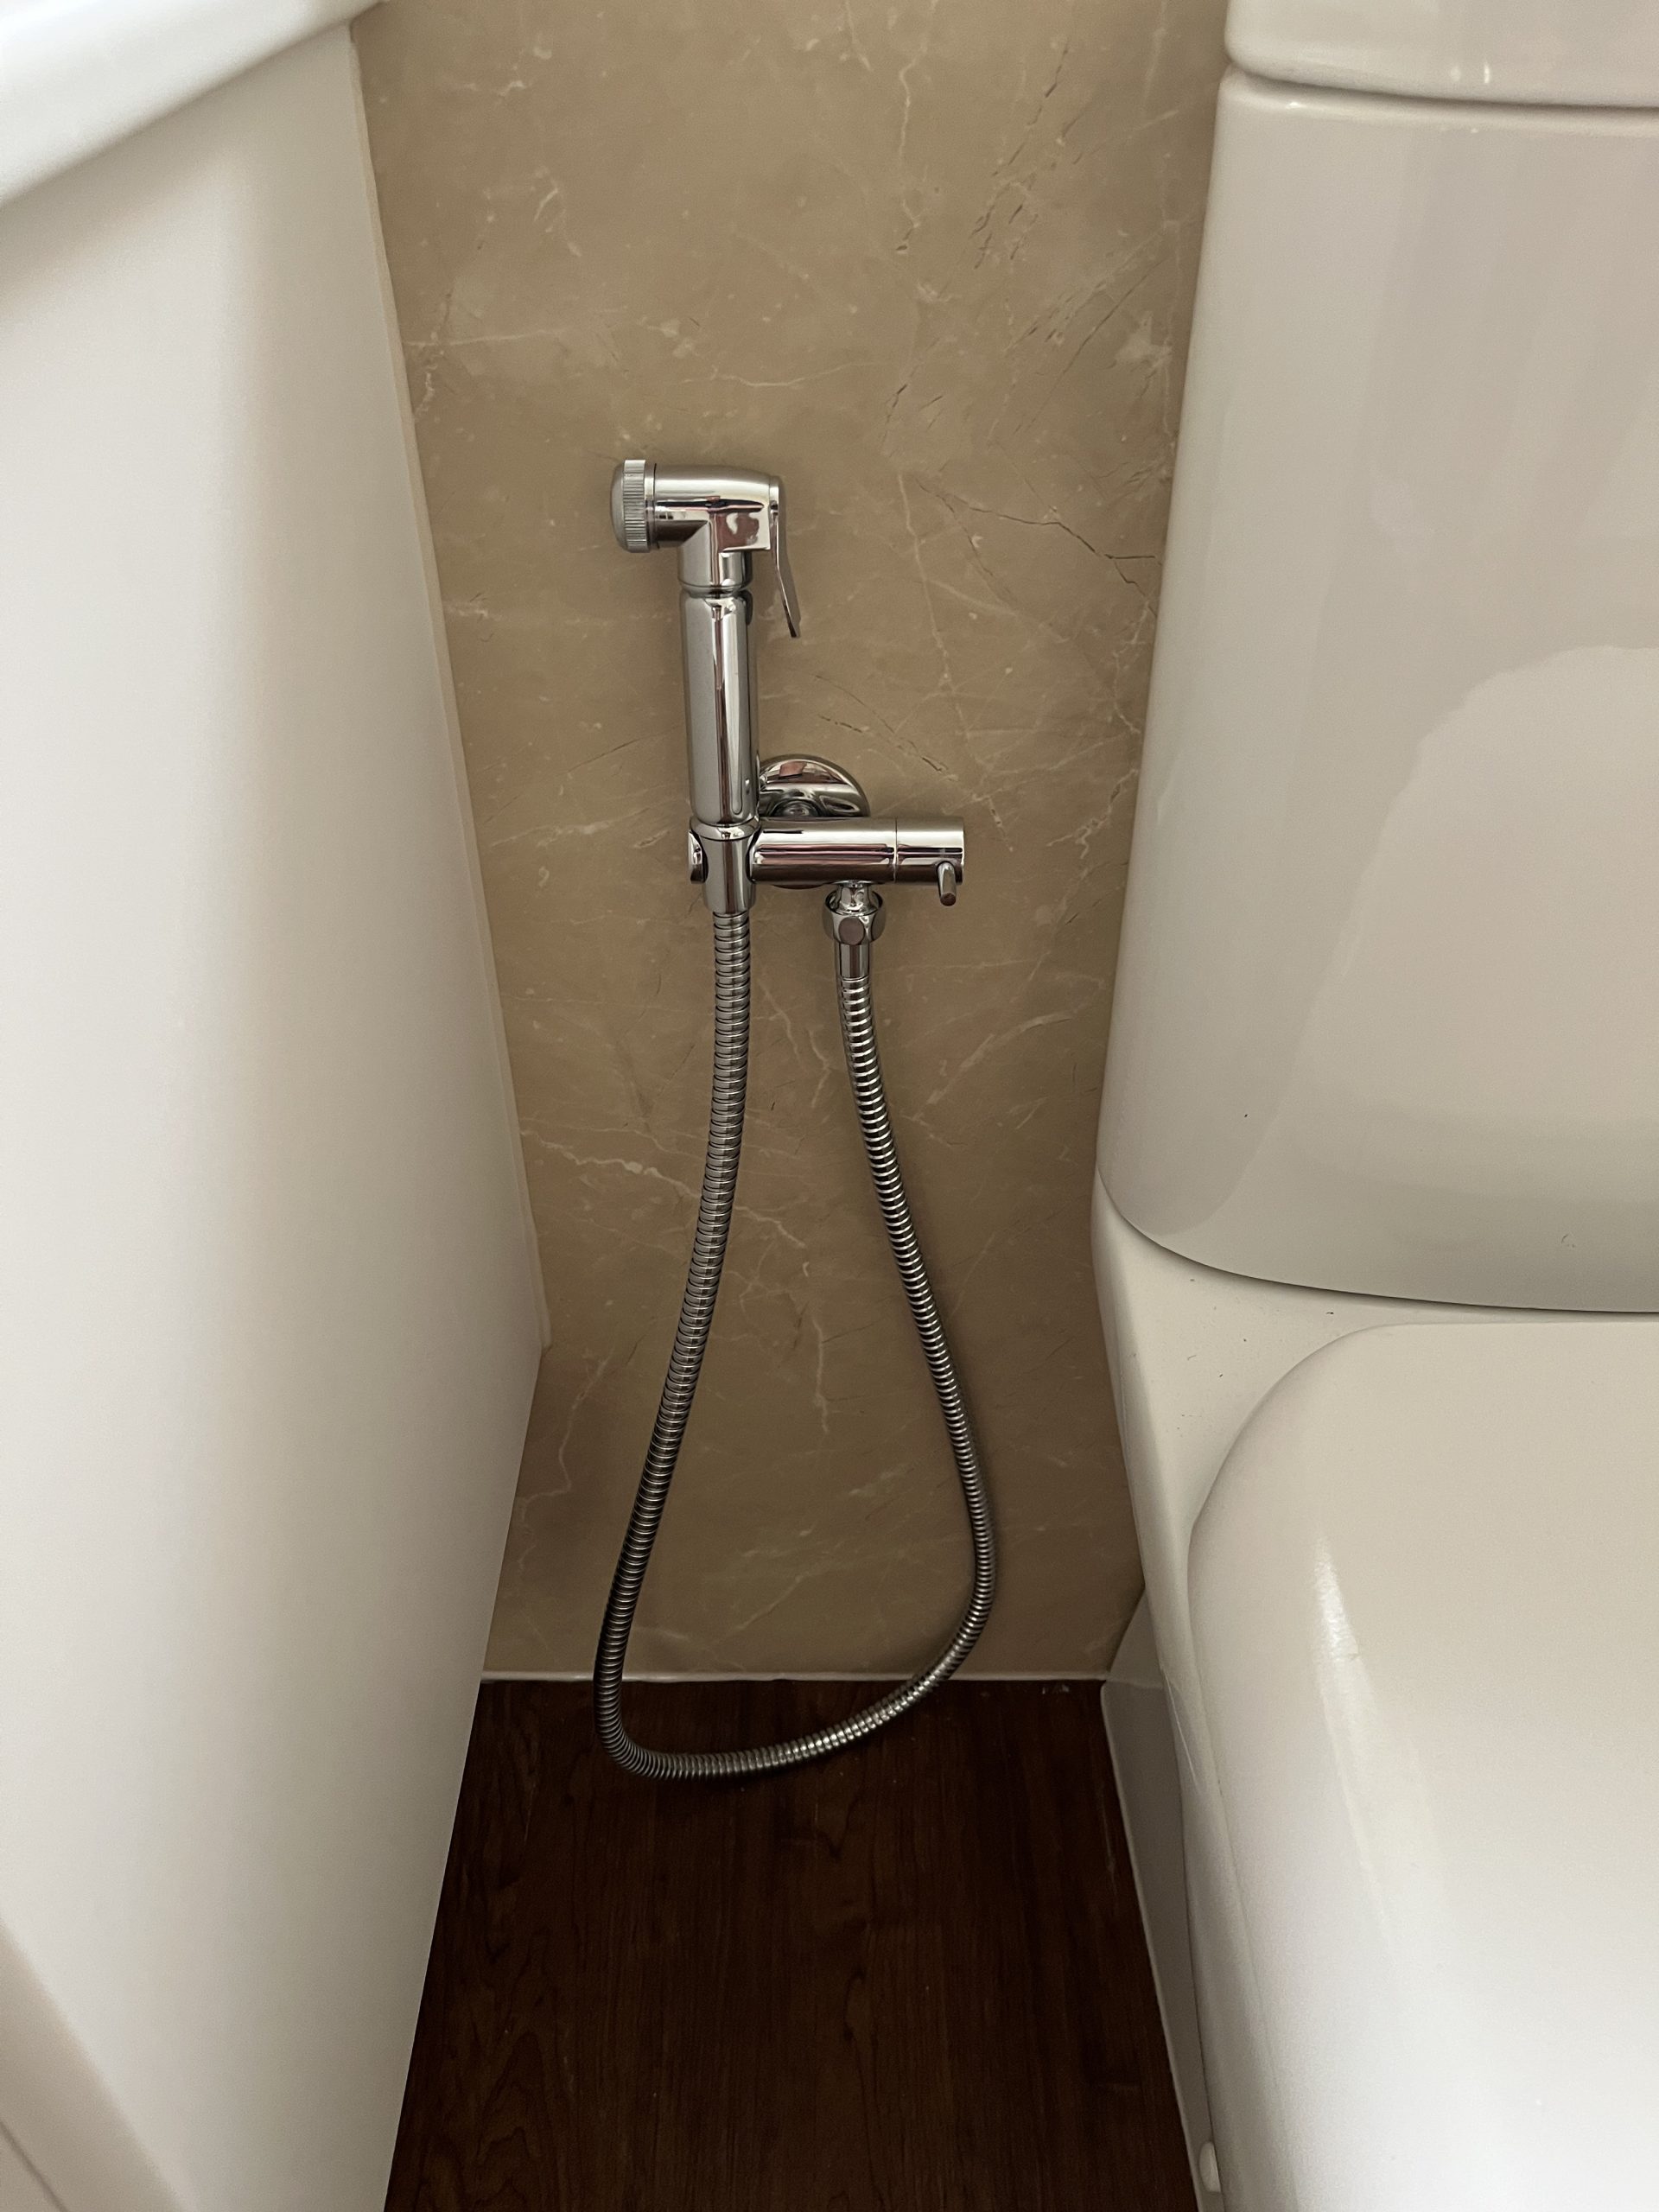
The primary drivers for this renovation were to remedy a leak in the shattaf/shower douche unit and to improve the home’s utility by removing the ‘Jack and Jill’ dual-access feature. By eliminating the second doorway, we successfully partitioned the space to create a dedicated cloakroom/shoe cupboard and a more private, functional single bathroom. This reconfiguration maximized the available floorplan to deliver a new, tailored storage solution.

IMG_6102
previous arrow
next arrow

Electrical and Plumbing Upgrades

The renovation included complex electrical work to ensure safety and regulatory compliance. The existing lighting system was consolidated into a single circuit controlled by dual switches. Our team expertly isolated and divided this legacy system to establish two individual, independent lighting circuits—one for the main bathroom and a separate circuit for the new cloakroom. This precise re-wiring ensures full compliance with modern electrical standards and provides independent control for the segregated areas.

In the plumbing specification, client safety and ease-of-use were paramount. The isolation valve on the shattaf unit was required to be highly accessible and simple to operate. We rejected the original unit and procured a replacement featuring a superior, ergonomic handle. The new isolation valve was installed in line with industry best practice for functionality, correctly positioned on the right-hand side of the toilet.

Finishing Solutions: Efficiency and Aesthetic Integration

To meet the client’s preference for minimal disruption and to avoid the cost and time associated with full re-tiling, we deployed high-quality shower panels. This method provided a seamless, waterproof finish that was selected to harmoniously integrate with the existing tiling, delivering a premium look with enhanced project efficiency.

Project Metrics: Delivery and Investment

This comprehensive refurbishment was executed with controlled precision, demonstrating our ability to deliver complex projects efficiently:

  • Timeline: The project was completed in approximately one week from start to finish.
  • Cost Breakdown (Excluding VAT):
    • Materials: £1,200
    • Labour: £2,800
    • Electrics (including lights and extractor fan): £400
    • Plastering: £300
    • Joinery: £300
    • Total Project Investment (Excluding VAT): £5,000
Categories
Decking Extension

Composite decking

We laid 28 square meters of decking in total in this project. We sourced it from Eurocell in Nottingham.

Another challenge on this job was leaving enough space for the tree which the customer didn’t want to disturb. The base underneath the decking is about 20cm. We laid a geotextipe weed suppressed membrane underneath to reduce the opportunities for weeds to grow through. It is however permeable to water.

Anthracite decking laid on a timber frame

The site is sloping from top to bottom. We installed a handrail along the Eastern elevation as there was a small fall risk (45cm). We also added a handrail to the steps below.

We constructed two steps to get easy access to the decking which was level with the kitchen diner on a sleeping site.

Categories
Extension Flooring Kitchen

Media Wall & parquet floor

Bramcote – Media Wall & parquet floor – February 2026

Project Spotlight: Modern Slat Wall & Custom Media Console in Bramcote

When it comes to elevating a living space, nothing combines warmth, texture, and functionality quite like custom woodwork. We recently completed this stunning living room transformation, turning a plain wall into a striking, architectural focal point.

If you are looking for inspiration to upgrade your home entertainment setup, here is a breakdown of how we brought this sleek, modern design to life.

The Design Details

Our client wanted a sophisticated media center that felt integrated into the room rather than just a collection of standalone furniture. We achieved this by focusing on clean lines, rich textures, and hidden functionality.

The Slat Wall Feature: We installed a floor-to-ceiling vertical wood slat accent wall. The deep oak tones contrasted against the dark backing add incredible visual depth, while the vertical lines create the illusion of higher ceilings.

Custom Floating Media Console: Built to span the width of the wall, using cabinets from Ween in the same range as the kitchen cabinets which helped tie the room together, this low-profile console features a seamless black countertop that perfectly anchors the large-screen TV.

Smart Storage Solutions: The console features balance and symmetry, with spacious, push-to-open drawers on either side to tuck away clutter, and a central open shelving unit to house media devices and showcase personal decor.

Flawless Wire Management: No messy cords here! All cables, power strips, and router boxes are neatly routed behind the slat wall and inside the console for a completely flush, wire-free look. We did need to loop an rj45 cable between the top and bottom of the unit to future proof the work for alternative set ups.

The Engineered Oak flooring was supplied by Stories flooring again and laid in a Herringbone layout. It is very time consuming so not cheap to lay but we thing the result is worthwhile.

If you would like us to create something similar in your home please let me know.

Categories
Brickwork Extension New build

Room extension

Awaiting the arrival of the roofers and joiners

Possibly the smallest extension we have done so far. Only 2.5 square meters but it makes the room much more useable and the window lets lots of light in.

We constructed it, then left the roof open until we go to get the roofers on site

At the roof load here is being supported on the props

We fitted blocks above the window lintel because it was going to be covered by the facial soffit boards

The steel lentil was specified by our supplier

We supported the roof on acro pop props whilst we installed the steel lentil.

We install a single long lentil to allow complete freedom of where the internal wall went