Categories
External Fencing Groundwork

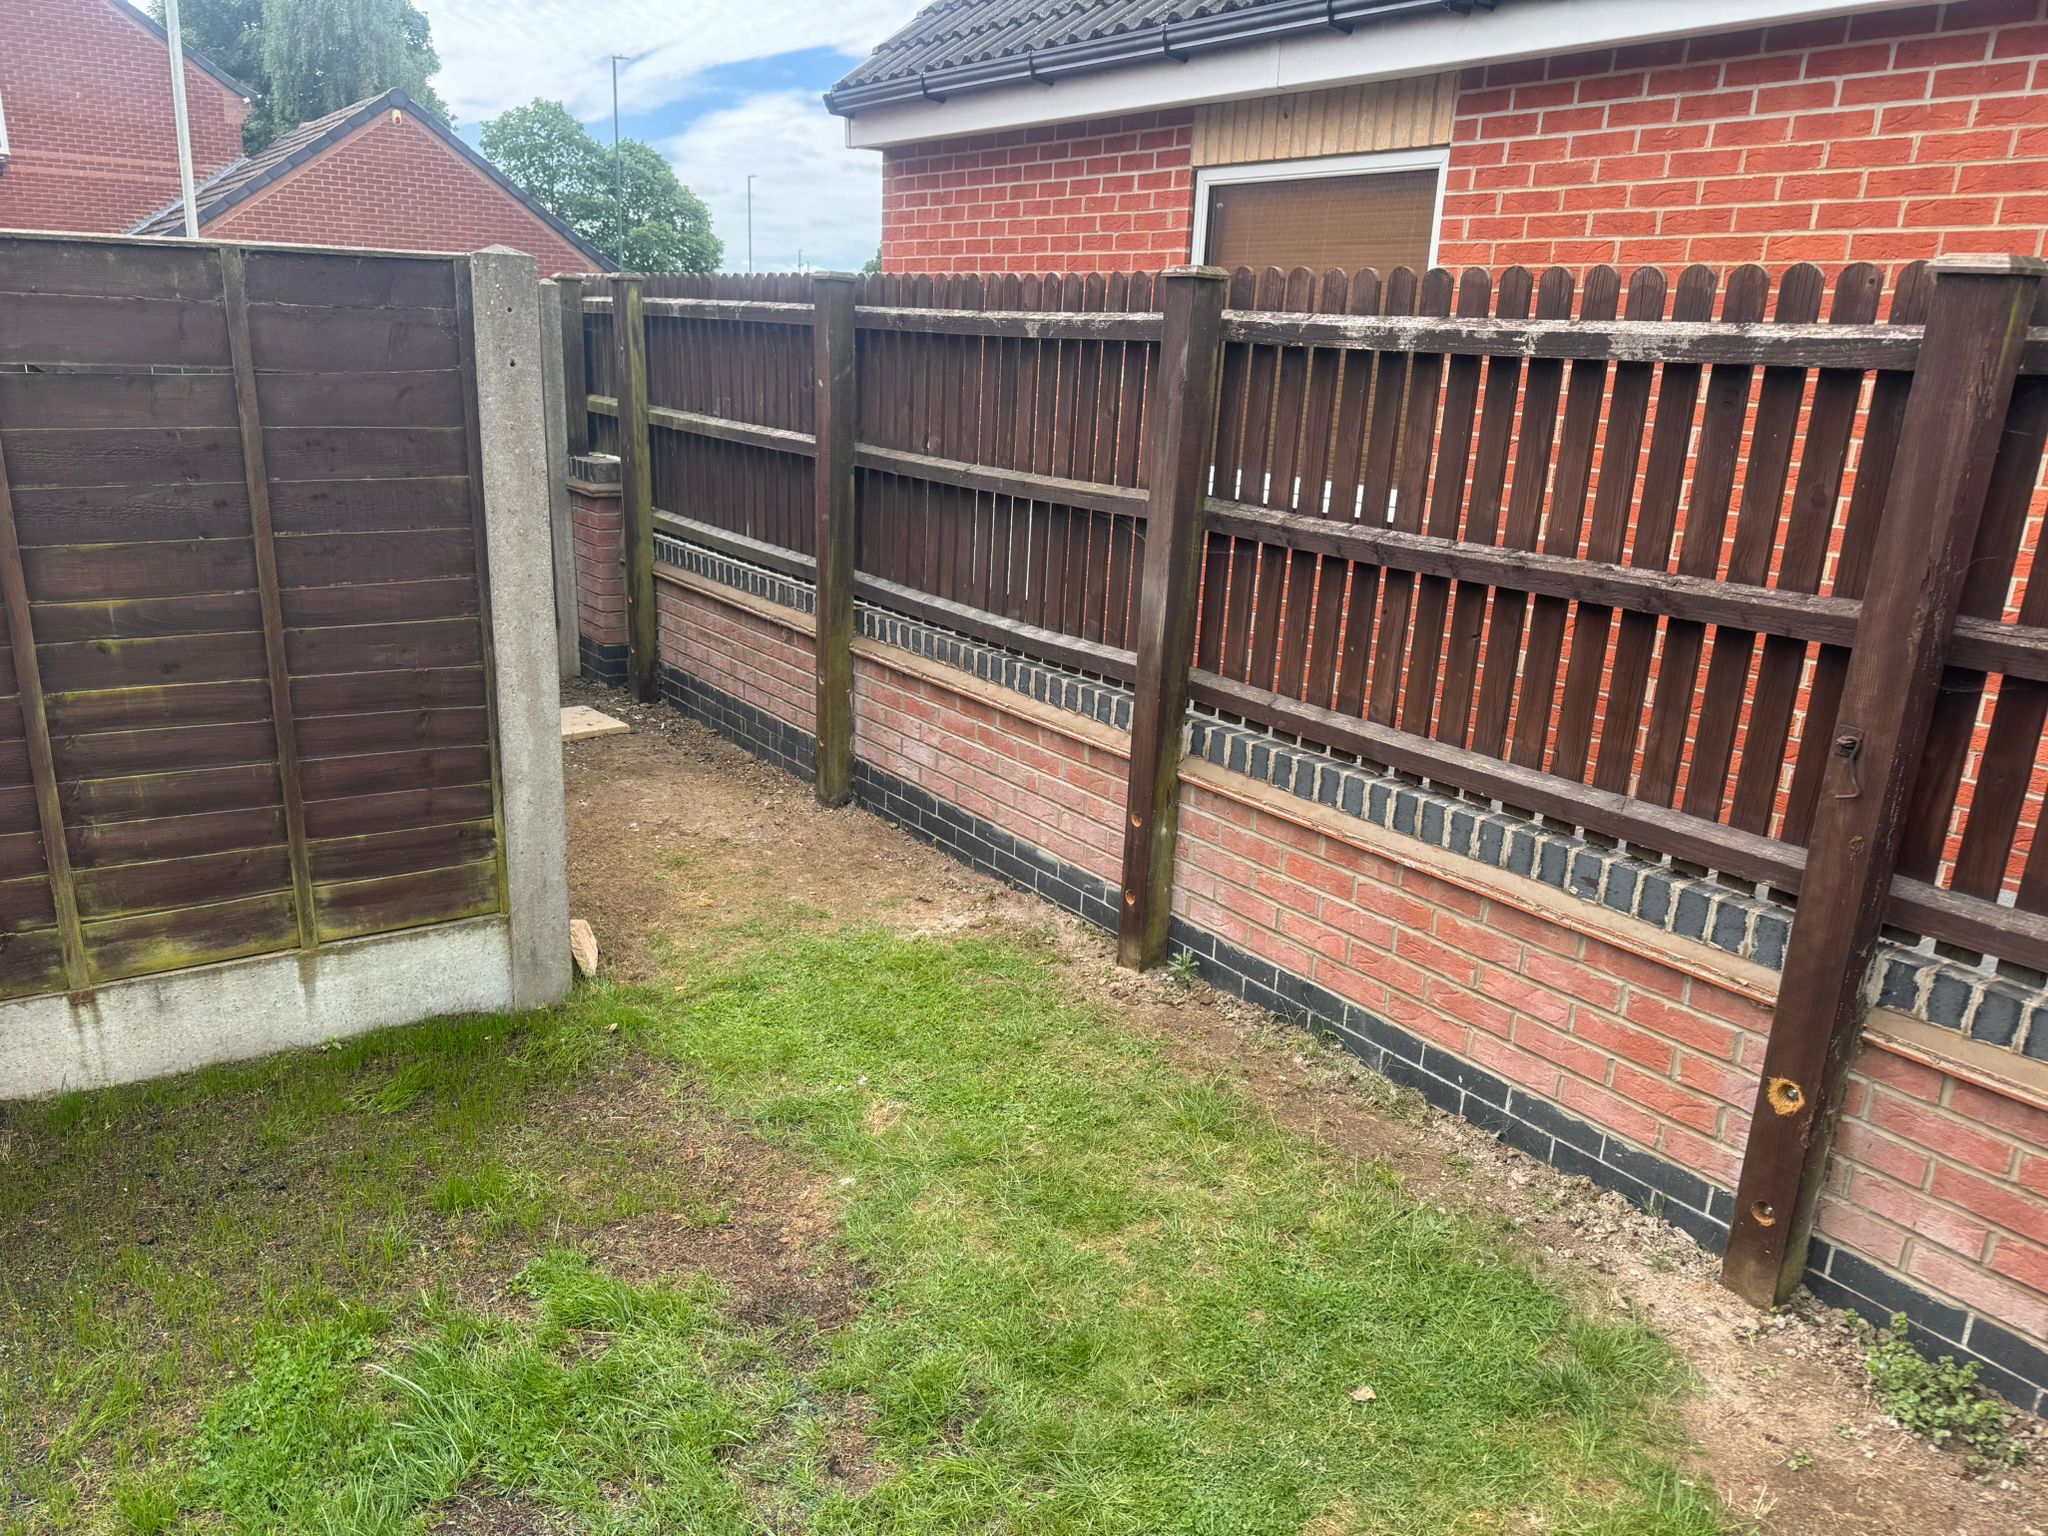
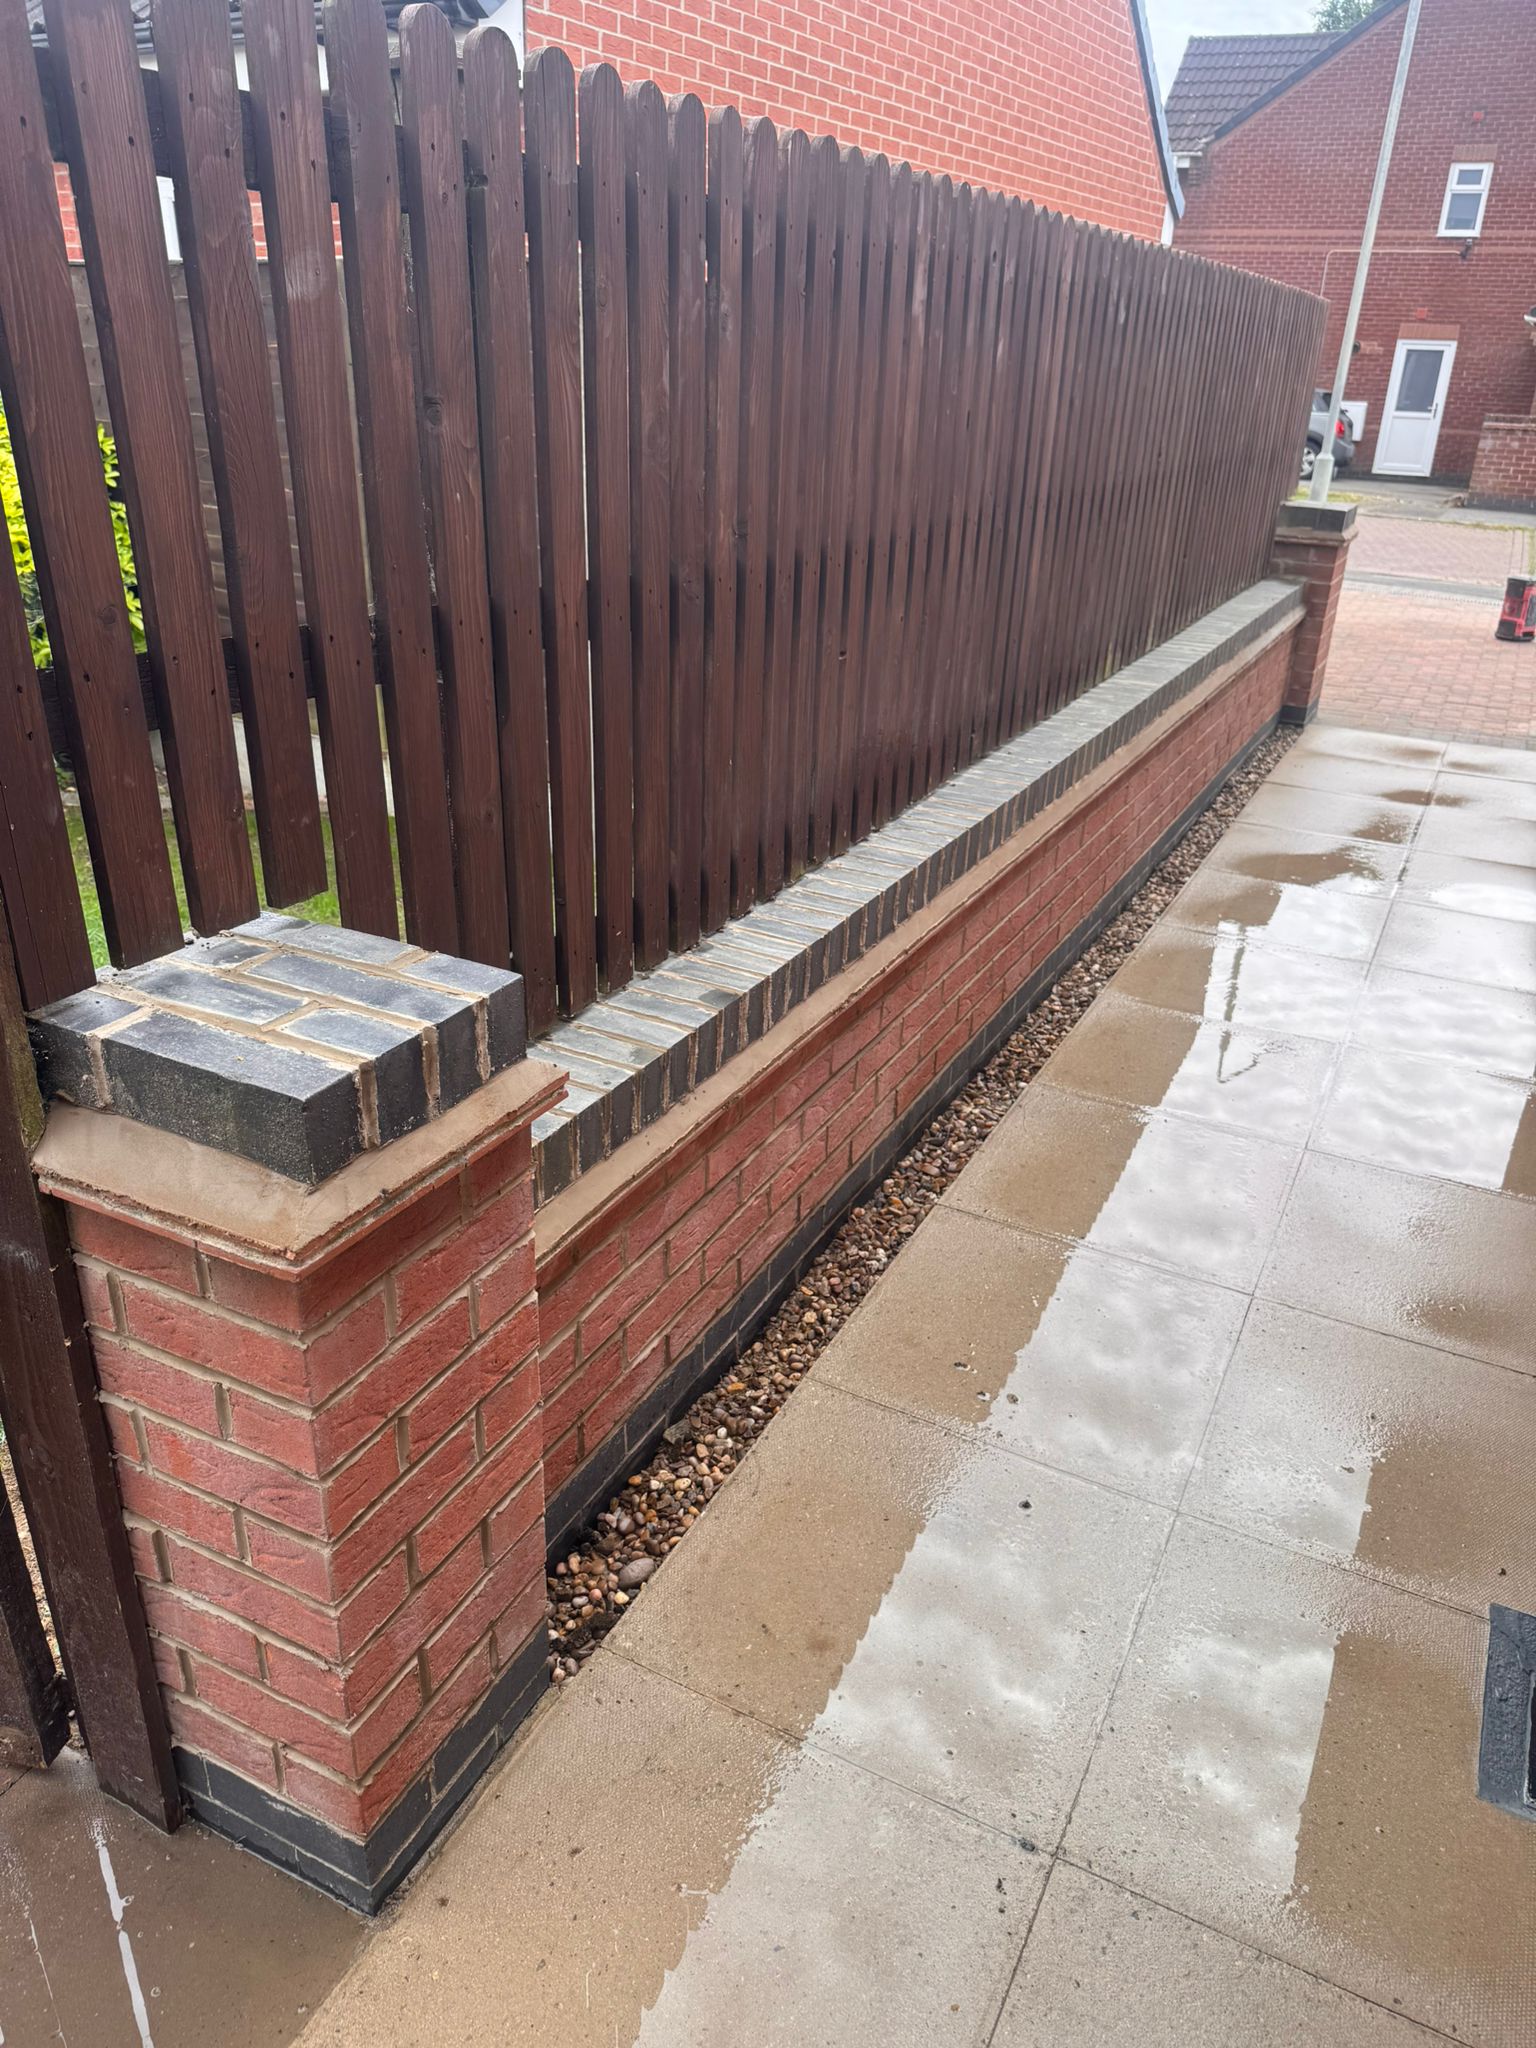
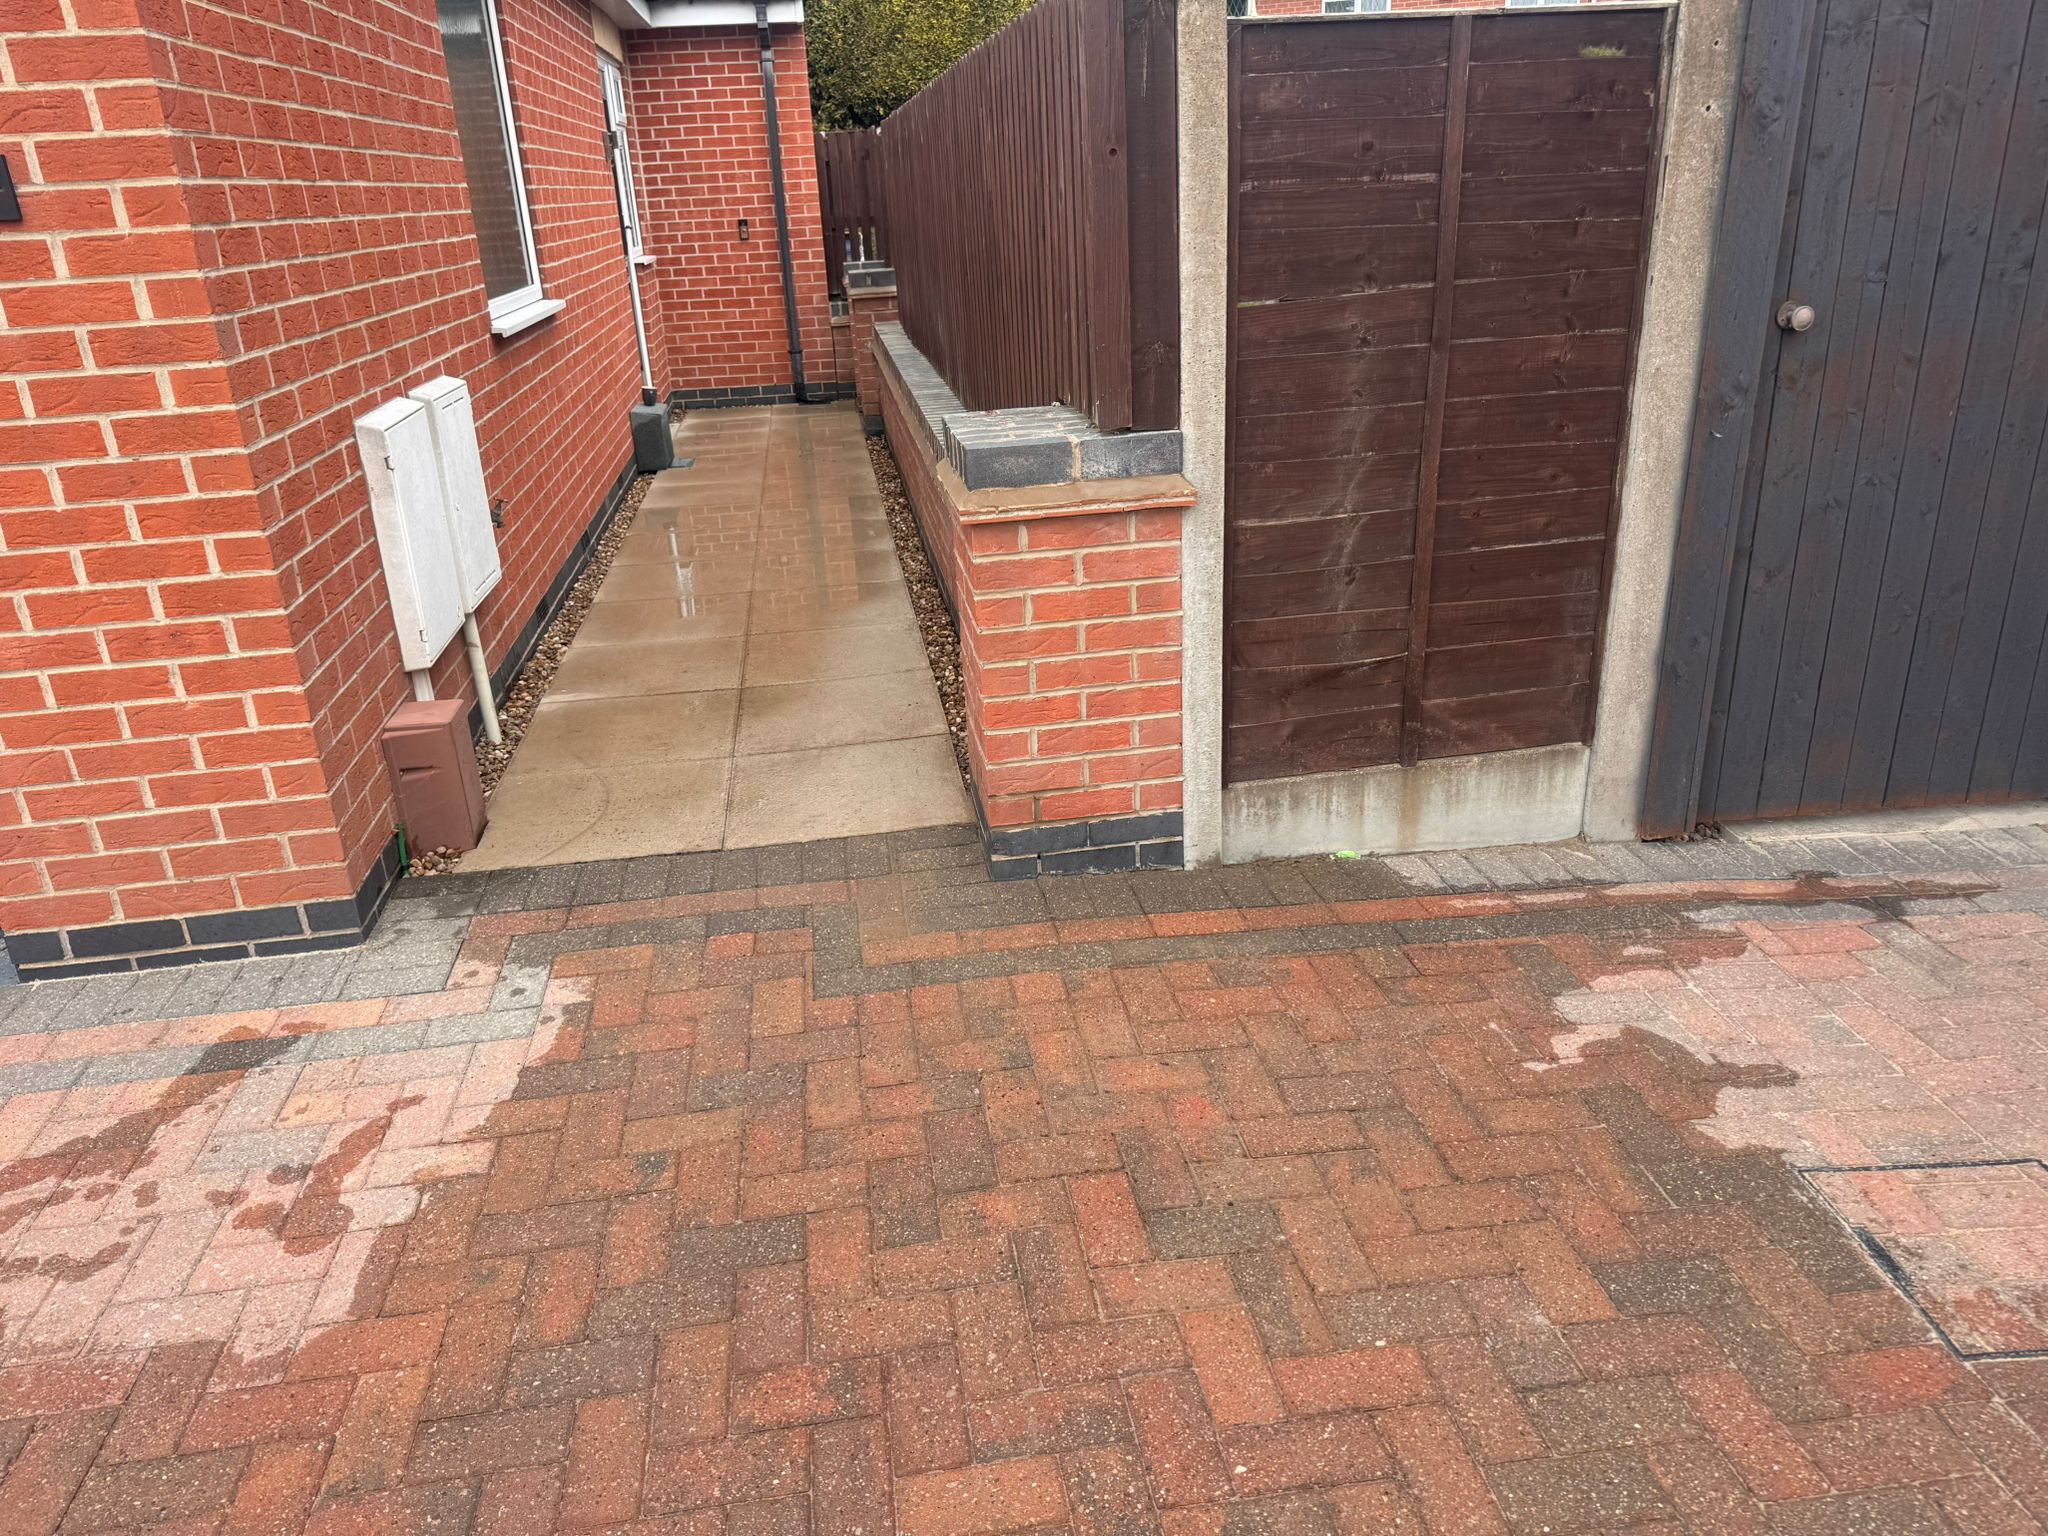
Hedge removal and new fence installation.
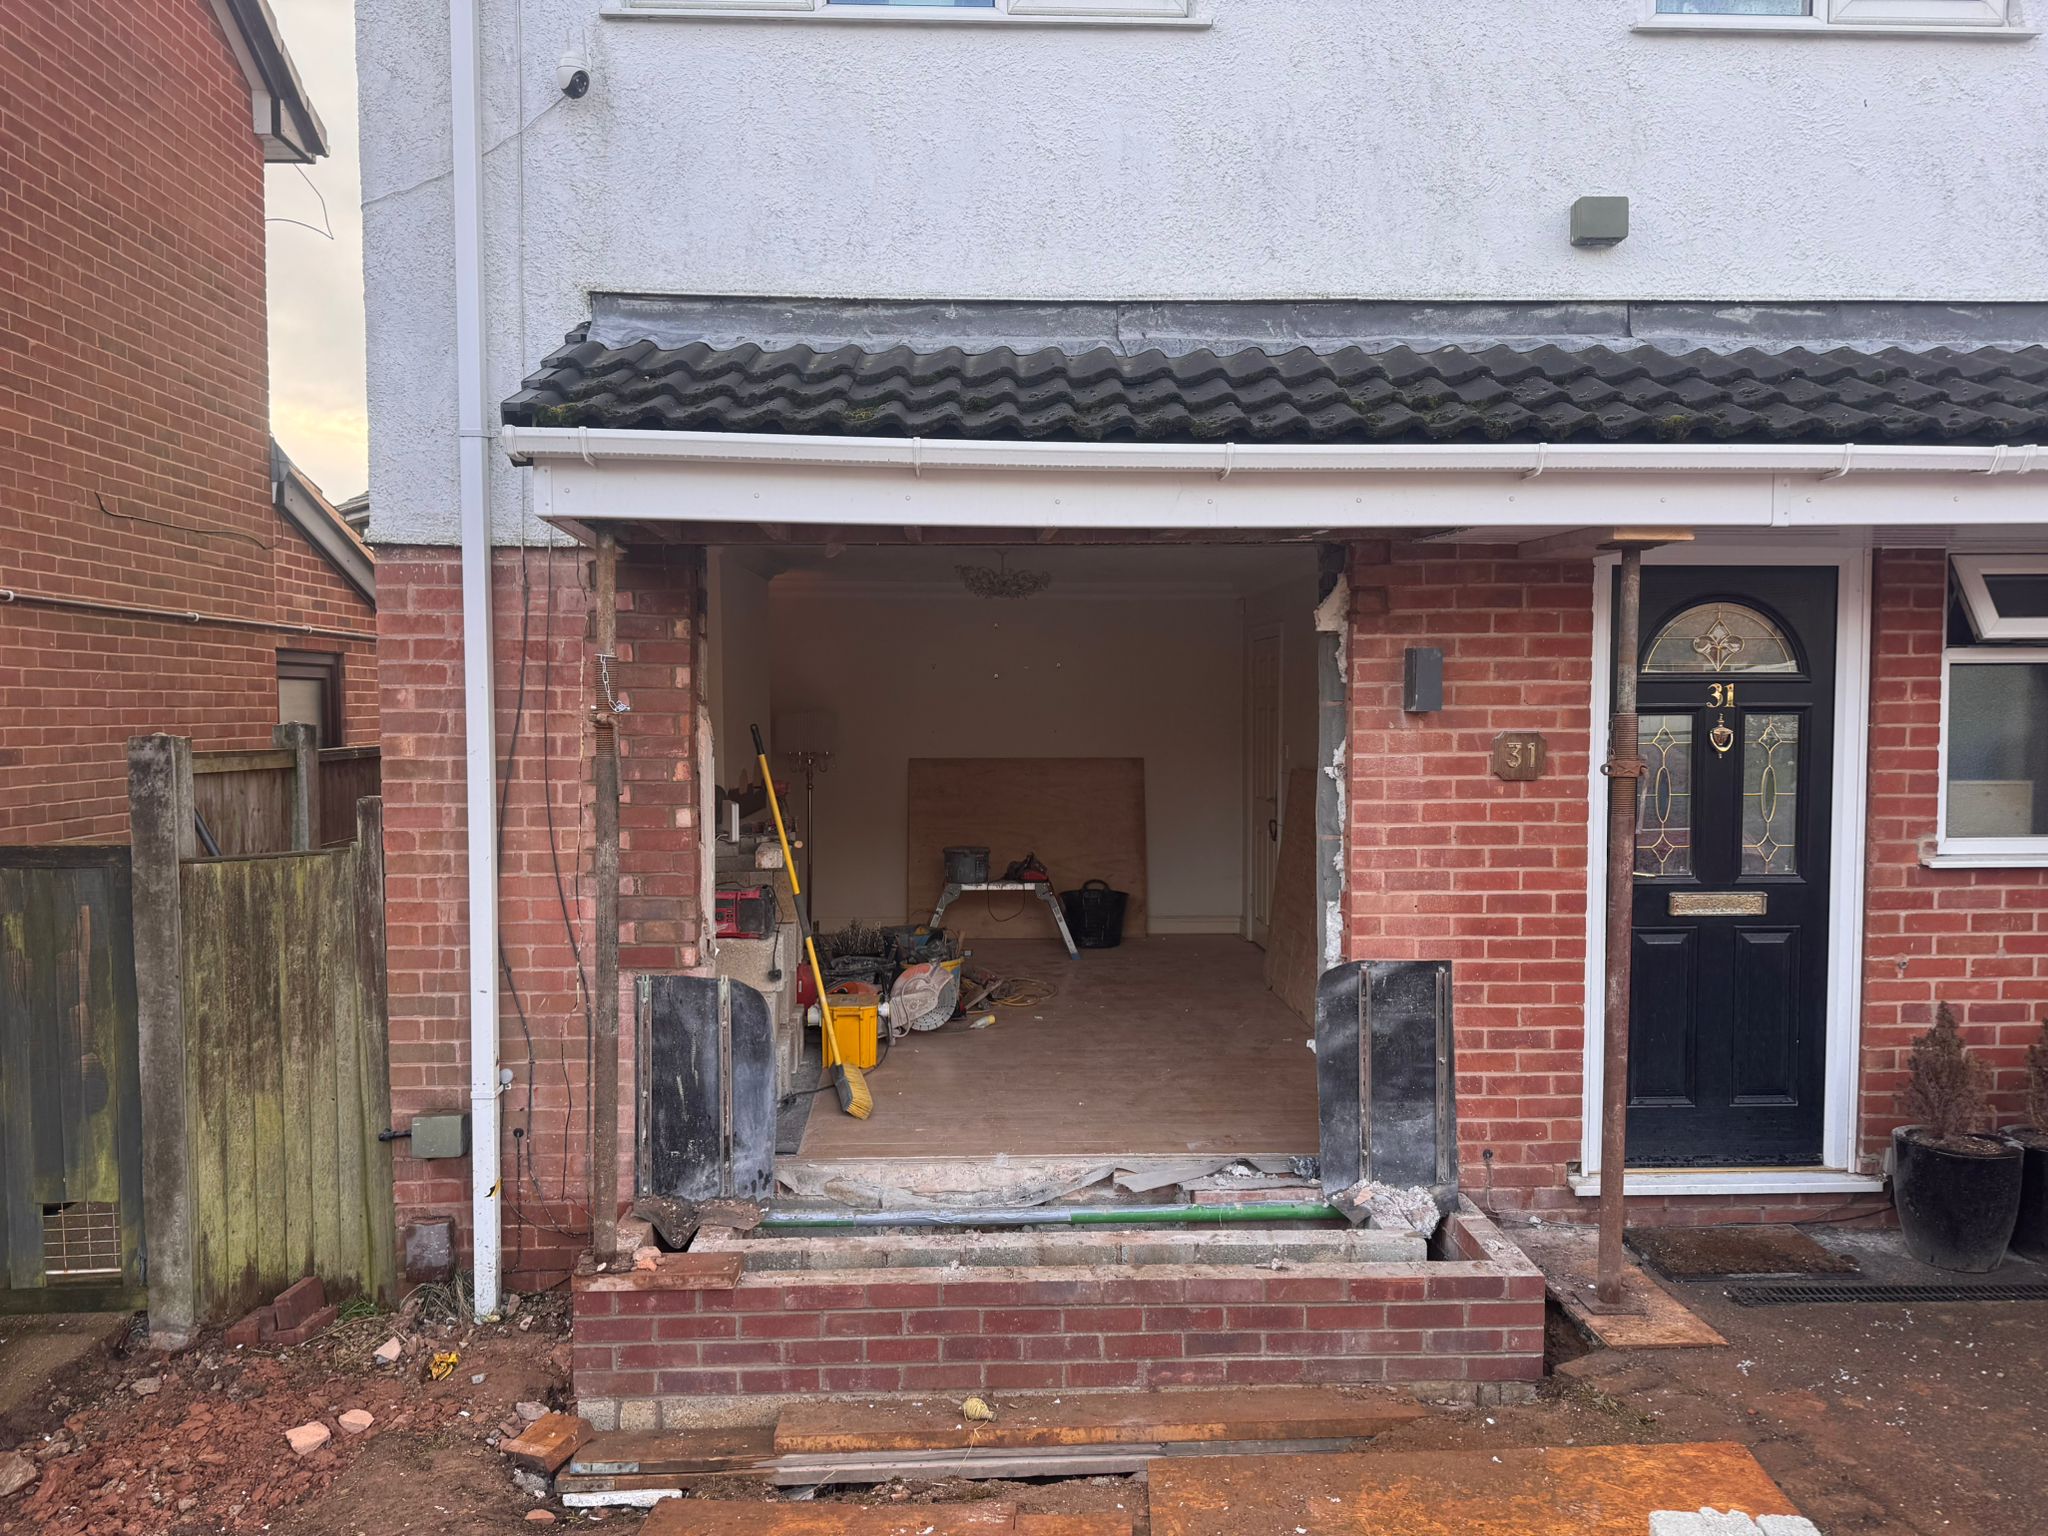
We removed a conifer hedge back in February for the customer before the start of the bird nesting season. Pruning trees or bushes after the 1st of April without appropriate ecological supervision could get a builder like ourselves into trouble.

The customer chose composite fence panels from Charles and Ivy.

We installed these into concrete posts and gravel boards for longevity.

The last eight weeks have been very dry. It is is very important to water newly laid turf regularly if it is not raining frequently. Here is a guide to looking after your new turf.

The first few weeks after laying new turf are crucial for root establishment. Here is detailed advice for caring for your new lawn, focusing on watering, traffic, and mowing:1. Watering (The Most Critical Step)The first few weeks after laying new turf are crucial for root establishment. Here is detailed advice for caring for your new lawn, focusing on watering, traffic, and mowing:
 
1. Watering (The Most Critical Step)
  • Initial Watering (First 1-3 Weeks): New turf is a living plant that needs consistent moisture to root deeply.
    • Frequency: Water the entire lawn evenly and thoroughly every day, especially during hot or dry weather. Some advice suggests watering at least twice a day for the first seven days.
    • Technique: Use a sprinkler to ensure even coverage. The water must soak down through the turf to moisten the soil below.
    • Timing: Water early in the morning or early evening to allow the water to reach the roots before the sun causes it to evaporate.
    • Watch for Edges: Concrete edging, posts, and paving slabs absorb water quickly, so be sure to water areas near them more often.
  • Avoid Overwatering: While the turf needs water, ensure the ground is moist but not waterlogged or soggy, as this can starve the roots of oxygen and make the grass turn yellow or die.
  • Reducing Frequency: As the turf starts to knit together (around 3 to 4 weeks), reduce watering frequency. It is better to water thoroughly every two to three days than to water a little bit every day.
2. Traffic and Compaction
  • Keep Off: Avoid walking on the new turf as much as possible for the first few weeks, ideally three to four weeks. Walking on it can cause soil compaction, create dents and divots, and disrupt root formation.
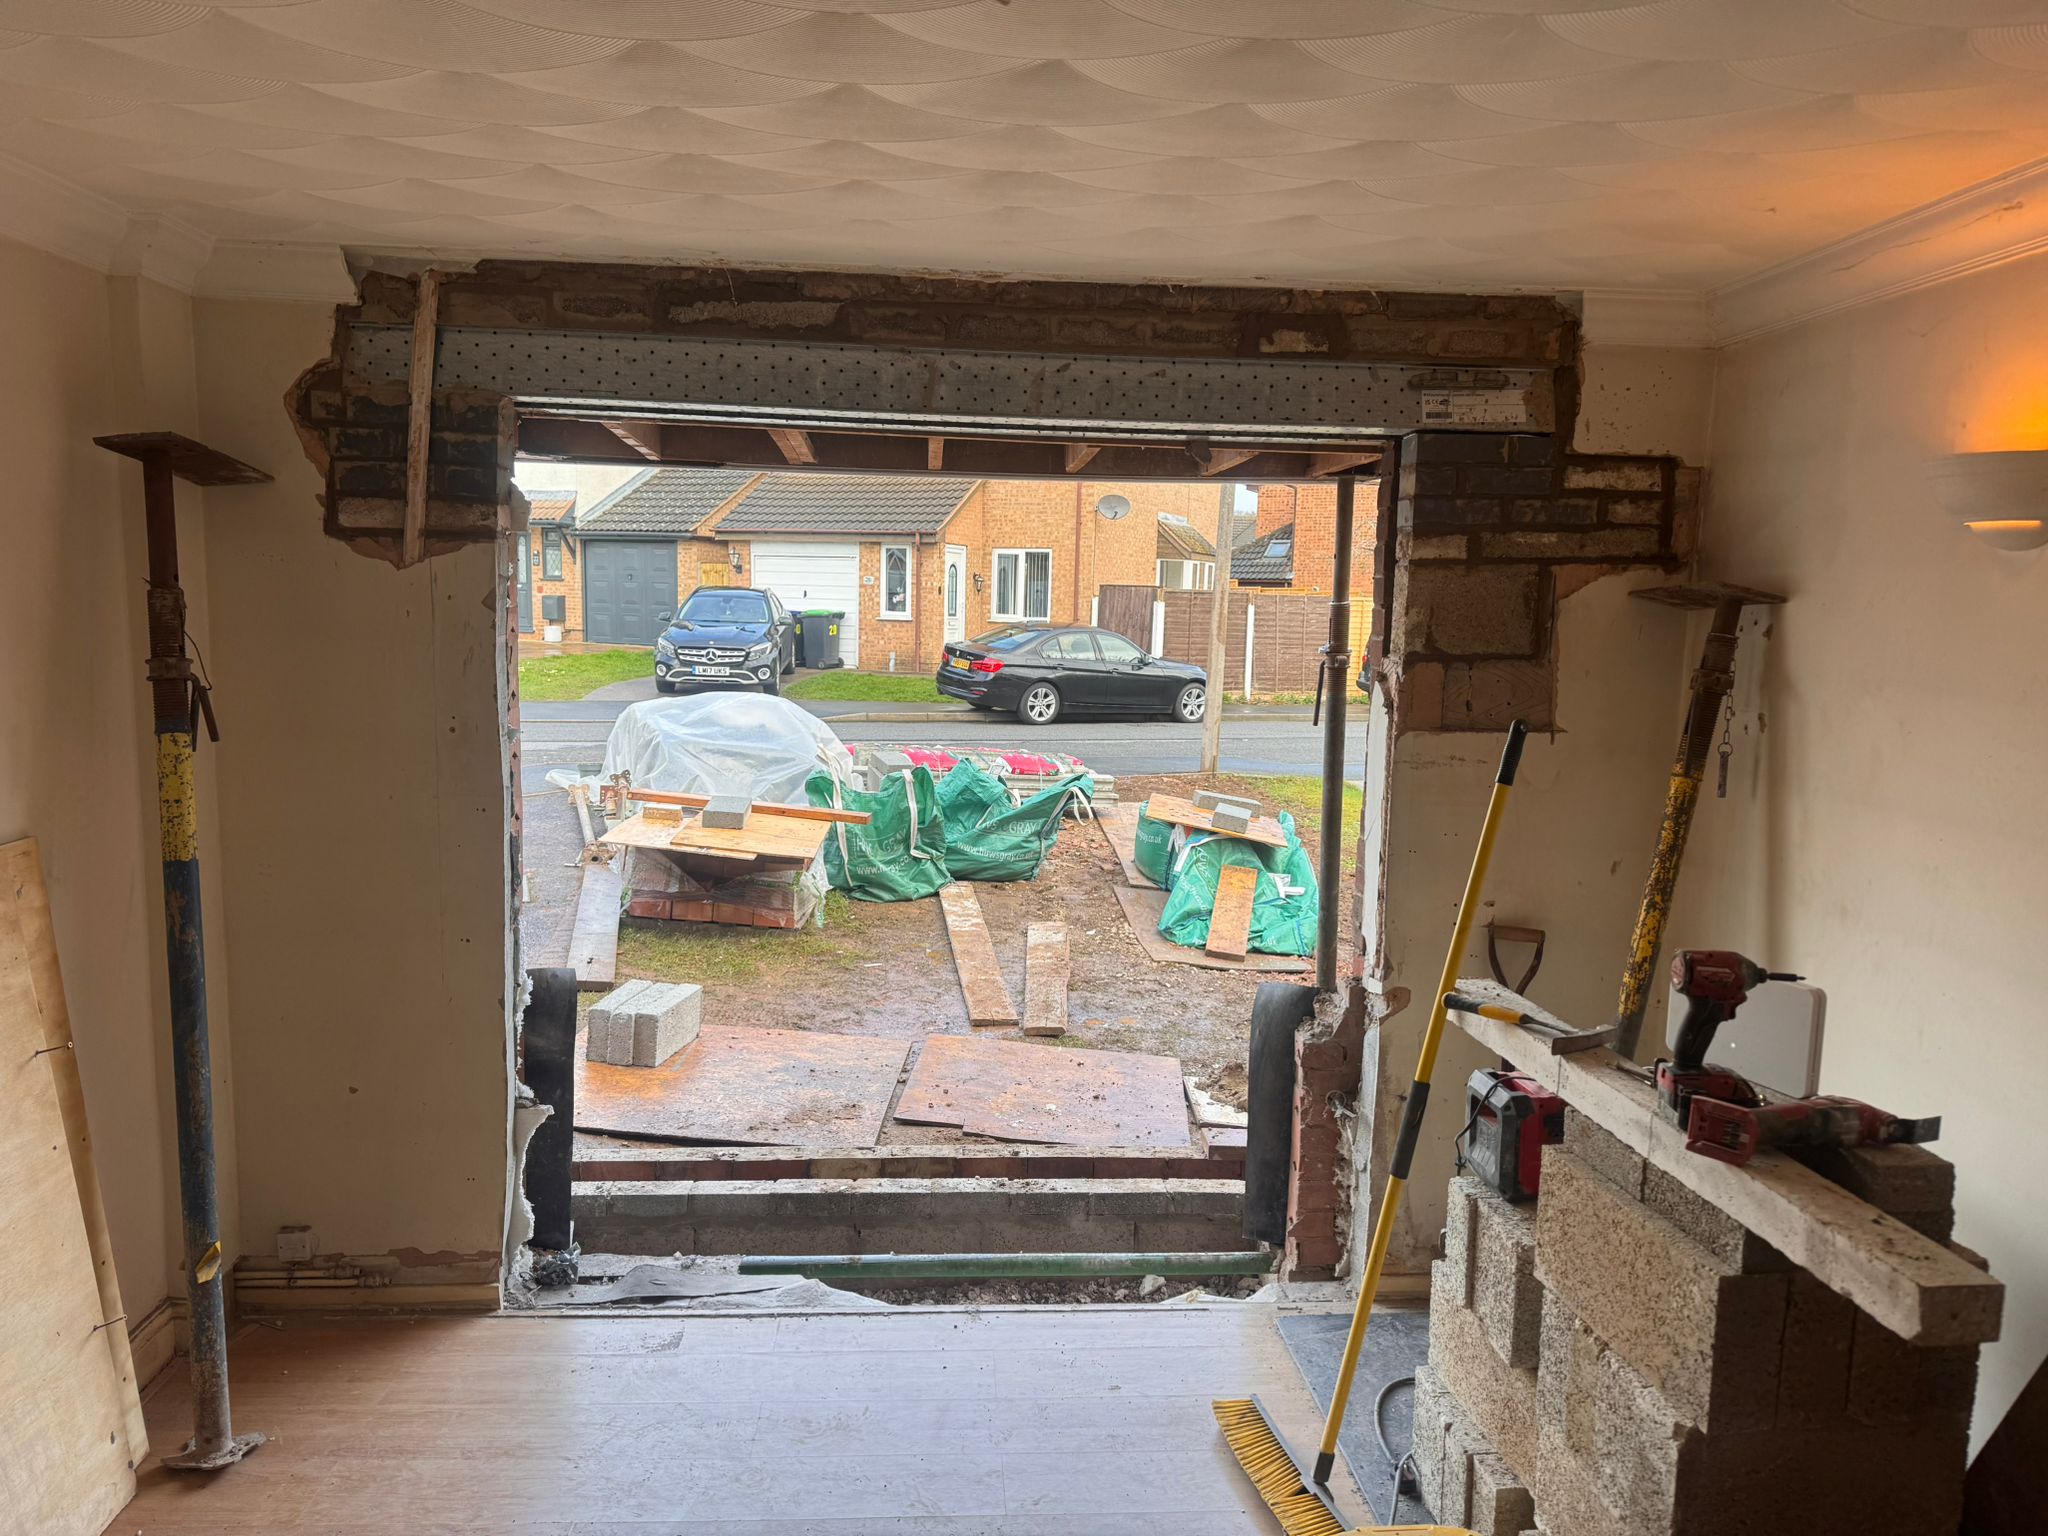
  • Necessary Access: If you must cross the lawn (e.g., for watering), place wooden planks or boards down to use as a walkway to distribute your weight.
  • Pets and Play: Keep pets and children’s play equipment off the lawn until it is fully established and settled.
  • Frost: Avoid walking on the lawn during frosty weather as this can damage the grass blades.
3. Mowing
  • When to Start: Do not mow until the turf has rooted well and the blades of grass are at least 25mm high. This is typically around three weeks after laying.
  • Check Rooting: To check if it’s ready, gently tug on a few blades of grass. If the turf lifts, wait a few more days. If the turf feels stuck, the roots have started to take and it is ready for its first cut.
  • First Cut: Use the highest setting on your lawnmower and ensure the blades are sharp for a clean cut. Only cut off about a quarter to no more than one-third of the grass length at one time.
  • Ongoing Mowing: When the grass is growing, cut “a little and often” rather than cutting it once a week, as frequent light trimming prevents the coarse grass from dominating the lawn.
4. Fertilising and General Care
  • Fertiliser: Your new turf is usually pre-fertilised, so it generally will not require additional fertiliser for at least three months, or a minimum of six weeks after laying. Phosphorous is considered the most crucial nutrient during this establishment phase to encourage root growth.
  • Cuttings: Collect the clippings using a grass box or rake them up and remove them to ensure sunlight reaches the turf.
  • Brown Patches: If your turf is turning yellow or brown, it is likely due to insufficient water during a dry or hot spell. Increasing your watering will usually return the lawn to a healthy state.
Categories
Uncategorised

The small jobs….

Friday was spent ticking lots of little jobs off for a customer in Edwalton who was moving to a new property.

  • Fit extension lead through cupboard
  • Shorten pendant light fittings
  • Wire up an electric oven using 4mm cable
  • Fit a dummy alarm box with integral flashing light
  • Extend the TV into the bedroom
  • Remove handrails and seat from the bathroom
  • Swap which side the fridge opens
  • Take apart and store galvanised handrail using a large size hexagonal tool fitted on a wrench

Thorough preparation meant that we arrived prepared and managed to tick all the “to do” items off of our customers list apart from staining the front fence. We cleared the rubbish in the garden and took it to Beeston tip.

Overall a very satisfying day.

The customer gave us a really good testimonial

Absolutely brilliant, even though Rob’s company is a highly regarded “proper” building firm, he was more than happy to accommodate my small but important to me list of works. I am so grateful I found such a good, honest and hard working professional.

Categories
Bathroom

Bathroom remodel

Case Study: Bathroom Reconfiguration and Specialist Upgrades

This project focused on a comprehensive bathroom refurbishment, involving plumbing & electrical modifications to resolve functional issues and enhance the client’s living space. Providing a private bathroom for a family member and a separate space to store shoes that cog up the hallway.

Project Scope and Functional Redesign

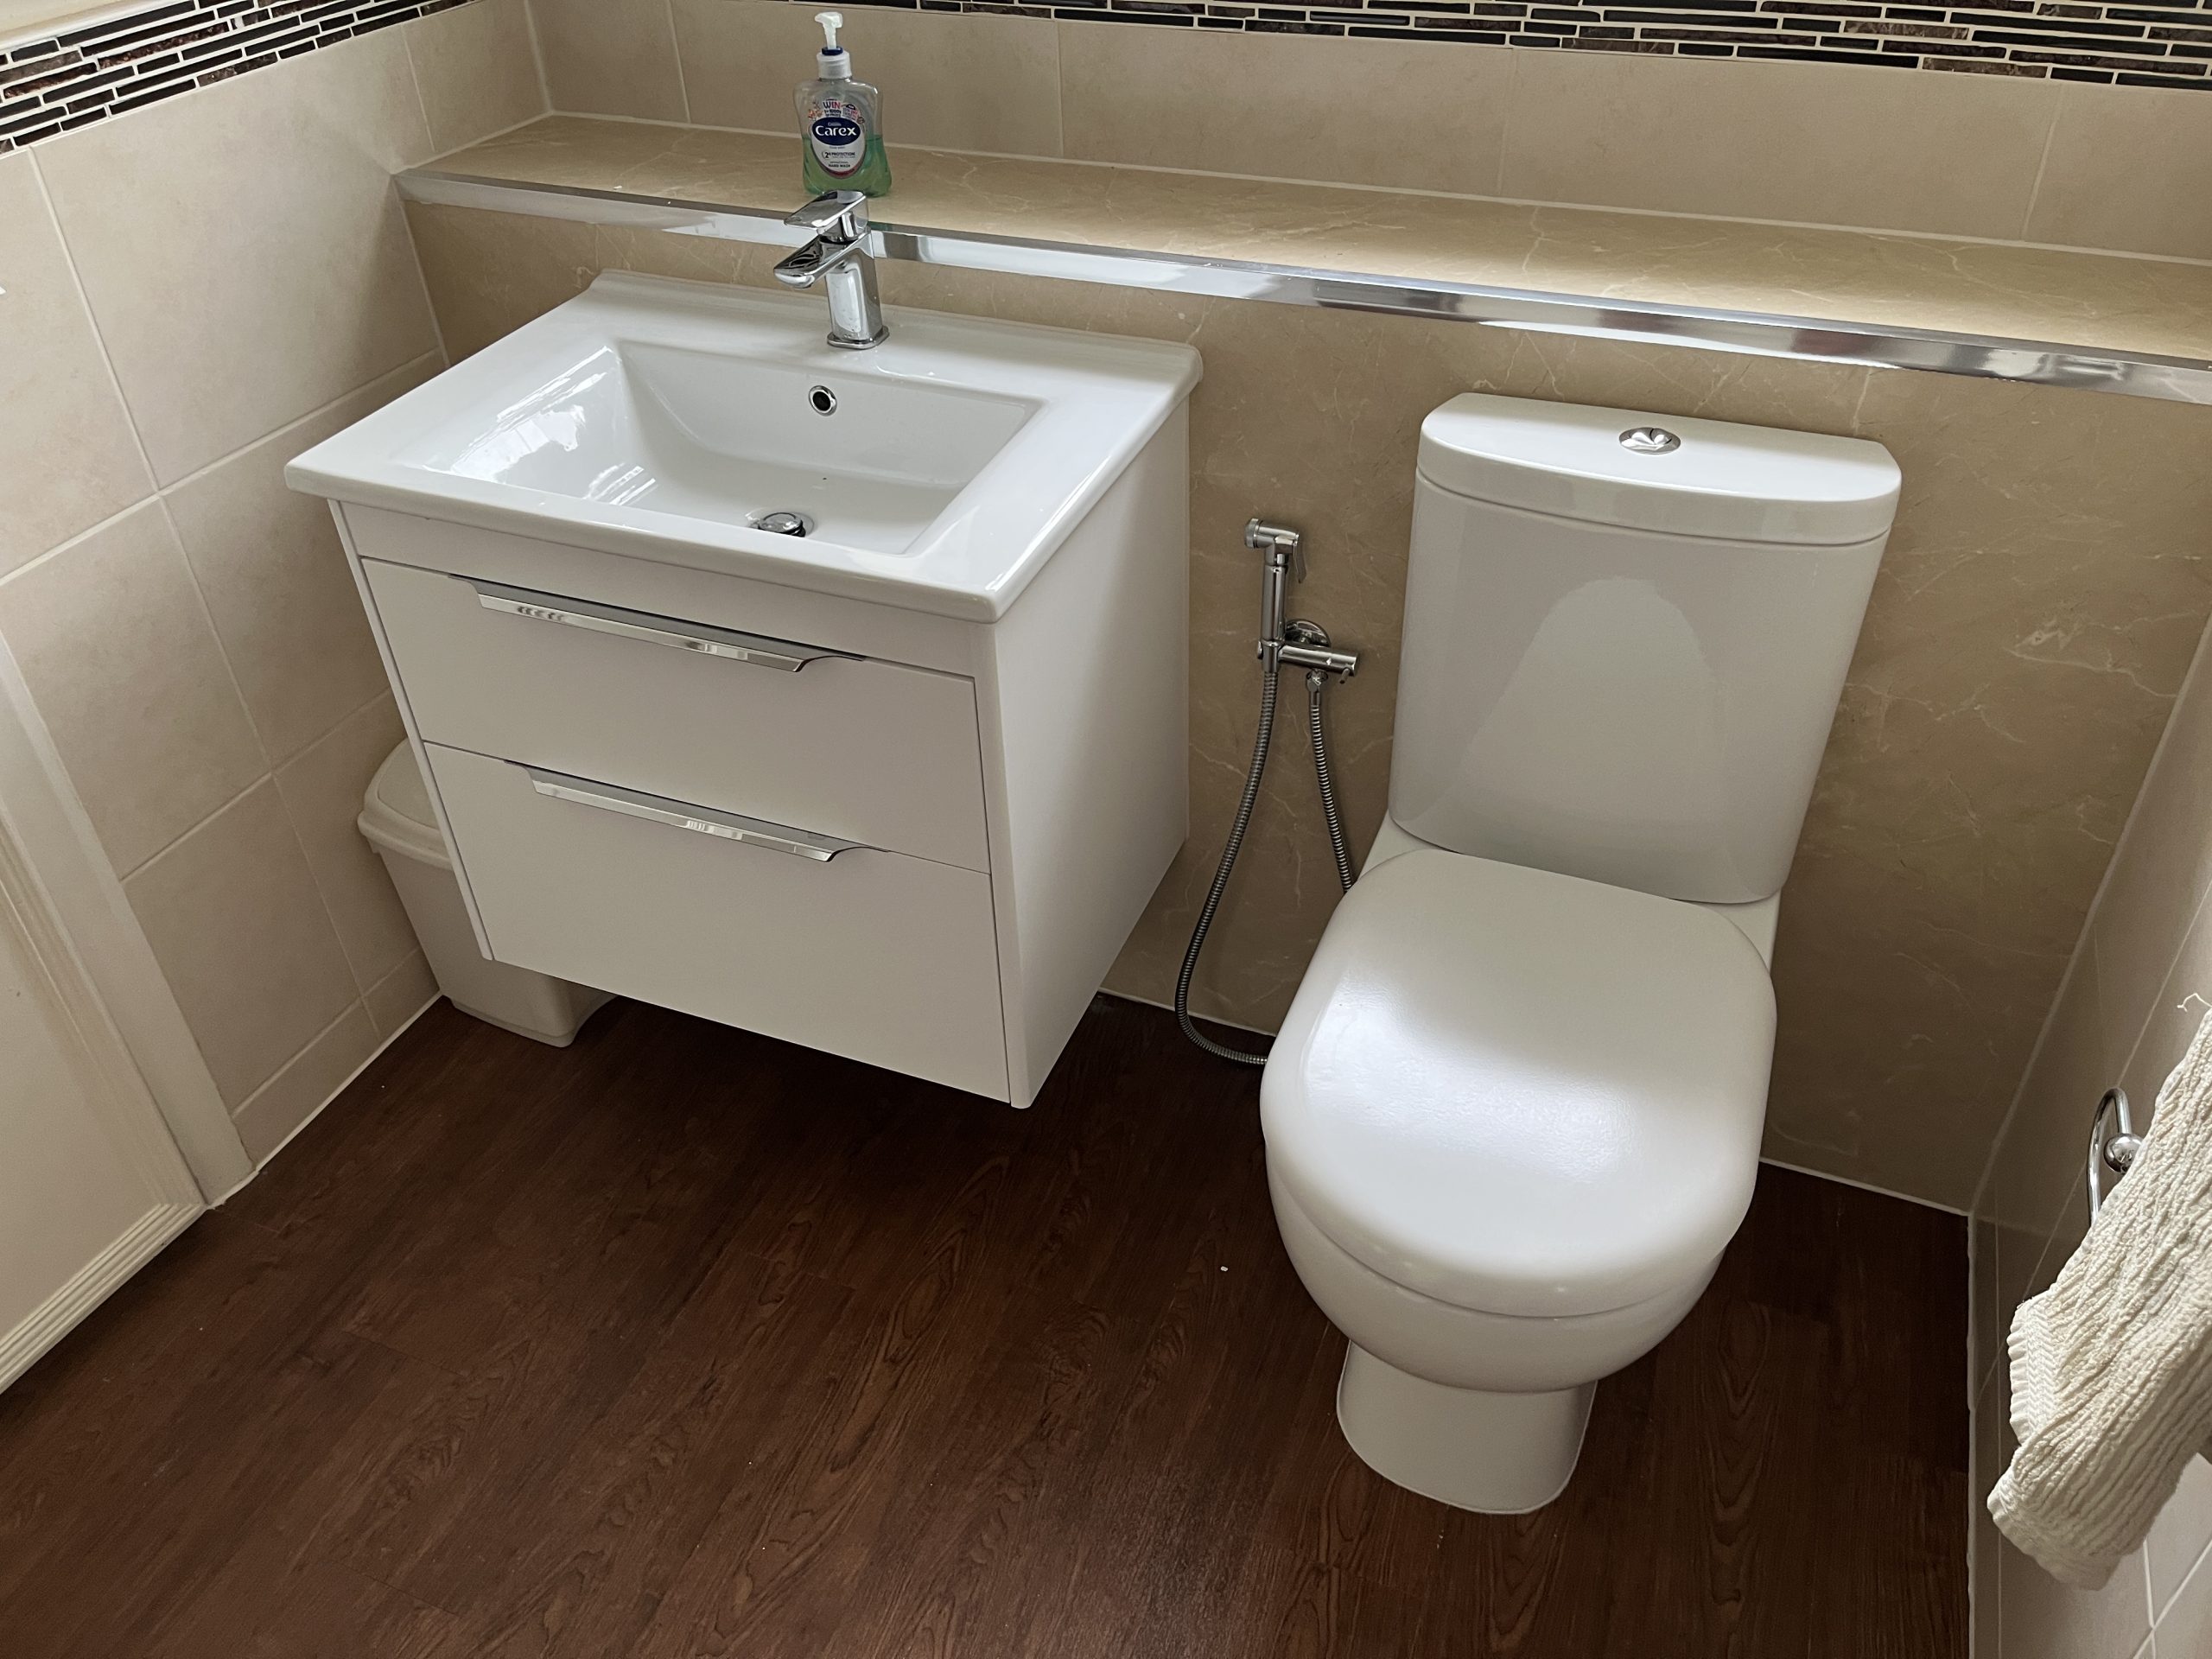
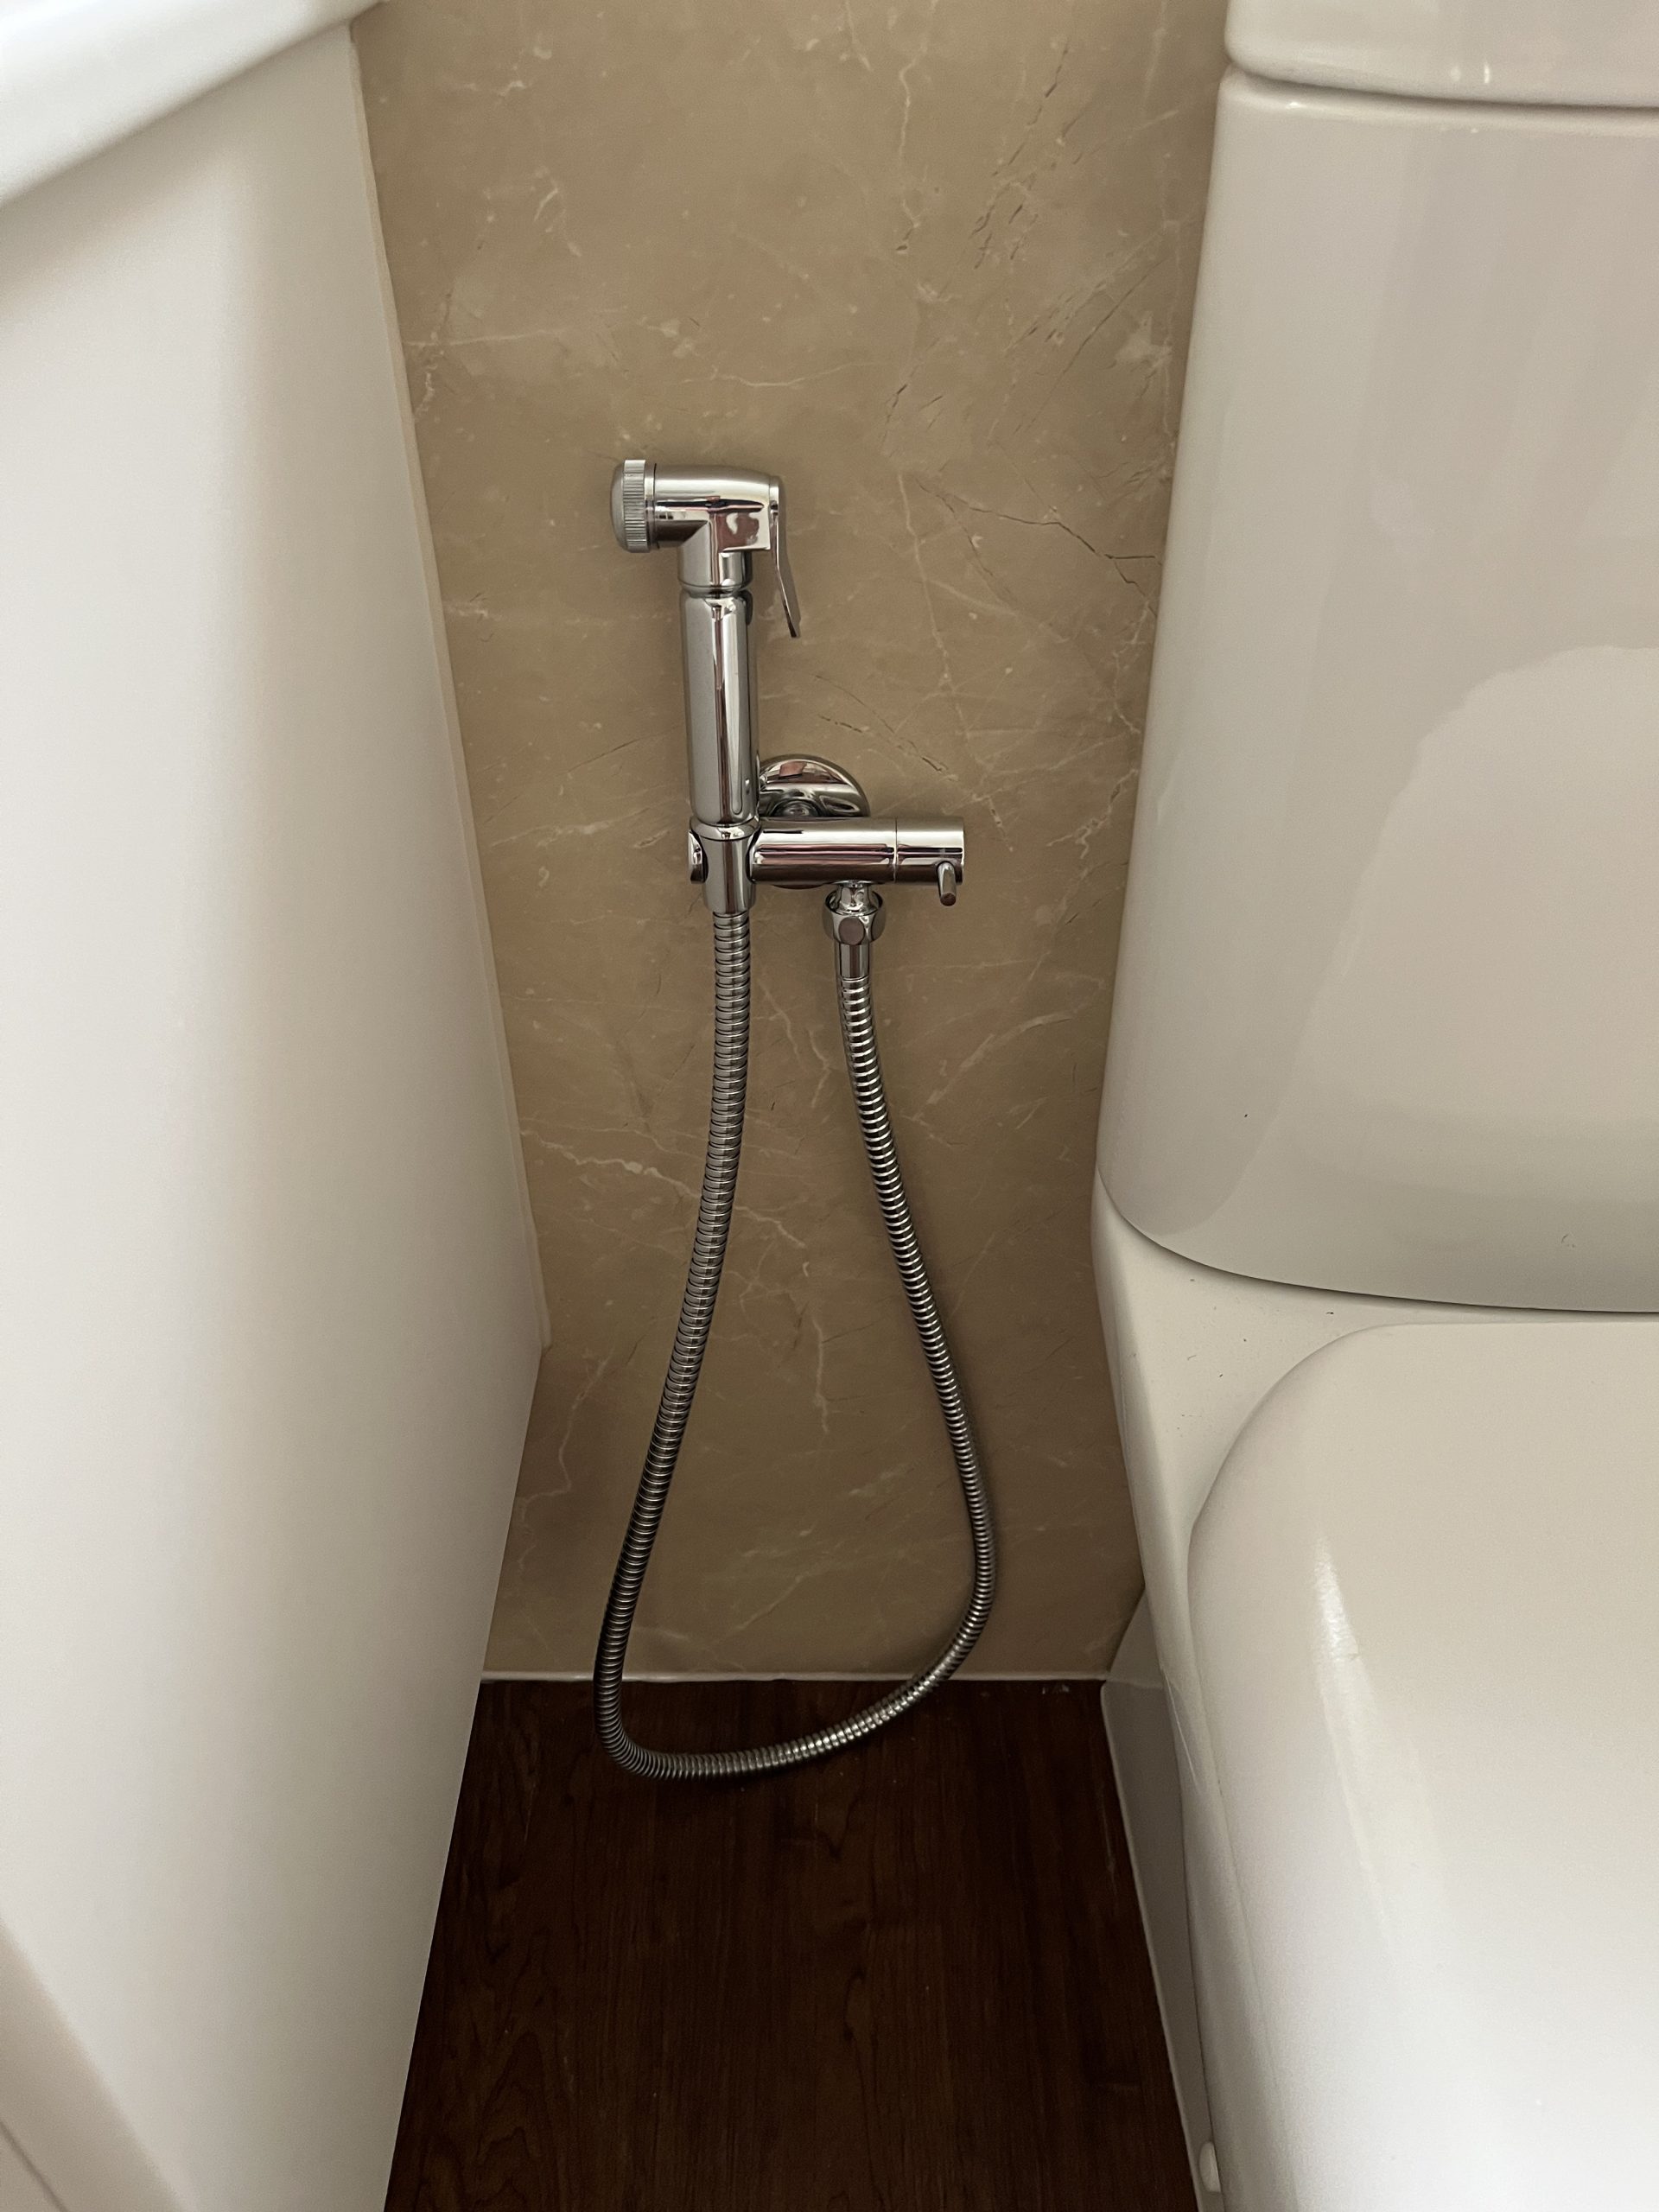
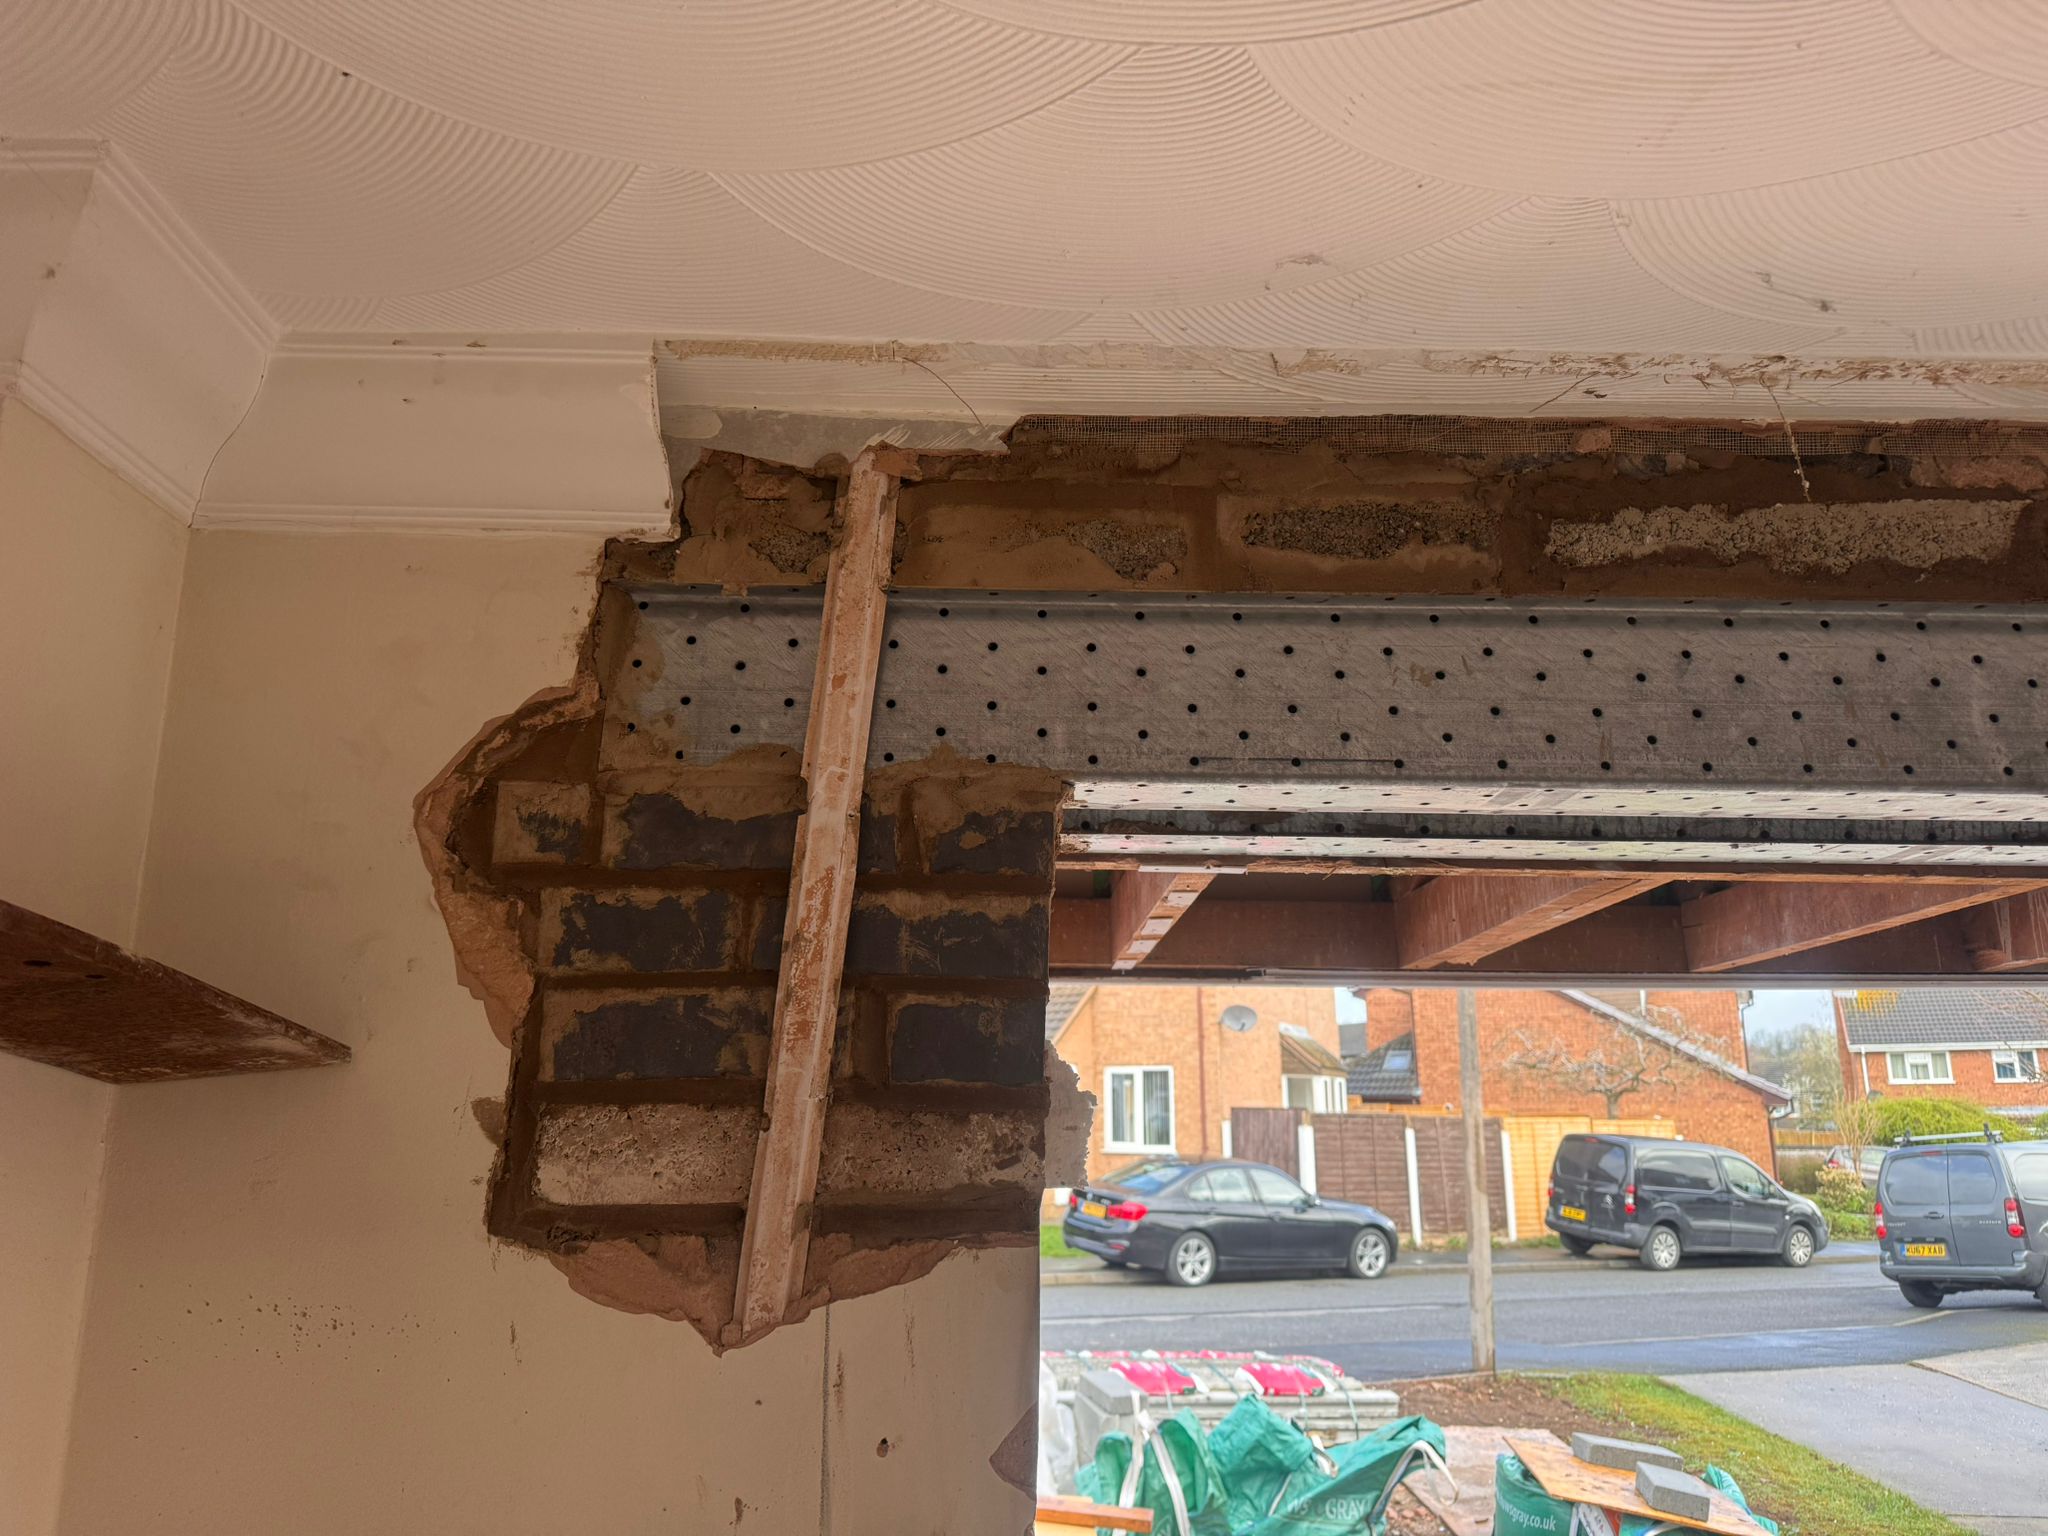
The primary drivers for this renovation were to remedy a leak in the shattaf/shower douche unit and to improve the home’s utility by removing the ‘Jack and Jill’ dual-access feature. By eliminating the second doorway, we successfully partitioned the space to create a dedicated cloakroom/shoe cupboard and a more private, functional single bathroom. This reconfiguration maximized the available floorplan to deliver a new, tailored storage solution.
IMG_6102
previous arrow
next arrow

Electrical and Plumbing Upgrades

The renovation included complex electrical work to ensure safety and regulatory compliance. The existing lighting system was consolidated into a single circuit controlled by dual switches. Our team expertly isolated and divided this legacy system to establish two individual, independent lighting circuits—one for the main bathroom and a separate circuit for the new cloakroom. This precise re-wiring ensures full compliance with modern electrical standards and provides independent control for the segregated areas.

In the plumbing specification, client safety and ease-of-use were paramount. The isolation valve on the shattaf unit was required to be highly accessible and simple to operate. We rejected the original unit and procured a replacement featuring a superior, ergonomic handle. The new isolation valve was installed in line with industry best practice for functionality, correctly positioned on the right-hand side of the toilet.

Finishing Solutions: Efficiency and Aesthetic Integration

To meet the client’s preference for minimal disruption and to avoid the cost and time associated with full re-tiling, we deployed high-quality shower panels. This method provided a seamless, waterproof finish that was selected to harmoniously integrate with the existing tiling, delivering a premium look with enhanced project efficiency.

Project Metrics: Delivery and Investment

This comprehensive refurbishment was executed with controlled precision, demonstrating our ability to deliver complex projects efficiently:

  • Timeline: The project was completed in approximately one week from start to finish.
  • Cost Breakdown (Excluding VAT):
    • Materials: £1,200
    • Labour: £2,800
    • Electrics (including lights and extractor fan): £400
    • Plastering: £300
    • Joinery: £300
    • Total Project Investment (Excluding VAT): £5,000
Categories
Groundwork Paving

Paving concrete stairs

We need to make the concrete steps more attractive so we cut and installed 20mm porcelain slabs. it is possible to use internal tiles which are much easier to cut but we as they are normally less than 10 mm and afford to get underneath with the frost they can crack.

The main challenge with 20 mil slabs is cutting them because a large bench saw with a diamond blade is needed to cut them. The stairs also have a small nosing on them to give additional traction in the wet.

We will need to add a handrail to the stairs, we are using a system from FH bundle that bolts onto the side of the concrete step underneath.

Categories
Uncategorised

Resin bonded gravel landscaping & path

We laid a landscape plan for a customer with products from the Resin Mill The The customer wanted a base for a shed and a base for a breeze house. We used block paving bricks to make a boundary to the lawn, then made a pathway. the base for the breeze house was laid in Concrete with Bullnose kerbs laid in a circle.
A base layer is put down to hold the final gravel layer in place. Resin bonded gravel is permeable to water so the substructure underneath 
Categories
Internal fit out Windows

Window hinge replacement

This customer got in contact through the Bark app. We use it if we have surplus labour availability and for small jobs which keep the bank account ticking over.
The 8 year old hinge had broken. The fix was 10 inch replacement from eBay for £9.20 for a pair. The total bill was under £100 including labour and Vat
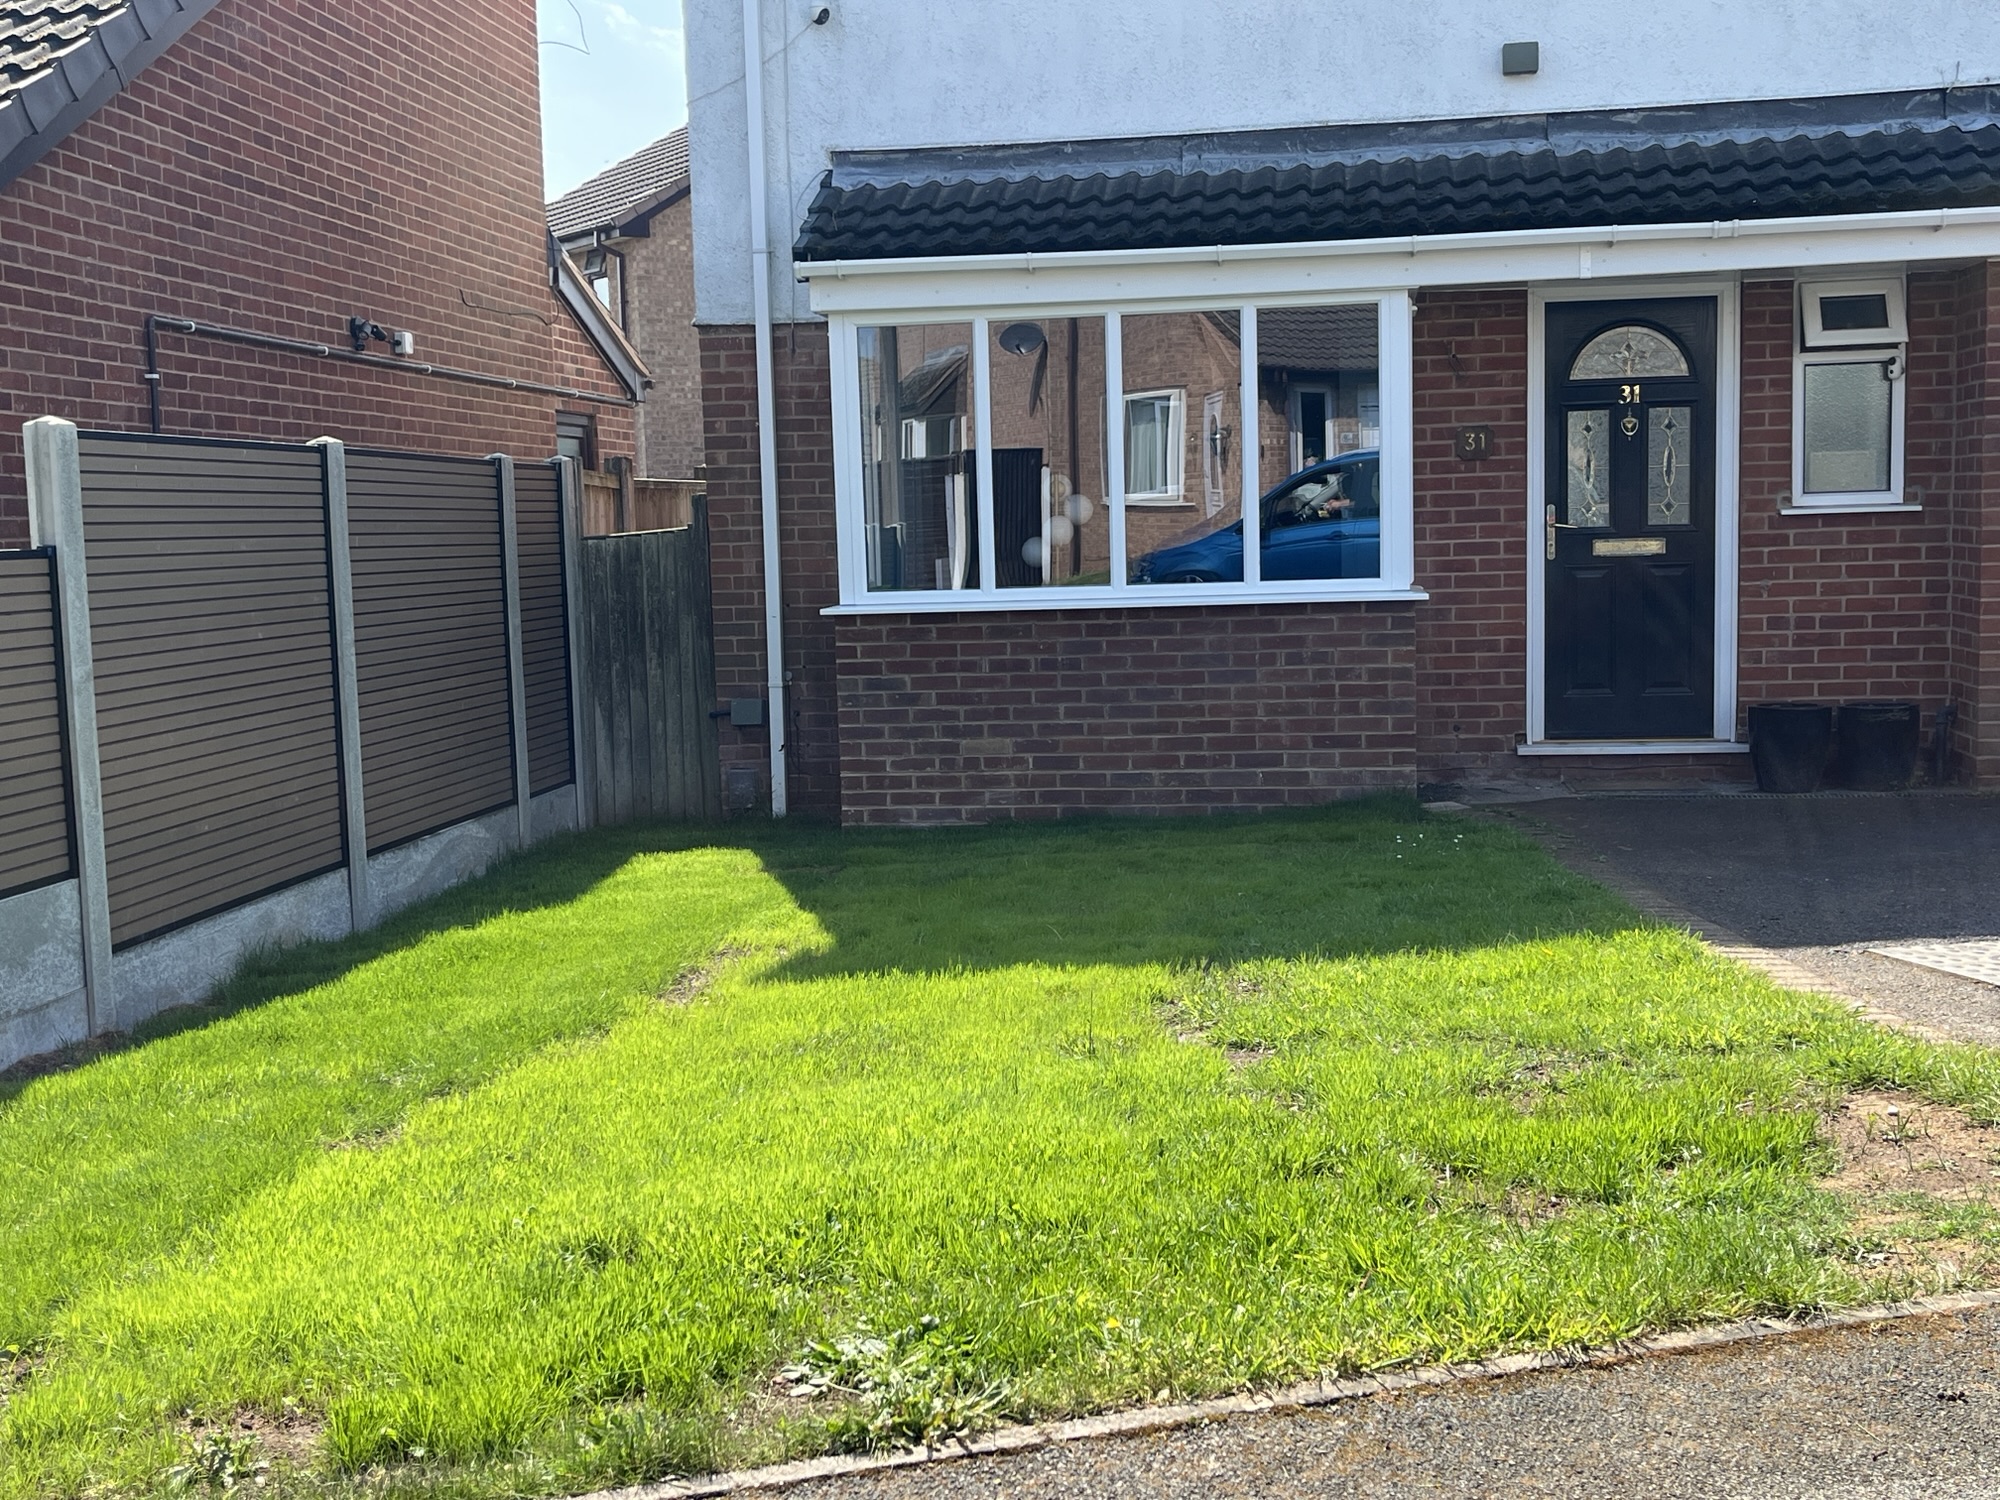
 
The new hinge is installed in just 10 minutes.
Categories
Groundwork Uncategorised

Fire hydrant commissioning and drain cover install.

We needed to expose the fire hydrant valve which had been tarmacked over, we the approximate area from the plans. Cut out a square of tarmac, exposed hydrant valve. Fitted the correct sheathing around it & lid, then backfilled with cold lay tarmac.


Whilst installing the manholes we also installed 2 new drain covers over the rainwater gulleys.

When the work was complete we added cold lay tarmac, its ideal for low traffic use area’s or temporary repairs as long as it is suitably compacted.

Categories
Brickwork Renovation

Brick wall repointing

The wall had been in place for approximately 130 years and needed some TLC. We removed the Staffordshire blue the coping  stones, repointed the wall and refitted the coping stones.

We used standard cement and yellow building sand, a few of the bricks could have been replaced but the client wished to patch up the wall to minimise expenditure. The work took 2 days for one of our skilled bricklayers to complete.

various bricks are blowing, but the customer wanted to minimise the spend so we simply patched up as best we could. Sometimes it is possible to chop out a blown brick and then use the other inward facing side on the outside. however in practice if the face of a brick has blown then when extracting the brick from the wall it tends to break up and can’t be reused.

Categories
Brickwork Renovation Uncategorised

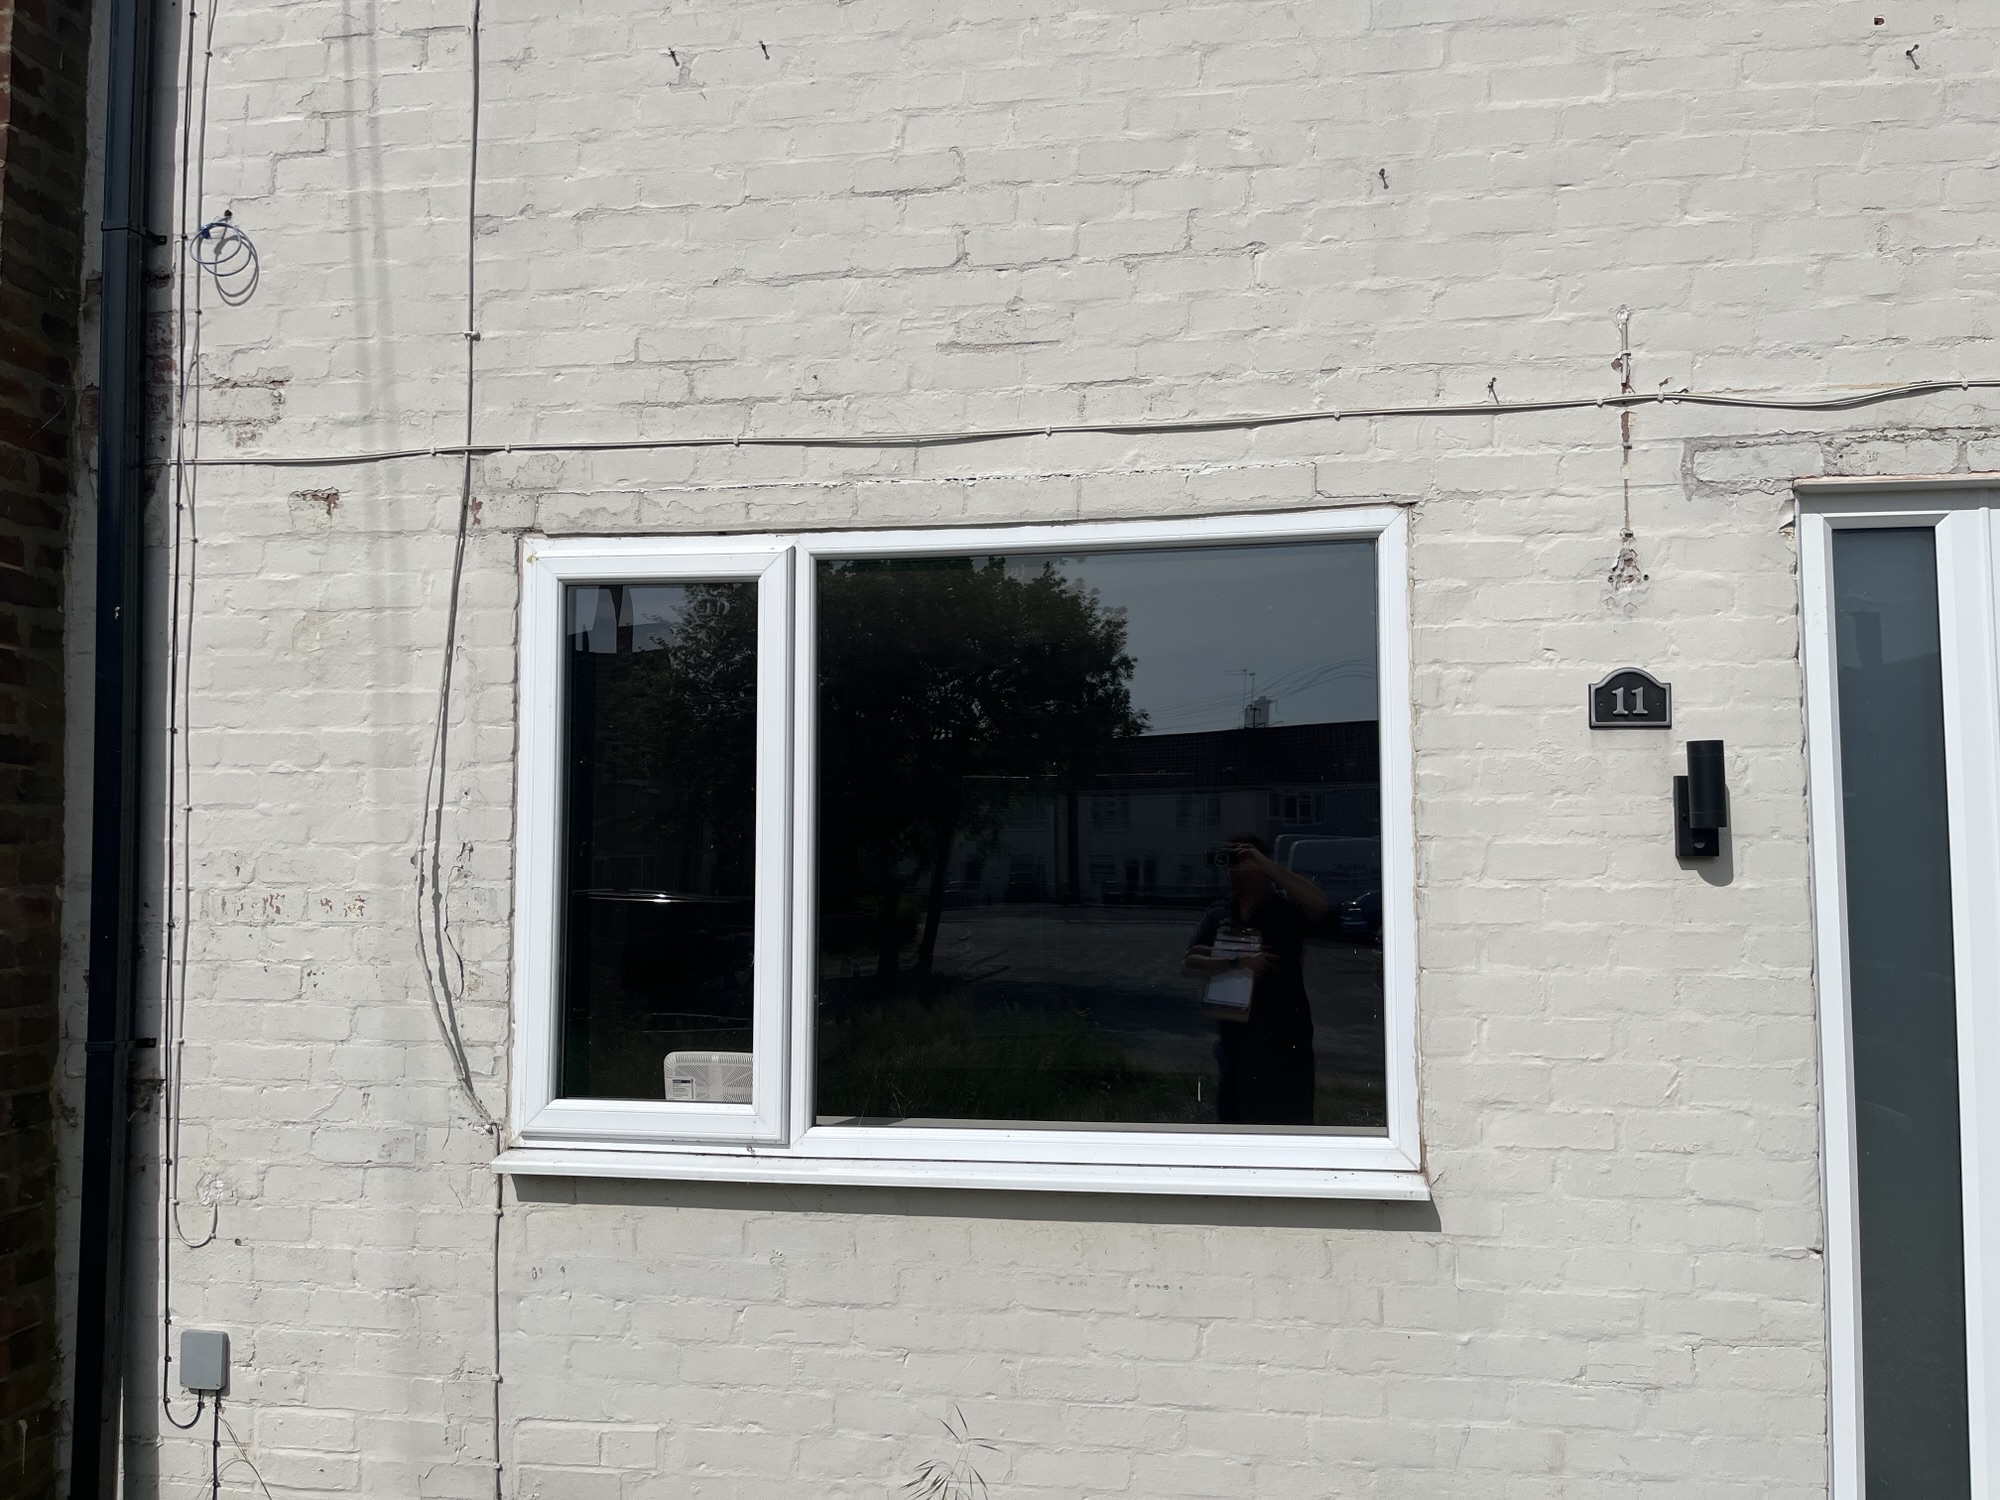
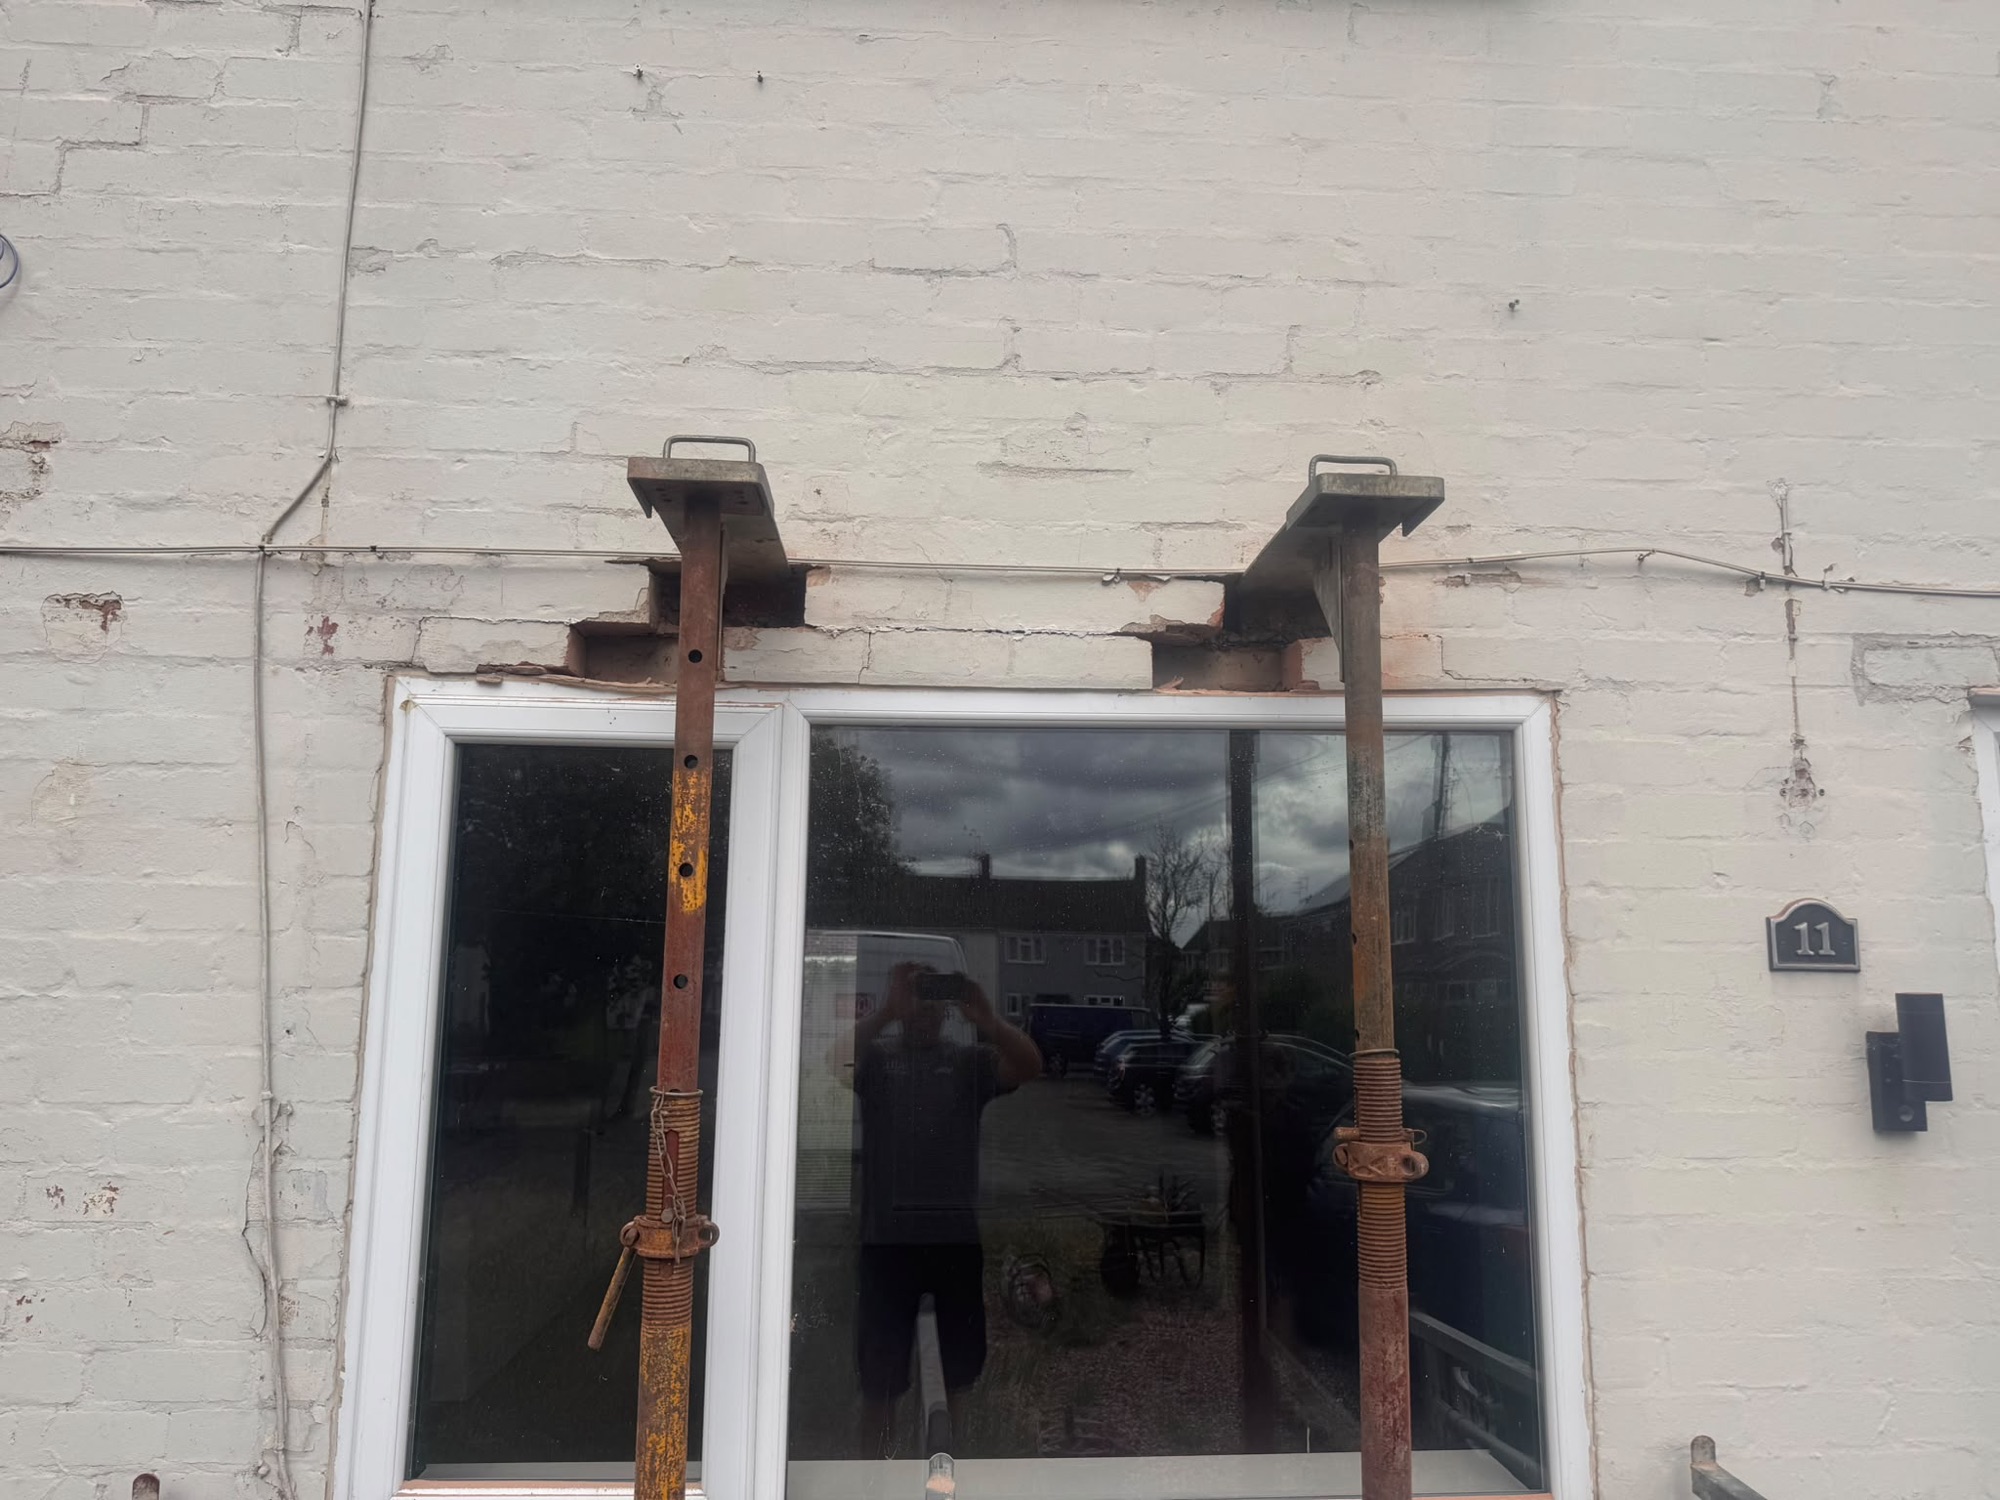
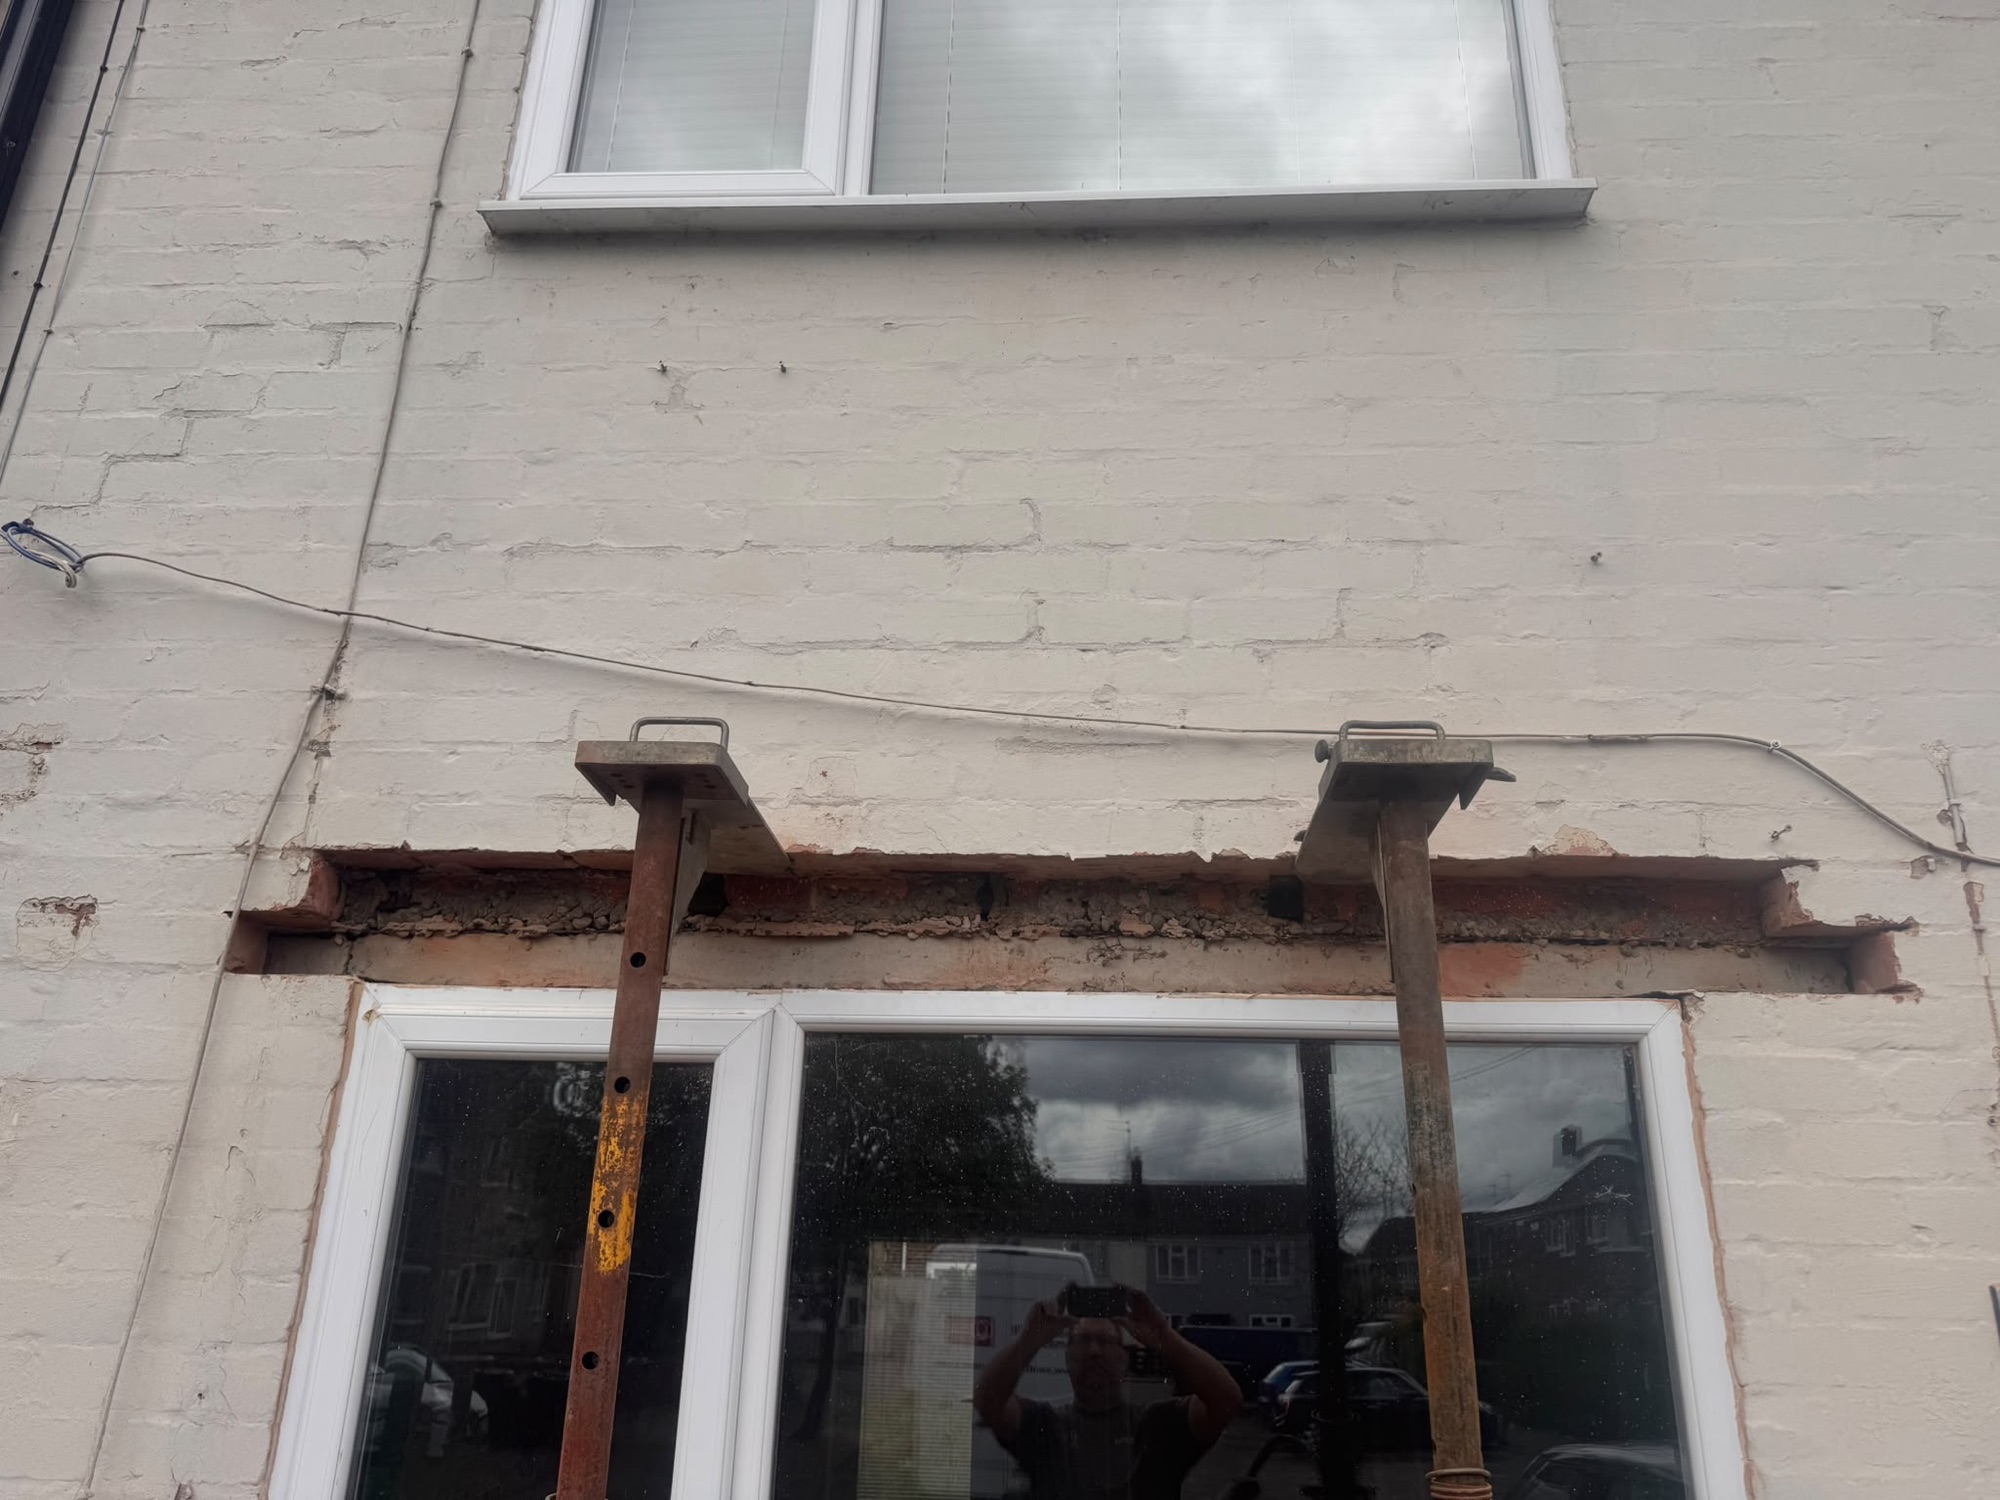
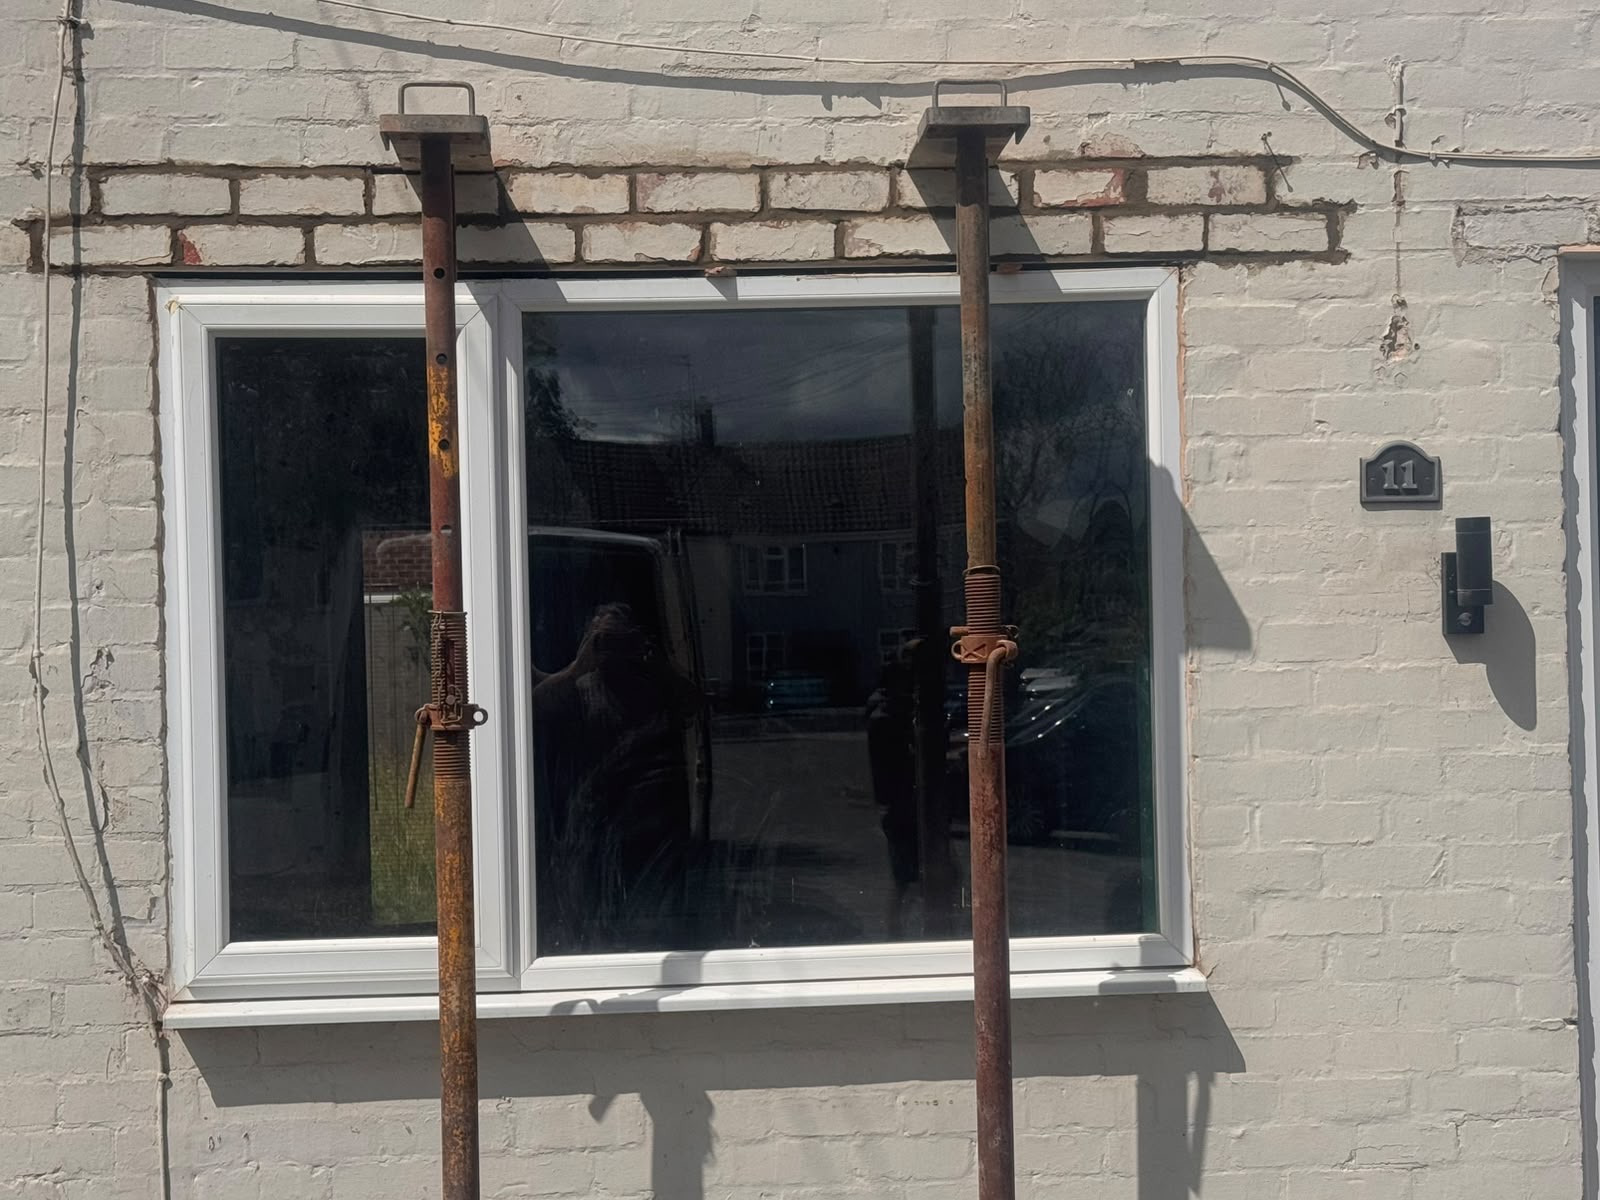
Steel RSJ install

Categories
Brickwork

Bricking up windows

The customer was reconfiguring the internal layout of their home, as such three windows needed to be filled in.

We Sourced pinhole bricks from KRM in Ilkeston to match the existing brick in an imperial size. They were not cheap at all£1.29 each but we pride ourselves in delivering a great finish.

The window brick up on this unit was slightly more complex due to the door being on one side.

The mortar will dry a lighter colour in time when the moisture evaporates from it. We used yellow building sand.

A neat and tidy job. Finished in one day for customer.

Categories
Bathroom

Bathroom refurbishment

Refurbishment of a bathroom for one of our existing clients on a tight budget.

Our customer asked us to get involved because they wanted a second opinion on the plumber who claimed moisture was just getting in behind the back of the tiles. On closer inspection the Bath Plumbing supply and basin waste had both been leaking for years Meaning the entire floor needed to be replaced. We completed the work for the customer in 3 1/2 days fitting in around the time when their tenants were on holiday and the property vacant.

We could’ve purchased a cheap bathroom Selco, but we got a decent quality item from Michael Pavis at a reasonable price which included an anti slip floor.

We fitted a hansgrohe bath/shower mixer tap so it would keep the pipes exposed and provide a robust solution given the quality of the product products that hansgrohe produces

We used a an aqua panel so there was less maintenance required in the future and no grout to clean between tenancies.

Able to keep the toilet as it has been replaced by Plumber in the last 12 months.

We still have the boxing to do on this photo

Joiner installed the Bath and used CLS timber to make larger feet areas to spread the load from the bath. The bath also included 6 feet rather than the normal five.

The leak had been so bad the insulation in the wall was absolutely sodden wet, acting like a sponge.

If the customer had listened to the Plumber, they would have wasted £250 regrouting the tiles. All the while their property would have been damaged further, luckily it wasn’t so bad that we had to replace the joists. We did however have to replace the floor with an 18 mm moisture resistant chipboard.

Categories
Roofing

Flat roof repair

We used our regular roofing contractor to help on this job.
We replaced the timber underneath with new OSB then glued a rubber membrane on top.
We took out a larger section of roof that was originally intended due to the material being damp underneath


Categories
Decking Extension

Composite decking

We laid 28 square meters of decking in total in this project. We sourced it from Eurocell in Nottingham.

Another challenge on this job was leaving enough space for the tree which the customer didn’t want to disturb. The base underneath the decking is about 20cm. We laid a geotextipe weed suppressed membrane underneath to reduce the opportunities for weeds to grow through. It is however permeable to water.

Anthracite decking laid on a timber frame

The site is sloping from top to bottom. We installed a handrail along the Eastern elevation as there was a small fall risk (45cm). We also added a handrail to the steps below.

We constructed two steps to get easy access to the decking which was level with the kitchen diner on a sleeping site.

Categories
Extension Flooring Kitchen

Media Wall & parquet floor

Bramcote – Media Wall & parquet floor – February 2026

Project Spotlight: Modern Slat Wall & Custom Media Console in Bramcote

When it comes to elevating a living space, nothing combines warmth, texture, and functionality quite like custom woodwork. We recently completed this stunning living room transformation, turning a plain wall into a striking, architectural focal point.

If you are looking for inspiration to upgrade your home entertainment setup, here is a breakdown of how we brought this sleek, modern design to life.

The Design Details

Our client wanted a sophisticated media center that felt integrated into the room rather than just a collection of standalone furniture. We achieved this by focusing on clean lines, rich textures, and hidden functionality.

The Slat Wall Feature: We installed a floor-to-ceiling vertical wood slat accent wall. The deep oak tones contrasted against the dark backing add incredible visual depth, while the vertical lines create the illusion of higher ceilings.

Custom Floating Media Console: Built to span the width of the wall, using cabinets from Ween in the same range as the kitchen cabinets which helped tie the room together, this low-profile console features a seamless black countertop that perfectly anchors the large-screen TV.

Smart Storage Solutions: The console features balance and symmetry, with spacious, push-to-open drawers on either side to tuck away clutter, and a central open shelving unit to house media devices and showcase personal decor.

Flawless Wire Management: No messy cords here! All cables, power strips, and router boxes are neatly routed behind the slat wall and inside the console for a completely flush, wire-free look. We did need to loop an rj45 cable between the top and bottom of the unit to future proof the work for alternative set ups.

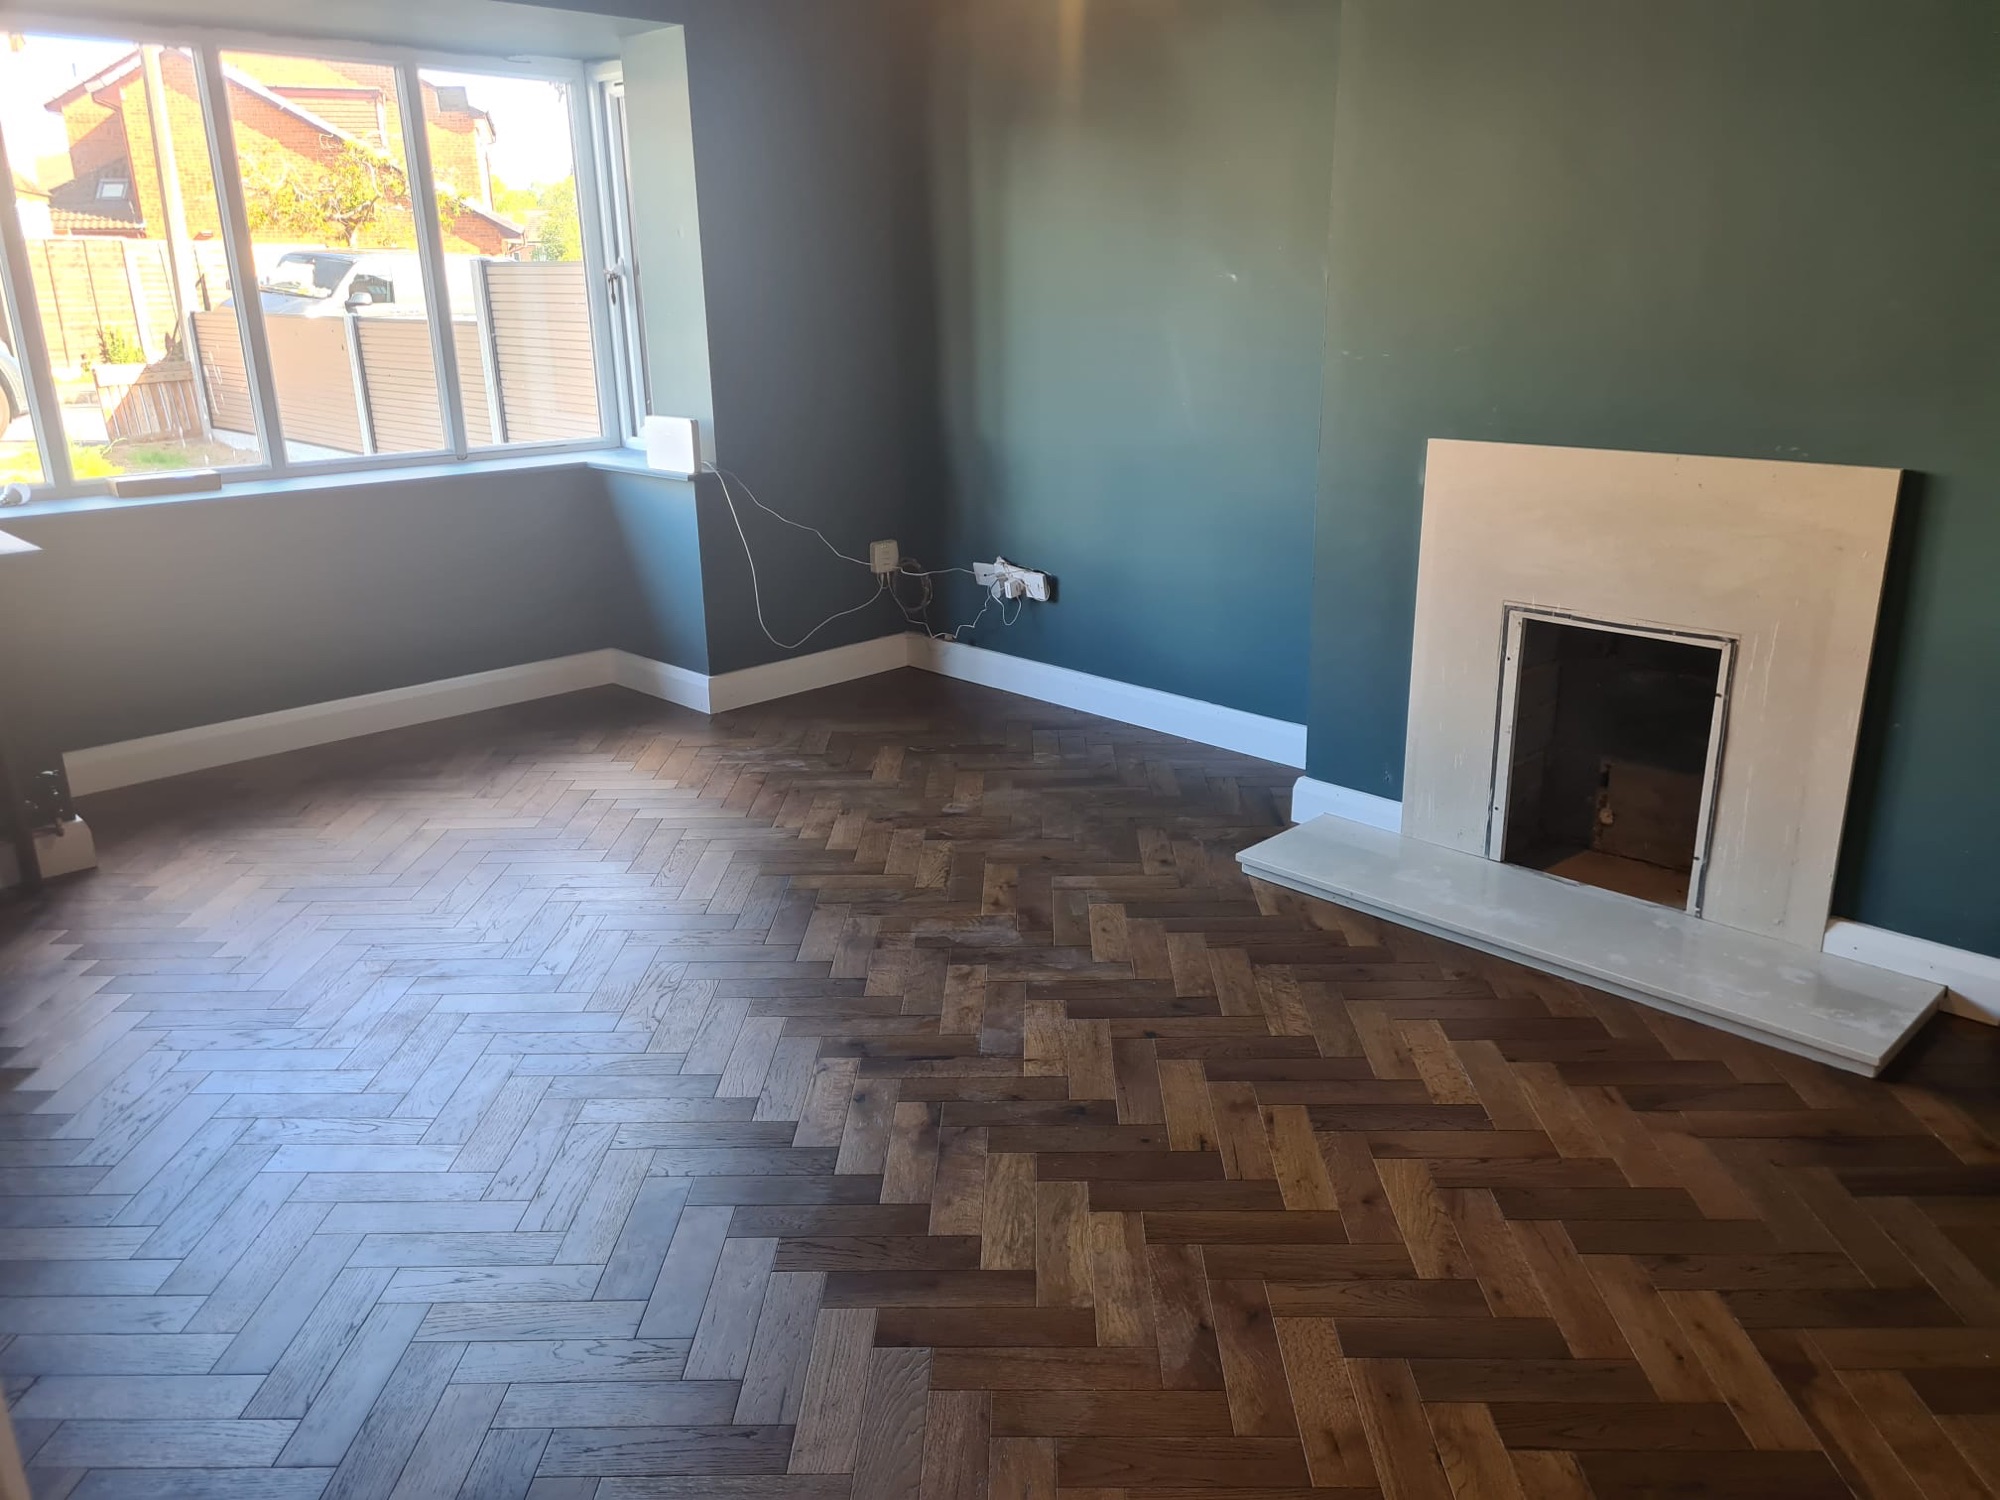
The Engineered Oak flooring was supplied by Stories flooring again and laid in a Herringbone layout. It is very time consuming so not cheap to lay but we thing the result is worthwhile.

If you would like us to create something similar in your home please let me know.

Categories
Brickwork Extension New build

Room extension

Awaiting the arrival of the roofers and joiners

Possibly the smallest extension we have done so far. Only 2.5 square meters but it makes the room much more useable and the window lets lots of light in.

We constructed it, then left the roof open until we go to get the roofers on site

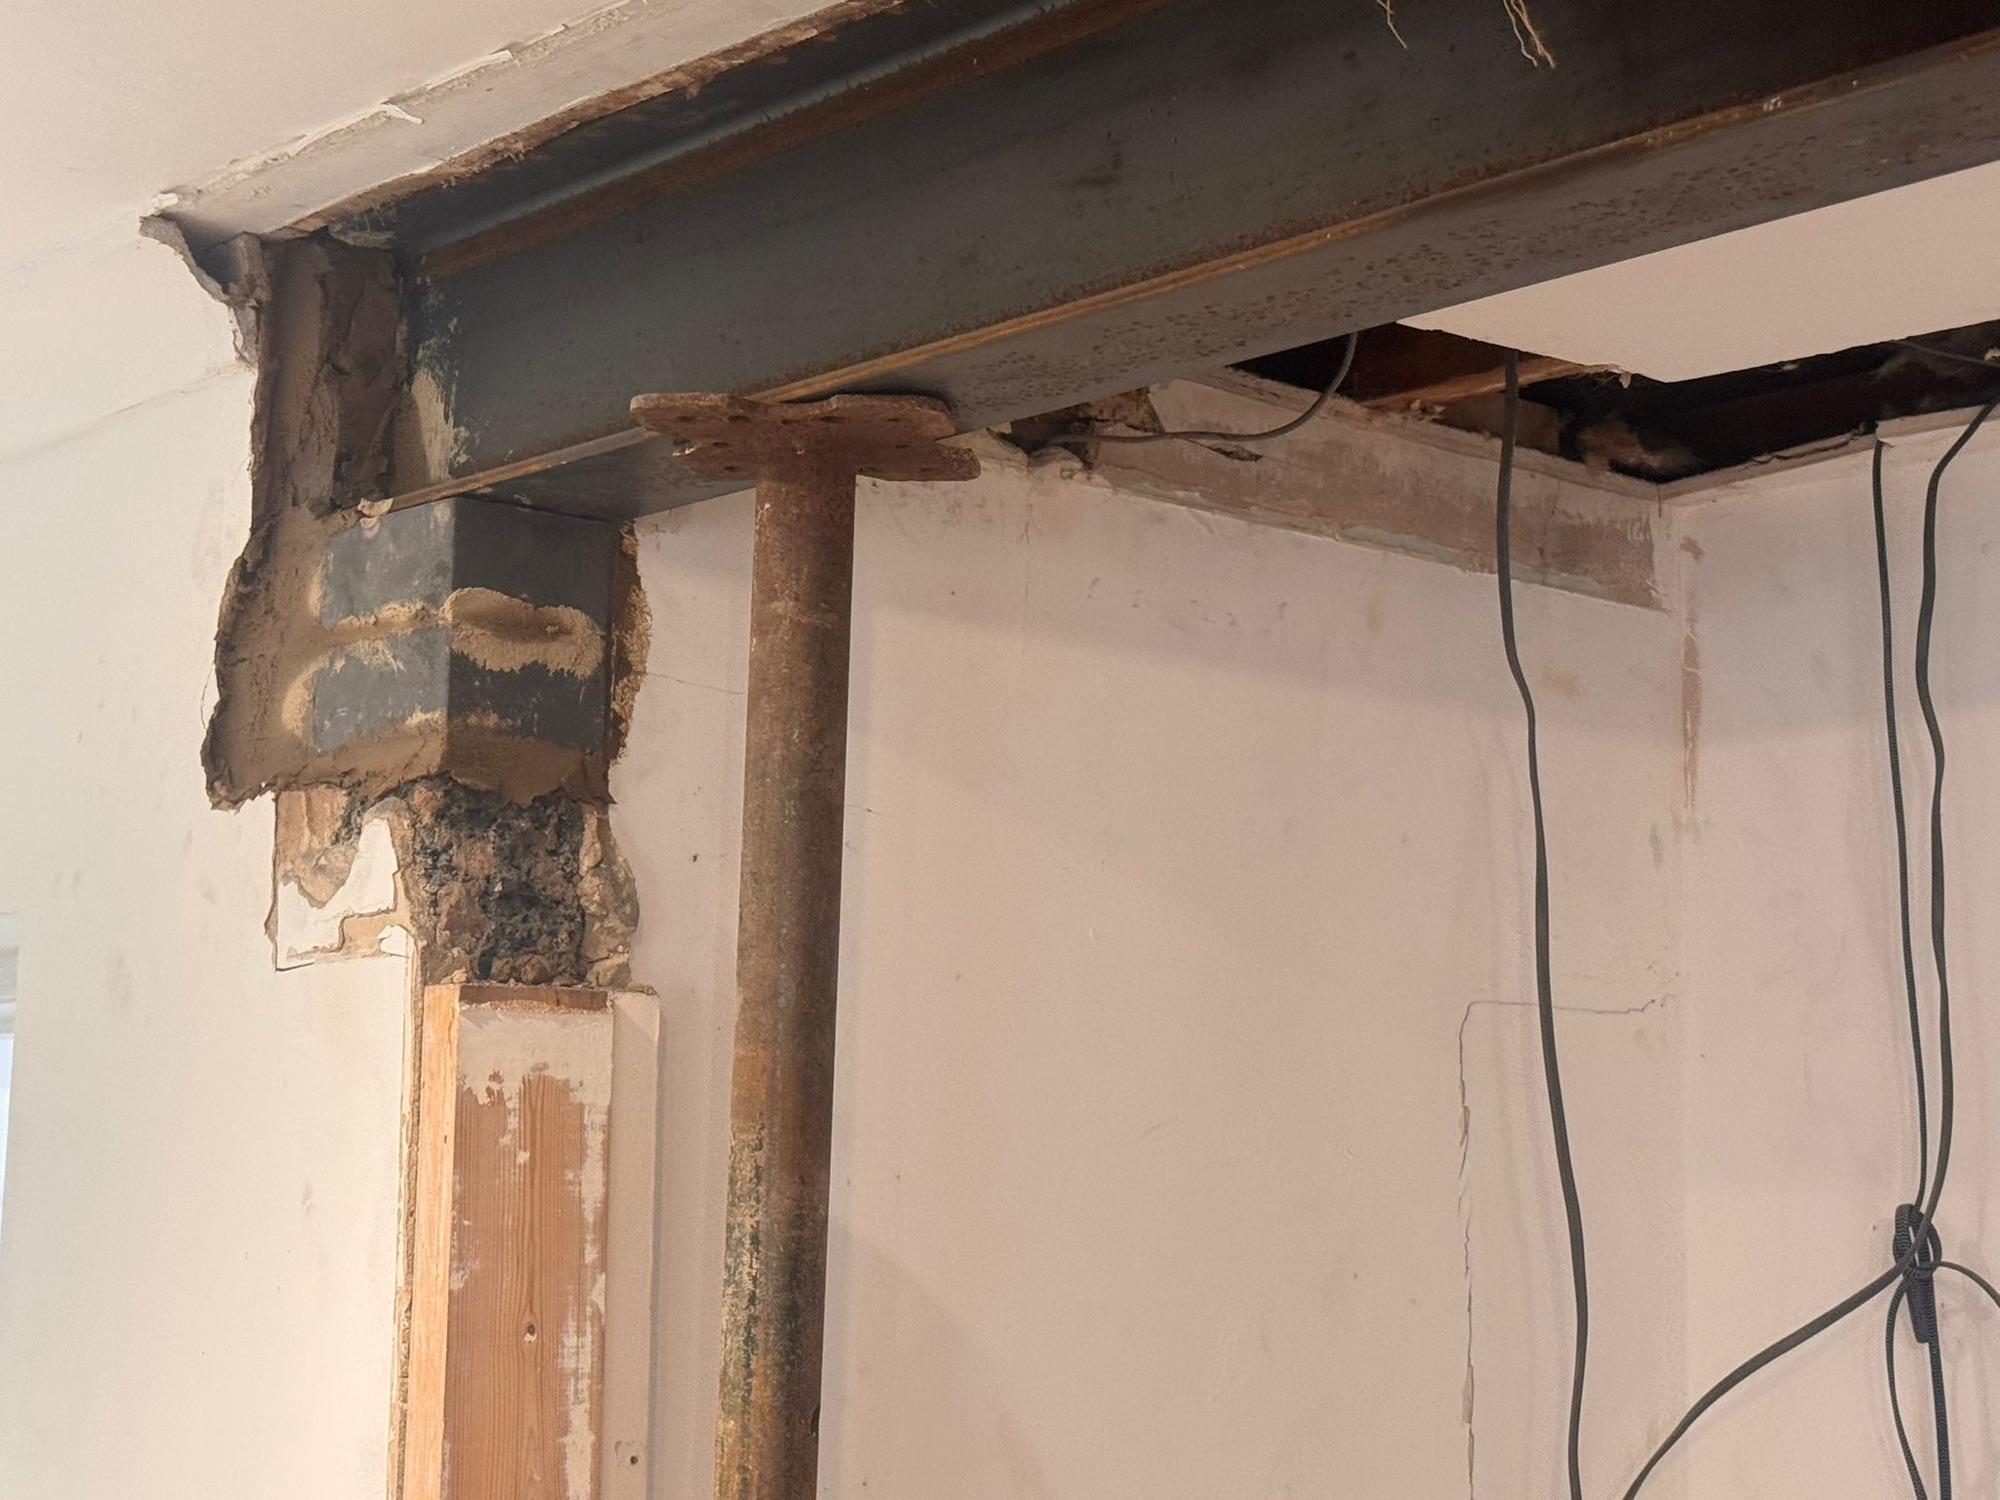
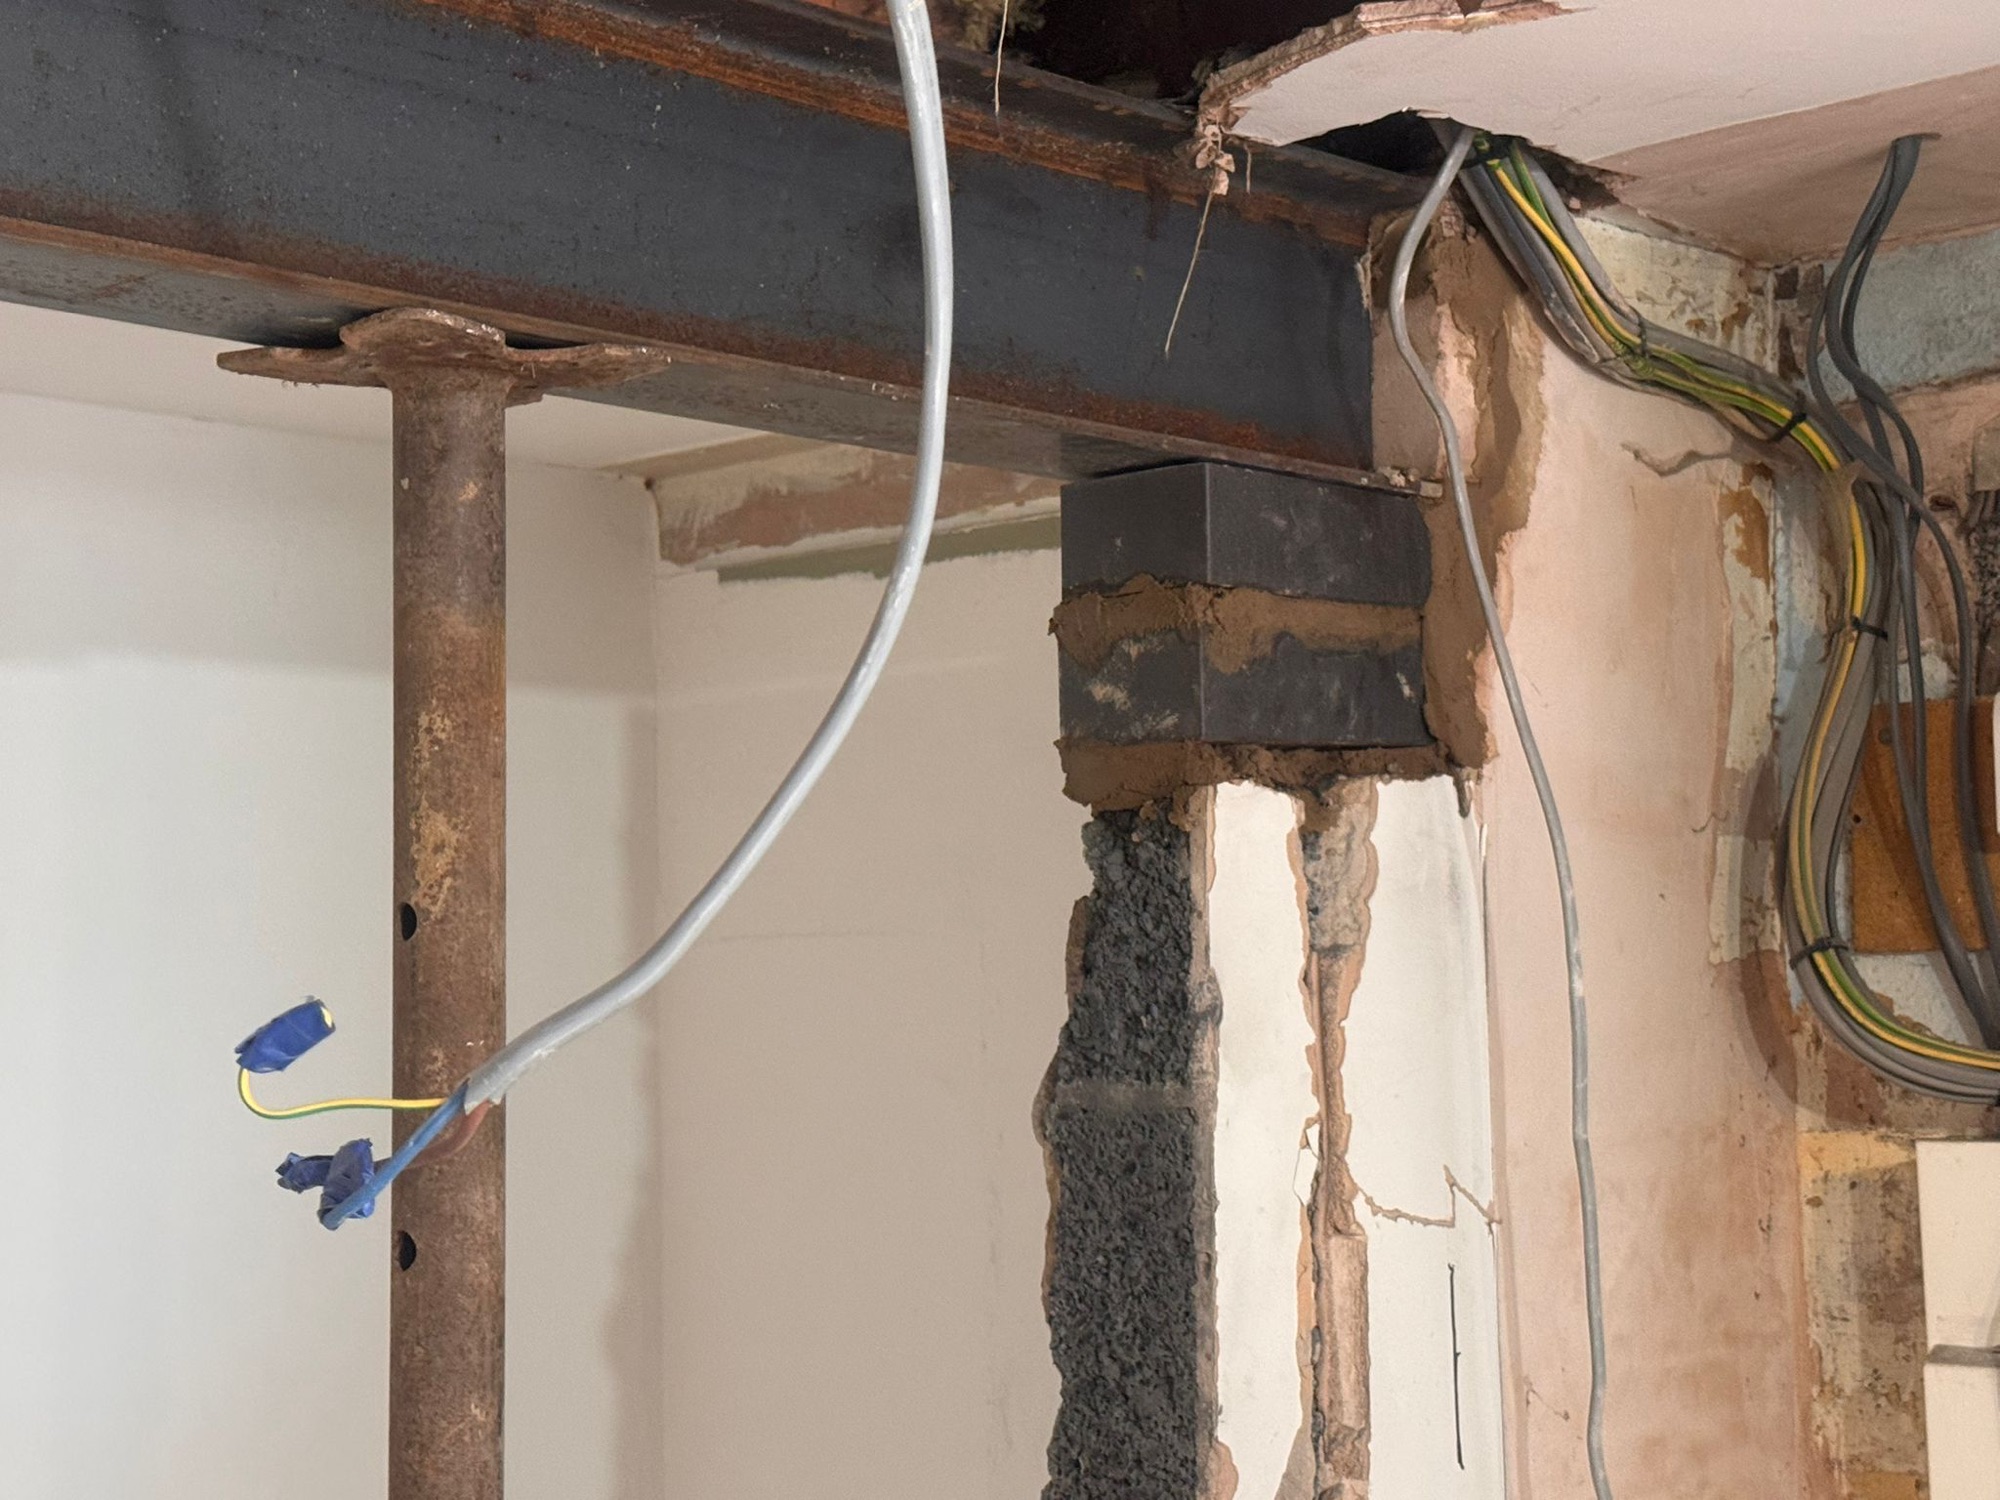
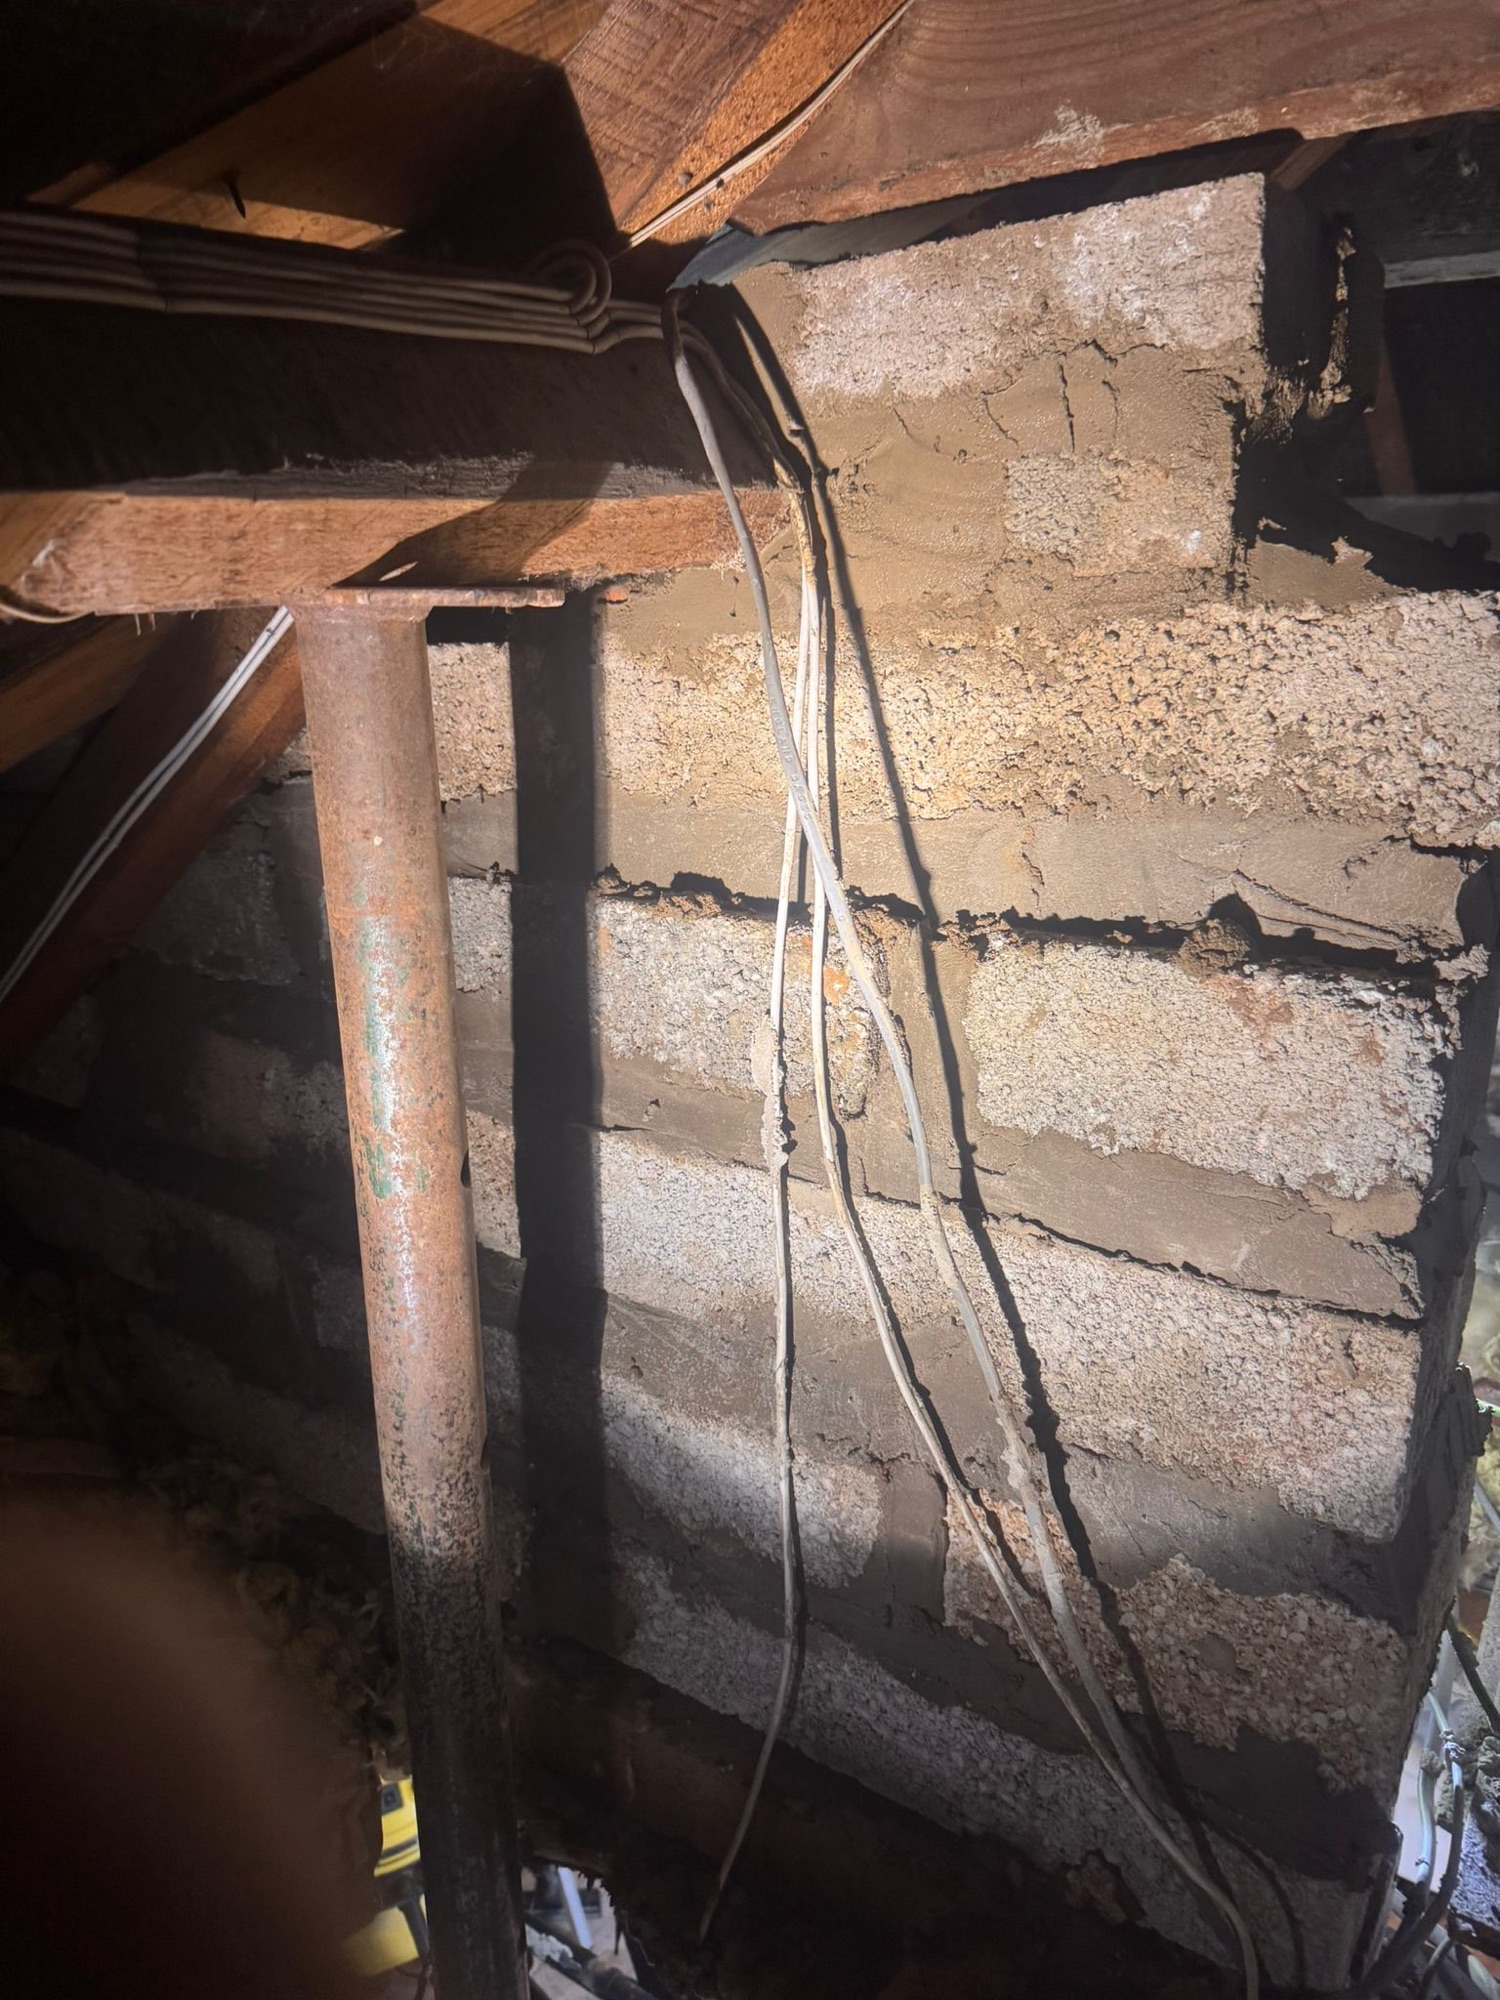
At the roof load here is being supported on the props

We fitted blocks above the window lintel because it was going to be covered by the facial soffit boards

The steel lentil was specified by our supplier

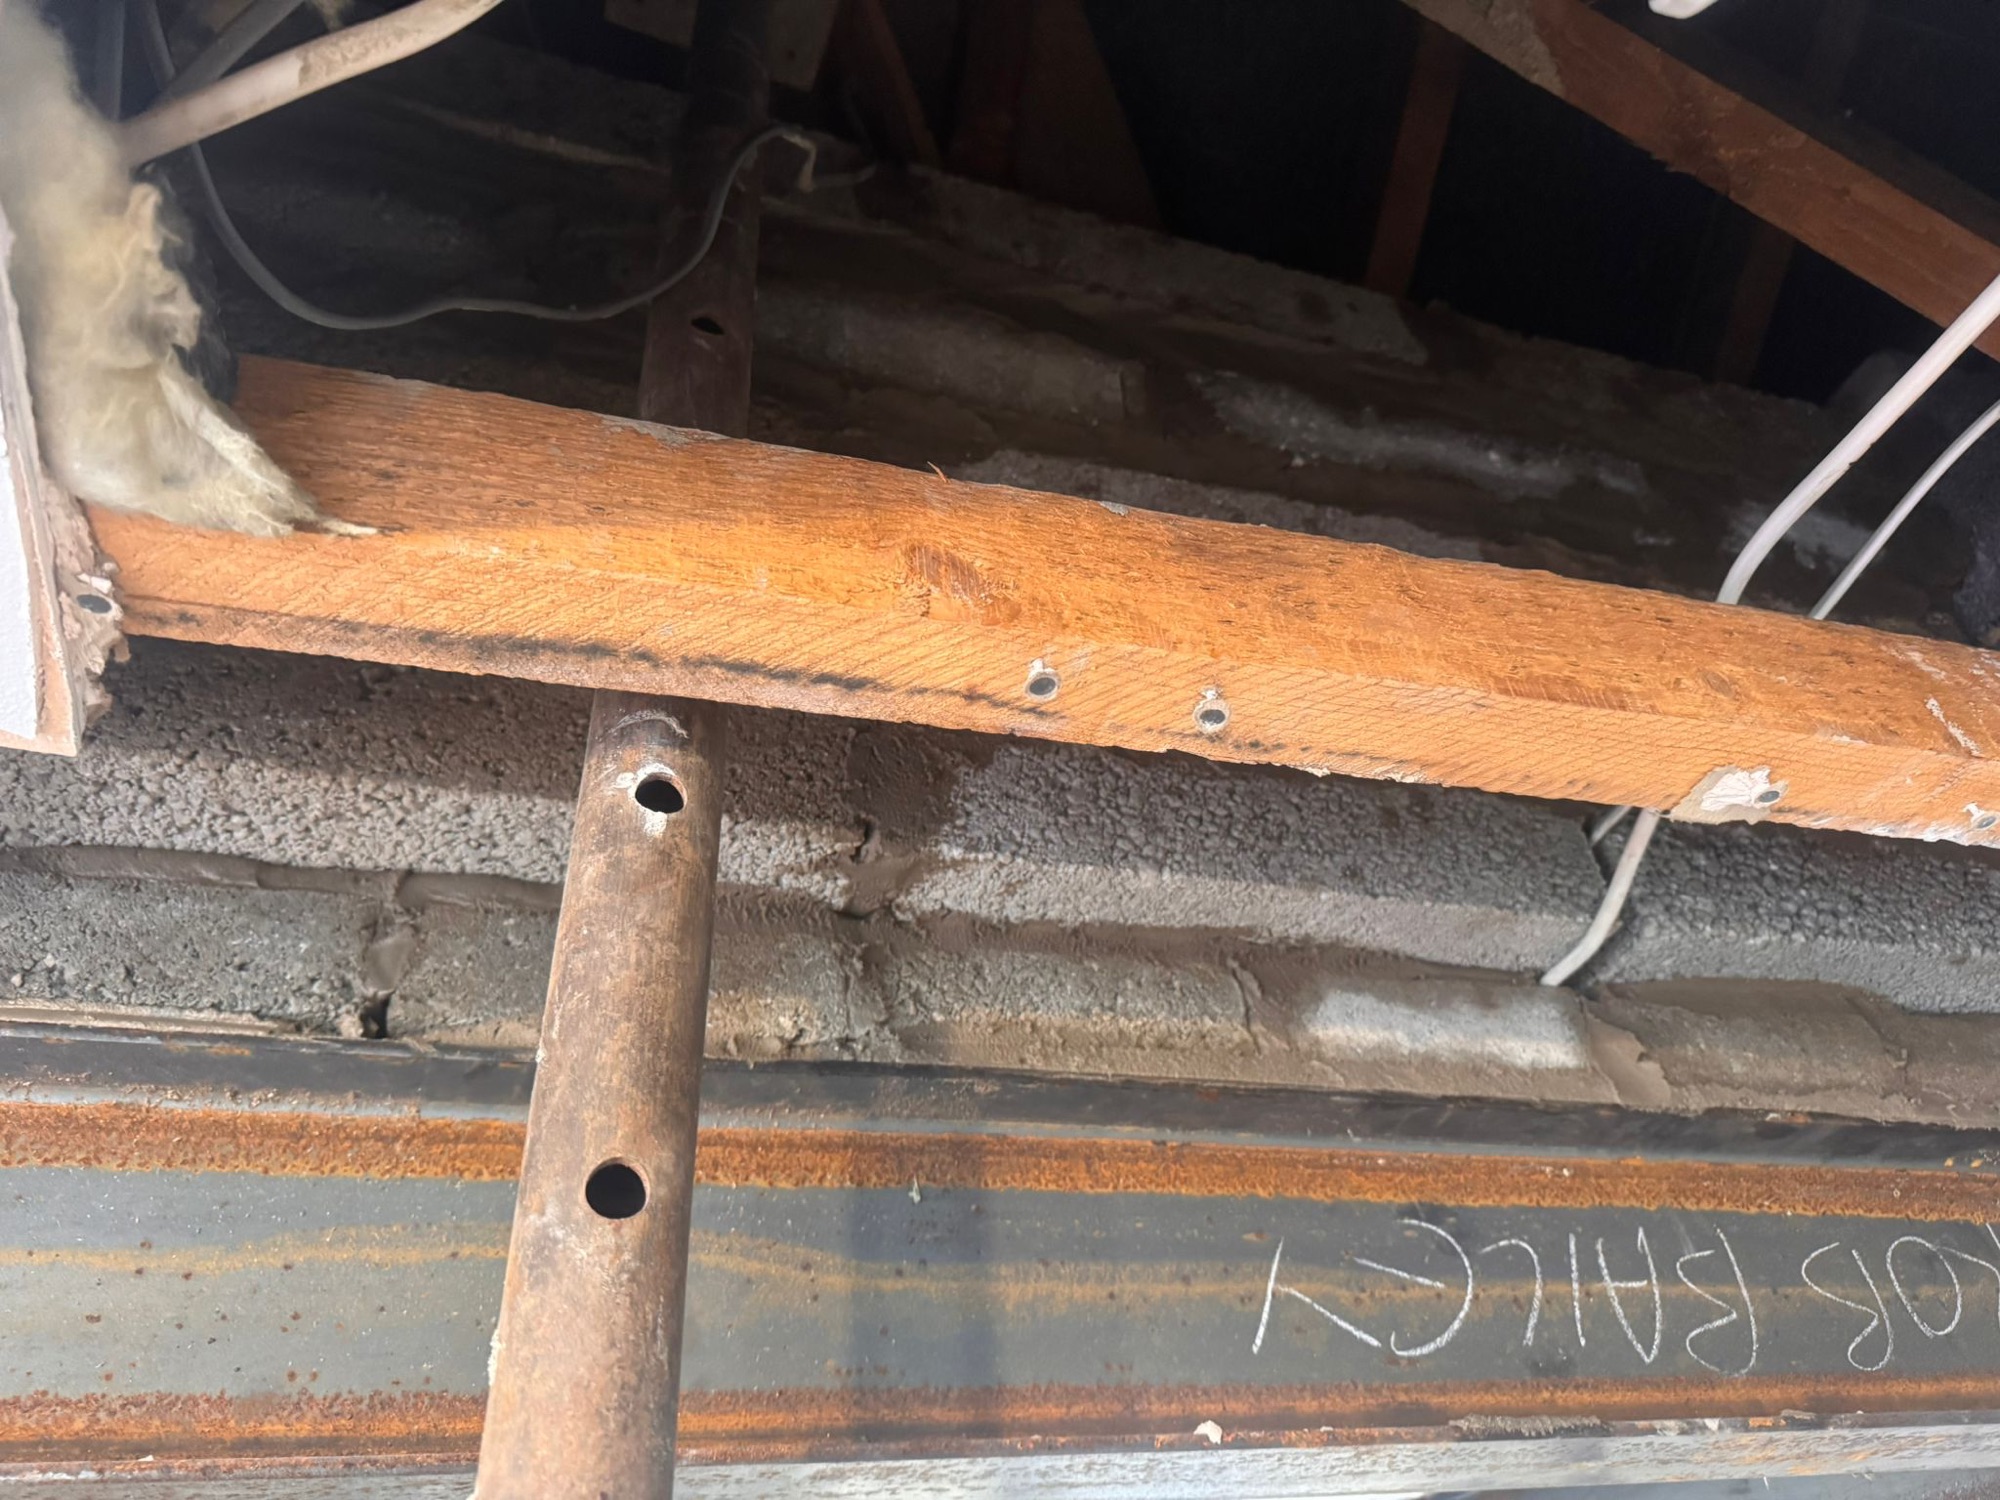
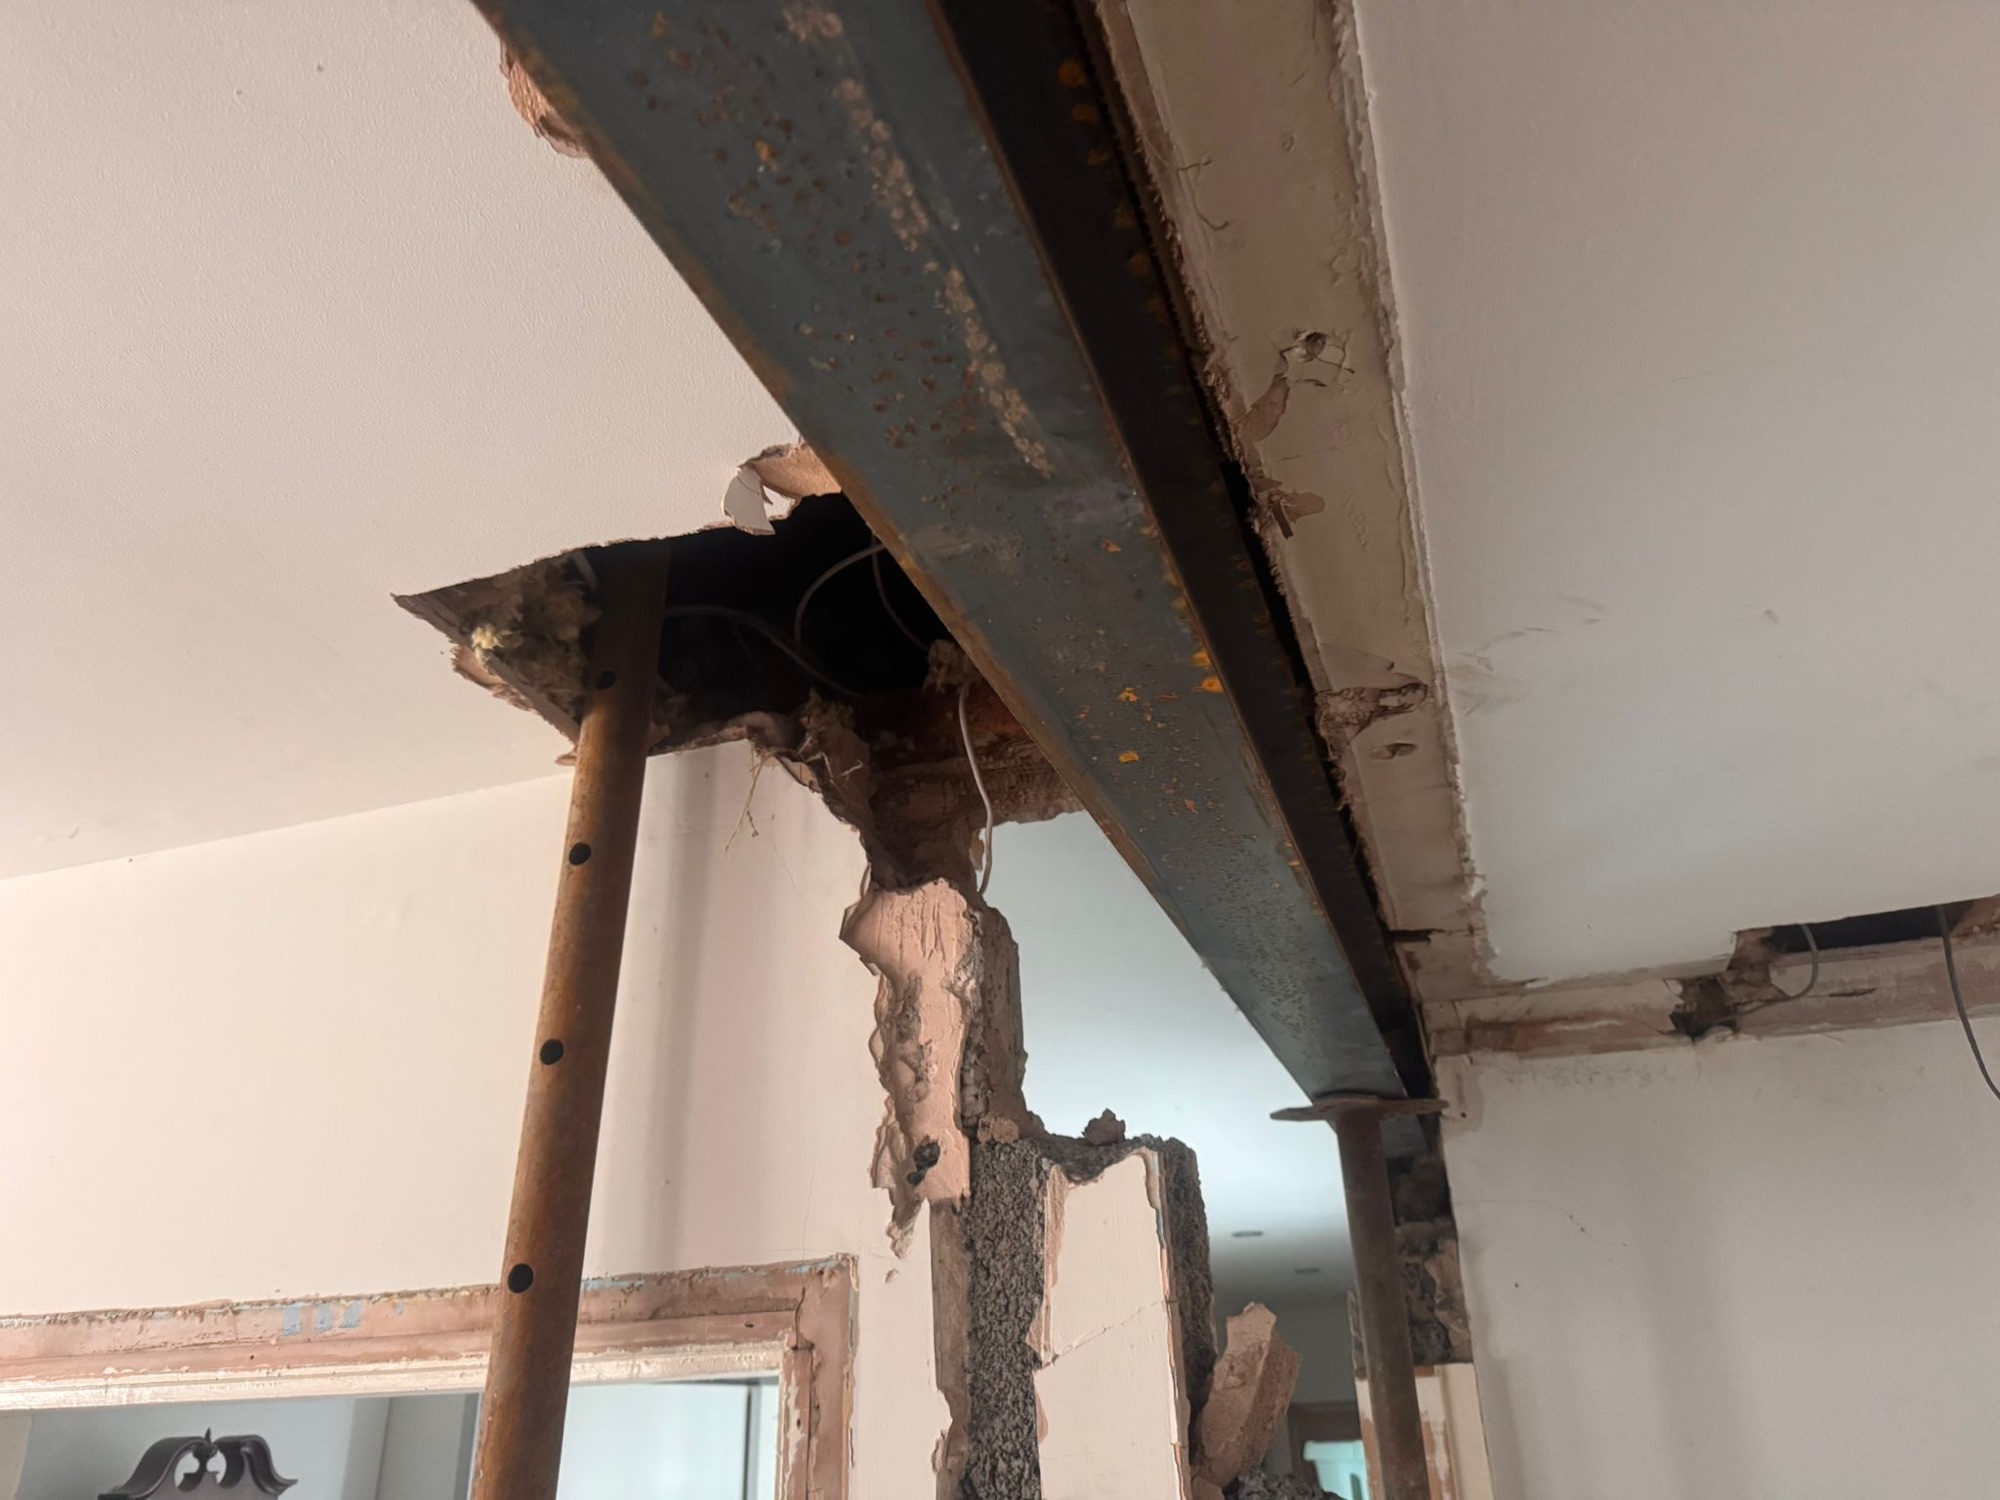
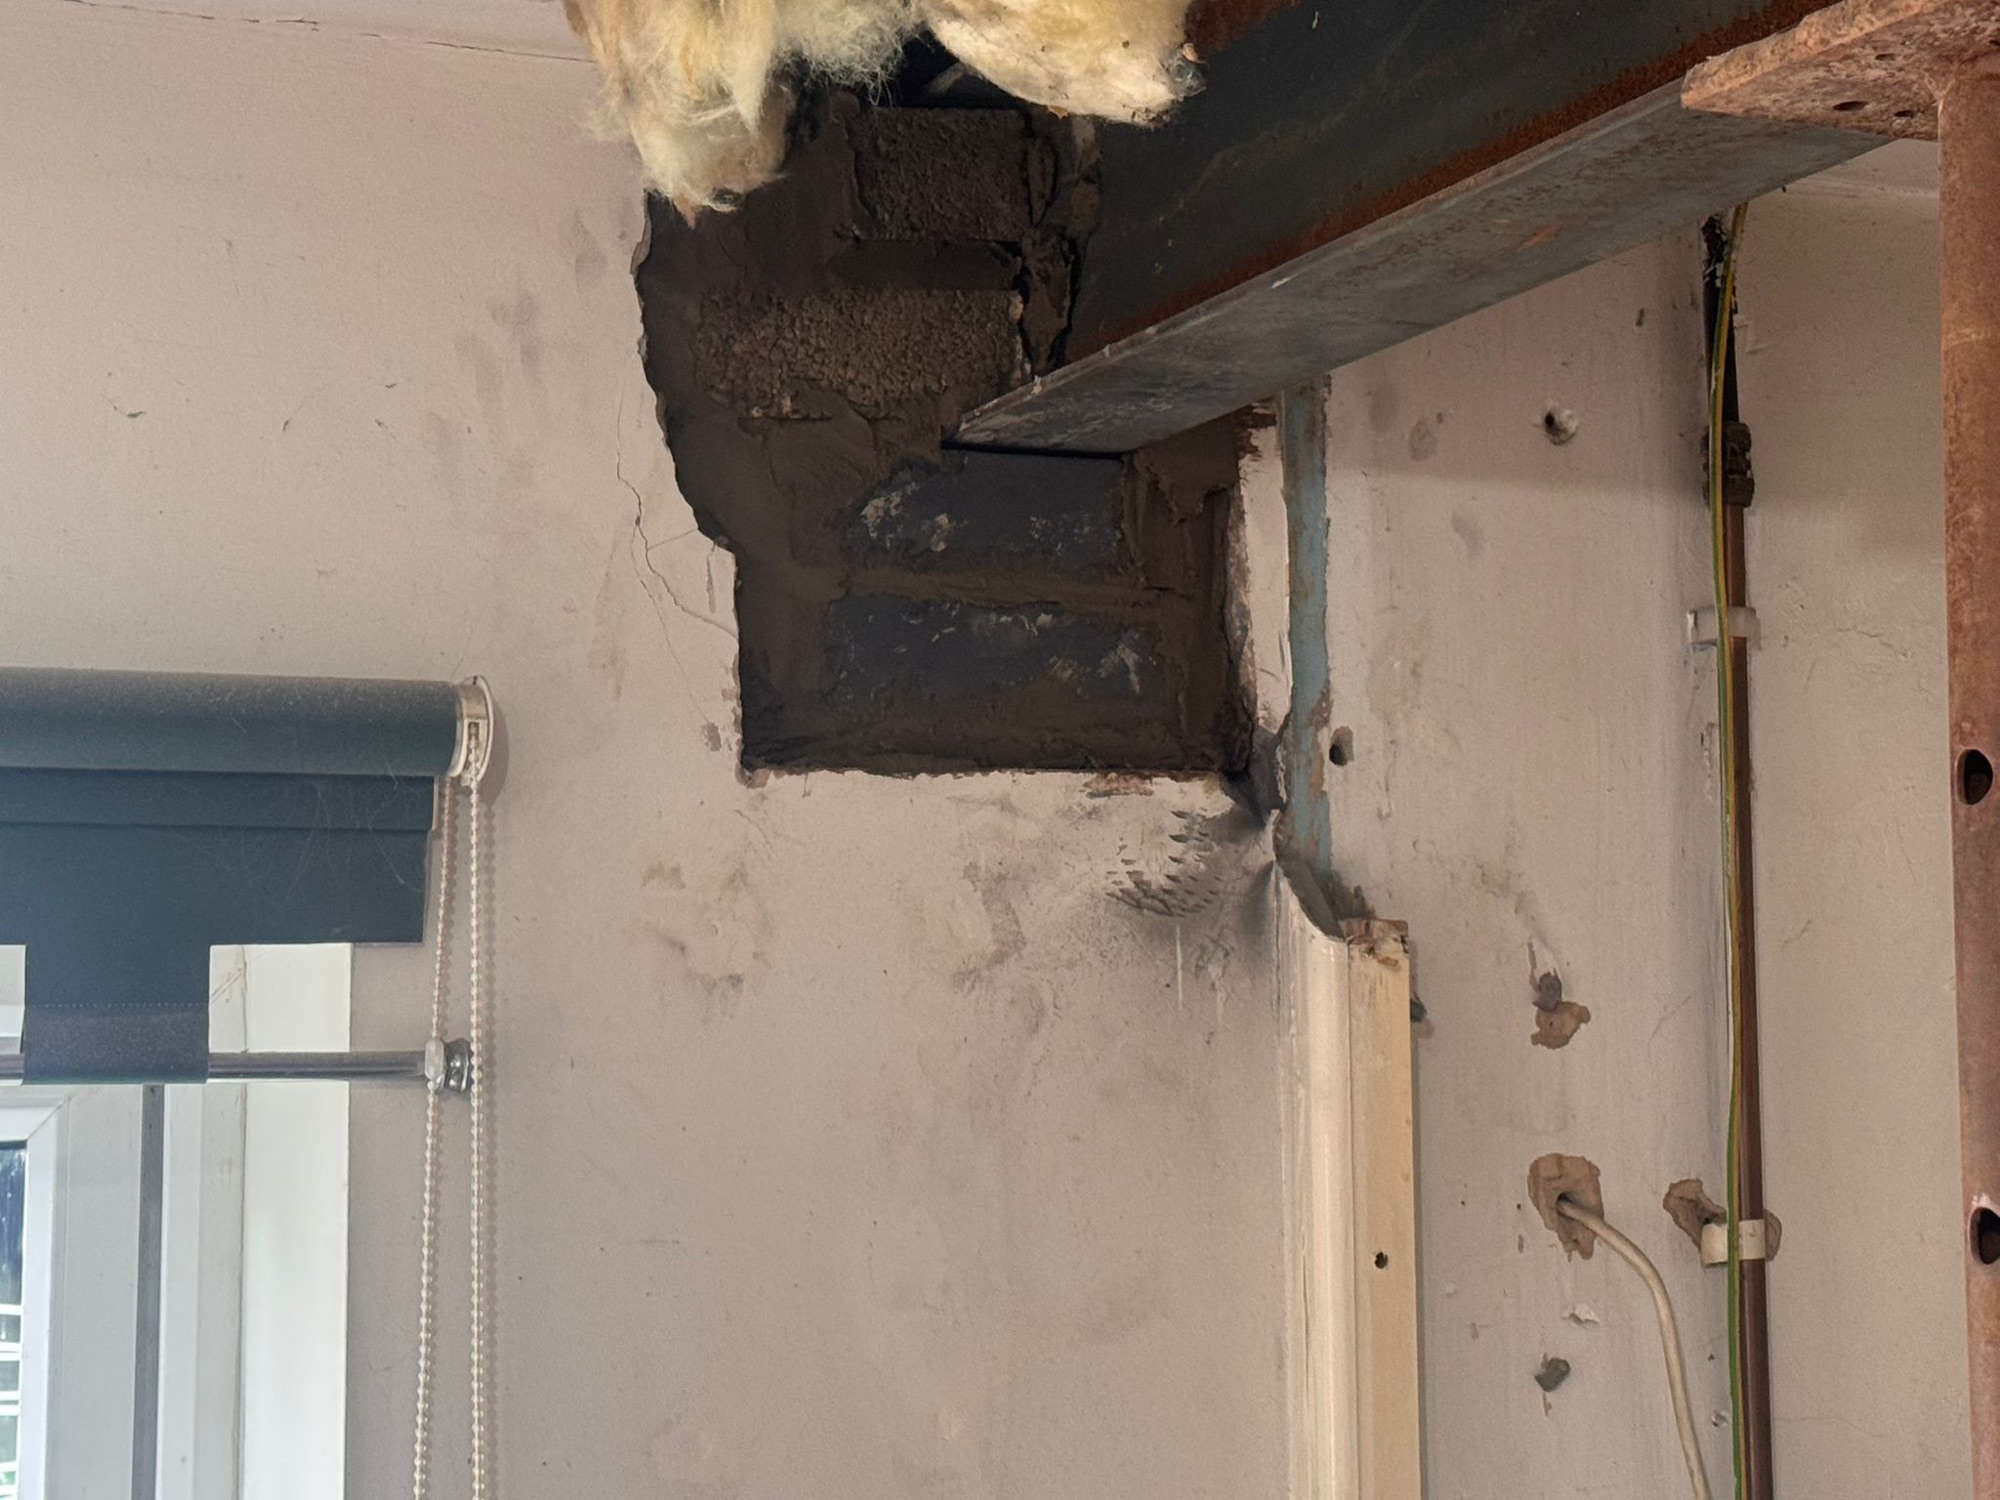
We supported the roof on acro pop props whilst we installed the steel lentil.

We install a single long lentil to allow complete freedom of where the internal wall went

Categories
New build Wardrobes

Fitted wardrobes